
Drilling into concrete with a cordless drill is a common DIY challenge that requires the right tools and techniques. This guide provides a complete, step-by-step approach, from selecting the correct drill and masonry bits to executing the perfect hole and installing anchors. You’ll learn professional tips to increase efficiency, ensure safety, and achieve reliable results on your projects.
Key Takeaways
- Tool Choice is Critical: A hammer drill function is non-negotiable for concrete; a standard drill will struggle and can be damaged.
- Carbide-Tipped Bits are a Must: Only use high-quality masonry drill bits with a carbide tip, sized correctly for your anchors.
- Preparation Prevents Problems: Always mark your spot with a center punch, wear full safety gear, and check for hidden utilities.
- Technique Trumps Force: Let the drill’s hammer action and bit do the work. Apply steady, moderate pressure and use short bursts to clear dust.
- Anchor Selection Matters: Match the anchor type (sleeve, wedge, screw-in) to your load requirements and the hole you’ve drilled.
- Manage Dust and Heat: Periodically pull the bit out to clear debris and prevent overheating, which can dull the bit.
- Safety is Fundamental: Secure your workpiece, use proper PPE (gloves, goggles, mask, hearing protection), and maintain a stable stance.
Essential Cordless Drill Concrete Tips for DIY Projects
Concrete. It’s the backbone of modern homes and the bane of many DIYers. You need to hang a shelf, secure a railing, or install a light fixture, and suddenly you’re faced with this incredibly hard, unforgiving material. The good news? With today’s powerful cordless tools and the right know-how, drilling into concrete is a task well within the reach of a dedicated DIY enthusiast.
This guide is your complete roadmap. We’ll move beyond the basic “push hard and hope” method. You’ll learn how to choose the right drill, select the perfect bit, execute a clean hole, and set a secure anchor—all with a cordless drill. Whether you’re a weekend warrior or tackling your first major renovation, these cordless drill concrete tips will save you time, frustration, and potentially broken tools.
Step 1: Preparation and Safety – The Foundation of Success
Rushing into drilling concrete is a recipe for mistakes. This first step is about setting up for a safe, accurate, and efficient job.
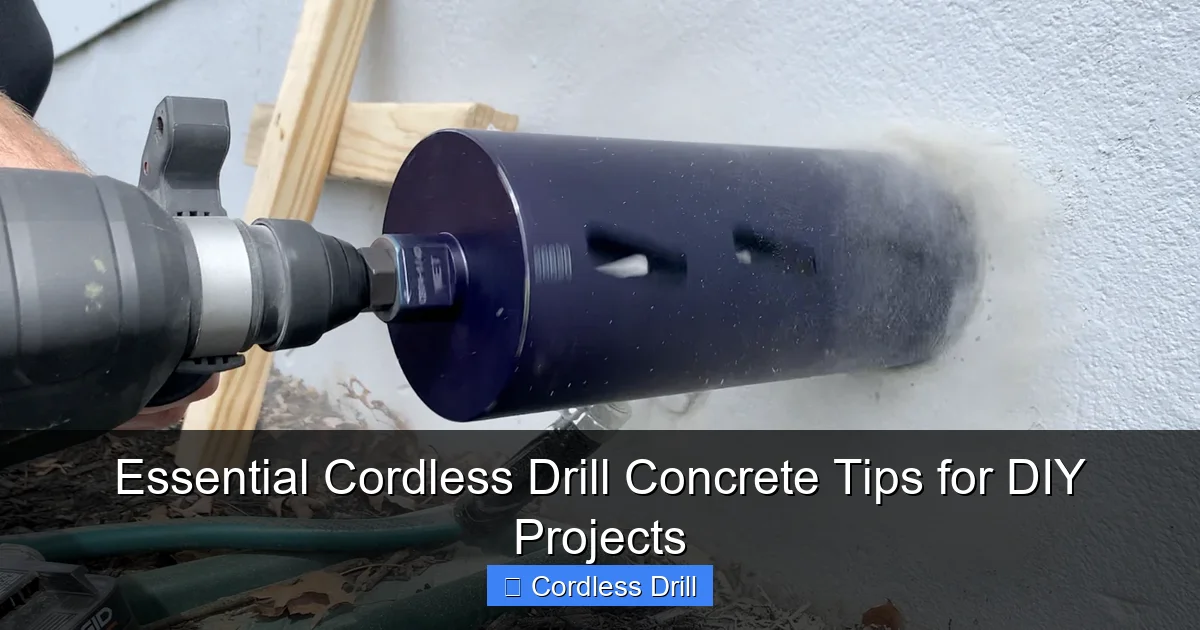
Visual guide about Essential Cordless Drill Concrete Tips for DIY Projects
Image source: atimprovements.com
Gather Your Safety Gear
Concrete drilling is messy and loud. Protect yourself with:
- Safety Glasses or Goggles: Concrete dust and chips are a major eye hazard.
- Dust Mask or Respirator: Silica dust from concrete is harmful when inhaled. A good-quality mask is essential.
- Hearing Protection: Hammer drills are noisy. Use earplugs or earmuffs.
- Work Gloves: Protect your hands from sharp edges and vibration.
- Sturdy Shoes: Ensure good footing.
Remember, safety extends beyond PPE. For any overhead work or when drilling in awkward positions, ensure you are on a stable platform. Review our guide on essential safety tips for climbing ladders if your project requires one.
Locate and Mark Your Drilling Point
This is the most important step to avoid costly errors. Use a stud finder with a deep-scan or AC detection mode to check for electrical wires, plumbing, or rebar behind the concrete surface. Once clear, mark your spot with a pencil. Then, take a center punch and a hammer. Give the punch a firm tap right on your mark. This creates a small dimple that will prevent your masonry bit from “walking” or skidding across the hard surface when you start drilling.
Secure the Workpiece
If you’re drilling into a loose concrete block or a piece of pavers, clamp it securely to a workbench. Drilling into a wall or floor? Make sure you have a stable stance and the drill is held firmly with both hands.
Step 2: Choosing and Setting Up Your Tools
You cannot use just any drill for concrete. Using the wrong tool will lead to poor results and can ruin your equipment.
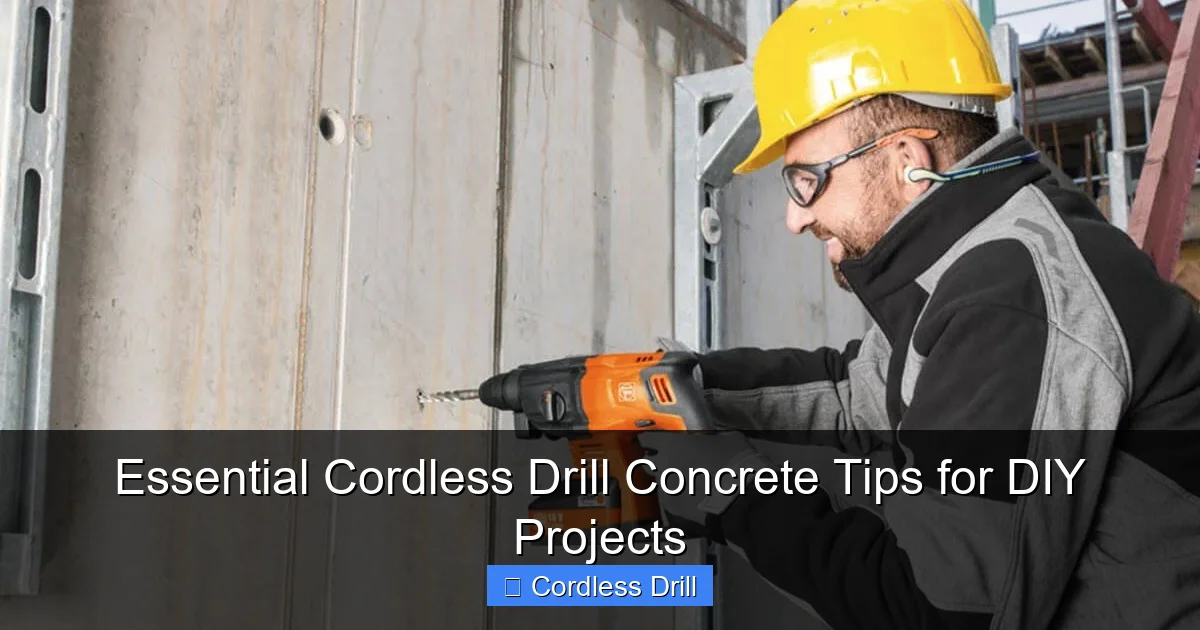
Visual guide about Essential Cordless Drill Concrete Tips for DIY Projects
Image source: dropinblog.net
Selecting the Right Cordless Drill
The absolute minimum requirement is a drill with a hammer drill function (often indicated by a hammer icon). This function causes the bit to pulse forward in tiny hammering motions while it spins, chipping away the concrete. A standard drill only has a rotary motion, which will simply spin against the concrete, generating heat and accomplishing little.
For frequent or heavy-duty concrete work, investing in a dedicated best cordless drill that is known for a robust hammer action is wise. It’s also crucial to understand the tool you’re holding. Confused about the types? Our article on the difference between a drill and a hammer drill clearly explains the critical distinction.
Understanding Drill Specifications
Check your drill’s specs for its torque and hammer action rating (usually in BPM – Blows Per Minute). For concrete, more power is generally better. An 18V or 20V MAX/Pro-grade drill is ideal for most DIY tasks. Ensure your battery is fully charged—drilling concrete consumes power quickly.
Choosing the Correct Masonry Drill Bit
This is not a place to cheap out. You need carbide-tipped masonry bits. The tip (the head) is made of ultra-hard carbide, designed to grind through concrete and brick. The shank (the part that goes in the chuck) is often marked for masonry use.
- Size: The bit diameter must match the anchor you plan to use, not the screw. The anchor packaging will specify the required drill bit size.
- Length: Choose a bit that is at least 1/2 inch longer than the depth of your planned hole to allow for chuck clearance and debris.
Setting Up Your Drill
Insert the bit securely into the chuck and tighten it fully. Set the drill to Hammer Mode (hammer icon). Set the speed/torque selector to a low speed (usually position 1 or the drill symbol) and the clutch to the highest torque setting or the drill icon. Start with a slower speed for better control and to prevent bit overheating.
Step 3: The Drilling Technique – A Step-by-Step Process
Now for the main event. Proper technique is what separates a clean, easy hole from a stalled, smoking drill.
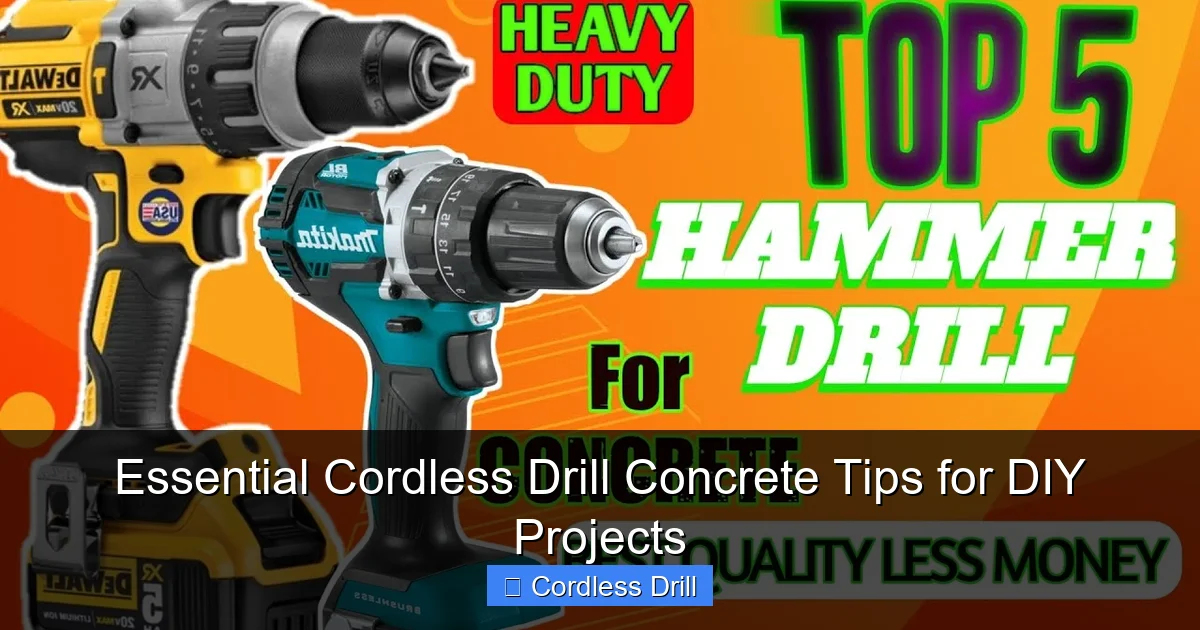
Visual guide about Essential Cordless Drill Concrete Tips for DIY Projects
Image source: i.ytimg.com
Starting the Hole
Place the tip of the bit directly into the dimple you made with the center punch. Hold the drill perfectly perpendicular (at a 90-degree angle) to the surface unless your project specifically requires an angled hole. Apply light to moderate pressure and pull the trigger. Let the hammer action do the work. Don’t lean into it with all your weight.
Managing Depth and Debris
After drilling for 10-15 seconds, or when you feel progress slowing, pull the bit completely out of the hole while it is still spinning. This “pecking” motion clears the concrete dust (mud) from the flutes of the bit. If the dust packs in, the bit can’t cut, and it will overheat. You can blow into the hole or use a vacuum to clear loose debris.
Drilling to the Correct Depth
To ensure a consistent depth, use a piece of painter’s tape wrapped around the bit as a depth gauge. Measure from the tip of the bit to the desired depth on the shank, and wrap the tape at that point. Stop drilling when the tape reaches the surface of the concrete.
Encountering Reinforcements
If you hit rebar (metal reinforcement), you will feel a sudden change and see metal shavings. Stop immediately. Do not try to drill through rebar with a masonry bit. You will need a separate, dedicated metal drill bit (like a cobalt bit) to get through it, or you must relocate your hole slightly.
Step 4: Inserting Anchors and Fasteners
A perfect hole is useless without a properly installed anchor. Concrete cannot hold a screw by itself.
Cleaning the Hole
Before inserting anything, thoroughly clean the hole of all dust. Use a vacuum, a blast of compressed air, or a specialized hole cleaning brush. A dusty hole will prevent the anchor from seating fully and reduce its holding power.
Choosing and Setting the Anchor
Common types include plastic sleeve anchors, wedge anchors, and concrete screws. Follow the manufacturer’s instructions precisely.
- For sleeve anchors: Insert the anchor into the clean hole. It should be a snug fit. Then, using your drill on a slow, high-torque setting (no hammer mode!), drive the accompanying bolt. This expands the sleeve behind the concrete wall for a secure hold.
- For concrete screws (Tapcons): These are fantastic for DIY. They tap their own threads as you drive them. Insert the screw into the hole and drive it with a standard drill/driver setting (hammer mode OFF). They require significant torque, so brace the drill well.
If your project involves lighter loads, like hanging a picture on a concrete wall, the process is similar but simpler than for structural anchors. The core principles of drilling, however, remain the same and build upon basic skills. You can see these foundational steps in our guide on how to use a drill for screws into a wall.
Step 5: Troubleshooting Common Problems
Even with preparation, issues can arise. Here’s how to solve them.
The Drill Won’t Bite or Progress is Extremely Slow
Likely Cause: Dull bit, no hammer function enabled, or insufficient power/battery.
Solution: Verify the drill is in hammer mode. Try a brand new, sharp masonry bit. Ensure the battery is fully charged. If the drill is underpowered, you may need to rent a more powerful tool for the job.
The Bit is Overheating or Smoking
Likely Cause: Applying too much pressure, not clearing dust, or using a high speed.
Solution: Immediately stop and let the bit cool. Use the “pecking” technique more frequently. Apply steady, but not excessive, pressure. Use a lower speed setting.
The Hole is Too Big or the Anchor Spins
Likely Cause: Using the wrong size bit, or the anchor was set in a dusty hole.
Solution: The anchor must be a tight fit. If the hole is slightly oversized, you can use a two-part epoxy anchor filler. For a spinning anchor, it’s best to drill a new hole in a different spot with the correct size bit.
When a Cordless Drill Isn’t Enough
For drilling large-diameter holes (over 1/2 inch) or many holes in very thick, hard concrete (like a foundation), even a good cordless hammer drill may struggle. In these cases, a rotary hammer is the professional’s choice. For larger-scale concrete cutting, you might also consider alternatives. You can learn about one such tool in our article explaining what is a concrete saw and why it’s used for.
Conclusion: Confidence in Concrete
Drilling into concrete with a cordless drill is a skill that unlocks countless DIY possibilities. By respecting the material, using the correct hammer drill and carbide bits, and applying the steady, patient technique outlined here, you can achieve professional-looking results. Remember the core cordless drill concrete tips: prepare thoroughly, let the tool do the work, manage heat and dust, and always prioritize safety. Armed with this knowledge, that blank concrete wall is no longer an obstacle—it’s a new opportunity for your next great project. Go forth and build with confidence!
