
Mastering brick drilling with a cordless drill is about the right tool, the right bit, and the right technique. This guide will walk you through selecting a hammer drill, choosing masonry bits, and using a methodical approach to create perfect holes for anchors and fasteners. Avoid common pitfalls and ensure your projects are secure and professional-looking.
Key Takeaways
- Use a Hammer Drill: A standard drill often struggles with brick. For consistent results, use a cordless drill with a hammer function to provide the necessary percussive force.
- Select the Correct Masonry Bit: Always use carbide-tipped masonry bits designed for brick and concrete. The correct bit is non-negotiable for performance and safety.
- Mark and Pilot with Precision: Use a center punch to create a starter dimple. This prevents the bit from wandering and ensures your hole starts exactly where you need it.
- Employ a Steady, Patient Technique: Apply firm, steady pressure and let the tool do the work. Avoid forcing it, and periodically pull the bit out to clear dust from the hole.
- Prioritize Safety Gear: Always wear safety glasses and a dust mask. Drilling brick creates fine silica dust that is harmful to your eyes and lungs.
- Use the Right Anchors: For a secure hold in brick, use masonry-specific anchors like sleeve anchors or wedge anchors, never standard plastic wall plugs.
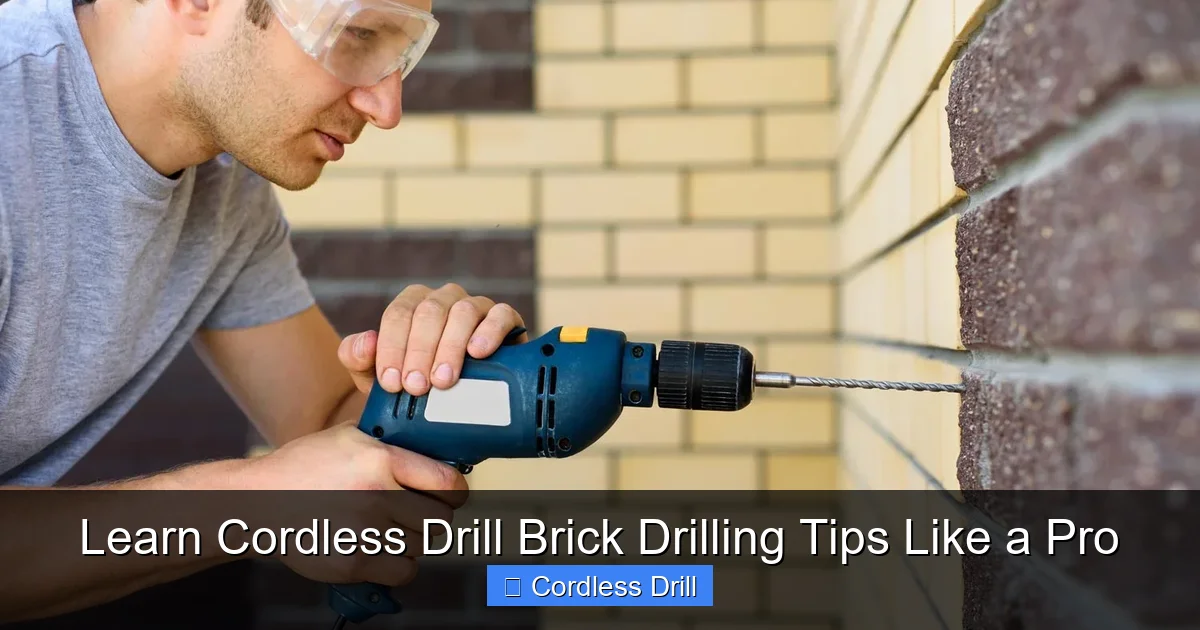
Learn Cordless Drill Brick Drilling Tips Like a Pro
Drilling into brick can seem intimidating. It’s a hard, brittle material that can crack or crumble. Your standard drill might just spin uselessly. But with the right knowledge, drilling into brick with a cordless drill is a straightforward DIY skill. This guide will transform you from a hesitant beginner to a confident pro. We’ll cover everything from choosing your tool to the final anchor installation. You’ll learn the secrets to clean, secure holes every time.
Gearing Up: The Right Tools for the Job
Success starts before you pull the trigger. Having the proper equipment is 80% of the battle when drilling into masonry.
Visual guide about Learn Cordless Drill Brick Drilling Tips Like a Pro
Image source: media.angi.com
1. The Drill: Hammer Function is Key
This is the most critical choice. While a powerful standard cordless drill might eventually get through soft brick, it will be slow and hard on the tool. For consistent results, you need a hammer drill.
A hammer drill combines rotational force with a rapid, short hammering action (like a mini jackhammer). This percussion chips away the masonry, making the drilling process efficient. Many modern best cordless drills come with a hammer drill function built-in. If you’re shopping for a new tool, look for this feature. It’s essential for understanding the difference between a drill and a hammer drill and choosing the right one for masonry work.
2. The Bits: Carbide-Tipped Masonry Bits
Never use a wood or metal drill bit on brick. It will dull instantly and could shatter. You need masonry bits, identifiable by their carbide tip (a wide, arrowhead-shaped tip) and spiral flutes designed to clear debris. They are often black or have a gold-colored tip. Match the bit size precisely to the anchor you plan to use.
3. Essential Supporting Gear
- Safety Glasses & Dust Mask: Brick dust is abrasive and contains silica. Protect your eyes and lungs.
- Hearing Protection: Hammer drills are loud, especially indoors.
- Center Punch & Hammer: For making a starter dimple.
- Depth Stop or Tape: To ensure you don’t drill deeper than needed.
- Vacuum or Brush: For cleaning out the hole.
- Compressed Air (optional): Excellent for blowing out fine dust.
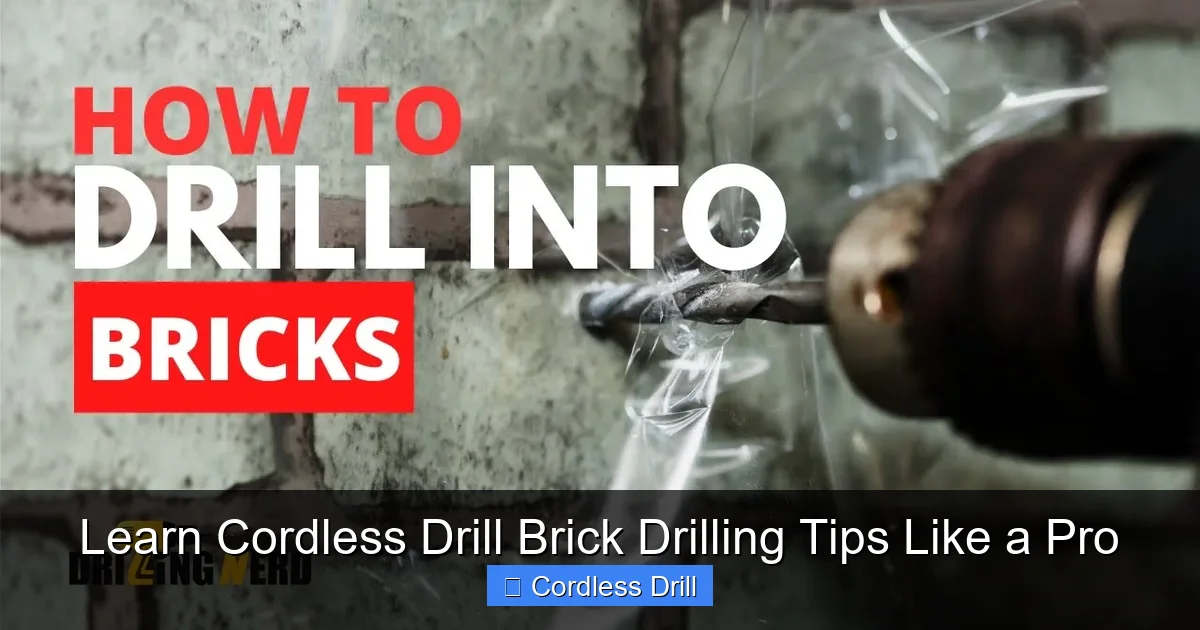
Preparation: The Blueprint for Success
A little prep prevents major headaches. Never skip these steps.
Visual guide about Learn Cordless Drill Brick Drilling Tips Like a Pro
Image source: i.ytimg.com
1. Locate Hidden Hazards
Before you mark anything, use a stud finder with AC detection to check for electrical wires or pipes behind the brick. This is non-negotiable for safety.
2. Mark Your Spot with Precision
Use a pencil to mark your drilling point. For multiple holes, use a level and tape measure for perfect alignment. Accuracy here is everything.
3. Create a Starter Dimple
Place the tip of a center punch directly on your pencil mark. Give it a firm tap with a hammer. This creates a small dent that will “catch” the tip of your masonry bit, preventing it from skating across the hard, smooth surface of the brick when you start drilling.
4. Set Your Depth
Measure the length of your masonry anchor. Wrap a piece of painter’s tape around your drill bit at a distance that equals the anchor length plus about 1/4 inch. This tape acts as a perfect depth guide, so you stop drilling at the right moment.
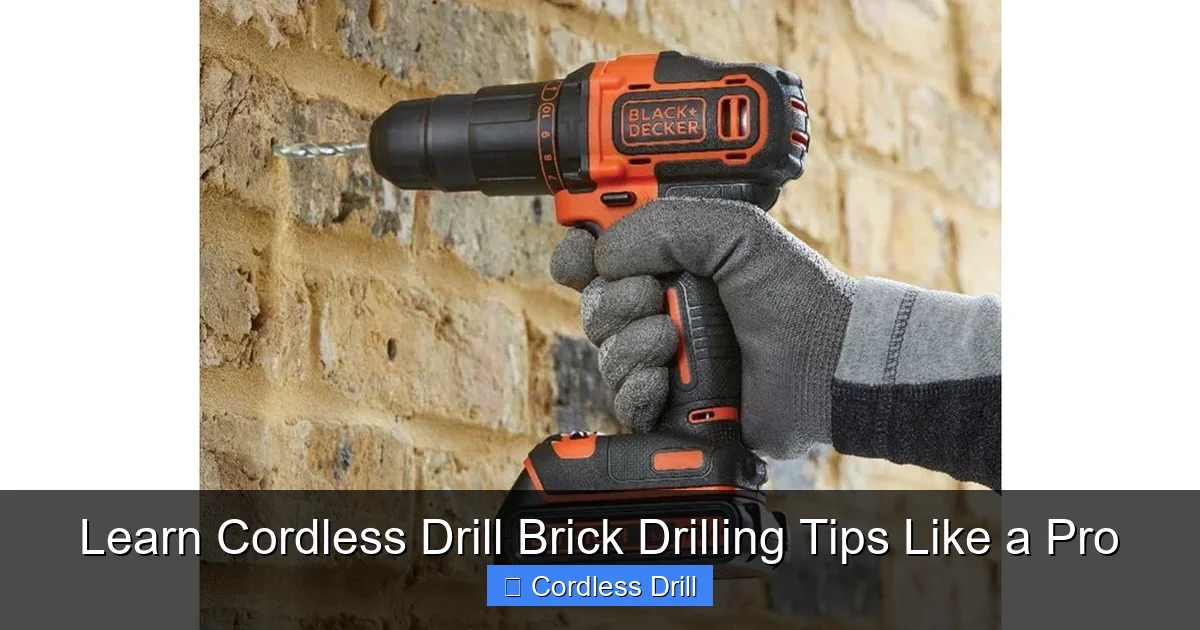
The Pro Drilling Technique: Step-by-Step
Now for the main event. Follow this sequence for clean, controlled holes.
Visual guide about Learn Cordless Drill Brick Drilling Tips Like a Pro
Image source: toolreviewsninja.com
Step 1: Insert and Secure the Bit
Insert your masonry bit into the drill chuck. Ensure it’s straight and tightened securely. A wobbly bit will make an oversized, messy hole.
Step 2: Select the Correct Mode and Speed
Switch your drill to “Hammer Drill” mode (often marked with a hammer icon). Set the speed to a low or medium setting. High speed generates excess heat, which can dull the carbide tip. Let the hammer action do the work.
Step 3: The Starting Angle
Position the bit tip directly into the starter dimple you made. Hold the drill perfectly perpendicular to the wall (unless you intentionally want an angled hole). Start the drill at a slow speed to establish the hole.
Step 4: Applying the Right Pressure
Once the hole is started, apply firm, steady pressure. Do not lean your full body weight on the drill. Let the tool’s hammer mechanism break up the material. You should feel a consistent, rhythmic pounding. If the drill stalls or the sound changes, you may be pushing too hard.
Step 5: Clearing Debris (The “Pecking” Method)
Every 10-15 seconds, pull the bit partially or completely out of the hole while it’s still spinning. This allows the spiral flutes to eject the brick dust. A clogged hole increases friction, heats the bit, and makes drilling much harder.
Step 6: Mind the Depth and Material
Drill until your tape marker reaches the wall surface. If you hit a particularly hard spot or the mortar joint, maintain steady pressure. Mortar is often softer and will drill quickly—be careful not to go too fast and lose control.
Advanced Tips & Troubleshooting
Drilling into Very Hard Brick or Concrete
For exceptionally hard masonry, use a technique called “water cooling.” Have a spray bottle with water handy and mist the tip of the bit and the hole area periodically. This reduces dust and keeps the bit temperature down, prolonging its life. Important: Only do this with a battery-powered cordless drill, never a corded one, due to electrical safety.
What to Do If Your Bit Gets Stuck
Don’t panic. Switch the drill out of hammer mode and into reverse (rotation only). Apply gentle pressure while pulling. The change in rotation can often free a wedged bit. Avoid excessive force which could break the bit.
Dealing with Cracks or Spalling
If the brick starts to crack or the edges crumble (“spall”), you are likely drilling too fast, using a dull bit, or not using a hammer function. Stop immediately. You may need to move your hole location slightly. Using a sharp, new bit and the proper technique usually prevents this.
Working at Height Safely
Many brick drilling projects involve ladders. Your focus must be on stability. Ensure you follow essential safety tips for climbing ladders. Never overreach, and have a helper stabilize the ladder if possible. A dropped drill can cause injury or damage.
After Drilling: Installing Anchors Correctly
A perfect hole is wasted with a poor anchor installation.
- Clean the Hole Thoroughly: Use a vacuum, blast with compressed air, or use a narrow brush to remove all dust. A dusty hole prevents the anchor from seating fully and reduces holding power.
- Select the Proper Masonry Anchor: Plastic wall plugs are for drywall and plaster. For brick, use sleeve anchors, wedge anchors, or mechanical bolt anchors. Match the anchor diameter to your drill bit size (usually marked on the anchor packaging).
- Insert and Set the Anchor: Tap the anchor into the clean hole until it’s flush with the brick. For sleeve or wedge anchors, use a wrench to tighten the bolt. This expands the anchor inside the brick, creating an incredibly strong, permanent hold.
Conclusion
Drilling into brick with a cordless drill is a completely achievable task. It demystifies a wide range of home improvement projects, from hanging heavy shelves and TVs to installing exterior lighting and building decks. The professional result hinges on respecting the process: using a hammer drill, sharp masonry bits, meticulous preparation, and a patient, steady technique. Arm yourself with the knowledge from this guide, prioritize safety above all else, and tackle your next masonry project with the confidence of a pro. Your walls—and your finished project—will thank you.
