
Unlock the hidden potential of your cordless drill beyond simple screws. This guide reveals creative, practical, and time-saving indoor uses, from hanging shelves and mixing paint to cleaning grout and polishing silver. You’ll learn step-by-step methods to tackle common household tasks with ease and confidence.
Key Takeaways
- Your Drill is a Multi-Tool: With the right attachments, a cordless drill can mix, sand, polish, clean, and drive screws, making it a versatile centerpiece for your home toolkit.
- Preparation is Key for Drilling: Always locate studs and use the correct drill bit for your wall material to ensure secure and damage-free installations.
- Speed Control is Your Friend: Use low speeds for mixing, polishing, and driving screws to prevent splatter and damage, reserving high speeds for drilling.
- Safety First, Always: Wear eye protection, secure your workpiece, and remove the battery when changing accessories to prevent accidents.
- Start Simple to Build Confidence: Begin with straightforward projects like assembling furniture or hanging curtains before moving to more complex tasks like building shelves.
- The Right Attachment Makes the Job: Investing in a few key accessories like a mixer paddle, sanding discs, or a buffing pad will exponentially increase your drill’s usefulness.
Amazing Cordless Drill Indoor Uses You Need to Try
Is your cordless drill sitting lonely in a toolbox, only pulled out for the occasional picture-hanging or furniture assembly? You’re missing out! This powerful tool is a secret weapon for countless indoor projects. It can save you time, effort, and even money. This guide will walk you through amazing cordless drill uses that will transform how you handle household tasks. You’ll learn to mix, sand, clean, and create with confidence.
Getting Started: Know Your Drill
Before we jump into the projects, let’s get familiar with your tool. A standard cordless drill has a chuck to hold bits, a variable speed trigger, and a clutch. The clutch is crucial. It adjusts the torque. This stops you from stripping screw heads or driving screws too deep. For drilling into walls, you’ll need to understand the difference between a standard drill and more powerful options. If you’re curious about the specifics, our guide on the difference between a hammer drill and regular drill is a great resource.
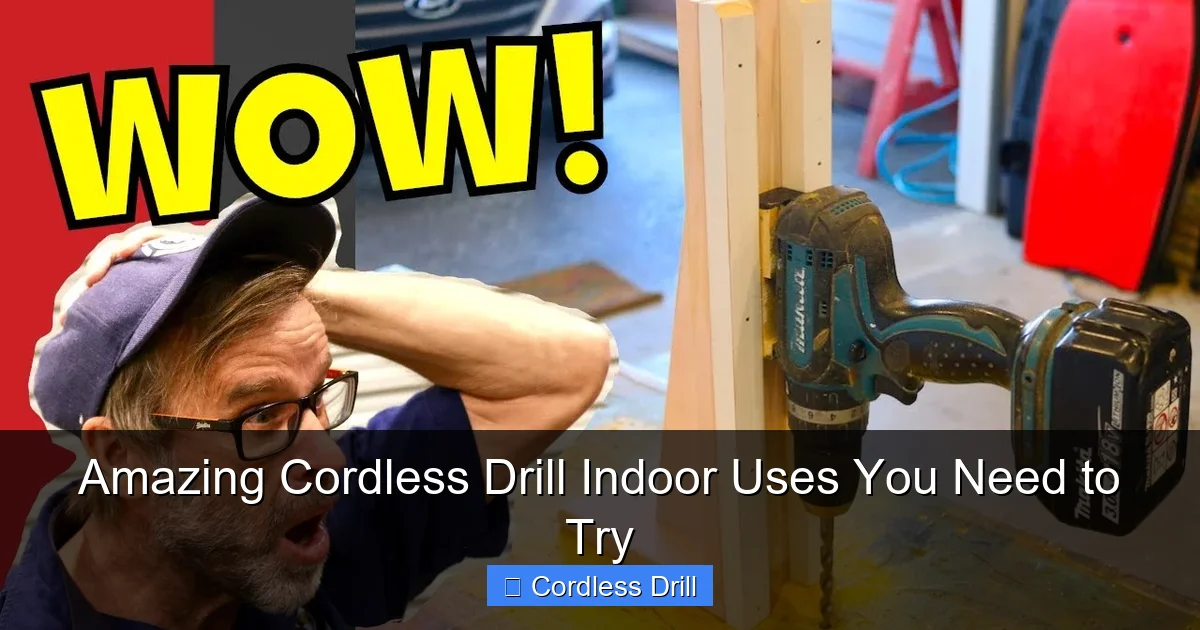
Visual guide about Amazing Cordless Drill Indoor Uses You Need to Try
Image source: i.ytimg.com
What You’ll Need: Besides your drill, have these on hand: safety glasses, a set of drill bits, a set of driver bits (Phillips, flathead), a tape measure, a level, and a pencil. For the projects below, we’ll suggest specific attachments as needed.
Use #1: Mastering Wall Mounting & Shelving
This is the classic use, but doing it right makes all the difference. A wobbly shelf or fallen curtain rod is frustrating and can damage your walls.
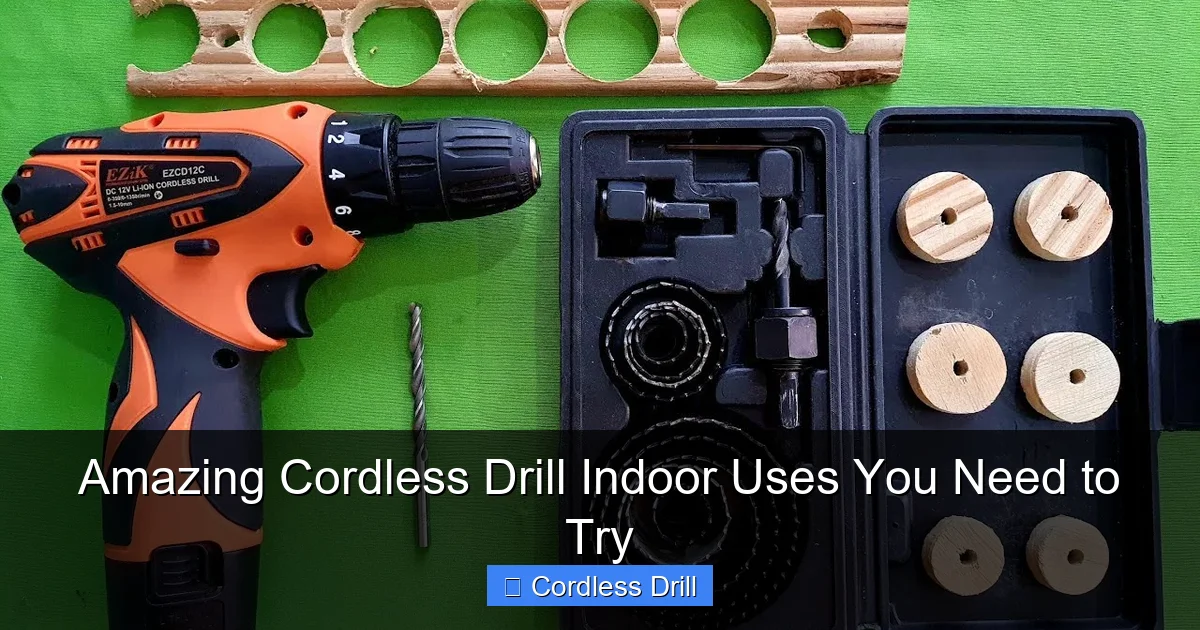
Visual guide about Amazing Cordless Drill Indoor Uses You Need to Try
Image source: i.ytimg.com
Step 1: Plan and Mark
Decide where your item will go. Use a tape measure and level to mark the exact spot for your screws or brackets. Use a pencil for light marks.
Step 2: Find a Stud (For Heavy Items)
For anything heavy—like a bookshelf, TV, or large mirror—you must anchor it into a wall stud. Use a stud finder. If you don’t have one, you can often tap the wall and listen for a solid sound, or look for electrical outlet clues (studs are typically to the side).
Step 3: Choose Your Anchor
- For Studs: Use long wood screws. No plastic anchor is needed.
- For Drywall (No Stud): Use a plastic wall anchor or a toggle bolt. The anchor size must match your screw and the weight of the object.
Step 4: Drill the Pilot Hole
Select a drill bit slightly smaller than your anchor or screw’s shaft. Hold the drill straight. Apply gentle, steady pressure. If you’re drilling into tile, start with a special tile bit at a slow speed to prevent cracking. For a deep dive into this essential skill, check out our comprehensive guide on how to use a drill for screws into a wall.
Step 5: Install and Tighten
Insert the anchor if needed. Switch your drill to the driver bit. Set the clutch to a low setting. Drive the screw until it is snug and flush. The clutch will slip to prevent over-driving.
Use #2: The Ultimate Paint and Mixing Assistant
Stirring paint, mortar, or even cake batter by hand is tiring and ineffective. Your drill can do it in seconds.
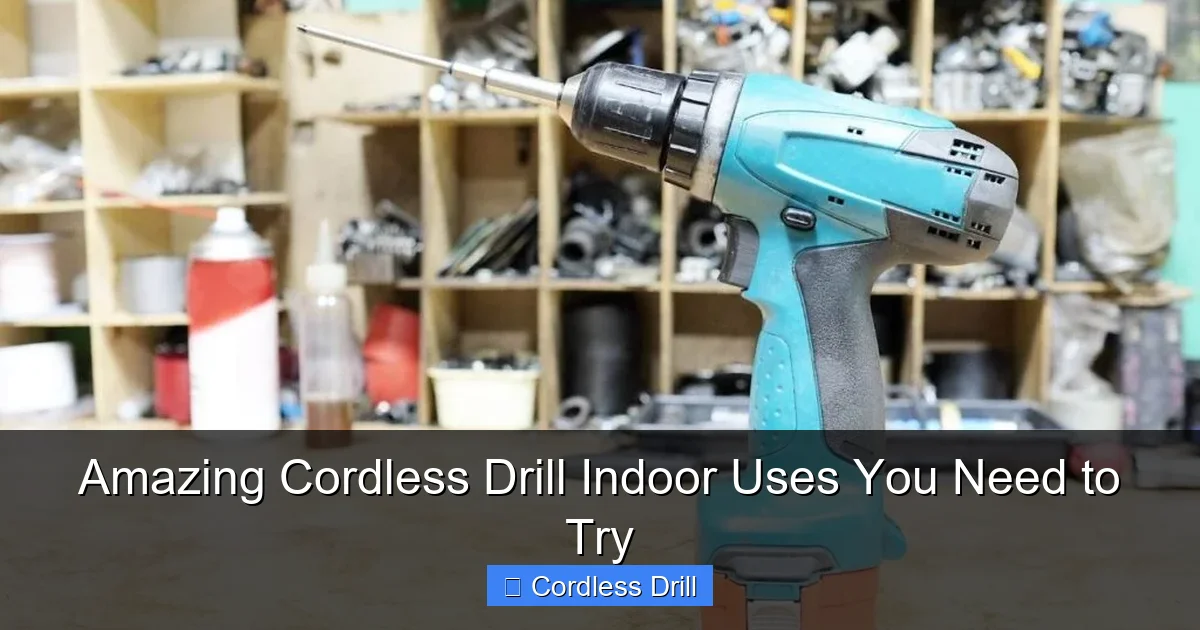
Visual guide about Amazing Cordless Drill Indoor Uses You Need to Try
Image source: tools-zone.com
Step 1: Get a Mixing Paddle
Purchase a paint mixing paddle attachment. They are inexpensive and fit right into your drill’s chuck.
Step 2: Secure the Container
Place the paint can or bucket on a stable, flat surface. You can even put it inside a larger box to catch any potential splatter.
Step 3: Mix Slowly and Evenly
Insert the paddle. Start on the LOWEST speed setting. Submerge the paddle and gently pull the trigger. Move the paddle around the can, scraping the bottom and sides. Gradually increase speed if needed, but high speeds can cause bubbles.
Tip: This also works wonders for mixing drywall mud, thinset for tiles, or even large batches of garden soil for indoor plants.
Use #3: Sanding and Smoothing Surfaces
Hand-sanding is a chore. Attach a sanding pad to your drill to speed up refinishing furniture, smoothing drywall patches, or prepping surfaces for paint.
Step 1: Choose Your Sanding Attachment
You can use a simple sanding disc holder or a dedicated drill sanding pad. Use hook-and-loop (Velcro) sandpaper discs for easy changes.
Step 2: Start with Coarse, Finish with Fine
Begin with a lower grit sandpaper (like 80) to remove old finish or major imperfections. Then, move to a higher grit (like 120 or 220) for a smooth finish.
Step 3: Use Light Pressure
Let the tool do the work. Keep the drill moving in slow, even circles or straight lines. Don’t press down hard, as this can create grooves. Wear a dust mask!
Use #4: Deep Cleaning Powerhouse
Your drill can provide the scrubbing power for tough cleaning jobs.
Cleaning Grout:
Get a dedicated grout brush attachment or a small, stiff-bristled scrubber wheel. Apply a grout cleaner to the lines. Use the drill on a low to medium speed to scrub the grout lines. Follow up with a damp cloth.
Polishing Silver or Chrome:
Attach a soft buffing or polishing pad. Apply a small amount of metal polish to the pad. Use a very low speed to buff the metal surface to a shine. Be gentle on delicate items.
Scrubbing Pots and Pans:
A nylon scrubber attachment can tackle baked-on food without scratching your cookware. Add some soap and warm water and let the drill spin the scrubber.
Use #5: Creative and Handy Hacks
Here are some clever, less conventional uses.
- Loosening Stuck Jar Lids: Wrap a thick rubber band around the lid. Gently press the edge of a flathead screwdriver bit against the lid and pull the trigger briefly. The vibration breaks the seal.
- Fluffing Pillows or Comforters: Secure a clean, dry paint stir stick or a length of PVC pipe into the chuck. Insert it into the pillow and pulse the drill gently to circulate the filling.
- Drilling Drainage Holes in Planters: Use a masonry bit for ceramic or clay pots. Place a piece of tape over the spot to mark it and prevent skipping. Drill slowly with light pressure.
Troubleshooting Common Issues
Even simple projects can hit a snag. Here’s how to fix common problems.
Problem: The screw won’t go in all the way.
Solution: Your pilot hole is likely too small. Remove the screw and drill the pilot hole again with a slightly larger bit. Also, ensure you’re not trying to drive a screw into metal or masonry without the proper bit.
Problem: The drill bit keeps slipping or won’t bite.
Solution: Tighten the chuck more securely. If drilling into metal, use a center punch to make a small dent for the bit to start in. For tile or glass, use a specialized bit and start at an angle with no hammer action.
Problem: I stripped the screw head.
Solution: Stop immediately. You can try a rubber band between the bit and the screw, use a screw extractor bit, or switch to pliers to manually turn it. Knowing your tool’s limits is key, which is why choosing the right one matters. If you’re in the market for a new versatile tool, consider looking at our recommendations for the best cordless drill.
Conclusion
Your cordless drill is so much more than a one-trick pony. It’s a compact, powerful motor waiting to assist with dozens of household tasks. From the practical—like securely mounting a TV—to the surprising—like polishing silver or mixing cake batter—it’s a tool that rewards creativity. Start with a simple project to build your confidence. Remember to prioritize safety, choose the right accessory for the job, and let the tool do the hard work. You’ll save time, reduce physical strain, and discover the immense satisfaction of mastering a versatile tool. Grab your drill and start exploring these amazing indoor uses today!
