
Mastering your hammer drill is about more than power—it’s about technique, preparation, and knowing your tool. This guide delivers professional-grade performance tips to help you drill faster, extend your tool’s life, and achieve cleaner results in masonry. We cover everything from bit selection and speed control to essential maintenance and safety.
Key Takeaways
- Choose the Right Tool for the Job: Understand when a hammer drill is necessary versus a standard drill or impact driver to prevent tool damage and ensure efficiency.
- Carbide-Tipped Masonry Bits are Non-Negotiable: Using the correct bit is the single most important factor for performance and longevity when drilling into hard materials.
- Let the Tool Do the Work: Apply steady, moderate pressure—excessive force can overheat the motor and dull the bit prematurely.
- Master Speed and Hammer Action Settings: Start slow for accuracy, use high speed for softer materials, and engage the hammer function only for masonry.
- Regular Cleaning is Critical: Dust and debris are the main enemies of your hammer drill’s mechanism; blow it out after every use.
- Prioritize Safety and Stability: Always use sharp bits, secure your workpiece, and wear appropriate PPE to prevent accidents and ensure precise drilling.
Master Hammer Drill Performance with Pro Tips
So, you’ve got a hammer drill. Maybe it’s a corded beast or a sleek cordless model. You know it’s for drilling into tough stuff like concrete, brick, or stone. But are you really getting all the performance you paid for? A hammer drill is a powerful ally, but like any tool, its effectiveness hinges on how you use it.
This guide isn’t just about pushing the trigger. It’s about transforming you from a casual user into a savvy operator. We’ll dive into the pro tips that reduce fatigue, prevent tool wear, and give you those clean, precise holes every time. Whether you’re installing a shelf, mounting a TV, or tackling a bigger project, these insights will elevate your work.
1. Start with the Right Foundation: Know Your Tool
Before you even touch a bit, it’s crucial to understand what you’re holding. A hammer drill combines rotary drilling with a rapid hammering action (percussion). This “pounding” motion helps fracture masonry material, allowing the bit to bore through.
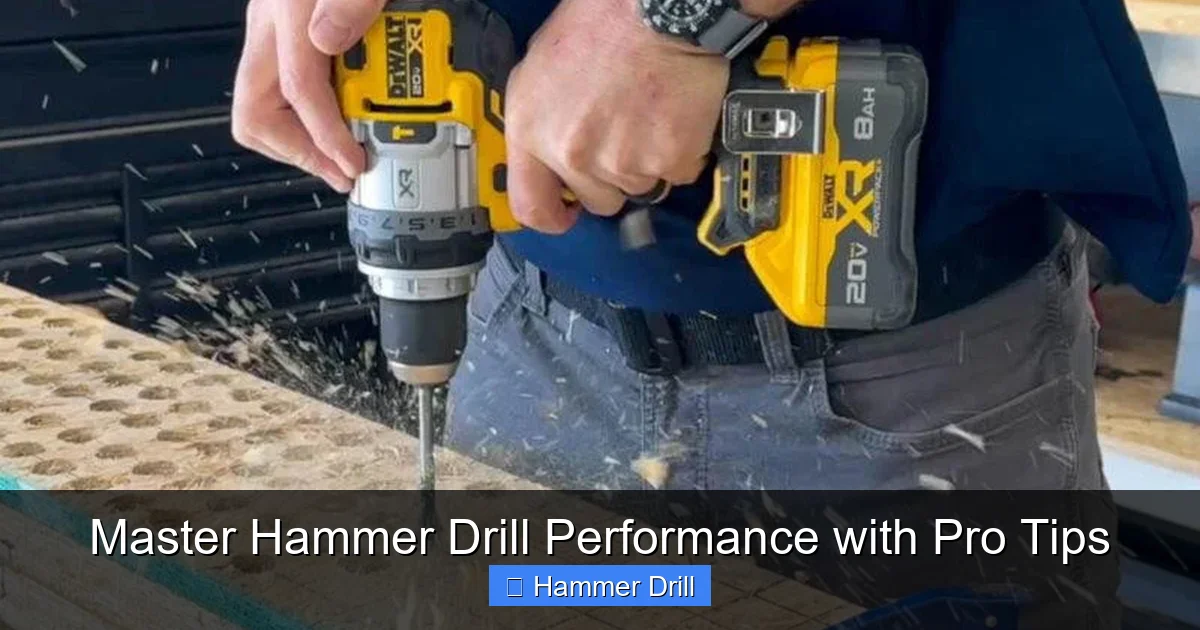
Visual guide about Master Hammer Drill Performance with Pro Tips
Image source: img-s-msn-com.akamaized.net
Many people confuse it with other tools. For instance, knowing the difference between a hammer drill and regular drill is essential. A regular drill only spins and is for wood and metal. Using it on concrete will fail and likely burn out the motor. Conversely, using hammer mode on wood will shred it.
It’s also different from an impact driver, which delivers sudden rotational torque (a “twist”) for driving long screws and bolts. You can explore the difference between impact driver and hammer drill for a detailed comparison. Using the correct tool for the job is the first and most critical performance tip.
Key Identifiers on Your Hammer Drill
- Mode Selector: Look for a dial or switch with drill-only, hammer-drill, and sometimes chisel-only icons.
- Variable Speed Trigger: The harder you pull, the faster it goes. This is vital for control.
- Clutch/ Torque Settings: (Common on combi drills) Useful for screwdriving in drill-only mode.
2. The Bit is Everything: Selection and Care
The bit is where the work happens. Using the wrong bit is like trying to cut a steak with a butter knife.
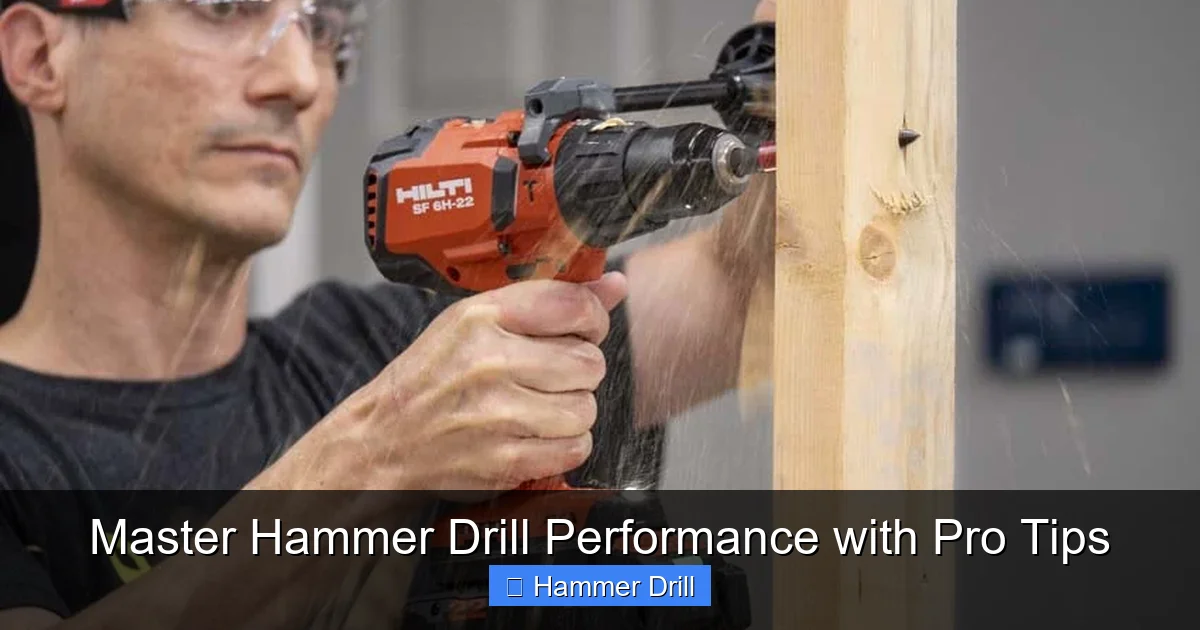
Visual guide about Master Hammer Drill Performance with Pro Tips
Image source: protoolreviews.com
Always Use Carbide-Tipped Masonry Bits
For concrete, brick, block, and stone, you must use bits with a carbide tip. This material is hard enough to grind through the aggregate in concrete. Standard HSS (High-Speed Steel) bits will be destroyed in seconds.
- SDS-Plus or SDS-Max: These are specialized shank types for heavy-duty rotary hammers. They allow for faster hammering action and better power transfer. If your drill accepts them, use them.
- Size Matters: Use the smallest diameter bit that will do the job. Larger bits require exponentially more power and generate more heat.
Keep Your Bits Sharp and Clean
A dull bit is a performance killer. It requires more pressure, works the motor harder, and produces excess heat. If drilling becomes slow and creates fine dust instead of coarse granules, your bit is likely dull. For critical jobs, consider investing in a high-quality drill and bit set designed for performance.
3. Preparation is Power: Setting Up for Success
Rushing in leads to mistakes and broken tools. Take five minutes to prepare.
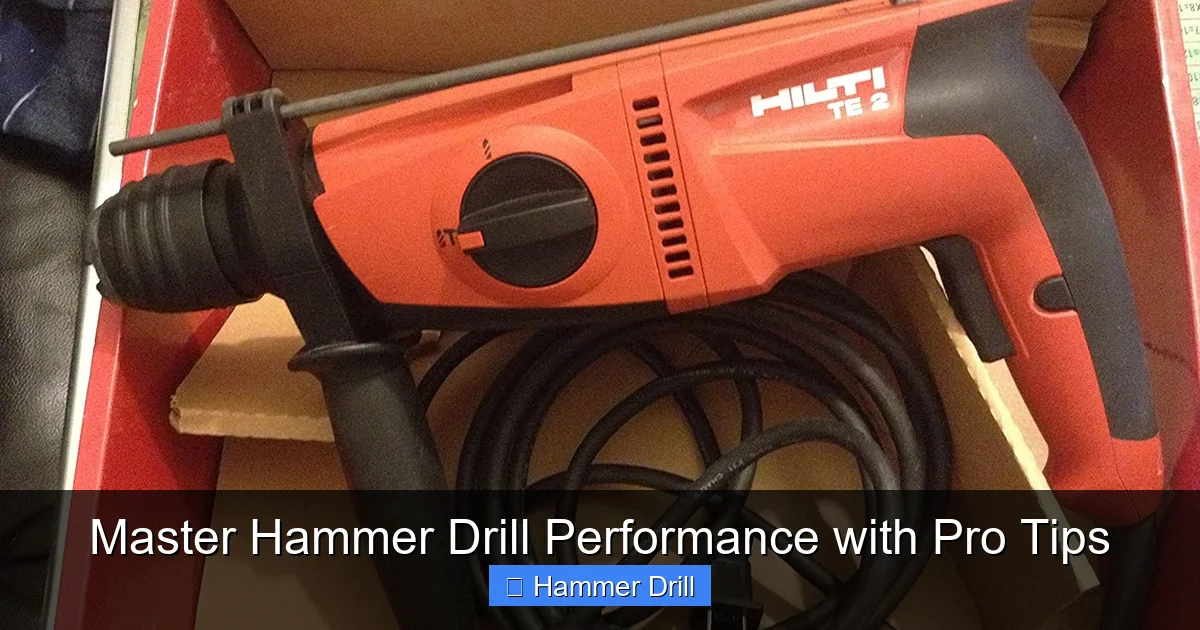
Visual guide about Master Hammer Drill Performance with Pro Tips
Image source: i5.walmartimages.com
Mark Your Spot Precisely
Use a center punch or nail to create a small dimple exactly where you want to drill. This prevents the bit from “walking” or skidding across the hard surface when you start.
Check for Hidden Hazards
Always use a stud/metal detector to scan for electrical wires, plumbing, or rebar before drilling into any wall, especially if you don’t know what’s behind it.
Secure Your Workpiece
If you’re drilling into something that can move, clamp it down. This ensures accuracy and safety. For overhead or high-wall work, ensure your platform is stable. While we focus on the drill here, safe positioning is key, so review essential safety tips for climbing ladders if your project requires one.
4. Mastering Technique: The Art of Drilling
This is where performance is truly unlocked. Good technique saves time, battery, and your tool.
Let the Tool Do the Work
This is the golden rule. Apply firm, steady pressure, but do not lean on the drill with all your weight. The hammering action needs to travel through the bit; excessive pressure dampens this motion and overheats the tool. Feel the percussion—if it stops or sounds labored, ease up.
Control Your Speed
- Starting: Begin at a slow speed to establish the hole and prevent walking.
- Drilling: Once engaged, you can increase speed for softer materials like brick or block. For very hard concrete, a medium speed is often more effective.
- Withdrawing: Occasionally pull the bit partially out to clear dust from the hole. This keeps the bit cutting efficiently and prevents it from getting stuck.
Use the Correct Mode
Drill-Only Mode: Use for wood, metal, plastic, or driving screws. Hammer-Drill Mode: Use ONLY for masonry (concrete, brick, stone, block). Never use hammer mode on ductile materials.
5. Advanced Performance Tips and Tricks
Go beyond the basics with these pro strategies.
Use a Guide for Perfectly Perpendicular Holes
For critical installations where the angle must be perfect, use a drill guide or a block of wood with a pre-drilled hole as a jig.
The Pilot Hole for Large Diameters
When drilling a hole larger than 1/2″, first drill a pilot hole with a smaller bit (e.g., 1/4″). This guides the larger bit and reduces the load on your drill.
Manage Heat with Water (Carefully!)
When drilling deep holes or many holes in succession, heat builds up. For non-electrical contexts, you can sparingly drip water into the hole to cool the bit and reduce dust. Never do this if there’s any chance of contacting wiring.
6. Hammer Drill Troubleshooting: Solving Common Problems
Things don’t always go smoothly. Here’s how to diagnose and fix common issues.
Problem: Drill is Slow, Overheating, or Smoking
Likely Causes & Solutions:
- Dull Bit: Replace the masonry bit.
- Wrong Mode: Ensure hammer mode is ON for masonry.
- Excessive Pressure: Ease up and let the tool work.
- Clogged Air Vents/Mechanism: Clean the tool thoroughly (see maintenance below).
Problem: Bit Gets Stuck in the Hole
Solution: Do not force it. Switch the drill to reverse (if it has it) while gently rocking the tool. If that fails, switch back to hammer-drill mode at low speed while trying to work it loose. Prevent this by pulling out to clear dust frequently.
Problem: Hole is Ragged or Too Large
Likely Causes & Solutions:
- Walking Bit: You didn’t use a center punch. Start again with a punch mark.
- Worn Chuck: The bit is wobbling. Have the chuck inspected or replaced.
- Using a Hammer Drill on Tile: The hammer action will shatter ceramic tile. For tile, use a regular drill mode with a specialized tile bit. For more on drilling into walls, see our guide on how to use a drill for screws into a wall.
7. Essential Maintenance for Peak Performance
A clean tool is a happy, long-lived tool. Masonry dust is abrasive and can destroy gears and bearings.
After Every Use: The Cleanout
Use compressed air (from a can or compressor) to blow out dust from the chuck, vents, and mode selector. Wipe down the exterior with a dry cloth.
Regular Checks
- Chuck Tightness: Ensure it grips bits firmly without wobble.
- Cord/Battery Connection: Check for damage.
- Battery Care: For cordless models, keep batteries clean and store them in a cool, dry place.
Lubrication
For SDS-type systems, apply a thin coat of the manufacturer’s specified grease to the bit shank occasionally. Never grease a standard round shank.
8. Safety: The Ultimate Performance Enhancer
Working safely is efficient and prevents costly errors or injuries.
- Eye Protection is Mandatory: Concrete chips and dust are dangerous.
- Use Hearing Protection: Hammer drills are loud. Prolonged exposure damages hearing.
- Wear a Dust Mask: Silica dust from concrete is a serious health hazard.
- Secure Your Stance: Be balanced and braced for the tool’s kickback, especially when starting a hole.
Conclusion: Drill with Confidence and Skill
Mastering your hammer drill isn’t about brute force. It’s a blend of smart preparation, choosing the right accessory, applying finesse in your technique, and taking care of your equipment. By following these pro tips—from selecting a carbide-tipped bit and letting the tool work, to regular cleaning and safe work practices—you’ll tackle masonry projects with newfound speed, precision, and confidence. Your drill will last longer, your results will look better, and you’ll finish the job with energy to spare. Now, go make some holes!
