
This guide provides a complete roadmap to master your hammer drill. You’ll learn essential preparation, core drilling techniques, and advanced tips to handle tough materials like concrete and masonry. We also cover crucial safety and troubleshooting to ensure every project is a success.
Does your hammer drill feel unwieldy? Do holes in concrete end up ragged or oversized? You’re not alone. A hammer drill is a powerful tool, but raw power isn’t enough. True skill turns that power into precision, efficiency, and professional-looking results. Whether you’re installing shelves, anchoring a deck, or tackling a renovation, mastering your hammer drill will transform your projects from frustrating to fulfilling.
This guide is your personal coach. We’ll move beyond the basics and dive into the nuanced techniques that separate a novice from a proficient user. You’ll learn how to prepare like a pro, execute with confidence, troubleshoot common issues, and apply advanced tricks for those tough jobs. Let’s enhance your projects by enhancing your skills.
Key Takeaways
- Master the Modes: Knowing when to use drill-only, hammer-only, or rotary hammer mode is fundamental to efficiency and preventing tool or material damage.
- Bit Selection is Critical: Always use carbide-tipped masonry bits for hammer drilling. The correct bit size and type for your material directly impacts performance and hole quality.
- Let the Tool Do the Work: Apply steady, moderate pressure. Forcing the drill or leaning on it can stall the motor, overheat the bit, and reduce control.
- Manage Dust and Debris: Regularly clear holes using a vacuum, air blower, or by pulling the bit out periodically. This prevents bit binding and ensures proper hammering action.
- Prioritize Safety & Maintenance: Always wear PPE (safety glasses, ear protection, dust mask). Keep your drill’s air vents clean and bits sharp for optimal, safe operation.
- Practice Makes Perfect: Hone your technique on scrap material first. Develop a feel for the tool’s feedback in different materials to build confidence and skill.
Laying the Groundwork: Essential Knowledge and Preparation
Skill starts with understanding. Before you even pull the trigger, you need to know your tool and your task.
Understanding Your Hammer Drill’s Capabilities
First, know what you’re holding. A hammer drill combines rotary force with a rapid pounding (hammering) action to pulverize hard material like concrete, brick, or stone. It’s crucial to distinguish it from a standard drill or an impact driver. If you’re unsure about the differences, our guide on the difference between a drill and a hammer drill clarifies their unique roles. Most models have a switch to select between three modes:
- Drill Only (Icon: drill bit): Standard rotary action for wood, metal, or plastic. Never use hammer mode on these materials.
- Hammer Drill (Icon: drill bit with shockwaves): The default setting for masonry. It rotates AND hammers simultaneously.
- Hammer Only (Icon: shockwaves): Rarely used, but good for light chiseling or breaking with a chisel bit.
For a deeper dive into tool distinctions, you can also explore the difference between an impact driver and a hammer drill.
Choosing the Right Bit for the Job
This is non-negotiable. For hammer drilling into masonry, you must use carbide-tipped masonry bits. These are designed to withstand the impact. Using a standard HSS (High-Speed Steel) bit will destroy it in seconds.
- Size: Match the bit to your anchor or fastener. As a rule, for a standard screw anchor, the hole diameter should match the anchor size, and the depth should be slightly deeper than the anchor length.
- Type: For small holes (<1/2″), standard masonry bits are fine. For larger, deeper holes, consider SDS-Plus or SDS-Max bits, which fit into specialized rotary hammers for superior performance. If you’re drilling into reinforced concrete, a bit with a more robust carbide tip is essential.
Pre-Operation Checklist
Five minutes of prep saves an hour of frustration.
- Inspect: Check the drill, battery (if cordless), and bit for damage. Ensure the chuck is tight.
- Mark Your Spot: Use a pencil or center punch to make a clear, indented starting point. This prevents the bit from “walking” across the surface.
- Check for Hazards: Use a stud finder with AC detection to scan for wires, pipes, or rebar behind the surface. Drilling into these can be dangerous and costly.
- Secure Your Workpiece: Clamp down materials whenever possible. A shifting workpiece is a recipe for broken bits and bad holes.
Core Drilling Techniques: The Heart of Skill
Now, let’s get to the hands-on practice. These steps form the foundation of every successful hammer drill operation.
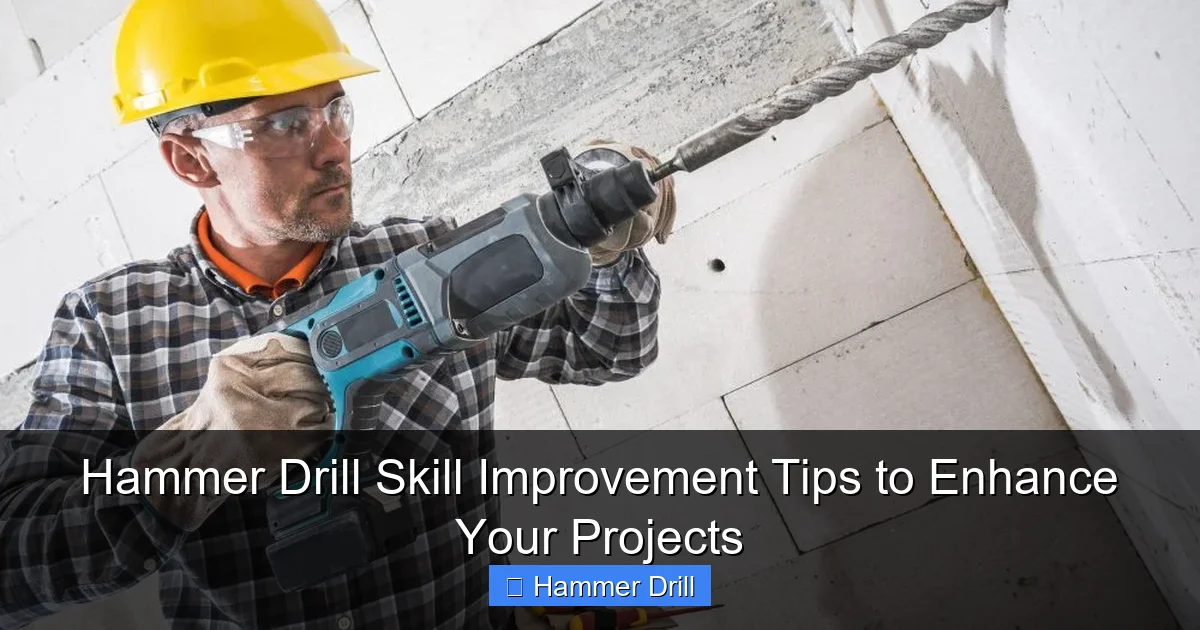
Visual guide about Hammer Drill Skill Improvement Tips to Enhance Your Projects
Image source: 911metallurgist.com
The Perfect Grip and Stance
Control is everything. Hold the drill with both hands: your dominant hand on the trigger grip, and your other hand firmly on the auxiliary handle. Plant your feet shoulder-width apart for stability. Your body should be aligned behind the drill, not off to the side, allowing you to absorb the tool’s force effectively.
Starting the Hole Cleanly
This is a critical moment. Place the tip of the bit exactly on your marked spot. Hold the drill perfectly perpendicular to the work surface (unless you need a specific angle). Start the drill at a slow speed WITHOUT hammer mode to create a small pilot dimple. This initial groove keeps the bit from skating away. After a few seconds, engage the hammer mode.
Applying the Correct Pressure
The golden rule: let the tool do the work. Apply firm, steady, forward pressure, but do not lean your entire body weight onto it. You should feel the hammering action breaking the material. If the drill labors or stops hammering effectively, you’re pushing too hard. Ease up. The sound and feel will tell you—a steady, rhythmic pounding is good; a high-pitched whine or stalling is bad.
Managing Speed, Heat, and Dust
Start at a low to medium speed. High speed generates excessive heat, which can soften the bit’s braze (glue holding the carbide tip) and dull it prematurely. For deep holes, use a technique called “pecking”: drill for 10-15 seconds, then pull the bit completely out of the hole to clear the dust. You can also use a vacuum with a drill attachment or a small air blower. This keeps the hole clean, allows the bit to cool, and prevents it from getting stuck.
Achieving Consistent Depth
For anchors to set properly, depth consistency is key. Use the depth stop rod that came with your drill. If you don’t have one, wrap a piece of masking tape around the bit at your desired depth. When the tape reaches the surface, you’re done. This simple trick is a game-changer for professional results, similar to the precision needed when using a drill for screws into a wall.
Advanced Tips and Tricks for Tough Situations
Once you’ve mastered the basics, these pro tips will elevate your work.
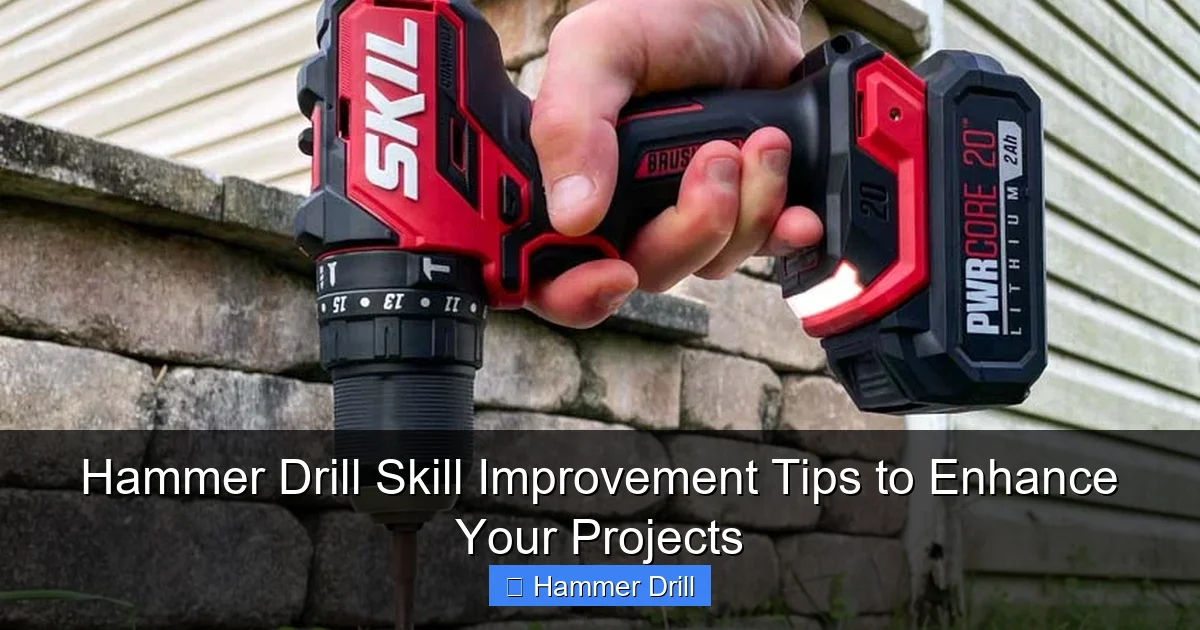
Visual guide about Hammer Drill Skill Improvement Tips to Enhance Your Projects
Image source: protoolreviews.com
Drilling into Extremely Hard or Reinforced Concrete
If you hit an especially hard aggregate or the drill progress stops suddenly, you may have hit rebar. Stop immediately. Do not force it. You can try a dedicated rebar-cutting drill bit, or simply relocate your hole a few inches away. For very hard concrete, use a smaller pilot bit first, then follow up with your final size bit.
Preventing “Blowout” on Hollow Materials
When drilling through tile, brick, or hollow block, the back side can break out in a messy, chipped exit. To prevent this, drill slowly as you approach the breakthrough point. Reduce pressure significantly. You can also place a scrap piece of wood behind the workpiece to support the material as the bit exits.
Working at Heights or Awkward Angles
Safety is paramount when you’re not on solid ground. Always ensure your ladder is on stable footing and fully opened. For detailed best practices, review our articles on using a mobile ladder with handrails and when to safely extend an extension ladder. When drilling overhead, wear a face shield in addition to safety glasses to protect against falling debris. A cordless model from our list of the best cordless drills can provide excellent maneuverability without a dangerous cord to manage.
Troubleshooting Common Hammer Drill Problems
Even experts encounter issues. Here’s how to solve them.
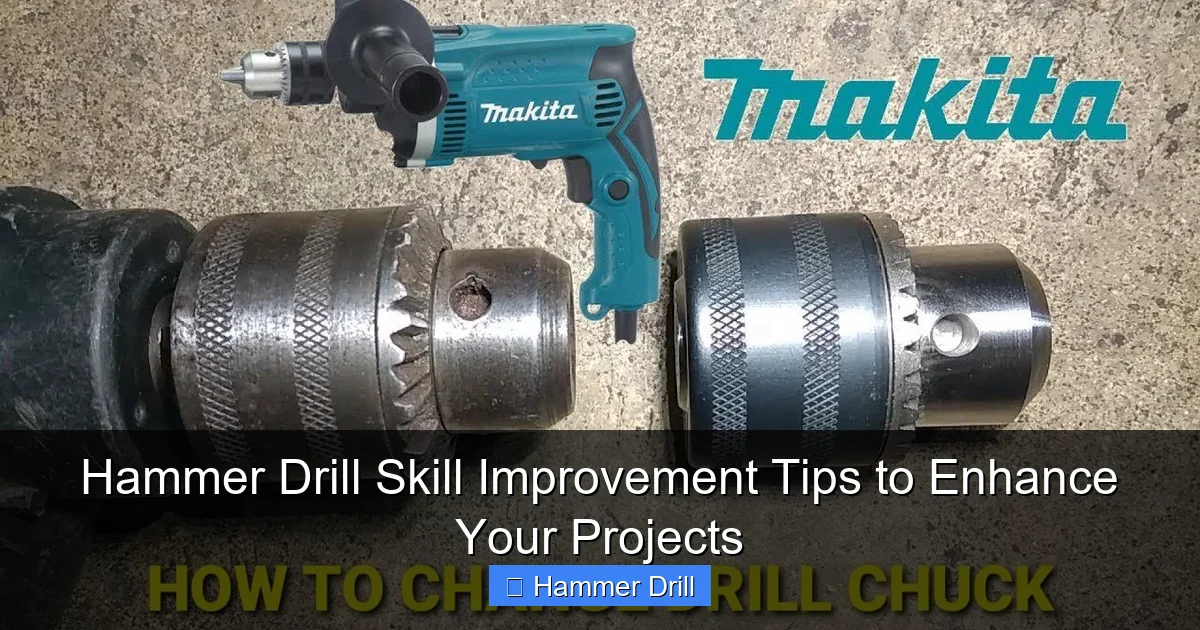
Visual guide about Hammer Drill Skill Improvement Tips to Enhance Your Projects
Image source: vsanalysis.com
- Problem: Drill isn’t hammering.
Solution: Check the mode selector. Ensure it’s set to the hammer drill icon, not just “drill.” On some models, you must push the selector all the way over. - Problem: Bit is spinning but not penetrating.
Solution: The bit is almost certainly dull. Inspect the carbide tip for rounding or chipping. A dull bit will glaze over the concrete. Replace it with a sharp one. Also, confirm you are using a masonry bit. - Problem: Bit gets stuck in the hole.
Solution: This is usually caused by accumulated dust. Engage the reverse function (if your drill has it) while gently wiggling the drill. If that fails, you may need to use a second bit to carefully clear debris from around the stuck bit. - Problem: Hole is too big or uneven.
Solution: You likely let the bit “walk” at the start or applied uneven, excessive pressure. Always start with a pilot dimple and maintain perpendicular pressure. Use a guide block for critical holes. - Problem: Motor smells hot or tool is overheating.
Solution: Stop immediately. You are overworking the drill. Let it cool completely. Check the air vents for blockage. You were likely pushing too hard, using too high a speed, or drilling for too long without a break.
Conclusion: Drill with Confidence
Improving your hammer drill skill isn’t about brute strength; it’s about finesse, knowledge, and patience. You now have the complete toolkit: from choosing the right bit and mastering the perfect pressure to troubleshooting a stuck bit and drilling safely overhead. Remember, every block of concrete was once a daunting task. With these tips, you can approach your next project not with apprehension, but with the confidence of a skilled craftsperson. Grab your drill, review your plan, and put these techniques into practice. Your cleaner, faster, and more professional results will speak for themselves.
