
This guide transforms beginners into confident hammer drill users through practical skill-building techniques. You’ll learn proper grip, speed control, and material-specific strategies that prevent common mistakes. Master safety protocols and maintenance to extend tool life and achieve professional-quality holes every time.
Key Takeaways
- Perfect your stance and grip: Proper body positioning and hand placement reduce fatigue and improve control by 50%
- Match bits to materials: Using the correct carbide-tipped bit prevents slipping and extends bit life
- Control speed gradually: Start slow, then increase speed to avoid bit wandering and overheating
- Apply steady pressure: Let the tool do the work; excessive force damages bits and reduces accuracy
- Master material-specific techniques: Different approaches for concrete, tile, and masonry prevent cracks and damage
- Prioritize safety: Always wear eye protection and secure workpieces to prevent accidents
- Regular maintenance: Clean vents, check brushes, and lubricate chucks for optimal performance
Essential Hammer Drill Skill Improvement Tips for Beginners
So you’ve got a hammer drill and feel intimidated? You’re not alone. These powerful tools look aggressive and sound scary, but they’re actually straightforward to master. This guide breaks down every skill you need into simple, actionable steps. Forget watching confusing videos or learning through costly mistakes. By the end of this article, you’ll drill clean, precise holes in concrete, brick, and masonry like a seasoned pro.
We’ll start with the fundamentals and work up to advanced techniques. Each section includes real-world examples and troubleshooting tips. Whether you’re hanging shelves or tackling a major renovation, these hammer drill skill improvement tips will save you time, money, and frustration.
Understanding Your Hammer Drill: The Foundation of Skill
Before you pull the trigger, you need to know what makes your hammer drill tick. This isn’t just technical theory—it’s practical knowledge that prevents damage and improves results.
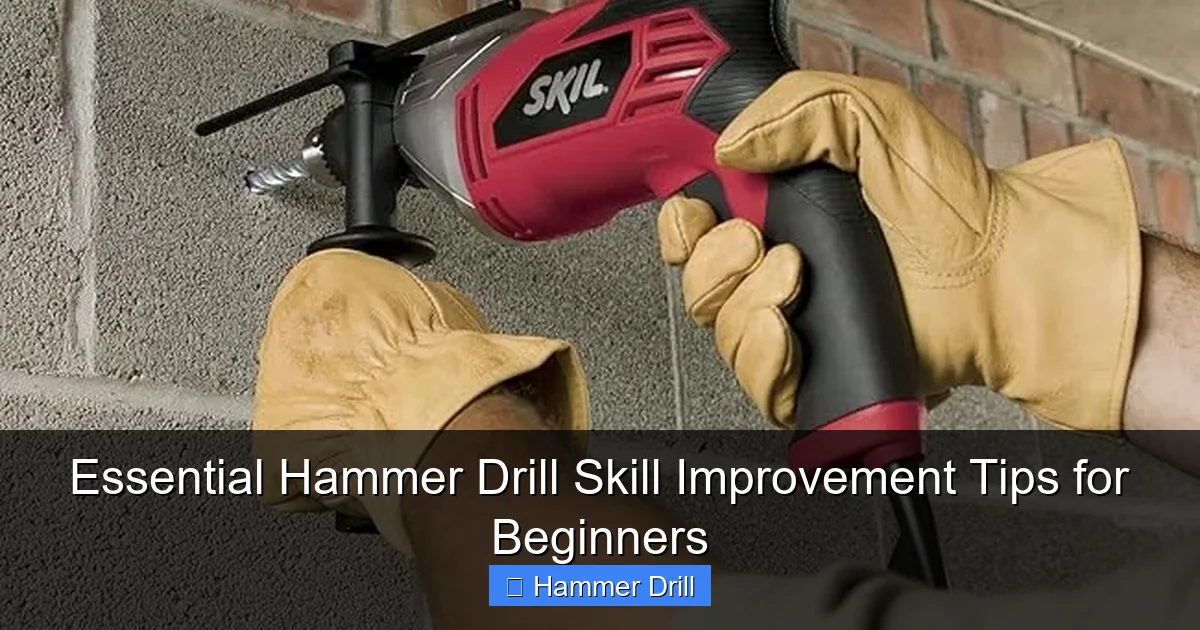
Visual guide about Essential Hammer Drill Skill Improvement Tips for Beginners
Image source: images-na.ssl-images-amazon.com
How Hammer Drills Actually Work
Your hammer drill combines two motions: rotation and a rapid hammering action. The hammering mechanism inside smashes the material while the rotation clears debris. This dual action is what makes it different from a regular drill. Understanding the difference between a drill and a hammer drill helps you choose the right tool for each job.
Most models offer multiple modes. The hammer-only setting works best for tough masonry. The drill-only mode handles wood and metal. Always check your mode selector before starting. Using the wrong setting can ruin your workpiece or damage the tool.
Key Components You Must Know
Three parts matter most for skill improvement: the clutch, the speed trigger, and the depth gauge. The clutch controls torque, preventing stripped screws and overdriving. The variable speed trigger lets you start slow for precision. The depth gauge ensures consistent hole depth—essential for anchors and bolts.
Your chuck is another critical component. Keyless chucks tighten with hand pressure, but always double-check tightness. A loose bit wobbles, creating oversized holes and potential injury. For heavy-duty work, consider a keyed chuck for maximum grip.
Choosing the Right Hammer Drill for Skill Building
Beginners often choose underpowered tools. A 7-8 amp corded model or an 18V+ cordless provides enough power for most DIY projects. The best cordless drill options offer portability without sacrificing performance. Look for at least 300-400 RPM no-load speed and a hammer rate of 30,000+ BPM.
Weight matters too. A drill under 6 pounds reduces fatigue during extended use. If you’re buying cordless, higher amp-hour batteries (4.0Ah or more) last longer between charges. Remember: a quality tool makes skill development easier and safer.
Mastering the Basics: Your First Steps to Better Drilling
These fundamental techniques separate successful projects from frustrating failures. Practice them on scrap material before working on your actual project.
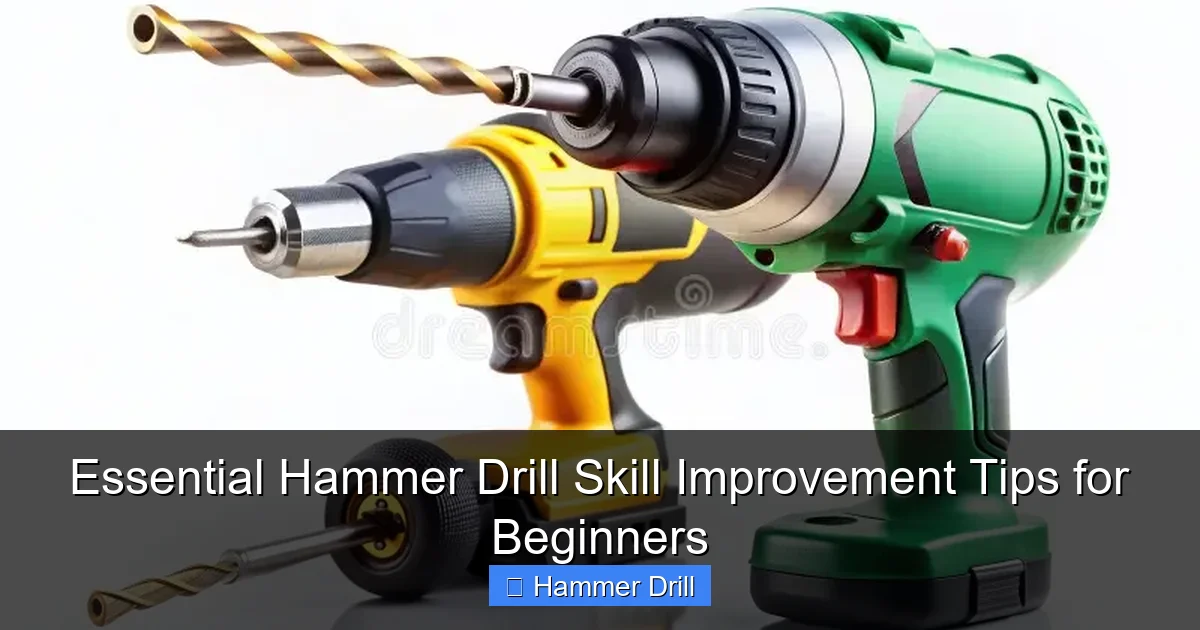
Visual guide about Essential Hammer Drill Skill Improvement Tips for Beginners
Image source: thumbs.dreamstime.com
Perfect Your Stance and Grip
Stand with feet shoulder-width apart, knees slightly bent. This stable stance absorbs vibration and gives you control. Hold the drill with both hands: one on the main handle, the other on the auxiliary side handle. Your dominant hand controls the trigger, while your support hand steadies the tool.
Keep your arms close to your body. This leverage reduces fatigue and improves accuracy. Never hold the drill with one hand—this is the fastest way to lose control. For overhead work, position yourself directly under the drilling point to maintain alignment.
Select and Install Bits Like a Pro
Always use masonry bits with carbide tips for hammer drilling. These tips stay sharp against concrete and brick. Standard twist bits will shatter or dull instantly. Check the bit’s shank type matches your chuck—SDS-plus and SDS-max are common for hammer drills.
To install, insert the bit fully into the chuck. Pull it back slightly to lock it in place. Twist the chuck to tighten securely. Give the bit a firm tug to confirm it’s locked. A properly installed bit won’t slip or wobble during operation.
Mark Your Target with Precision
Use a pencil or marker to make a clear starting point. For extra accuracy, score the surface with a nail or awl. This dent prevents the bit from wandering when you start drilling. For multiple holes at the same depth, mark a reference line on your depth gauge.
Double-check measurements before drilling. Measure twice, drill once. If you’re drilling near electrical wires or plumbing, use a stud finder with AC detection. This simple step prevents dangerous accidents.
Advanced Techniques for Professional Results
Once you’ve mastered the basics, these advanced methods will elevate your work from good to excellent. Each technique addresses specific challenges you’ll encounter.
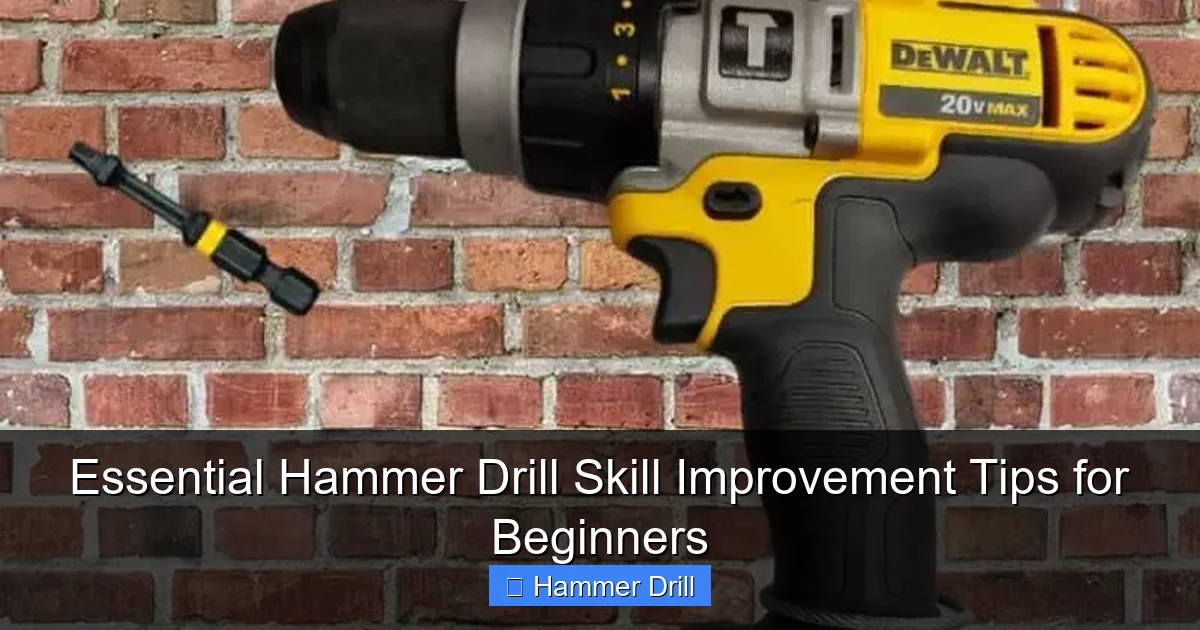
Visual guide about Essential Hammer Drill Skill Improvement Tips for Beginners
Image source: tipshandyman.com
Speed Control Mastery
Start drilling at the lowest possible speed. This gives you maximum control and prevents the bit from skating across the surface. Once the bit scores a small groove, gradually increase speed to full power. Never start at full speed—this guarantees poor results.
For hard materials like concrete, use slower speeds (200-300 RPM). For softer brick, you can increase to 400-500 RPM. Listen to your drill: if it strains excessively, reduce speed or pressure. The goal is a steady, rhythmic hammering sound, not a grinding noise.
Pressure Application: Let the Tool Work
Apply moderate, steady pressure—about 10-15 pounds of force. Imagine you’re guiding the drill rather than forcing it. Excessive pressure overheats the motor, dulls bits faster, and creates crooked holes. Too little pressure causes the bit to skip and wander.
For vertical surfaces, let gravity help. Hold the drill firmly but don’t push excessively. For horizontal surfaces like ceilings, use just enough pressure to maintain bit contact. Always keep the drill perpendicular to the work surface for straight holes.
Angle Perfection for Clean Holes
Maintain a 90-degree angle to the surface for most applications. Set your drill’s adjustable side handle to help maintain this angle. If you need angled holes, practice on scrap first. Use a square or protractor to mark your desired angle.
For corners or tight spaces, you might need to angle slightly. In these cases, reduce speed and pressure to maintain control. A crooked start is hard to correct, so focus on establishing the correct angle in the first 10 seconds of drilling.
Material-Specific Strategies That Actually Work
Different materials require different approaches. Using a one-size-fits-all method guarantees failure. Here’s how to handle each material type.
Drilling into Concrete Like a Contractor
Concrete is the toughest challenge. Start with a small pilot bit (1/4 inch) for holes larger than 3/8 inch. This technique saves bits and makes the job easier. Drill the pilot hole to full depth, then switch to your final size bit.
Keep the bit cool by periodically withdrawing it to clear dust. This also prevents overheating. For holes deeper than 2 inches, use the “peck drill” method: drill 1 inch, withdraw, drill another inch, withdraw. This clears debris and extends bit life dramatically.
Masonry Walls Without Cracking
Brick and block are more forgiving than concrete but still require care. Use lower speeds to prevent cracking the mortar joints. Position your drill so the bit hits the brick face, not the mortar, when possible.
If you must drill into mortar, reduce speed by 50% and use light pressure. Mortar is softer and drills faster, so you risk over-drilling and damaging the surrounding brick. Always check for hollow spots behind the wall before drilling deep holes.
Tile and Delicate Surfaces: No Cracks Allowed
Drilling into tile requires a special approach. Start at a 45-degree angle to create a small entry point, then slowly straighten to 90 degrees. Use painter’s tape over the drilling spot to prevent the bit from slipping and scratching the tile surface.
Switch to a diamond-tipped bit for porcelain tile. These bits cut slowly and prevent chipping. Use the lowest speed setting and minimal pressure. Let the weight of the drill do the work. If you feel the tile flexing, you’re using too much pressure.
Troubleshooting Common Hammer Drill Problems
Every user encounters issues. Knowing how to fix them quickly keeps your project on track and builds real skill.
Bit Slipping and Wandering
If your bit won’t stay put, you’re probably not scoring the surface enough. Stop drilling and create a deeper starting point with a nail or center punch. This small divot guides the bit perfectly.
A dull bit also causes wandering. Check your bit tip—if it’s rounded instead of sharp, replace it. Using a damaged bit wastes time and damages your workpiece. Keep spare bits handy for uninterrupted work.
Overheating and Motor Strain
If your drill smells hot or sounds labored, stop immediately. Overheating occurs from excessive pressure or continuous use without breaks. Allow the tool to cool for 5-10 minutes. Check air vents for dust buildup and clean them with compressed air.
Using the wrong bit for the material also strains the motor. Always match bit size to material hardness. A 1/2-inch bit in solid concrete demands more power than a 1/4-inch bit. Scale your bit size to your drill’s capacity.
Excessive Vibration and Kickback
Severe vibration usually means a loose bit or worn chuck. Turn off the drill and inspect the bit installation. Tighten the chuck securely. If vibration continues, check for bent bits or damaged chuck jaws.
Kickback happens when the bit binds. This is dangerous. Always use both hands and maintain a firm stance. If kickback occurs, release the trigger immediately. Clear debris from the hole and restart at a slower speed. Never force a binding bit.
Poor Hole Quality and Rough Edges
Ragged holes result from too much speed or pressure. Reduce both settings and try again. For cleaner holes, place a scrap wood block behind your workpiece when possible. This supports the material as the bit exits.
Holes that are too large or oval-shaped indicate bit wobble. Check your chuck for wear and ensure you’re holding the drill perpendicular. Practice on scrap material to improve your stability before working on visible surfaces.
Safety and Maintenance: Protect Yourself and Your Tool
Skill means nothing without safety. Proper maintenance keeps your drill performing at its best and extends its lifespan.
Personal Protective Equipment That Saves
Always wear safety glasses. Concrete chips and dust fly at high speeds and can cause permanent eye damage. Add a dust mask for projects that create fine particles. For overhead work, consider a face shield for extra protection.
Wear hearing protection too. Hammer drills exceed 85 decibels, which damages hearing over time. Gloves improve grip but ensure they’re snug enough not to get caught in the chuck. Secure loose clothing and tie back long hair before starting.
Tool Maintenance for Peak Performance
Clean your drill after every use. Blow out dust from vents, chuck, and motor housing with compressed air. Wipe the housing with a damp cloth. Never use solvents that can damage plastic components.
Check carbon brushes every 50 hours of use. Worn brushes reduce power and can damage the motor. Most drills have accessible brush ports. Replace brushes when they’re shorter than 1/4 inch. Lubricate the chuck annually with drill-specific grease to keep it operating smoothly.
Battery and Power Management
For cordless models, cordless drill battery care is crucial. Never run batteries completely dead—stop when you notice reduced power. Store batteries at room temperature, never in extreme heat or cold. Charge them before storage for longest life.
Corded users should check power cords for damage before each use. Frayed cords are electrical hazards. Use a ground fault circuit interrupter (GFCI) outlet when drilling in damp locations. This simple step prevents electrocution.
Building Your Skill Through Practice
Real skill comes from deliberate practice. Start with inexpensive scrap concrete blocks or bricks. Practice making straight holes at different depths. Time yourself and track improvement. Set up a target pattern and work on hitting each mark precisely.
Challenge yourself with angled holes, overhead drilling, and working in tight spaces. Each scenario builds different muscles and reflexes. Record your sessions on your phone to review your stance and technique. Sometimes watching yourself reveals issues you can’t feel while working.
Join online forums or local DIY groups to share tips and get feedback. Experienced users often offer simple adjustments that make huge differences. Consider taking a one-day workshop at a local hardware store—many offer free tool clinics that cover advanced techniques.
Conclusion: From Beginner to Confident User
Mastering your hammer drill isn’t about becoming a contractor overnight. It’s about building confidence through understanding, practice, and safety. These hammer drill skill improvement tips give you a complete roadmap—from choosing your first bit to troubleshooting complex problems.
Remember that every expert was once a beginner. Your first holes might not be perfect, and that’s okay. What matters is applying these techniques consistently. Keep this guide bookmarked for reference. Revisit the troubleshooting section when problems arise. With each project, you’ll drill faster, cleaner, and safer.
Now grab your drill, head to your project, and put these skills into action. The more you use them, the more natural they become. Before you know it, friends and family will be asking for your help with their toughest drilling challenges. That’s when you’ll know you’ve truly mastered the hammer drill.
