
Is your hammer drill getting too hot to handle? This guide helps you find out why. Overheating is often caused by user error, a dull drill bit, or internal mechanical problems. We break down each reason with clear steps to diagnose and fix the issue, helping you extend your tool’s life and work safely. Learn how to use your drill correctly and when it’s time for professional service.
Key Takeaways
- User Technique is Key: The most common cause of overheating is improper use, like pushing too hard or using the wrong rotation setting, which strains the motor and gears.
- Sharp Bits are Essential: A dull or incorrect drill bit creates massive friction, generating excessive heat that travels back into the tool’s chuck and motor housing.
- Duty Cycle Matters: Hammer drills are designed for intermittent use. Ignoring the duty cycle and working non-stop is a surefire way to overheat the components.
- Maintenance Prevents Failure: A lack of lubrication in the gearbox or a clogged air vent prevents heat dissipation, leading to preventable internal damage.
- Power Source Affects Performance: Using an undersized extension cord (for corded models) or a damaged battery (for cordless) can cause the tool to overwork and overheat.
- Know When to Stop: Recognizing early warning signs like strange smells, speed reduction, or excessive heat allows you to stop before causing permanent damage.
Stop Hammer Drill Overheating: Find the Main Reasons
Feeling that familiar, worrying heat in your hands? A hot hammer drill is more than just uncomfortable. It’s a cry for help. Overheating is your tool’s number one enemy. It wears out parts fast. It can ruin the motor. In bad cases, it can even be a safety risk. But why does it happen? Is your drill broken? Usually, no.
Most overheating comes from simple, fixable problems. This guide will walk you through every reason your hammer drill might overheat. We will start with the most common user mistakes. Then, we will look at drill bit issues. Finally, we will explore mechanical and power problems. You will learn how to find the cause and, more importantly, how to stop it for good. Let’s cool things down and get back to work.
Reason 1: User Error and Improper Technique
This is where most problems begin. A hammer drill is a powerful tool, but it’s not a magic wand. How you use it directly controls its temperature.
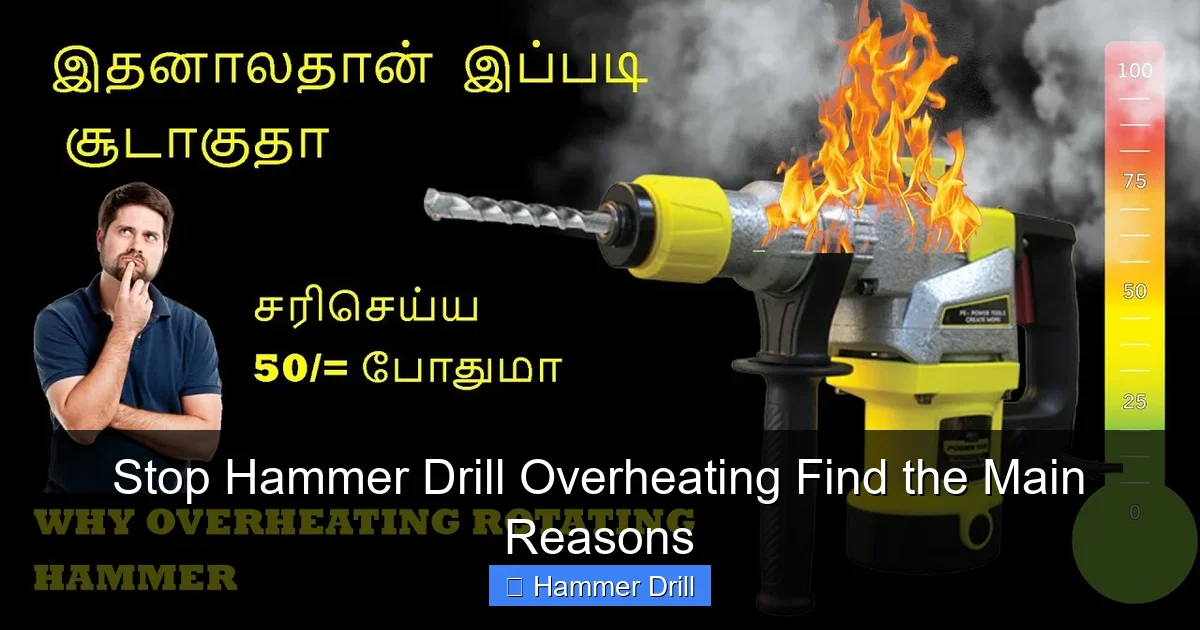
Visual guide about Stop Hammer Drill Overheating Find the Main Reasons
Image source: i.ytimg.com
Pushing Too Hard (Let the Tool Do the Work)
It feels natural to lean into it, right? Wrong. Hammer drills are designed to deliver impacts. When you push too hard, you do two bad things. First, you press the drill bit’s flutes flat against the material. This stops debris from escaping. The bit gets stuck, and the motor strains. Second, you put massive pressure on the tool’s internal hammer mechanism. This creates huge friction and heat in the gearbox. The fix is easy: apply steady, moderate pressure. If progress slows, pull the bit out to clear dust. Let the hammering action do the cutting.
Ignoring the Duty Cycle
Your hammer drill is an athlete, not a marathon runner. It’s built for short, powerful bursts. The “duty cycle” is the ratio of work time to rest time. For heavy concrete drilling, a common duty cycle is 50%. That means 5 minutes of work, then 5 minutes of rest. Running it continuously overloads the motor and armature. They can’t shed heat fast enough. Always check your manual for the recommended duty cycle and stick to it.
Using the Wrong Setting
Hammer drills have settings: drill-only, hammer-drill, and sometimes chisel. Using the “hammer-drill” mode on wood or metal creates insane, unnecessary friction and heat. Conversely, trying to drill into masonry with just the “drill” setting will strain the motor as it fails to make progress. Make sure you’ve selected the correct mode for your material. Understanding the difference between a drill and a hammer drill is crucial for this.
Reason 2: Drill Bit Problems
The bit is the point of contact. If it’s failing, the whole tool suffers. The heat generated at the tip travels right up the shank into your drill.
Visual guide about Stop Hammer Drill Overheating Find the Main Reasons
Image source: iceagetools.com
Using a Dull or Worn-Out Bit
A sharp carbide tip slices through masonry. A dull one grinds. Grinding creates tremendous friction, which means tremendous heat. This heat transfers directly into the chuck and the drill’s front end. Your drill is working harder to achieve less, a perfect recipe for overheating. Inspect your bits regularly. If the carbide tip is rounded, chipped, or smooth, it’s time to sharpen or replace it.
Using the Wrong Type of Bit
You wouldn’t use a butter knife to cut a steak. Don’t use a wood bit on concrete. Masonry bits have a special carbide tip and flute design for debris removal. Using a HSS (High-Speed Steel) bit on concrete will dull it almost instantly, leading to the grinding effect described above. Always match the bit to the material: masonry bits for concrete/brick, wood spade bits for wood, etc.
The Bit is Clogged or Binding
As you drill, dust and debris fill the flutes of the bit. If you don’t pull out periodically to clear this dust, the bit gets clogged. A clogged bit can’t cut or remove material. It just spins uselessly, generating friction and heat. Get in the habit of “pecking”: drill for 10-15 seconds, pull out completely to clear flutes, then go back in. This keeps things cool and makes drilling faster.
Reason 3: Mechanical and Maintenance Issues
Sometimes the problem is inside the tool. Lack of care leads to internal struggles that manifest as heat.
Visual guide about Stop Hammer Drill Overheating Find the Main Reasons
Image source: i.ytimg.com
Lack of Lubrication (Gearbox)
The hammering mechanism is a series of metal gears and cams slamming together. They need special grease to reduce friction and wear. Over years of use, this grease breaks down or gets flung out. A dry gearbox is a hot, grinding, self-destructive gearbox. Most user-serviceable hammer drills have a grease port. Refer to your manual for the right grease type and lubrication schedule. If you’ve never done this, it might be the solution.
Clogged Air Vents and Intakes
Look at your drill’s body. You’ll see slots or vents. That’s how the electric motor breathes and cools itself. If these are clogged with concrete dust, sawdust, or grime, the motor can’t cool down. It’s like trying to run with a bag over your head. Always clean these vents with a dry brush or compressed air after use. This is the simplest and most overlooked maintenance task.
Worn or Damaged Internal Parts
If your drill is old or has been abused, parts may be failing. Worn motor bearings create drag and heat. A chipped hammer mechanism gear causes violent, inefficient impacts. You might hear grinding, rattling, or knocking sounds coming from the tool. This level of repair usually requires a professional service center. The cost of repair must be weighed against the price of a new tool, like one from our list of the best cordless drills.
Reason 4: Power Supply and Electrical Issues
Your drill needs clean, adequate power to run efficiently. Problems here force it to work harder, generating excess heat.
Corded Models: Using an Undersized Extension Cord
This is a huge one. Long, thin extension cords act like a bottleneck. They restrict the flow of electricity (amps) to your tool. The motor doesn’t get the power it needs, so it struggles and draws more current, overheating itself in the process. For a standard hammer drill, you should use a 12 or 14-gauge extension cord that is no longer than necessary. Avoid skinny 16-gauge cords for power tools.
Cordless Models: Bad or Incompatible Batteries
A failing lithium-ion battery can’t deliver stable voltage. As it drains, the voltage drops, causing the motor to draw more amps to maintain power. This strains both the battery (making it hot) and the drill’s motor. Also, using an old, low-amp-hour (Ah) battery on a demanding job can cause it to over-discharge and overheat. Always use the battery recommended by the manufacturer and inspect batteries for damage. For more on tool power sources, explore our cordless drill category.
Faulty Switches or Brushes
Inside the drill, carbon brushes conduct electricity to the motor’s armature. When they wear down, the connection becomes poor and can spark, creating heat. A failing trigger switch can also cause intermittent power, making the motor surge. If you see excessive sparking through the vents (some small sparks are normal) or the tool behaves erratically, it’s time for an internal check.
Troubleshooting Steps: Diagnose Your Overheating Drill
Follow this step-by-step process to find your specific problem.
Step 1: The Immediate Stop and Check
As soon as you notice unusual heat, STOP. Unplug or remove the battery. Let the tool cool completely. Check the most obvious things: Is the bit red-hot? Are the air vents clogged with dust? Is the correct rotation setting (hammer mode) selected?
Step 2: The Bit and Material Test
After cooling, fit a brand new, sharp, correct-type masonry bit. Try drilling into a soft, easy material like a cinder block (not hard, cured concrete). Use minimal pressure and clear dust often. Does it still overheat quickly? If YES, the problem is likely in the tool. If NO, your original bit was the problem, or you were drilling incorrect material.
Step 3: The Sound and Smell Test
Run the drill (without drilling into anything) for 30 seconds. Listen for grinding, knocking, or screeching sounds. Smell the air vents. A sharp, acrid “electrical” smell points to motor or brush issues. A “hot metal” or “burning grease” smell points to gearbox problems. Unusual noise or smell means internal inspection is needed.
Step 4: Power Source Verification
For corded: Plug directly into a wall outlet with no extension cord. Try again. If it runs cooler, your extension cord was the issue. For cordless: Try a different, fully charged battery from the same system. If the problem disappears, your first battery is likely failing.
How to Prevent Overheating for Good
An ounce of prevention is worth a pound of repair. Make these habits.
- Work in Intervals: Follow the 50% duty cycle rule. Set a timer if you have to.
- Keep Bits Sharp: Invest in good bits and replace or sharpen them promptly.
- Clean After Every Use: Brush out the chuck, vents, and body. It takes 30 seconds.
- Use the Right Tool: For drilling many large holes in concrete, consider renting a rotary hammer. For driving screws, use an impact driver. Know the difference between an impact driver and a hammer drill to choose correctly.
- Store Properly: Keep your drill in a dry, clean case or shelf, not a dusty garage floor.
Conclusion
A hot hammer drill is a problem, but it’s rarely a mystery. By understanding the main reasons—from pushing too hard to using a dull bit—you hold the solution. Start with the simple checks: your technique, your bit, and your power source. Move to maintenance like cleaning and lubrication. This proactive approach will save you money on repairs and replacements. It will keep your projects on schedule. Most importantly, it will ensure you work with a safe, reliable tool for years to come. Now that you know what to look for, you can stop the overheating and get back to building with confidence.
