
Hammer drill vibration control is essential for comfortable, precise work and preventing injury. This guide reveals proven techniques to minimize shaking, from proper body positioning to selecting the right bits and settings. Discover how to drill through concrete and masonry with less fatigue and better results.
Key Takeaways
- Master your grip: Hold the drill with both hands using a firm, relaxed grip to absorb vibration naturally.
- Choose the correct speed: Use low RPM settings (300-500) for hammer drilling to reduce excessive shaking.
- Apply steady pressure: Let the drill do the work with consistent, moderate force rather than forcing it.
- Use quality bits: Sharp, undamaged carbide-tipped bits cut cleaner and vibrate less than worn ones.
- Maintain your tool: Regular cleaning and lubrication prevent mechanical issues that cause extra vibration.
- Wear anti-vibration gloves: Protect your hands and reduce fatigue during extended use.
Why Hammer Drill Vibration Control Matters
Hammer drills deliver powerful blows that can shake your arms and hands intensely. This vibration isn’t just uncomfortable—it can cause long-term health issues like hand-arm vibration syndrome (HAVS). It also makes drilling less accurate and can damage the material you’re working on. Learning proper hammer drill vibration control techniques keeps you safe, extends your tool’s life, and gives you cleaner, more precise holes in concrete, brick, and masonry.
Whether you’re hanging shelves or tackling a major renovation, these tips will transform your drilling experience from exhausting to effortless.
Understanding What Causes Excessive Vibration
Before we dive into solutions, let’s understand why hammer drills shake so much. The hammering action creates powerful pulses that travel up the handle. Cheap tools with poor engineering amplify this problem. But even the best hammer drill needs proper technique to minimize vibration transfer to your body.
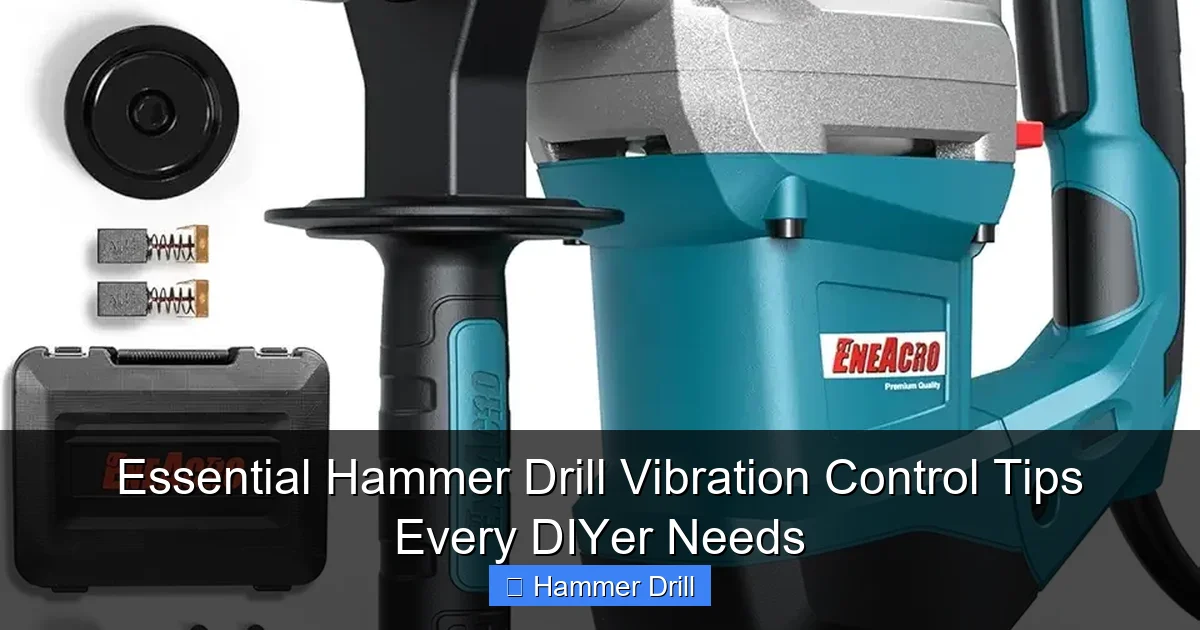
Visual guide about Essential Hammer Drill Vibration Control Tips Every DIYer Needs
Image source: m.media-amazon.com
Three main factors affect vibration levels:
- Tool quality: Higher-end models include built-in vibration dampening systems
- User technique: How you hold and operate the drill makes a huge difference
- Material and bit match: Using the wrong bit for your material creates extra shaking
Understanding the difference between a drill and a hammer drill helps you know when to use each tool properly, preventing unnecessary vibration from using the wrong equipment.
Mastering the Proper Grip and Stance
Your body position is the first line of defense against vibration. A proper stance absorbs shock like a suspension system.
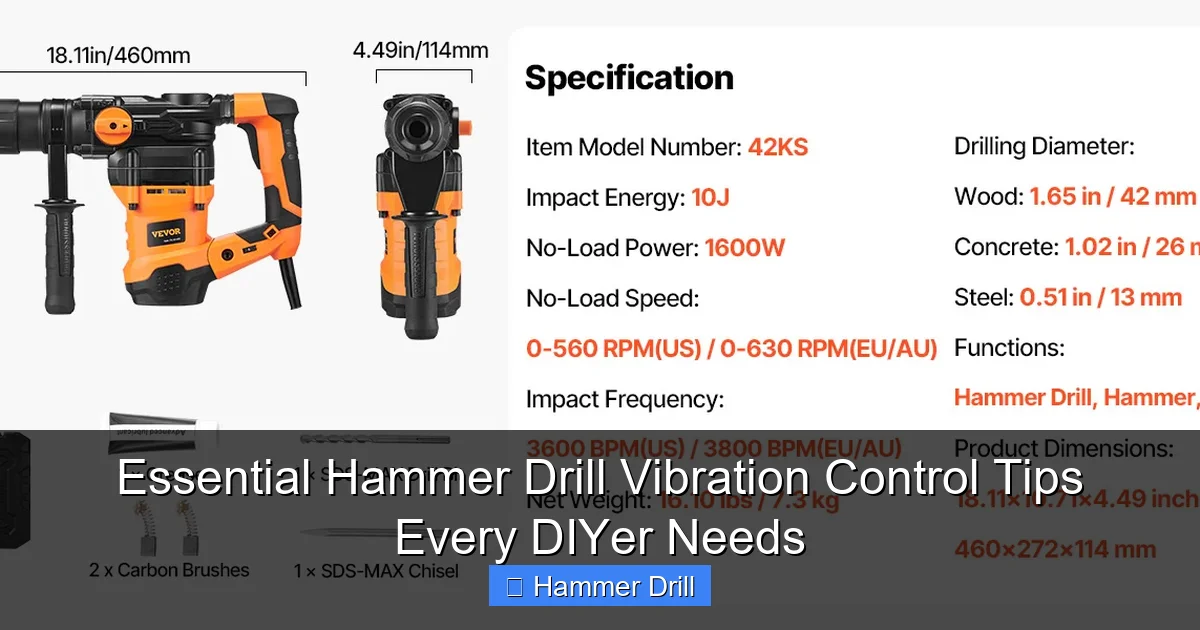
Visual guide about Essential Hammer Drill Vibration Control Tips Every DIYer Needs
Image source: d2qc09rl1gfuof.cloudfront.net
The Two-Handed Grip Technique
Always use both hands. Place your dominant hand on the main handle with a firm but relaxed grip. Your other hand should hold the auxiliary handle, typically located near the chuck. This handle is specifically designed to absorb vibration.
Avoid death-gripping the drill. White-knuckling increases muscle tension and transfers more vibration to your joints. Instead, hold it like you would a tennis racket—secure but with some flexibility in your wrist.
Body Positioning for Maximum Control
Stand with your feet shoulder-width apart for stability. Keep your knees slightly bent to act as shock absorbers. Position your body directly behind the drill, not at an angle. This alignment lets your bones—not just your muscles—transmit the force into the workpiece.
For overhead drilling, keep your arms close to your body. Extending your arms fully creates a lever effect that amplifies vibration. If you must drill overhead for more than a few minutes, take frequent breaks and consider using a cordless drill with anti-vibration features for better maneuverability.
Applying the Right Amount of Pressure
Many DIYers make the mistake of pushing too hard. Your hammer drill doesn’t need brute force—it needs consistent, moderate pressure. Let the hammering mechanism do 80% of the work.
Apply just enough pressure to keep the bit engaged with the material. If you feel the drill bouncing or skipping, you’re pushing too hard. Ease up slightly and let the tool find its rhythm. This reduces vibration by up to 40% compared to forced drilling.
Selecting the Perfect Drill Bit for Minimal Vibration
The right bit is crucial for hammer drill vibration control. Using the wrong bit creates unnecessary shaking and can damage your tool.
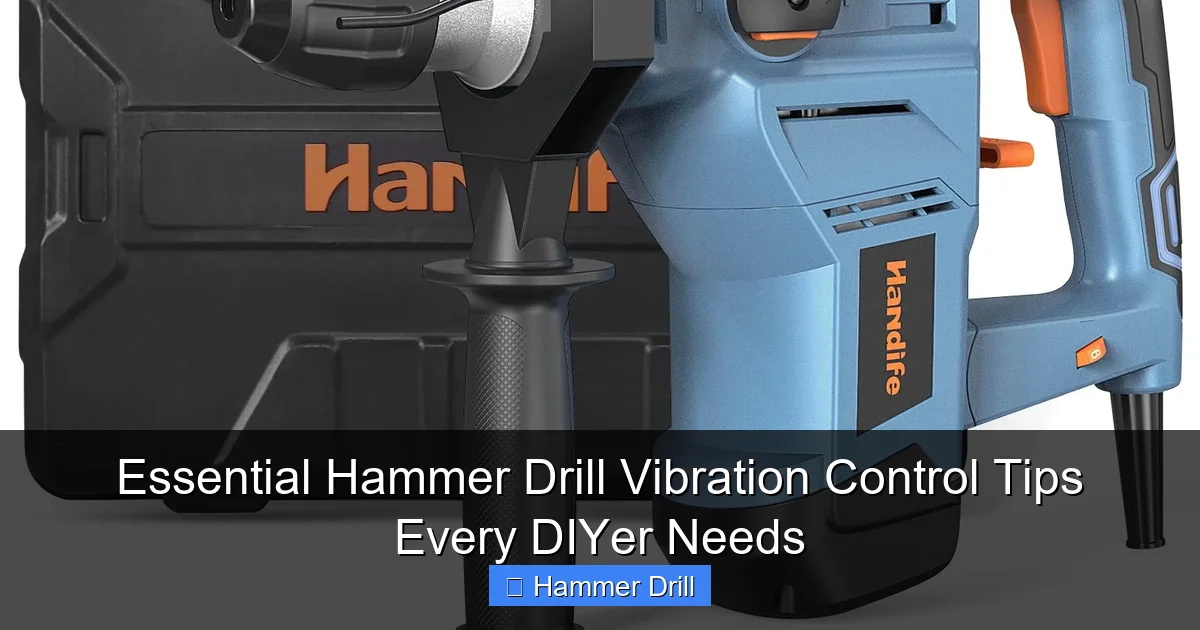
Visual guide about Essential Hammer Drill Vibration Control Tips Every DIYer Needs
Image source: m.media-amazon.com
Choosing the Correct Bit Type
Always use carbide-tipped masonry bits designed specifically for hammer drilling. These bits have a special flute design that efficiently removes debris while the carbide tip withstands the hammering action.
Match the bit diameter to your task. Larger bits create more vibration simply because there’s more material to remove. For holes larger than 1/2 inch, consider making a pilot hole first with a smaller bit.
Inspecting Bit Condition
A worn or damaged bit will vibrate excessively. Check your bits regularly for:
- Dull or chipped carbide tips
- Bent shanks
- Worn flutes
Replace bits at the first sign of wear. A sharp bit cuts cleaner, faster, and with significantly less vibration. Keep spare bits on hand so you never have to use a worn one out of convenience.
Proper Bit Installation
Ensure the bit is fully seated in the chuck. A loose bit wobbles and creates terrible vibration. Clean the bit shank and chuck before installation to remove dust and debris that could prevent a tight fit.
Use the chuck key to tighten securely, but don’t over-tighten. After installation, give the bit a gentle tug to confirm it’s locked in place. A properly installed bit should rotate smoothly without any side-to-side movement.
Optimizing Speed and Pressure Settings
Modern hammer drills come with variable speed triggers and multiple modes. Using the right settings dramatically reduces unwanted shaking.
Finding the Sweet Spot for RPM
For hammer drilling, stay in the low-to-mid RPM range, typically 300-500 RPM. Higher speeds create more heat and vibration without improving performance in masonry.
Start at the lowest speed setting and gradually increase until you find the optimal speed for your material. Hard concrete needs slower speeds than softer brick. Listen to the sound—if it becomes high-pitched and strained, you’re going too fast.
Using the Correct Mode Selection
Never use the drill-only mode on masonry—it will slip and vibrate badly. Always select the hammer drill mode, which combines rotation with the hammering action.
Some drills offer a “hammer only” mode for chiseling. This setting typically has different vibration characteristics. For standard drilling, stick with the standard hammer drill mode.
Mastering the Variable Speed Trigger
Learn to feather the trigger for better control. Start drilling with light pressure to create a guide groove, then gradually increase speed. This technique prevents the bit from walking and reduces initial vibration spikes.
Practice controlling the trigger with your index finger alone, keeping your grip hand steady. This separation of functions gives you more precise speed control and less hand fatigue.
Leveraging Vibration-Dampening Accessories
The right accessories can cut vibration by 50% or more. These tools act as shock absorbers between you and the drill.
Anti-Vibration Gloves
Wear gloves specifically designed to reduce vibration. Look for models with padded palms and fingers. These gloves contain viscoelastic materials that absorb high-frequency vibrations before they reach your hands.
Ensure the gloves fit snugly but don’t restrict movement. Loose gloves can get caught in the drill, while tight ones may reduce your grip strength. Popular options include mechanics gloves with vibration-dampening palms.
Aftermarket Auxiliary Handles
Many manufacturers sell upgraded auxiliary handles with built-in vibration dampening. These handles often feature rubberized grips and spring-loaded mechanisms that isolate shaking.
If your drill’s stock handle is uncomfortable, search for a compatible aftermarket option. The investment pays off quickly for frequent users. Some handles even include quick-release mechanisms for easy repositioning.
Side Handles and D-Handles
Consider upgrading to a D-handle model if your drill came with a basic side handle. D-handles provide better leverage and more surface area for your hand to absorb vibration.
Position the handle so your wrist stays straight, not bent. A bent wrist transmits more vibration to your joints and tendons. Adjust the handle angle for each drilling position—overhead, vertical, or horizontal.
Routine Maintenance for Vibration Prevention
A well-maintained hammer drill vibrates less. Regular care prevents mechanical issues that cause excessive shaking.
Cleaning and Lubrication
After each use, blow dust out of the chuck and air vents with compressed air. Built-up debris can unbalance rotating parts and create vibration.
Lubricate the chuck mechanism monthly with a few drops of lightweight oil. Rotate the chuck by hand to distribute the lubricant evenly. Check the manufacturer’s recommendations for specific lubrication points on your model.
Inspecting for Wear and Damage
Monthly, inspect your drill for loose components. Check the housing screws, handle attachments, and chuck. Tighten any loose fasteners with the appropriate tools.
Listen for unusual noises during operation. Grinding, clicking, or squealing sounds indicate internal problems that could cause increased vibration. Address these issues immediately to prevent further damage.
Brush Replacement
Worn motor brushes create electrical imbalances that cause erratic performance and extra vibration. Most brushes need replacement every 50-100 hours of use.
Learn to check your brushes through the access ports on the motor housing. If the carbon portion is less than 1/4 inch long, replace them. Keep spare brushes in your tool kit to avoid downtime.
Choosing a Hammer Drill with Built-in Vibration Control
When it’s time to replace your tool, prioritize models with advanced vibration dampening. Modern drills include features that older models lack.
Key Features to Look For
Search for these vibration-reducing technologies:
- Counterweight systems: Internal weights that move opposite to the hammering action
- Soft-grip handles: Rubberized materials that absorb high-frequency vibration
- Isolated motor mounts: Rubber bushings that prevent motor vibration from reaching the housing
- Active vibration control: Electronic systems that adjust power delivery to minimize shaking
Comparing Hammer Drill Types
Understanding the difference between impact driver and hammer drill helps you select the right tool. Impact drivers are great for fasteners but lack the rotary hammer action needed for masonry. For vibration control in concrete work, a dedicated hammer drill with anti-vibration technology outperforms general-purpose tools.
Corded models typically offer more consistent power and less vibration than cordless versions, though modern lithium-ion drills have closed the gap significantly. If you choose cordless, look for models with high-capacity batteries that maintain consistent power under load.
Troubleshooting Excessive Vibration Issues
Even with perfect technique, you might encounter unusual vibration. Here’s how to diagnose and fix common problems.
Problem: Drill Vibrates Only at Certain Speeds
This usually indicates a resonance issue. The drill’s frequency matches your material’s natural frequency at that speed. Simply adjust your RPM slightly up or down to find a smoother operating range. This is normal and not a defect.
Problem: Sudden Increase in Vibration
Check for these immediate causes:
- Bit is loose in the chuck
- Material has become unstable or cracked
- Drill bit has hit reinforcement steel
- Internal component failure
Stop drilling immediately and inspect the bit, chuck, and material. If everything looks good, have the tool serviced by a professional.
Problem: Vibration in Specific Positions
If vibration worsens when drilling overhead or sideways, your body position is likely the culprit. Adjust your stance to maintain proper alignment. Consider using a drill guide or support to reduce the strain on your muscles.
Problem: Consistent, Excessive Vibration
This suggests a tool malfunction. Common causes include:
- Worn bearings
- Damaged armature
- Broken vibration dampening components
- Unbalanced chuck
Take the drill to an authorized service center for diagnosis. Continuing to use a malfunctioning tool risks injury and further damage.
Advanced Techniques for Professional Results
Once you’ve mastered the basics, these advanced methods will give you even better control and precision.
The Peck Drilling Method
For deep holes, use a pecking motion. Drill for 1-2 seconds, then retract to clear dust. This technique prevents bit binding and reduces continuous vibration exposure. It’s especially useful for holes deeper than twice the bit diameter.
Using Pilot Holes Strategically
For large-diameter holes, drill a small pilot hole first. This guides the larger bit and reduces wandering, which causes vibration. The pilot hole should be about 1/4 the diameter of your final hole.
Cooling Breaks for Extended Use
During long drilling sessions, take 30-second breaks every 2-3 minutes. This prevents overheating, which can cause the motor to work harder and vibrate more. It also gives your hands and arms a rest, reducing fatigue and improving control.
Putting It All Together: Your Vibration Control Checklist
Before each drilling session, run through this quick checklist:
- Inspect your drill bit for wear and damage
- Clean and fully seat the bit in the chuck
- Check that all drill components are tight
- Put on your anti-vibration gloves
- Position your body with feet shoulder-width apart
- Use both hands with a relaxed grip
- Select the correct hammer drill mode
- Start at low speed and increase gradually
- Apply moderate, consistent pressure
- Take breaks during extended use
Following these steps consistently will transform your drilling experience and protect your health.
Conclusion
Mastering hammer drill vibration control doesn’t happen overnight, but these techniques will deliver immediate improvements. Start with proper grip and stance, then focus on bit selection and speed settings. Add anti-vibration accessories and maintain your tool regularly.
Remember that your safety and comfort matter as much as the holes you’re drilling. By reducing vibration, you’ll work longer, achieve better results, and avoid the health risks associated with prolonged exposure. Whether you’re a weekend warrior or a daily DIYer, these tips will make your hammer drill feel like a natural extension of your hands.
