
Effectively managing hammer drill vibration is crucial for safety, comfort, and precision. This guide provides a complete system, from selecting the right tool and sharp bits to perfecting your grip and posture. By following these actionable tips, you can significantly reduce fatigue, achieve cleaner results, and protect your tools and body from excessive wear.
Key Takeaways
- Tool Choice Matters: Invest in a hammer drill with built-in vibration control technology (like anti-vibration handles or brushless motors) for the best foundation.
- Bit Condition is Critical: Always use sharp, high-quality masonry bits designed for hammer drilling. Dull bits dramatically increase vibration and reduce efficiency.
- Grip and Posture Are Your First Defense: Maintain a firm, two-handed grip and a stable, balanced stance to let your body absorb and manage vibration effectively.
- Let the Tool Do the Work: Apply steady, moderate pressure. Pushing too hard forces the mechanism and increases kickback and vibration.
- Accessories Amplify Control: Use a side handle, vacuum base, or dedicated shock-absorbing gloves to further isolate vibration before it reaches your hands and arms.
- Regular Maintenance is Non-Negotiable: Clean the chuck, check for worn parts, and use fresh lubrication to ensure smooth internal operation and minimize unnecessary vibration.
- Plan for Your Health: Take frequent breaks and listen to your body. Managing exposure is key to preventing long-term injury from vibration.
Top Hammer Drill Vibration Control Tips for Smooth Operation
Let’s be honest. Using a hammer drill can feel like wrestling with an angry badger. The intense shaking and rattling travel up your arms, fatigue sets in quickly, and holding a straight line becomes a real challenge. This isn’t just annoying—excessive vibration can hurt your accuracy, damage your tool, and even cause long-term health issues like Hand-Arm Vibration Syndrome (HAVS).
The good news? You can tame the beast. With the right knowledge and techniques, you can dramatically reduce hammer drill vibration. This leads to smoother operation, cleaner holes, less user fatigue, and a longer-lasting tool. This comprehensive guide will walk you through 10 essential, actionable tips for superior hammer drill vibration control. We’ll cover everything from choosing your tool to perfecting your technique.
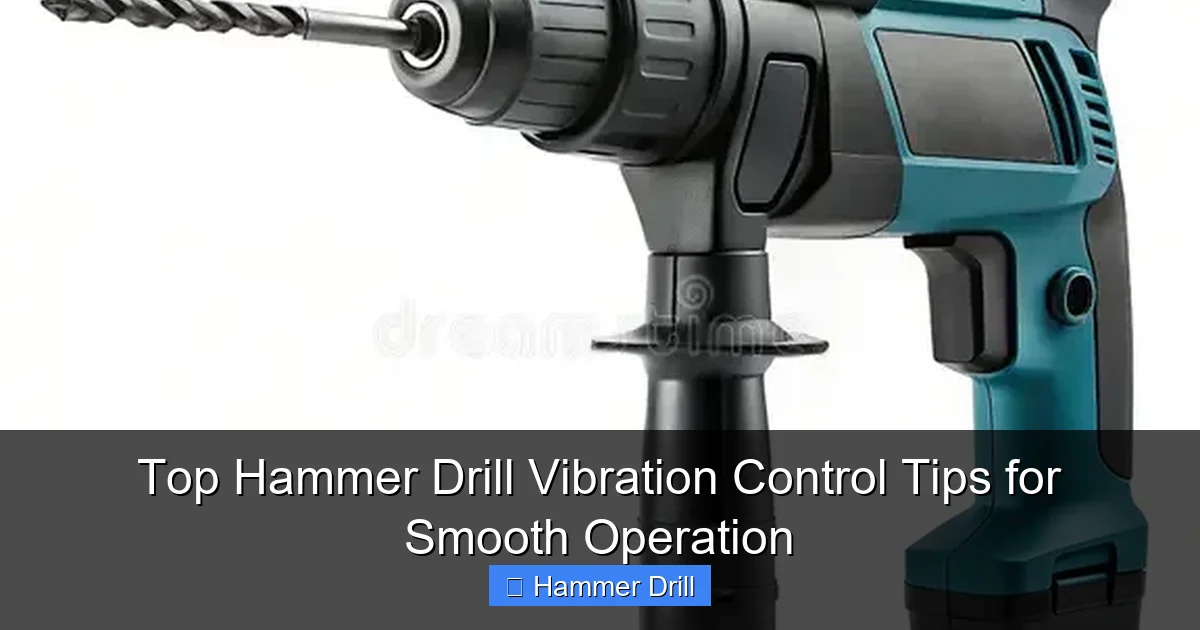
1. Start with the Right Tool: Vibration Control Begins at Purchase
Your first line of defense against vibration is the hammer drill itself. Not all hammer drills are created equal. While a basic model might get the job done, investing in one with modern vibration-damping features will pay off massively in comfort and control.
Visual guide about Top Hammer Drill Vibration Control Tips for Smooth Operation
Image source: thumbs.dreamstime.com
Look for these key features when selecting your hammer drill:
- Anti-Vibration (AV) Handles or Systems: Many professional-grade hammer drills have rubber-isolated handles or internal counterbalance systems. These are engineered to absorb and redirect vibrational energy before it reaches your hands.
- Brushless Motor Technology: Modern cordless drills, especially the best cordless drills, often feature brushless motors. They run cooler, more efficiently, and with less internal friction and vibration than brushed motors.
- Variable Speed and Impact Control: The ability to start slow and gradually increase speed allows for better bit engagement. Some tools also let you adjust the impact force, which is useful for different materials.
- Ergonomic Design: A comfortable, well-balanced tool that fits naturally in your hand reduces the strain of simply holding it, making managing the remaining vibration easier.
Remember, a hammer drill is designed for a specific job: drilling into masonry. For driving screws or drilling into wood, a regular drill or impact driver is more appropriate and will produce much less vibration. If you’re unsure, our article on the difference between a hammer drill and a regular drill explains the key distinctions.
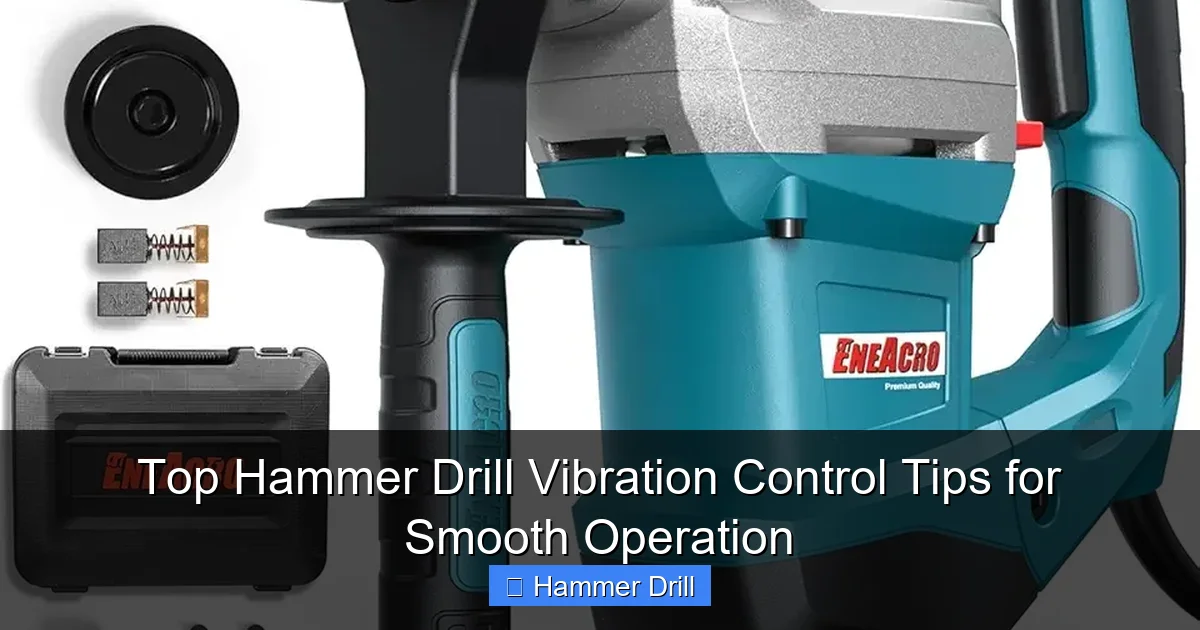
2. Use Sharp, High-Quality Masonry Bits
This is arguably the most important tip for immediate vibration reduction. A dull or incorrect bit is a major source of chatter and harsh vibration.

Visual guide about Top Hammer Drill Vibration Control Tips for Smooth Operation
Image source: d2qc09rl1gfuof.cloudfront.net
Why Sharp Bits Matter
A sharp carbide tip cuts cleanly through concrete or brick. A dull bit pounds and crushes the material. This crushing action requires more impact force, generates excessive heat, and sends brutal shockwaves back into the tool and your hands.
Choosing the Right Bit
- Material: Always use bits specifically marked for masonry or concrete (with a carbide tip). Never use a wood or metal drill bit in hammer mode.
- Quality: Invest in reputable brands. Higher-quality carbide and better brazing (where the tip meets the steel shaft) mean the bit stays sharp longer and resists breaking.
- Size: Use the correct bit diameter for your anchor or purpose. For large holes (over 1/2″), consider using a core bit or starting with a smaller pilot hole.
Inspect your bits regularly. If the carbide tip is rounded, chipped, or visibly worn, replace it. A new bit is cheaper than a ruined project or a medical bill for arm strain.
3. Master the Two-Handed Grip and Stable Stance
Your body is a natural vibration dampener—if you use it correctly. Proper grip and posture are your most direct and free vibration control methods.
Visual guide about Top Hammer Drill Vibration Control Tips for Smooth Operation
Image source: m.media-amazon.com
The Optimal Grip
- Primary Hand: Grip the main handle firmly but don’t strangle the tool. Your finger should rest comfortably on the trigger.
- Secondary Hand: ALWAYS use the auxiliary side handle. Position it so you can pull the drill squarely into your body. This creates a stable triangle between your two hands and your torso, giving you immense control.
- Hand Position: Keep your wrists straight. Bent wrists transmit vibration more directly to your bones and fatigue much faster.
The Stable Stance
- Stand with your feet shoulder-width apart, one slightly in front of the other for balance.
- Keep your body weight centered and braced. When drilling horizontally, lean slightly into the tool. When drilling overhead or vertically, ensure you are firmly planted.
- Your goal is to become a stable, shock-absorbing platform. Let your elbows bend slightly to act as natural springs.
4. Apply the Right Pressure: Let the Tool Work
This is a common mistake. People think more force equals faster drilling. With a hammer drill, the opposite is often true.
The “Sweet Spot” of Pressure
Apply steady, moderate forward pressure. You should feel the hammering action doing the work. If you push too hard, you risk:
- Stalling the bit, which causes severe jerking.
- Overheating the bit and damaging its cutting edge.
- Straining the drill’s motor and hammer mechanism.
- Increasing reactive kickback and vibration.
The Technique
Start the drill slowly without hammer action to create a small pilot dimple. Then, engage the hammer function and apply consistent pressure. Periodically pull the bit back slightly to clear dust from the hole. This prevents binding, which is a huge source of sudden, jarring vibration.
5. Employ Helpful Accessories and Aids
Beyond your body and the tool, several accessories can provide an extra layer of vibration isolation.
- Shock-Absorbing Gloves: Specialized anti-vibration gloves have padded gel or air pockets in the palm and fingers. They don’t eliminate vibration but can filter out high-frequency shocks, greatly increasing comfort during long sessions.
- Vacuum Bases or Stands: For repetitive drilling (like installing electrical boxes), a vacuum base stabilizer attaches to smooth surfaces. It holds the drill perfectly perpendicular and absorbs nearly all the reaction force, leaving you to just guide it.
- Dust Extraction: Using a vacuum attached to the drill’s dust port keeps the hole clean. This reduces bit binding and allows the mechanism to work smoothly, indirectly reducing vibration.
6. Maintain Your Hammer Drill Regularly
A poorly maintained tool vibrates more. Grit, worn parts, and lack of lubrication all create internal friction and sloppy movement.
Simple Maintenance Steps
- Clean the Chuck: Blow out dust and debris from the chuck jaws regularly. A dirty chuck can’t grip the bit perfectly, causing wobble.
- Inspect for Wear: Check for side-to-side play in the chuck or accessory shafts. Excessive play means worn bearings or components.
- Lubricate as Recommended: Some hammer drills require periodic greasing of the hammer mechanism. Consult your manual. For corded tools, a drop of oil in the air vents (if specified) can keep things moving smoothly.
Think of it like a car. A well-tuned engine runs smoothly. A neglected one rattles and shakes.
7. Optimize Your Technique for the Material
Different masonry materials require slight adjustments.
- Soft Brick or Concrete Block: You can often use a lower impact setting or speed. The material offers less resistance.
- Hard Concrete or Reinforced Masonry: Use a higher impact setting but remain patient. Let the tool’s impacts do the work. For rebar, you may need a specific rebar-cutting bit.
- Tile or Glass (Using Hammer Mode Caution): Specialized bits exist. Use a very low speed, light pressure, and often start without hammer action to score the surface. Vibration here can easily crack the material.
8. Take Strategic Breaks and Limit Exposure
Vibration control isn’t just about the tool; it’s about protecting yourself. Prolonged exposure is the enemy.
- Follow the 10/50 Rule: A good practice is to take a 10-minute break for every 50 minutes of continuous trigger time with a vibrating tool.
- Listen to Your Body: If you feel tingling, numbness, or loss of grip strength, stop immediately. These are early warning signs.
- Keep Blood Flowing: During breaks, shake out your hands, massage your fingers, and stretch your arms and shoulders. This helps circulation and recovery.
This is a critical aspect of tool safety, much like the essential safety tips for climbing ladders. A proactive approach prevents accidents and injuries.
9. Troubleshooting Excessive Vibration
What if your drill is shaking more than usual? Run through this quick checklist:
- Is the bit dull, bent, or wrong for the material? (The most common cause).
- Is the bit secured tightly in the chuck? Re-tighten it with all three jaws.
- Is the side handle securely fastened? It should not wobble.
- Are you drilling into a void or hitting rebar? The change in resistance causes judder. Proceed with care.
- Does the drill vibrate excessively even in “drill only” mode? This could indicate internal damage, like a bent shaft or worn gears. It may need professional service.
10. Know When to Switch Tools
The ultimate vibration control tip is knowing that a hammer drill isn’t always the right answer. For large-diameter holes (over 1 inch), a rotary hammer with SDS-plus or SDS-max chuck is far more efficient and transmits less vibration to the user due to its different piston-driven mechanism. For many small fastening jobs into wood or metal, a standard drill or an impact driver is the better, smoother choice. Understanding the difference between an impact driver and a hammer drill will help you select the perfect, least-vibratory tool for every task.
Conclusion: Smooth Operation is Within Reach
Controlling hammer drill vibration isn’t about one magic trick. It’s a system. It starts with choosing a quality tool and sharp bits. It relies on your proper two-handed grip and balanced stance. It’s aided by smart accessories and diligent maintenance. Most importantly, it requires a mindset of letting the tool’s power work for you, not fighting against it.
By implementing these tips, you’ll transform your experience. Drilling will become less taxing, more precise, and safer. You’ll finish your masonry projects with less fatigue and better results, and your tools will thank you with a longer service life. Now, grab that hammer drill with confidence—you’ve got the knowledge to keep it smooth.
