
Discover proven hammer drill efficiency tips that cut concrete drilling time in half. This guide covers tool selection, proper technique, bit choices, and maintenance secrets. Transform your workflow and achieve professional results on every job.
Key Takeaways
- Choose the right tool: Match hammer drill type and power to your concrete thickness and project scope for optimal speed.
- Use sharp carbide bits: Always select fresh, properly sized carbide-tipped bits to maintain drilling velocity.
- Apply steady pressure: Let the tool do the work—firm, consistent force beats aggressive forcing.
- Master the pecking motion: Short retraction cycles clear dust and prevent bit binding.
- Control your speed: Start slow to create a guide hole, then increase to full power for maximum efficiency.
- Maintain regularly: Clean air vents and lubricate moving parts every 50 hours of use.
- Prioritize safety: Wear hearing protection and manage dust to work longer without fatigue.
Hammer Drill Efficiency Tips for Faster Concrete Drilling
Concrete drilling can feel like trying to chew through a sidewalk. But it doesn’t have to be that way. The difference between a frustrating, exhausting job and a smooth, fast operation comes down to a handful of efficiency secrets. This guide will show you exactly how to boost your hammer drill performance and slash your project time.
You will learn the right way to choose tools, bits, and techniques. We cover everything from the first squeeze of the trigger to cleaning your machine after the job. These tips work for DIY homeowners and professional contractors alike. Let’s get you drilling faster today.
Understanding Your Hammer Drill: The Foundation of Speed
Before you can make something faster, you need to know how it works. A hammer drill delivers a rapid hammering action while spinning. This dual motion breaks concrete instead of just grinding it. The key is impact force combined with rotation.
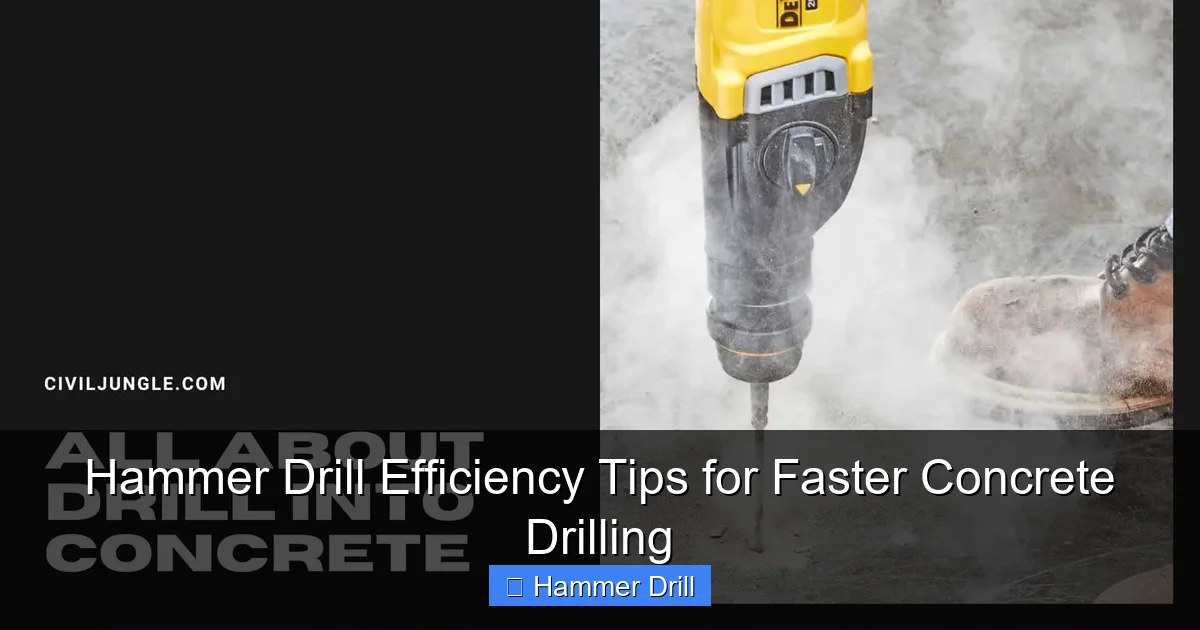
Visual guide about Hammer Drill Efficiency Tips for Faster Concrete Drilling
Image source: civiljungle.org
Many people confuse hammer drills with regular drills or impact drivers. Understanding the difference between a drill and a hammer drill is crucial. Regular drills push through material. Hammer drills pound and grind simultaneously. This makes them essential for concrete, brick, and stone.
Corded vs. Cordless: Which Delivers More Bang?
Corded hammer drills offer unlimited runtime and consistent power. They shine on all-day commercial jobs. Cordless models provide freedom to move. Modern lithium-ion batteries give surprising runtime. For most DIY projects, a good cordless unit works perfectly.
When choosing cordless, look for at least 18 volts. Higher voltage means more hammering force. Check the amp-hour rating too. A 4.0 Ah battery lasts twice as long as a 2.0 Ah. The best cordless drill for concrete balances weight, power, and battery life.
Know Your Hammer Mechanism
Two main types exist: cam-action and electro-pneumatic. Cam-action models work well for light concrete work. They use mechanical plates to create the hammering effect. Electro-pneumatic models deliver stronger impacts for heavy-duty jobs. They use compressed air inside the tool.
Match the mechanism to your material thickness. For holes under one inch in reinforced concrete, cam-action suffices. For larger holes or continuous use, choose electro-pneumatic.
Selecting the Perfect Drill Bits: Your Speed Multiplier
The right bit makes or breaks your efficiency. A dull or wrong-sized bit will cost you hours. Sharp, quality bits cut drilling time by up to 60 percent.
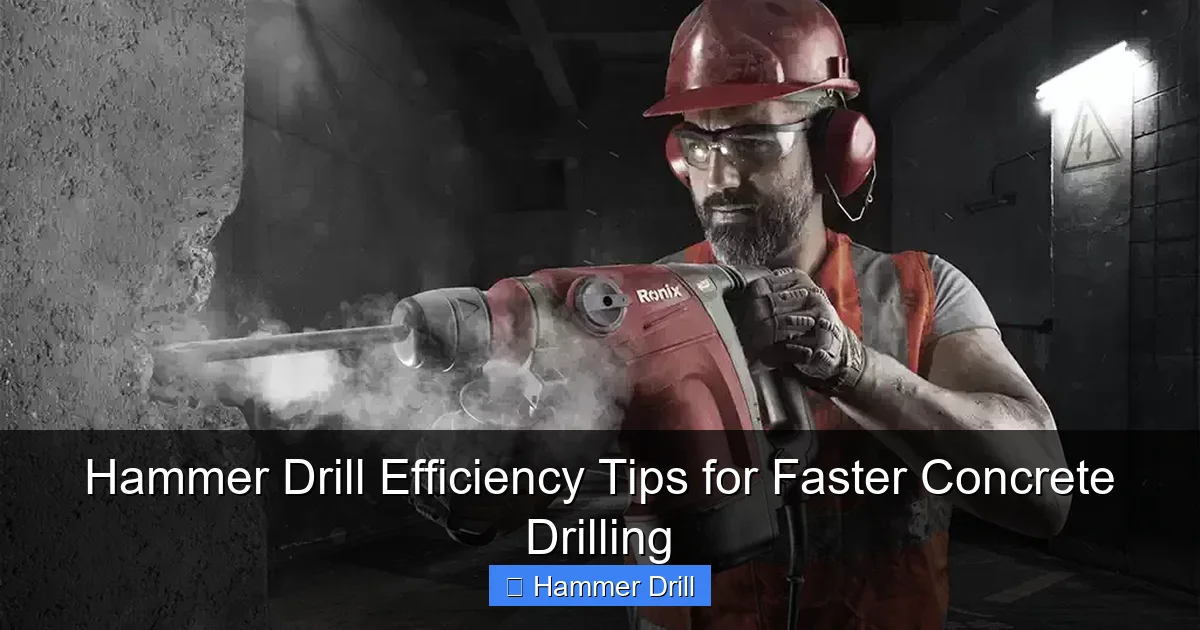
Visual guide about Hammer Drill Efficiency Tips for Faster Concrete Drilling
Image source: ronixtools.com
Carbide-Tipped vs. Diamond Core Bits
Carbide-tipped bits handle most concrete drilling tasks. They feature hard metal inserts that resist wear. These bits work great for holes up to four inches in diameter. Diamond core bits excel at larger holes and reinforced concrete. They last longer but cost more upfront.
For general purpose work, start with carbide. Choose diamond when drilling through rebar or making big holes. The diamond edge simply won’t quit on tough materials.
Size and Length Matter More Than You Think
Always match bit length to material thickness. The bit should extend at least half an inch past the material. Too short, and you’ll jam. Too long, and the bit flexes and wobbles.
For diameter, use the smallest bit practical. Start with a pilot hole when drilling large diameters. For example, drill a quarter-inch hole first when you need a half-inch hole. Then step up to the final size. This method clears material faster and reduces bit stress.
Mastering the Proper Technique: Work Smarter, Not Harder
Good technique prevents fatigue and maximizes speed. Many users push too hard or drill at the wrong angle. This wears bits fast and exhausts the operator.
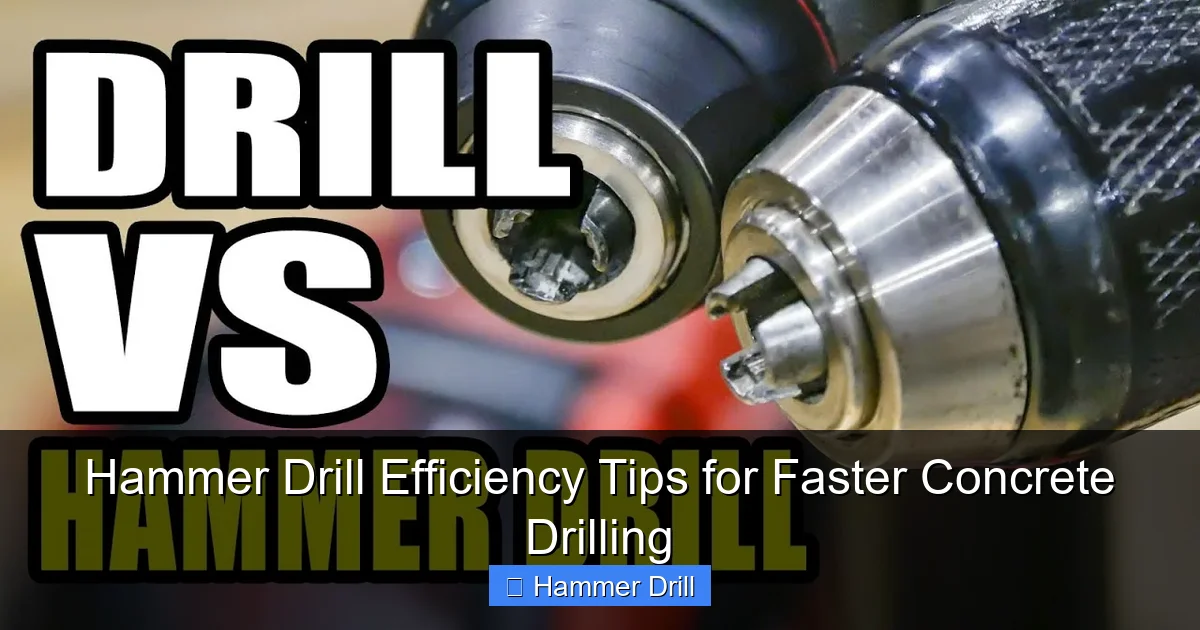
Visual guide about Hammer Drill Efficiency Tips for Faster Concrete Drilling
Image source: i.ytimg.com
Stance and Grip: Your Body Position
Stand with feet shoulder-width apart. Keep your body stable but not rigid. Grip the handle with your dominant hand. Use your other hand on the auxiliary handle for control. This two-handed grip gives maximum stability.
Hold the drill perpendicular to the surface. A 90-degree angle ensures straight holes and prevents bit binding. Use your body weight to apply steady pressure. Let the hammer mechanism do 70 percent of the work. Your job is guidance, not brute force.
The Magic of the Pecking Motion
Pecking means drilling in short bursts. Push forward for three to four seconds. Then pull back one inch to clear dust. Repeat this cycle until you reach depth.
This technique serves two purposes. It prevents dust buildup that bogs down the bit. It also reduces heat, which extends bit life. Pecking can double your drilling speed in deep holes.
Starting the Hole: The Critical First Seconds
Begin drilling at low speed without hammer action. This creates a small groove that guides the bit. After two seconds, engage full hammer mode and increase speed. This prevents the bit from wandering and ensures accuracy.
For corners or edges, use a center punch to create a small divot. This gives the bit a place to bite and prevents slipping.
Optimizing Drill Settings: Fine-Tune for Maximum Speed
Modern hammer drills have multiple settings. Using the wrong one slows you down. Learn what each setting does and when to use it.
Speed Control: RPM Matters
Most hammer drills offer variable speed triggers. Start slow to create your guide groove. Then increase to full speed for the main drilling phase.
Match speed to bit diameter. Small bits (under half-inch) can run at maximum RPM. Larger bits need slower speeds to maintain impact force. Check your tool manual for specific recommendations.
Hammer Mode Selection
Three modes exist: drill only, hammer drill, and chisel only. Always use hammer drill mode for concrete. Drill only mode spins without impact. This will overheat and destroy your bit quickly.
Some tools have adjustable impact settings. For soft concrete, reduce impact force to prevent over-drilling. For hard concrete, use maximum impact. This customization prevents bit damage and speeds up progress.
Essential Maintenance: Keep Your Tool Running Hot
A well-maintained hammer drill works faster and lasts longer. Neglect cuts efficiency by 40 percent within months. Simple care routines prevent this decline.
Daily Cleaning Routine
After each use, blow out dust from air vents. Use compressed air or a small brush. Dust buildup causes overheating and reduces power.
Wipe the bit with a dry cloth to remove concrete slurry. This prevents corrosion and makes bit changes faster. Store bits in a dry place to avoid rust.
Lubrication Schedule
Lubricate the bit shanks every 20 hours of use. Use a light machine oil or drill bit lubricant. This reduces friction and makes bit changes smoother.
Every 50 hours, check the tool’s grease level. Some models have grease fittings. Others need periodic disassembly and re-greasing. Refer to your manual for specific intervals.
Carbon Brush Inspection
Carbon brushes conduct electricity to the motor. Worn brushes reduce power and cause sparking. Check them every 100 hours. Replace when they measure less than a quarter-inch long.
Always keep spare brushes on hand. Brush failure is the most common cause of sudden power loss. It’s a quick five-minute replacement that restores full performance.
Advanced Tips for Professional Results
These next-level strategies separate weekend warriors from pros. They require practice but pay off in massive time savings.
Water Cooling for Marathon Drilling Sessions
For holes deeper than four inches, use water cooling. Spray a small amount of water at the drilling point. This reduces heat and dust simultaneously.
Be careful with water near electrical outlets. Use a spray bottle, not a running hose. Too much water washes away lubricant from the bit shank.
The Step-Down Drilling Method
When drilling through reinforced concrete, use progressively larger bits. Start with a quarter-inch pilot. Then move to half-inch. Finally, drill to full size.
This method prevents rebar damage to bits. It also clears material more efficiently than forcing a large bit through everything at once.
Batch Drilling for Multiple Holes
When drilling several holes, work in a pattern. Drill all shallow holes first. Then return and deepen them together. This maintains consistent bit temperature and speed.
Mark all hole locations with a pencil and square. Use a straightedge to connect lines. This planning step saves minutes per hole and prevents mistakes.
Safety First: Protect Yourself While Speeding Up
Fast drilling means nothing if you get hurt. Proper safety gear lets you work longer without fatigue. It also prevents injuries that stop projects cold.
Essential PPE for Hammer Drilling
Always wear safety glasses with side shields. Concrete chips fly at high velocity. Hearing protection is mandatory—hammer drills exceed 100 decibels. Use earplugs or muffs.
Wear a dust mask or respirator. Concrete dust contains silica, which damages lungs. For heavy work, use a P100 respirator. This simple step protects your health and keeps you drilling all day.
Dust Management Systems
Attach a dust extraction attachment to your drill. These devices capture up to 90 percent of airborne dust. They connect to a shop vacuum.
Without extraction, dust coats your tool and workspace. It gets into your lungs and eyes. It also makes the work area slippery. Dust management is a safety and efficiency win.
Troubleshooting Common Efficiency Killers
Even with perfect technique, problems arise. Learn to spot and fix these issues fast. Quick solutions keep your project on schedule.
Drill Overheating: The Silent Killer
If your drill smells hot or shuts off, it’s overheating. Stop immediately. Let it cool for 15 minutes. Check air vents for blockage.
Prevent overheating by using proper pecking technique. Don’t push harder when the drill slows. Instead, clear dust more frequently. In extreme heat, work in 10-minute intervals with cooling breaks.
Bit Wandering or Slipping
When the bit won’t stay put, check your starting technique. You need a pilot groove or center punch mark. Also verify the bit is fully seated in the chuck.
For slippery surfaces, use a strip of masking tape. Press it over the drilling point. The tape provides grip for the bit tip. This simple trick prevents 90 percent of wandering issues.
Slow Progress Despite High RPM
If the drill spins fast but doesn’t advance, the bit is dull. Pull it out and inspect the carbide tips. Chipped or rounded tips need replacement.
Another cause is insufficient hammer action. Some drills have a clutch that disengages under load. Check that hammer mode is fully engaged. Listen for the distinctive hammering sound.
Excessive Vibration and Chatter
Vibration comes from bit wobble or loose chuck. Stop and tighten the chuck securely. Check for bit runout by spinning the bit by hand. It should not wobble side to side.
Worn motor bearings also cause vibration. If tightening doesn’t help, have the tool serviced. Continued use with bad bearings destroys the motor.
Project Planning: The Hidden Efficiency Booster
Good planning cuts total project time by half. Measure twice, drill once. Mark all holes clearly before starting.
Gather all tools and bits before turning on the drill. Running to get a different size bit breaks your rhythm. It also lets the tool cool down, requiring warm-up time again.
Check for hidden utilities before drilling. Use a stud finder with AC detection. Call 811 for underground utility marking. Safety and speed go hand in hand.
Conclusion: Your Path to Faster, Better Drilling
Hammer drill efficiency comes from the right combination of tool, bit, technique, and maintenance. Start with proper tool selection. Choose sharp carbide bits matched to your job. Master the pecking motion and proper stance. Keep your drill clean and lubricated.
Remember that speed comes from consistency, not force. Let the tool do the work. Apply steady pressure and use the right settings. Wear proper safety gear so you can work longer without breaks.
These tips work together to create a system. Implement them one at a time if needed. Within a few projects, you’ll notice dramatic time savings. You’ll also enjoy cleaner holes, longer tool life, and less fatigue. Now grab your drill and put these hammer drill efficiency tips to work.
