
Don’t let a malfunctioning cordless drill stop your project. This ultimate guide walks you through diagnosing and fixing the most common cordless drill problems, from a dead battery to a smoking motor. Learn step-by-step troubleshooting to save time and money on repairs or replacements.
Key Takeaways
- Diagnose Before You Replace: Most drill issues are simple, like a dirty chuck or a tripped thermal cutoff. Systematic diagnosis prevents unnecessary spending.
- Battery Care is Critical: Proper charging, storage, and terminal cleaning can double the lifespan of your drill’s most expensive component.
- The Chuck is a Common Fail Point: Jamming, wobbling, or failure to grip are often fixable with cleaning, lubrication, or a straightforward replacement.
- Know When to Call a Pro: Internal motor brush replacement is a DIY-able repair, but a burnt-out motor or complex electronic failure often requires professional service.
- Prevent Problems with Maintenance: Regular cleaning, proper bit usage, and avoiding over-stressing the tool are the best ways to ensure long-term reliability.
- Safety First, Always: Always remove the battery before any inspection or repair, and never force a tool that’s clearly struggling or overheating.
Your Ultimate Cordless Drill Problem Solving Guide
Your cordless drill is your go-to partner for countless projects. So, when it starts acting up—won’t start, spins weakly, or makes a scary noise—it can bring your work to a frustrating halt. Before you rush out to buy a new one or pay for expensive repairs, take a breath. Many common cordless drill problems have simple fixes you can do yourself.
This guide is your complete roadmap to diagnosing and solving these issues. We’ll walk you through a logical troubleshooting process, from the simplest checks to more involved repairs. You’ll learn how to identify the culprit, whether it’s the battery, charger, motor, or chuck, and what you can do about it. Let’s get your favorite tool back in action.
Safety First: The Golden Rules
Before we touch a single screw, safety is paramount. Always, always remove the battery from the drill before attempting any inspection, cleaning, or repair. This eliminates the risk of accidental starts or electrical shock. Work in a clean, well-lit area and keep your workspace free of clutter. If you’re opening the drill’s housing, consider taking photos with your phone as you go to remember screw locations and component orientation. When in doubt, especially with complex electrical issues, seeking help from a professional is the safest choice.
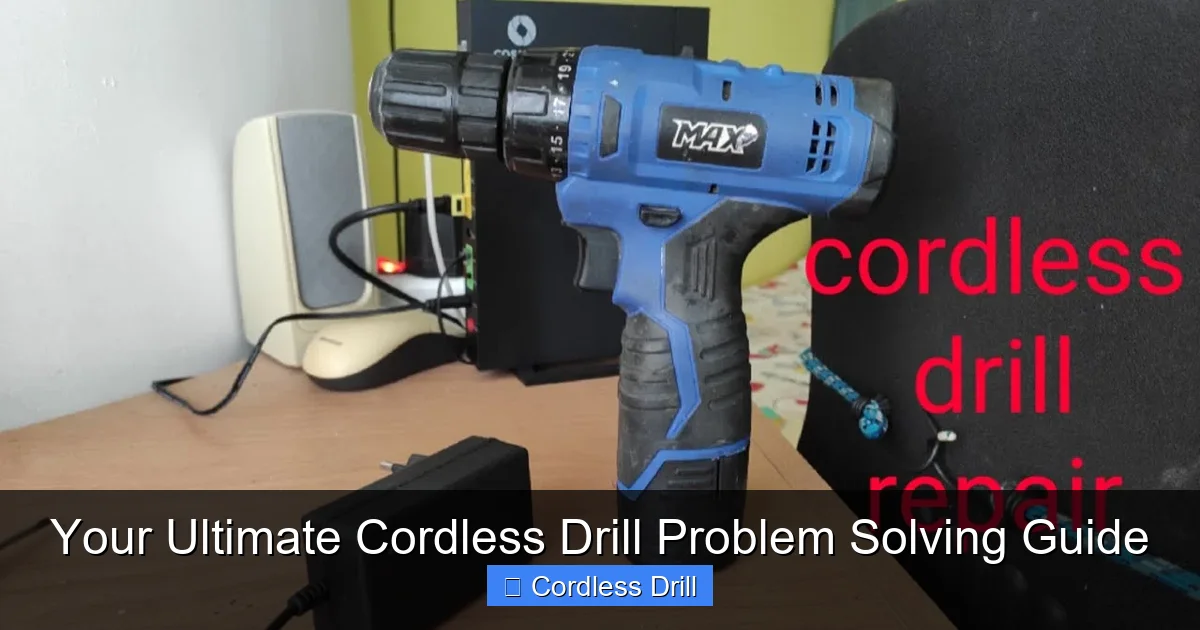
Visual guide about Your Ultimate Cordless Drill Problem Solving Guide
Image source: i.ytimg.com
Problem 1: The Drill Won’t Start or Power On
This is the most common and often the most alarming issue. Don’t panic. Follow these steps methodically.
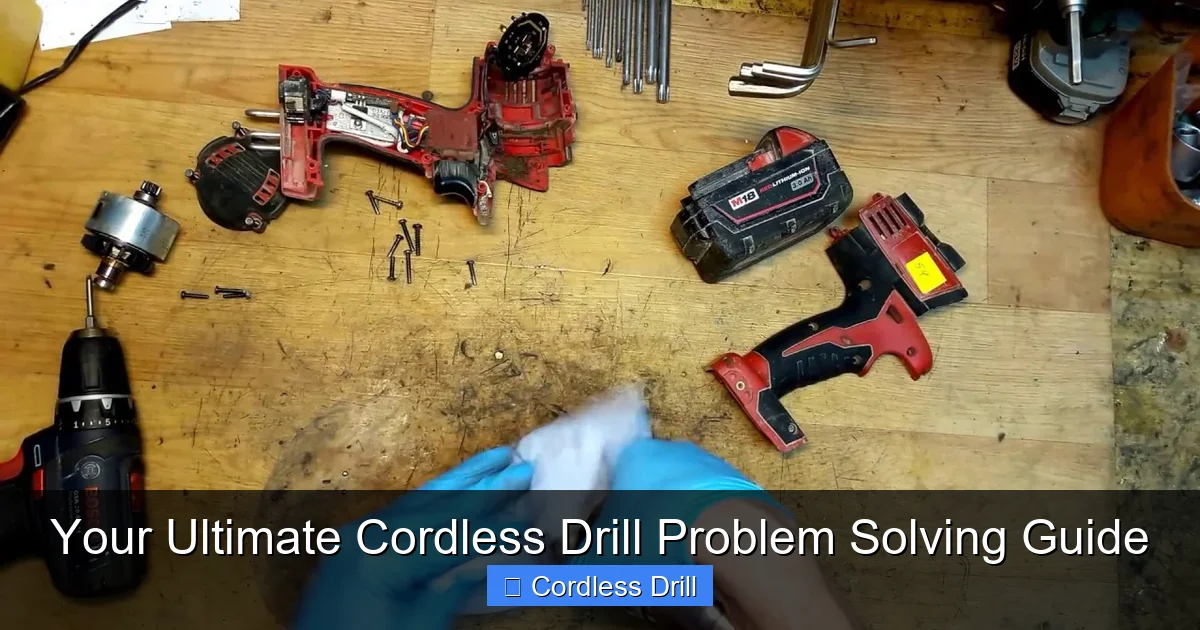
Visual guide about Your Ultimate Cordless Drill Problem Solving Guide
Image source: i.ytimg.com
Step 1: Check the Obvious – The Battery
It sounds simple, but this is the cause more often than not. First, ensure the battery is fully seated in the drill. Sometimes it can look connected but isn’t making proper contact. Try removing it and reinserting it firmly. Next, check the battery charge. Place it on the charger. If no indicator lights come on, the issue might be with the charger or the battery’s internal protection circuit. Try a different charger if you have one, or try charging a different battery (that you know works) with your charger to isolate the problem.
Step 2: Inspect Battery Terminals
Over time, the metal terminals on both the battery and the drill can accumulate dirt, dust, or corrosion. This prevents a good electrical connection. With the battery removed, inspect the small metal contacts. If they look dirty, clean them gently with a cotton swab dipped in a small amount of rubbing alcohol or electrical contact cleaner. Let them dry completely before reconnecting.
Step 3: Test the Trigger Switch
The trigger is a high-use component. Listen and feel carefully when you pull it. Does it feel sticky or gritty? Can you hear a faint click? If it feels abnormal or makes no sound, the switch may be faulty. While switch replacement is possible for the handy, it involves opening the drill’s shell and basic soldering. For many, this is the point where checking if the drill is still under warranty is a good idea. If you’re looking for a reliable new model, our guide to the best cordless drill options can help.
Problem 2: The Drill Loses Power or Struggles Under Load
Your drill spins fine in the air but bogs down as soon as it touches a screw or material. This indicates an inability to deliver sufficient torque.
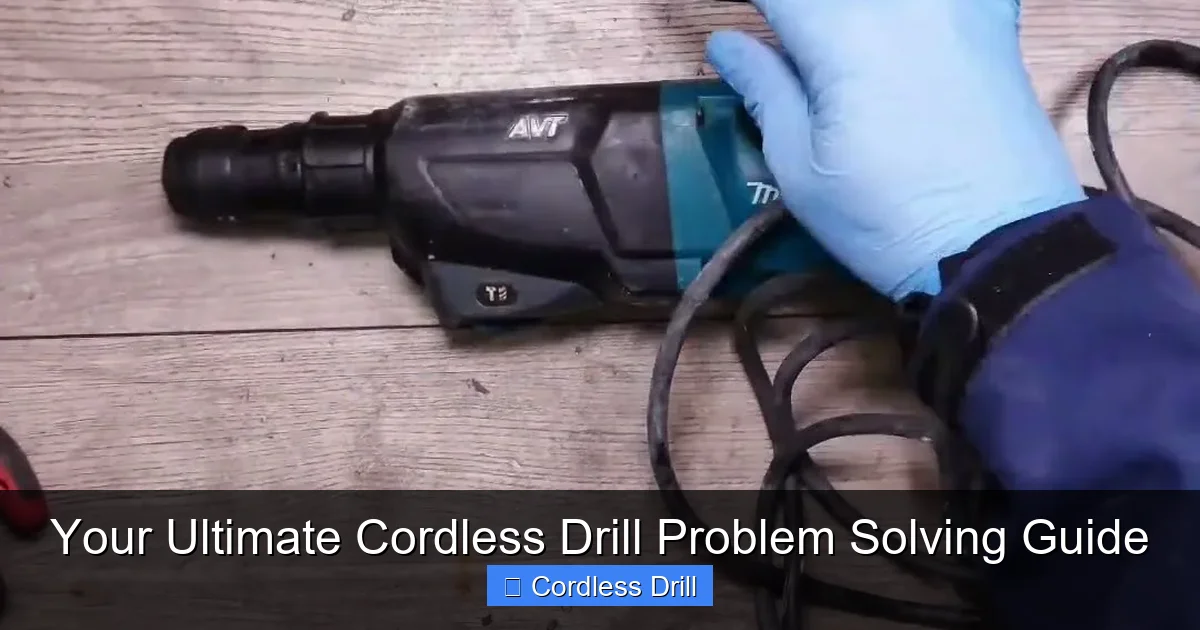
Visual guide about Your Ultimate Cordless Drill Problem Solving Guide
Image source: i.ytimg.com
Step 1: Verify Speed and Clutch Settings
It’s easy to overlook. Is your drill set to a high speed (usually “2”) when you need high torque? For driving large screws or drilling into hard materials, you typically need the low-speed, high-torque setting (usually “1”). Also, check the adjustable clutch collar behind the chuck. If it’s set to a low number, the drill will disengage to prevent over-driving. For drilling (not driving screws), the clutch should be set to the drill bit icon.
Step 2: Assess the Battery’s Health
A weak or aging battery may show a full charge but can’t deliver the high current (amps) needed under load. This is a classic symptom of a battery reaching the end of its life. If you have a second battery, test with that one. If performance is normal with a different battery, you’ve found your culprit. Consider purchasing a replacement.
Step 3: Consider the Task and Tool Limits
Are you asking the drill to do a job better suited for a more powerful tool? For example, drilling large diameter holes in masonry is a job for a hammer drill, not a standard cordless drill. Using the wrong tool for the job will always lead to poor performance. For driving many large screws, an impact driver is more efficient. Understanding the difference between a drill and a hammer drill is key to choosing the right tool.
Problem 3: The Chuck is Wobbling, Stuck, or Won’t Grip
The chuck holds your bits. If it fails, your drill is useless.
Step 1: Clean the Chuck Jaws
Debris like wood chips, metal shavings, or dried concrete dust can get packed into the chuck jaws, preventing them from closing properly or causing wobble. Open the chuck fully and use compressed air, a small brush, or a toothpick to clean out the slots and jaws thoroughly.
Step 2: Lubricate the Threads (For Keyed Chucks)
If you have an older drill with a chuck key, the external threads can seize. Apply a drop of penetrating oil (like WD-40) to the threads where the chuck body meets the drill. Let it sit for 10-15 minutes, then try to open and close it with the key.
Step 3: Chuck Replacement
If the chuck is physically damaged, jaws are broken, or it’s permanently seized, replacement is the solution. Most chucks are threaded onto the drill’s spindle. You’ll need to open the chuck fully, find the screw deep inside the jaws (it’s often a left-hand thread, so turn it RIGHT to loosen), remove it, and then use a large Allen key or a special chuck removal tool to unscrew the chuck itself (this is usually a standard right-hand thread). Replacement chucks are widely available online.
Problem 4: The Drill Smells Burnt or Gets Very Hot
Heat and burning smells are serious warning signs. Stop using the drill immediately.
Step 1: Allow it to Cool and Check for Overload
Cordless drills have a thermal protection cutoff. If you’ve been using it continuously for a long time, especially at high load, it may simply be too hot. Let it cool down completely for 30-60 minutes. Were you pushing it too hard? Forcing a drill to work beyond its capacity is the fastest way to overheat the motor.
Step 2: Inspect the Motor Brushes (For Brushed Motor Drills)
Most cordless drills use a brushed DC motor. The carbon brushes are consumable parts that wear down over time. Worn-out brushes can cause sparking, loss of power, and a hot electrical smell. Accessing them usually involves removing the drill’s housing. Locate the brush holders (near the motor at the back of the drill). If the carbon blocks are less than 1/4 inch long, they need replacing. New brushes are cheap and easy to install.
Step 3: Recognize Motor Failure
If the drill was smoking, the insulation on the motor windings may have burned out. This is often a fatal failure. A strong, persistent burnt smell after cooling points to this. Repair usually means replacing the entire motor assembly, which can cost nearly as much as a new drill. At this stage, evaluate the age and value of your tool versus replacement.
Problem 5: Unusual Noises (Grinding, Squealing, Clicking)
Strange sounds are clues to internal problems.
- Grinding or Growling: Often points to worn planetary gears in the gearbox. Dirt or lack of grease can also cause this. The gearbox may need cleaning and regreasing or gear replacement.
- High-Pitched Squealing: This is frequently the sound of worn motor brushes arcing. Check the brushes as described above.
- Clicking (When Trigger is Pulled but Drill Doesn’t Spin): This could be a faulty trigger switch, a dead battery, or a serious internal fault like a broken gear. The clicking is often the electronic control trying to activate.
Preventive Maintenance: Keep Your Drill Running Smoothly
The best repair is the one you never have to make. Simple habits extend your drill’s life.
- Keep it Clean: Blow out vents and the chuck with compressed air after dusty jobs.
- Store Batteries Properly: Store batteries in a cool, dry place, partially charged if not used for long periods.
- Use Sharp Bits: A sharp drill bit or driver bit requires less force, putting less strain on the drill and battery. This is a key principle when learning how to use a drill for screws into a wall effectively.
- Don’t Drop It: Avoid physical impacts that can damage internal components or crack the housing.
Conclusion: Empowered Troubleshooting
A malfunctioning cordless drill doesn’t have to be a disaster. By working through this guide logically—starting with the battery, moving to the chuck, and then considering internal components—you can diagnose most issues. Many fixes, like cleaning terminals or replacing motor brushes, are simple and inexpensive. Knowing when a repair is within your skill set and when it’s time to retire the tool or call a professional is the mark of a savvy DIYer. With this knowledge, you’re not just fixing a tool; you’re gaining confidence and saving money for your next big project. Now, go grab that drill and see what you can fix!
