
This guide reveals professional techniques to transform your cordless drill skills from beginner to expert. You’ll learn proper grip, speed control, bit selection, and advanced methods for clean, precise work every time. Discover battery management secrets and troubleshooting solutions that save time and frustration on any project.
Key Takeaways
- Master your grip and stance: Hold the drill firmly with both hands, stand with balanced footing, and apply steady pressure for maximum control and accuracy.
- Understand speed and torque settings: Use low speeds for driving screws and high speeds for drilling holes; adjust torque to prevent stripping or damaging materials.
- Choose bits wisely: Match drill bits to your material—wood, metal, or masonry—and keep them sharp and properly secured in the chuck.
- Practice makes perfect: Start with scrap material to build muscle memory before tackling important projects.
- Maintain your battery: Charge correctly, store at room temperature, and avoid complete drainage to extend battery life and runtime.
- Prevent common problems: Learn to avoid cam-out, stripped screws, and overheating through proper technique and tool maintenance.
- Safety first: Always wear eye protection, secure your workpiece, and keep your workspace clean for accident-free drilling.
Introduction: Transform Your Drilling Skills Today
Your cordless drill sits in your toolbox, ready for action. But are you truly getting the most from this versatile powerhouse? Most DIYers and even some pros never unlock their drill’s full potential. They struggle with stripped screws, crooked holes, and frustrating tool failures. This guide changes everything. You’ll discover the exact cordless drill skill improvement tips that professionals use daily. We cover everything from basic grip techniques to advanced precision methods. By the end, you’ll drill cleaner holes, drive screws perfectly, and work faster with less fatigue. No more guesswork. No more mistakes. Just confident, professional results on every project.
Mastering the Basics: Grip, Stance, and Pressure
Great cordless drill skills start with your body, not your tool. Proper technique prevents injuries and delivers precision. Let’s build your foundation.
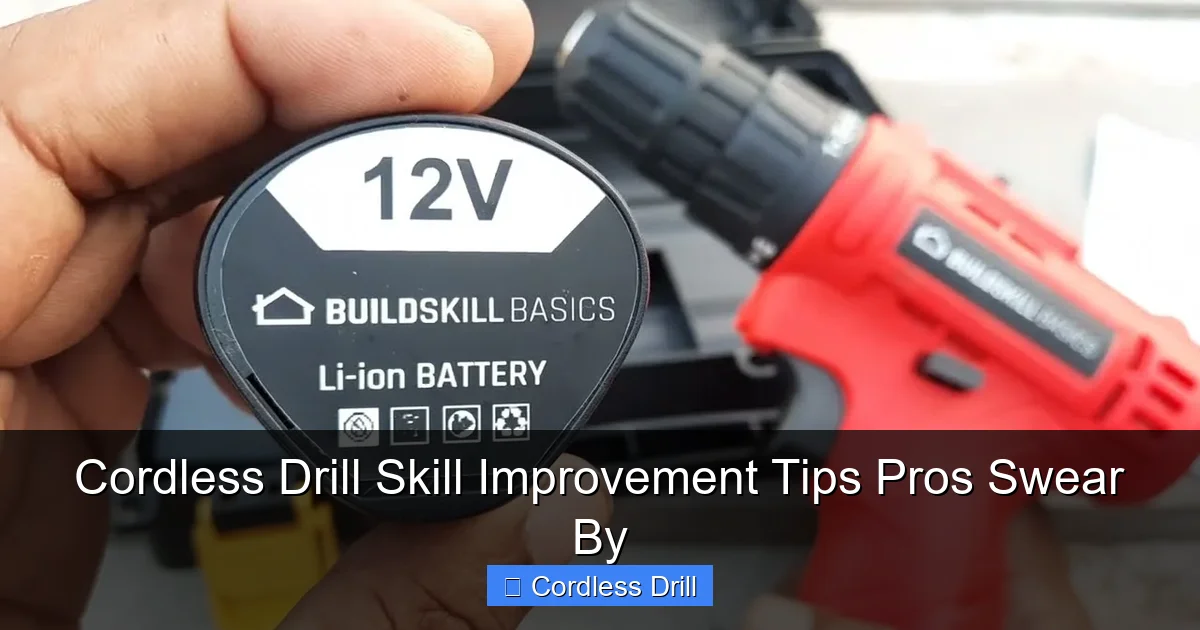
Visual guide about Cordless Drill Skill Improvement Tips Pros Swear By
Image source: i.ytimg.com
The Proper Grip Technique
Hold your drill like you mean it, but don’t crush it. Place your dominant hand on the pistol grip, wrapping your fingers naturally around the handle. Your thumb should rest along the side, not over the trigger. Your non-dominant hand supports the front of the drill or the battery pack base. This two-handed grip gives you maximum control and reduces wrist strain.
Keep your wrists straight and aligned with your forearms. Bent wrists cause fatigue and wobble. Imagine you’re holding a delicate bird—firm enough to control it, gentle enough not to hurt it. This balance gives you power without sacrificing accuracy.
Body Positioning and Stance
Your feet matter more than you think. Stand with your feet shoulder-width apart, one foot slightly forward. This athletic stance keeps you balanced and ready to move. Keep your knees slightly bent, not locked. Your body should face the work directly, not twisted to the side.
Position yourself so your drilling arm extends fully but not locked. You want a straight line from your shoulder through your wrist to the drill bit. This alignment transfers power efficiently and keeps the bit perpendicular to your work surface. Practice this stance in front of a mirror until it feels natural.
Applying the Right Amount of Pressure
Let the drill do the work. Pushing too hard damages bits, burns out motors, and creates crooked holes. Apply steady, moderate pressure—just enough to keep the bit engaged. For most materials, this means letting the drill’s weight provide most of the force.
Different materials need different touch. Wood requires light pressure. Metal needs firm, consistent pressure. Masonry demands steady force without hammering (unless you’re using a hammer drill). Practice on scrap pieces to develop your feel. You’ll hear and feel when you’ve found the sweet spot.
Understanding Your Drill’s Settings and Features
Your cordless drill has more brains than you think. Understanding its settings unlocks precision and prevents frustration. Let’s decode the controls.
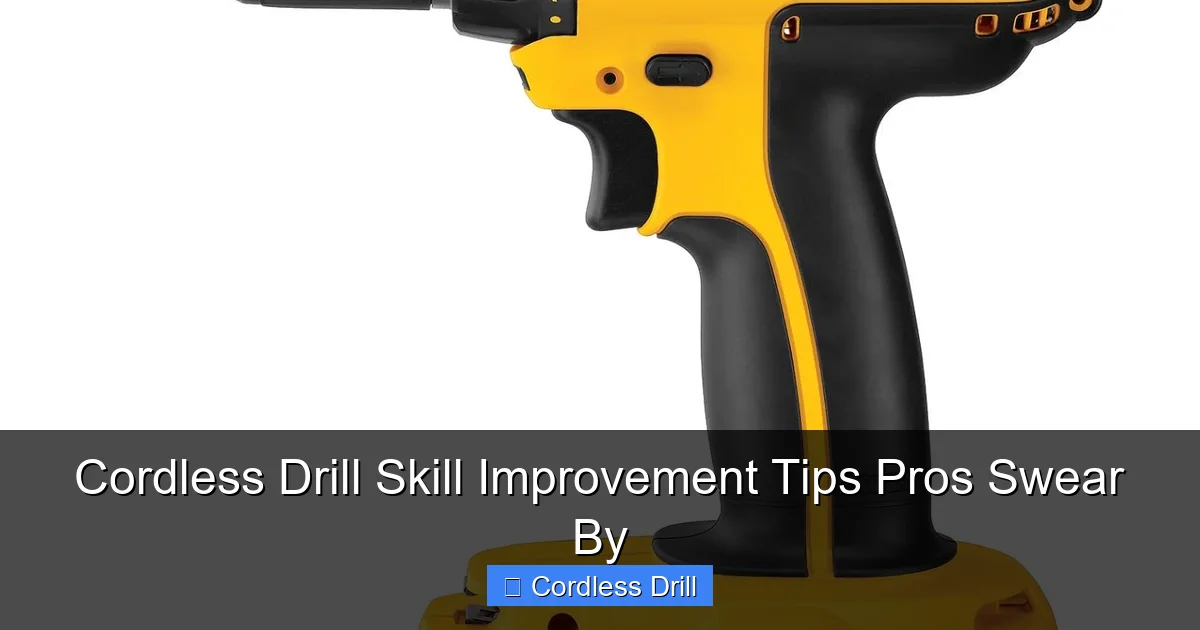
Visual guide about Cordless Drill Skill Improvement Tips Pros Swear By
Image source: images-na.ssl-images-amazon.com
Speed Control Mastery
Your drill has two speed ranges, usually marked 1 and 2. Low speed (0-500 RPM) delivers maximum torque for driving screws and boring large holes. High speed (0-1,500+ RPM) works best for drilling small holes in metal and plastic.
The variable speed trigger is your best friend. Light pressure gives you slow, controlled starts. This prevents bits from walking and screw heads from stripping. Gradually increase pressure as needed. Think of the trigger like an accelerator—smooth and progressive, not on/off.
Torque Settings Demystified
Torque settings control how much force the drill applies before the clutch slips. Lower numbers work for small screws. Higher numbers handle large screws and drilling. Always start low and increase as needed.
Most drills have 15-25 torque settings. The clutch prevents stripping screw heads and damaging materials. When the drill reaches the set torque, you’ll hear a clicking sound. This is normal—it means the clutch is protecting your work. For soft materials, use lower settings. Hard materials need higher torque.
Choosing the Right Chuck Size
Your chuck holds bits securely. Most cordless drills have 3/8-inch or 1/2-inch chucks. The size refers to the maximum shank diameter it accepts. A 1/2-inch chuck handles larger bits and provides more gripping power.
Always tighten the chuck fully. A loose bit spins, damages the chuck, and creates inaccurate holes. Most drills come with a keyed chuck. Keep the key nearby but never leave it in the chuck when drilling—it can fly out dangerously. Keyless chucks work great for quick changes, but keyed chucks offer superior grip for heavy-duty work.
Bit Selection and Maintenance
The right bit makes or breaks your project. Using the wrong bit dulls quickly, creates messy holes, and can even damage your drill.
Visual guide about Cordless Drill Skill Improvement Tips Pros Swear By
Image source: thumbs.dreamstime.com
Matching Bits to Materials
Wood bits have sharp points and wide flutes. They cut fast and clear chips efficiently. Use brad-point bits for precise wood holes. Spade bits work for larger openings.
Metal bits are harder and have a different tip angle. They cut slower and need more pressure. Always use cutting oil when drilling thick metal. Masonry bits have carbide tips and a special flute design. They hammer and grind through concrete and brick. Never use a wood bit on metal—it will dull instantly and may break.
Keeping Bits Sharp and Secure
A dull bit fights you. It requires excessive pressure, creates rough holes, and overheats. Check your bits regularly. If they smoke or struggle, they need sharpening or replacing.
Store bits in a case to protect their edges. When installing a bit, make sure it’s centered in the chuck and fully inserted. Wiggle it gently after tightening—if it moves, retighten. A secure bit runs true and produces clean, accurate holes.
Advanced Techniques for Precision Work
Ready to level up? These professional techniques separate good work from great work. Practice them on scrap material first.
Pilot Holes and Countersinking
Always drill pilot holes for screws. They prevent splitting wood and make driving screws easier. The pilot hole should be slightly smaller than the screw’s core diameter.
Countersinking creates a recess for screw heads to sit flush. Use a countersink bit or the special attachment that came with your drill. Drill slowly and stop when the head sits perfectly level with the surface. For visible screws, use a counterbore to create a hole for a plug.
Driving Screws Like a Pro
Start screws by hand to prevent cross-threading. Once threaded, switch to your drill. Use low speed and moderate torque. Keep the drill perpendicular to the surface.
Stop before the screw head touches the material. Let the clutch finish the job. This prevents overdriving and stripping. For Phillips heads, use a bit that fits snugly—not too loose, not too tight. A loose bit cam-outs. A tight bit damages the screw.
Avoiding Stripped Screws and Cam-Out
Cam-out happens when the bit slips out of the screw head. It strips the screw and ruins your work. Prevent it with the right bit size and firm, straight pressure.
Use fresh bits for screw driving. Worn bits slip easily. Apply steady downward pressure while driving. Don’t let the bit bounce. If you feel resistance, stop and check. You might be hitting a knot or the screw is too tight. Back out slightly and try again.
Working with Different Materials
Each material has its personality. Learn its secrets for perfect results every time.
Drilling Into Wood
Wood is forgiving but needs the right approach. Use brad-point bits for clean, accurate holes. Clamp your workpiece to prevent spinning. Start at a slight angle to create a starter groove, then straighten up for the full hole.
Drill with the grain when possible. Drilling across grain can cause splintering. For through holes, place a scrap board behind your work to prevent tear-out on the backside. Pull the bit out slowly while it’s still spinning to clear chips.
Drilling Into Metal
Metal demands patience. Secure your work in a vise. Mark your spot with a center punch—this prevents the bit from wandering. Start with a small pilot hole, then step up to your final size.
Use cutting oil on thick metal. It cools the bit and extends its life. Drill at slow speeds with firm pressure. Let the bit cut—don’t force it. Peck drill by pulling out every 1/4 inch to clear chips and cool the bit. This prevents overheating and bit breakage.
Drilling Into Masonry
Standard drills struggle with concrete and brick. For occasional holes, you can use a masonry bit and steady pressure. But for serious work, consider a hammer drill. These tools combine rotation with a hammering action that pulverizes masonry.
If using a regular cordless drill, work slowly and apply firm pressure. Clear dust frequently by pulling the bit out. For holes deeper than 2 inches, use the peck drilling method. Always wear eye protection—masonry chips fly.
Understanding the difference between a hammer drill and regular drill helps you choose the right tool. Hammer drills have a special mechanism that creates rapid hammer blows. This makes them essential for masonry work. Regular drills work fine for wood and metal but will overheat quickly in concrete.
Battery Management and Tool Maintenance
Your battery is your drill’s lifeblood. Treat it well, and it will serve you faithfully for years.
Maximizing Battery Life
Modern lithium-ion batteries don’t suffer from memory effect. Still, proper care extends their life. Avoid completely draining the battery. Recharge when you notice reduced power, not when it dies.
Store batteries at room temperature, not in your hot garage or freezing shed. Extreme temperatures damage cells. If storing for months, leave them at 40-60% charge. Never leave batteries on the charger indefinitely—most modern chargers stop automatically, but it’s safer to unplug when full.
Regular Cleaning and Care
Clean your drill after every use. Wipe off dust and grime with a dry cloth. Blow out the vents with compressed air to prevent overheating. Check the chuck for debris and clean it with a small brush.
Inspect your battery contacts monthly. Clean them with a dry cloth if you see buildup. Lubricate the chuck threads occasionally with light oil. This keeps it turning smoothly. Store your drill in its case to protect it from moisture and impacts.
Troubleshooting Common Problems
Every tool has bad days. Learn to diagnose and fix common issues quickly.
Drill Won’t Start or Loses Power
First, check the battery. Is it fully charged? Are the contacts clean? Try a second battery if you have one. If the battery is good, check the power switch for debris.
Losing power under load often means a worn motor or a battery that can’t hold charge. If your drill is old, the brushes might need replacing. For occasional loss of power, let the drill cool down—it might be overheating.
Bits Keep Slipping or Falling Out
This is usually a chuck problem. Remove the chuck and inspect it for damage. Clean out any debris. Make sure you’re tightening it properly. For keyless chucks, try tightening it by hand first, then give it an extra quarter-turn with the supplied wrench.
If the chuck is worn, it won’t grip well. You’ll see the bit spinning in the chuck. Replacement chucks are inexpensive and easy to install. Don’t wait—a slipping bit can ruin your project or cause injury.
Overheating Issues
Overheating happens when you push too hard or work too long. Let your drill rest for 5-10 minutes if it gets too hot to touch. Check the vents—are they blocked with dust? Clean them immediately.
Using the wrong speed causes overheating. High speed in thick metal generates excessive heat. Switch to low speed for heavy work. Also, ensure you’re using the right bit. A dull bit works harder and creates more heat.
Conclusion: Your Journey to Drill Mastery
Improving your cordless drill skills takes practice, but the payoff is immense. You’ll work faster, safer, and with professional-quality results. Remember to master your grip and stance first. Then learn your drill’s settings inside and out. Choose the right bits and maintain them properly. Practice advanced techniques on scrap material before your main project.
Your cordless drill is a precision instrument, not a hammer. Treat it with respect, and it will serve you for years. Keep this guide handy as a reference. Review the tips before each project. Soon, these techniques will become second nature. You’ll look at a project and know exactly how to tackle it with confidence. That’s the mark of a true pro.
Ready to Choose Your Next Drill?
Now that you know how to use a cordless drill like a professional, you might be ready for an upgrade. Check out our comprehensive guide to the best cordless drill options on the market. We compare features, battery life, and value to help you make the perfect choice for your needs.
