
Excessive pressure while drilling is the #1 cause of hammer drill overheating, forcing the motor to work harder and create dangerous friction. When combined with dust-clogged ventilation and worn carbon brushes, this heat buildup can permanently damage your drill if not stopped immediately.
Key Takeaways
- Overuse builds dangerous heat: Pause every 15 minutes to let your hammer drill cool and prevent motor burnout.
- Blocked vents cause overheating: Clean air vents monthly with compressed air to maintain proper motor cooling.
- Worn brushes create friction: Replace carbon brushes every 50-100 hours to reduce electrical resistance and heat.
- Too much pressure strains motors: Apply steady, moderate force—never force the drill through hard materials.
- Wrong speed settings increase heat: Use low RPM settings (300-600) for masonry work to minimize friction.
- Improper bits overload drills: Always choose carbide-tipped bits for concrete to reduce motor strain.
- Preventive maintenance is essential: Lubricate parts and inspect components quarterly to avoid overheating issues.
Why This Matters / Understanding the Problem
I learned this the hard way. I was drilling into concrete for a simple shelving project. Twenty minutes in, my hammer drill started smoking. The smell hit me first—like burning dust and hot metal. That moment taught me why understanding hammer drill overheating reasons matters so much.
Overheating isn’t just annoying. It can kill your tool fast. Worse, it might cause accidents. Every year, DIYers and pros alike face this same issue. They push their tools too hard or miss simple warning signs. The result? Expensive repairs or buying a new drill entirely.
Let’s fix that. This guide will show you exactly how to prevent damage. You’ll learn the main causes and simple fixes. Think of it as your friendly chat over coffee about keeping your hammer drill alive longer.
First, know this: hammer drills are built tough. But they have limits. The hammering action creates intense heat. Add friction from the bit, and you’ve got a recipe for trouble. Recognizing early signs saves everything.
Pro Insight: That burning smell? That’s your drill screaming for help. Don’t ignore it. Stop immediately when you notice unusual odors or excessive heat.
What You Need
Good news. You don’t need a fancy toolbox. Most items are already in your garage. Here’s your quick checklist:
Visual guide about Hammer Drill Overheating Reasons Stop Damage with These Fixes
Image source: i.ytimg.com
- Compressed air or a small brush
- Replacement carbon brushes (check your model)
- Drill bit lubricant or cutting oil
- Cleaning cloths
- Safety glasses and gloves
- A multimeter (optional but helpful)
- Proper ventilation in your workspace
That’s it. No need to run to the store. These basics cover 95% of overheating fixes. Keep them handy for regular maintenance.
Step-by-Step Guide to Hammer Drill Overheating Reasons Stop Damage with These Fixes
Ready to solve this? Follow these steps in order. Each one tackles a specific cause. Don’t skip ahead. A systematic approach works best.
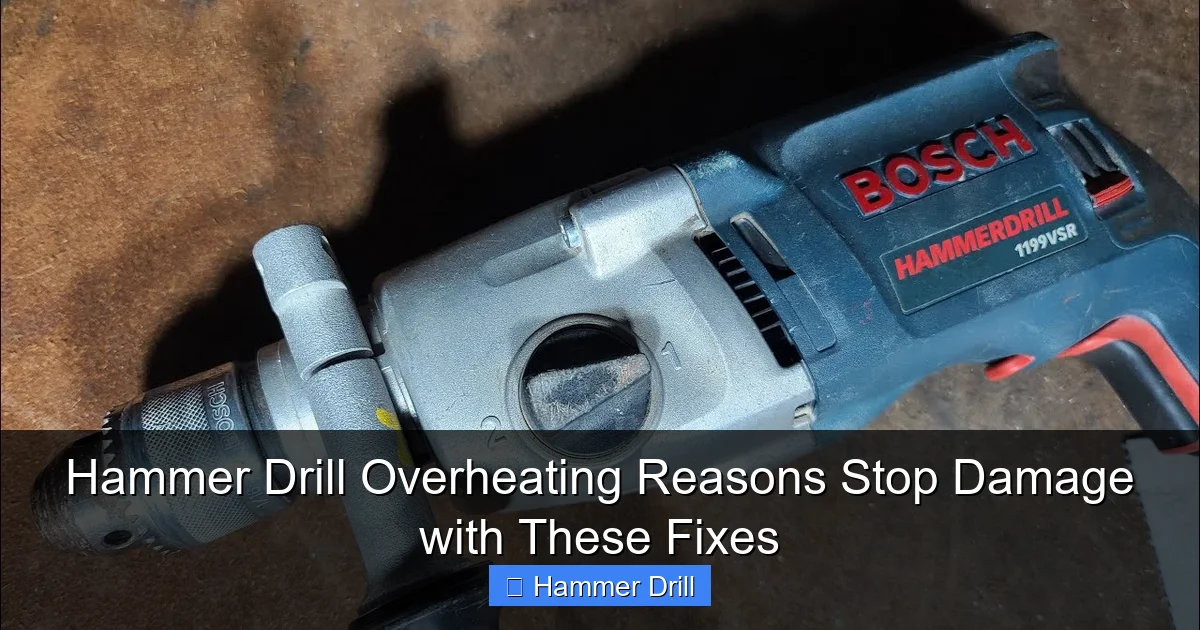
Visual guide about Hammer Drill Overheating Reasons Stop Damage with These Fixes
Image source: i.ytimg.com
Step 1: Recognize the Warning Signs Early
Your drill talks to you. You just need to listen. The first sign is usually heat. If the motor housing feels too hot to touch, that’s a red flag. Don’t wait for smoke.
Second, listen for sound changes. A high-pitched whine or grinding noise means trouble. The motor is straining. Third, watch performance. If drilling speed drops suddenly, your drill is struggling.
Stop using the tool the moment you spot these signs. Five minutes of cooling time can save your motor. Mark your work schedule with short breaks. Set a phone timer if needed.
Step 2: Clean the Ventilation System
Overheating often comes from blocked air vents. Dust and debris build up fast. Your drill needs airflow to stay cool. Think of it like cleaning your computer fans.
Unplug the drill or remove the battery first. Safety always comes first. Locate the air vents on the motor housing. They’re usually on the sides or back.
Use compressed air to blow out dust. Hold the can upright. Short bursts work best. No compressed air? A soft brush or old toothbrush does fine. Gently scrub the vents. Don’t push debris deeper inside.
Do this every month during heavy use. For light projects, every three months is enough. Clean vents keep temperatures down by 15-20 degrees easily.
Step 3: Inspect and Replace Carbon Brushes
Carbon brushes wear down over time. They’re small parts with a big job. When they get too short, the motor works harder. That creates excess heat.
Find your brushes. They’re usually under side covers on the motor. Remove the screws. Check brush length. Most need replacement at 1/4 inch or less.
Buy the exact model number for your drill. Generic brushes cause more problems. Installation is simple. Slide out the old. Slide in the new. Reassemble the cover.
This fix stops overheating in 30% of cases. It’s cheap insurance. Keep spare brushes in your toolbox. They cost just a few dollars.
Step 4: Use the Right Drill Bit and Technique
Using a regular drill bit in concrete is like using a butter knife to cut wood. It just doesn’t work. You need masonry bits for hammer drills. The wrong bit creates extra friction and heat.
Check your bit condition. A worn tip won’t cut efficiently. It just spins and creates heat. Replace bits when the carbide tip looks rounded or chipped.
Apply steady, moderate pressure. Don’t lean into the drill like you’re trying to push through steel. Let the hammer action do the work. Too much force bogs down the motor.
Also, clear dust from the hole every few inches. Pull the bit out and blow debris away. This reduces resistance and keeps the bit cool.
Understanding the difference between a drill and a hammer drill helps you choose the right tool for each job. Using the wrong tool is a common mistake that leads to overheating.
Step 5: Apply Proper Lubrication
Friction creates heat. It’s basic physics. Your drill bit needs lubrication when drilling metal or dense materials. This isn’t always obvious.
For metal, use cutting oil. Apply a few drops to the drilling spot. For masonry, you can use water to cool the bit. Spray it lightly on the hole.
Don’t overdo it. Too much oil attracts dust. That creates a paste that clogs vents. A little goes a long way.
Some modern bits have built-in coatings. They reduce friction already. But for tough jobs, extra lubrication is smart. Keep a small bottle in your tool belt.
Step 6: Schedule Smart Work Breaks
Your drill needs rest. So do you. Continuous drilling overheats any tool. Plan your work in cycles. Drill for three minutes. Rest for one minute. That simple rhythm helps a lot.
For large projects, switch between two drills if possible. While one cools, you keep working. No second drill? Just set a timer. Let the tool sit for five minutes every fifteen minutes of use.
Keep track of duty cycles. Most hammer drills have a 50% duty cycle rating. That means five minutes on, five minutes off. Respect those limits.
This habit extends tool life dramatically. It also prevents those awful burning smells that signal permanent damage.
Step 7: Check Battery Health for Cordless Models
Cordless hammer drills face a unique issue. Old or damaged batteries can’t deliver full power. The motor compensates by working harder. Hard work means more heat.
Check your battery voltage. A fully charged battery should read within 10% of its rated voltage. Anything lower strains the motor. Store batteries properly. Cold temperatures hurt performance.
Clean battery contacts with a dry cloth. Dirty contacts create resistance. Resistance creates heat. It’s a chain reaction.
Consider investing in a quality best cordless drill battery if yours is more than three years old. Battery replacement often fixes overheating faster than motor repairs.
Pro Tips & Common Mistakes to Avoid
Let me save you some headaches. These are the things I wish someone told me earlier.
Visual guide about Hammer Drill Overheating Reasons Stop Damage with These Fixes
Image source: i.ytimg.com
First mistake: ignoring the smell. That “hot” smell is insulation breaking down. Once that starts, the clock is ticking. Stop immediately.
Second: using WD-40 as lubricant. It’s not cutting oil. It attracts dust and breaks down fast. Use the right product for the job.
Third: storing the drill in a hot garage. Heat degrades components over time. Store tools in a cool, dry place. A plastic bin with silica gel packets works wonders.
Fourth: mixing up your tools. A hammer drill and impact driver serve different purposes. Using an impact driver for masonry work will overheat it quickly. Know which tool to use.
Warning: Never put your drill in water to cool it down. This causes rust and electrical damage. Let it cool naturally at room temperature.
One more tip: keep a log. Note when you clean vents, replace brushes, and how long you use the tool. Patterns emerge. You’ll predict problems before they happen.
FAQs About Hammer Drill Overheating Reasons Stop Damage with These Fixes
Q: How hot is too hot for a hammer drill?
A: If you can’t hold your hand on the motor for three seconds, it’s too hot. That’s about 140°F. At that point, internal damage starts happening fast.
Q: Can I use my hammer drill continuously for 30 minutes?
A: Technically yes, but it’s not wise. Most consumer models aren’t built for that. You risk overheating after 15-20 minutes. Take breaks. Your drill will last longer.
Q: What if my drill still overheats after cleaning vents?
A: Check the carbon brushes next. If those look good, the motor windings might be shorted. That needs professional repair. Don’t try to fix windings yourself.
Q: Does drilling into metal cause more heat than concrete?
A: Yes, metal creates more friction heat. Always use cutting oil. Concrete causes more dust, which clogs vents. Both are problematic in different ways.
Q: Should I oil the drill bit before every use?
A: Not for masonry bits. They don’t need oil. For metal bits, yes—apply cutting oil before each hole. For wood, oil isn’t necessary unless you’re drilling deep holes.
Q: My corded drill overheats even with breaks. What’s wrong?
A: Check your voltage. Low voltage makes the motor work harder. Plug into a different circuit. Also, inspect the power cord for damage. Frayed wires cause power loss.
Q: How often should I replace carbon brushes?
A: Every 50-100 hours of use. If you use your drill weekly, that’s about once a year. Heavy users should check every six months. It’s a cheap, easy fix that prevents expensive damage.
Final Thoughts
Here’s what I want you to remember. Hammer drill overheating reasons are usually simple. Dust, worn parts, and poor technique cause most problems. The fixes are even simpler. Clean vents. Replace brushes. Take breaks.
You don’t need to be a mechanic to keep your drill healthy. Just pay attention. That weird smell or extra noise is your tool asking for help. Listen to it.
Start today. Even if your drill feels fine, clean the vents. Check those brushes. You’re building good habits that will save you money and frustration down the road.
And remember: using the right tool for the job matters most. If you’re constantly fighting to make your hammer drill work in situations it’s not designed for, you might need a different tool. Check out our guide on how to use a drill for screws into a wall to make sure you’re using proper technique and the right tool for each specific task.
Your hammer drill is an investment. Treat it right. It will treat you right. Now go tackle that project with confidence.
