
A hammer drill is a powerful, versatile tool for the modern DIYer. This guide walks you through its everyday uses, from simple picture hanging to installing masonry anchors. You’ll learn how to operate it safely and choose the right tool for your projects.
Key Takeaways
- Master Masonry with Ease: A hammer drill’s defining feature is its ability to bore into concrete, brick, and stone, making projects like shelf installation on block walls possible.
- Versatility is Key: Most hammer drills function as regular drills and drivers, allowing you to drill wood, drive screws, and tackle masonry with one tool.
- Bit Selection is Crucial: Always use carbide-tipped masonry bits for hammer drilling. Using the wrong bit can damage the material and the tool.
- Safety Cannot Be Overstated: Essential safety gear includes safety glasses, a dust mask, and hearing protection due to the noise and debris generated.
- Start Simple, Build Confidence: Begin with a straightforward project, like installing a wall anchor in drywall (with the hammer function OFF), to get a feel for the tool.
- Know When to Use It: Use the hammer function only for masonry or very hard materials. For wood, metal, or driving screws, switch to the standard drill/drive mode.
- Corded vs. Cordless Matters: For heavy, prolonged masonry work, a corded hammer drill offers consistent power. For general home use and convenience, a modern cordless drill with hammer function is often sufficient.
Everyday Hammer Drill Uses for Your Home Projects
Is that powerful tool in your garage or hardware store aisle a mystery to you? You’re not alone. Many homeowners hear “hammer drill” and think it’s only for professional contractors tearing up sidewalks. But the truth is, a hammer drill is one of the most useful tools you can own for everyday home improvement. It bridges the gap between a standard drill and the brute force needed for tough materials.
This guide will demystify the hammer drill. We’ll explore what it is, how it differs from your regular drill, and walk you through step-by-step projects you can tackle this weekend. By the end, you’ll see your hammer drill not as a specialized beast, but as a go-to tool for making your home projects stronger, faster, and more professional.
What is a Hammer Drill, Really?
Let’s clear up the confusion first. A hammer drill is a power drill with a special, percussive function. When you engage the “hammer” mode, the drill bit doesn’t just spin—it also hammers forward in rapid, short bursts, thousands of times per minute. This hammering action is what pulverizes hard, brittle materials like concrete, brick, and stone, allowing the spinning flutes of the drill bit to clear away the dust.
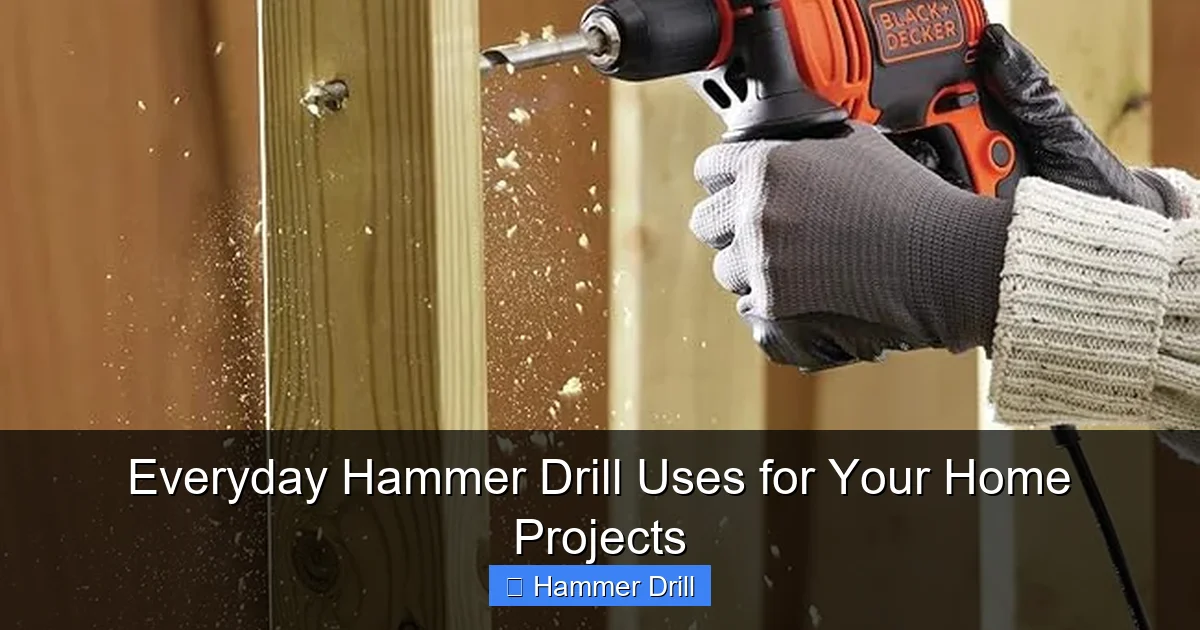
Visual guide about Everyday Hammer Drill Uses for Your Home Projects
Image source: images-na.ssl-images-amazon.com
It’s critical to understand that a hammer drill is not the same as an impact driver. An impact driver delivers sudden, rotational force (torque) to drive stubborn screws. A hammer drill delivers linear, forward force to break up masonry. Most combo kits include both because they are a powerhouse team for building and installing. For a deeper dive on the differences, our guide on the difference between a hammer drill and regular drill breaks it down in detail.
For 95% of home projects, a hammer drill with a “hammer-only” or “drill-only” selector switch is perfect. This versatility makes it a brilliant single-tool solution.
Your First Hammer Drill Project: Hanging a Heavy Shelf on a Masonry Wall
This is a classic project where a hammer drill shines. You can’t just screw into brick or concrete block. You need to drill a clean hole and insert a specialized anchor.
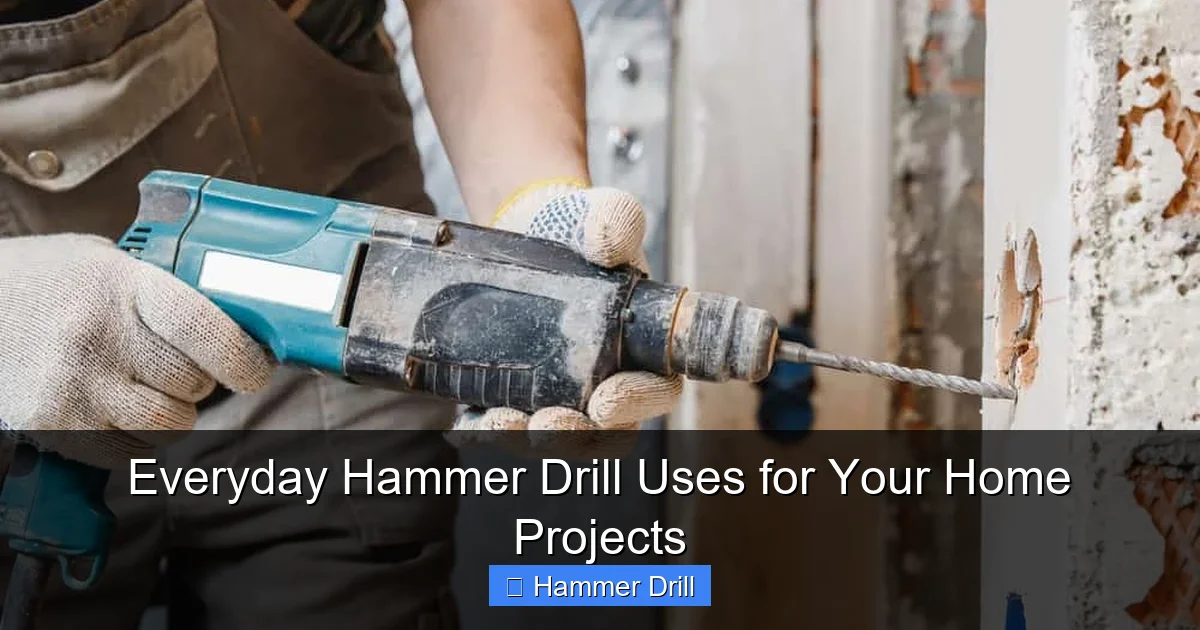
Visual guide about Everyday Hammer Drill Uses for Your Home Projects
Image source: propertyworkshop.com
Gather Your Tools and Materials
You will need your hammer drill, a carbide-tipped masonry drill bit sized for your wall anchors, a vacuum or brush, safety glasses, a dust mask, ear protection, a pencil, a level, your shelf and brackets, masonry anchors (like sleeve anchors or wedge anchors), and a hammer.
Mark and Prepare the Wall
Use your level and pencil to mark exactly where the shelf brackets will go. Double-check your measurements! Hold the bracket up and mark the center of each screw hole on the wall with a clear pencil “X”.
Drill the Pilot Holes
This is the key step. Insert the correct masonry bit into your hammer drill chuck and tighten it securely. Set the tool to Hammer Drill Mode (the icon usually looks like a drill bit hitting a wall). Put on all your safety gear. Hold the drill perpendicular to the wall. Start at a slow speed to create a dimple, then increase speed while applying firm, steady pressure. Don’t force it; let the tool do the work. Drill to the depth required by your anchor, pulling out occasionally to clear dust.
Clean and Insert Anchors
Use the vacuum or a brush to thoroughly clean all dust from the hole. This is vital for the anchor to grip properly. Tap your masonry anchor into the hole with a hammer until it’s flush with the wall surface.
Attach the Bracket and Shelf
Line up your bracket with the holes. For many anchors, you will now use the hammer drill in its Standard Drill/Driver Mode (hammer function OFF) to drive the provided screw or bolt into the anchor, which expands it and locks it in place. Once the brackets are secure, place your shelf on top.
More Everyday Hammer Drill Projects
Once you’ve mastered a shelf, the world opens up. Here are more projects perfect for your hammer drill.

Visual guide about Everyday Hammer Drill Uses for Your Home Projects
Image source: i.ytimg.com
1. Installing Curtain Rods or Blinds into a Window Frame
Window and door frames are often made of tough materials. Using your hammer drill (with hammer mode ON if it’s masonry, OFF if it’s very hard wood or metal) ensures clean, precise holes for a sturdy installation that won’t sag over time.
2. Building a Retaining Wall or Fire Pit
For landscaping projects using concrete blocks or pavers, you may need to drill drainage holes or create channels for wiring. A hammer drill with a long masonry bit is the ideal tool for this job.
3. Securing a TV Mount to a Concrete or Brick Wall
This is a safety-critical task. TVs are heavy and expensive. Mounting directly into studs is best, but in basements or certain rooms, you may hit masonry. A hammer drill allows you to use the strongest possible concrete anchors for absolute peace of mind.
4. Anchoring a Playset or Swing Set into the Ground
To prevent a playset from tipping, you often need to anchor its legs into concrete footings. Drilling into cured concrete to set anchor bolts is a textbook job for a hammer drill.
5. Putting Up Outdoor String Lights
To run lights along your house’s exterior or a brick garden wall, you need to secure hooks or clips. A quick, small hole with your hammer drill and a plastic masonry anchor gives you a secure attachment point that can withstand the weather.
Pro Tips and Troubleshooting
Even with the right tool, things can go wrong. Here’s how to handle common issues.
My Drill Bit is Getting Hot and Not Progressing
Stop immediately. You are likely using a standard twist drill bit on masonry. Masonry destroys regular bits. You must use a carbide-tipped masonry bit. Also, ensure the hammer function is actually engaged. If you’re using the right bit, apply less pressure and let the hammer action do the breaking.
The Hole is Ragged or Too Big
This is often caused by a worn-out drill bit. Carbide tips dull over time. Inspect your bits regularly and replace them. Also, make sure you aren’t “wobbling” the drill. Keep it perfectly straight.
I Hit Something Hard (Like Rebar) in Concrete
This happens. Do not force through it, as you can severely damage your bit and tool. Stop drilling. You have two options: move your project location slightly to avoid the rebar, or if you must be in that spot, switch to a dedicated rebar-cutting drill bit (which is expensive). For most home projects, moving over an inch is the simplest fix.
Choosing the Right Mode: When to Hammer and When Not To
This is the most important skill. Use Hammer Mode ONLY on masonry, concrete, brick, stone, or very hard tile. Never use hammer mode on wood, metal, drywall, or when driving screws. It will destroy the material, the bit, and potentially your tool. For those tasks, always switch back to standard drill or driver mode. If you’re confused about which mode to use for a basic screw, our guide on how to use a drill for screws into a wall covers the fundamentals.
Conclusion: Your New DIY Partner
A hammer drill might seem intimidating at first glance. But as you’ve seen, its true power lies in its ability to handle the jobs a regular drill can’t, turning impossible tasks into simple weekend projects. From securing bookshelves to building backyard oases, it empowers you to work with the toughest materials in your home. Start with a small project, respect the tool’s power by always using safety gear, and remember the golden rule: hammer for masonry, drill for everything else. Before long, you’ll wonder how you ever managed your home without this versatile powerhouse in your toolkit.
