
Drilling into tile with a hammer drill requires precision to avoid costly cracks. This guide walks you through the entire process, from choosing the correct drill bit and setting your tool to the perfect technique for a clean, professional result. Follow these steps to confidently install fixtures without damaging your beautiful tilework.
Drilling a hole in tile can fill even seasoned DIYers with dread. One wrong move, and you’re staring at a hairline crack spiderwebbing across a beautiful, expensive tile. But it doesn’t have to be that way. With the right knowledge and a steady hand, you can use your hammer drill to create perfect, clean holes for towel bars, toilet paper holders, shower fixtures, and more.
This guide is your complete roadmap. We’ll demystify the process, explain why a hammer drill differs from a regular drill, and walk you through every critical step. You’ll learn not just how to do it, but *why* each step is important. Let’s turn that anxiety into confidence.
Key Takeaways
- Use a Hammer Drill in Rotation-Only Mode: For almost all tile drilling, the hammering action must be turned off. The “rotation” or “drill” setting prevents cracking from the percussive blows meant for masonry.
- Carbide-Tipped Bits are Non-Negotiable: Standard twist bits will fail on tile. You must use spear-tipped carbide masonry bits for ceramic or diamond-tipped core bits for porcelain and stone.
- Start Slow and Let the Bit Do the Work: Apply gentle, consistent pressure at a low to medium speed. High speed generates heat and increases the risk of the bit skating and chipping the glaze.
- Create a Pilot Guide with Masking Tape: Placing an “X” of masking tape over your mark prevents the drill bit from skating on the hard, glossy tile surface and provides a perfect starting point.
- Cool the Bit Frequently: Especially with hard porcelain, pause every 10-15 seconds to dip the bit in water. This prevents the carbide tip from overheating and losing its sharpness.
- Transition Techniques Matter: Once through the tile, you may need to switch your drill to hammer mode if you hit concrete backer board or brick behind it. Adjust your technique and bit type for the subsurface.
Understanding Your Tool: The Hammer Drill’s Dual Personality
First, let’s clarify a major point of confusion. A hammer drill has two primary functions: rotation and hammering. The hammering action delivers rapid, short punches to help the bit grind through tough materials like concrete and brick. For tile, however, this pounding force is your enemy. It can easily crack the brittle ceramic or porcelain.
For tile drilling, you will almost exclusively use the rotation-only mode (often indicated by a single drill bit symbol). This turns your powerful hammer drill into a precision rotary tool. Knowing the difference between a drill and a hammer drill is key to using the right function for the job.
Gathering Your Supplies: The Right Gear for the Job
Success starts before you pull the trigger. Here’s what you need:
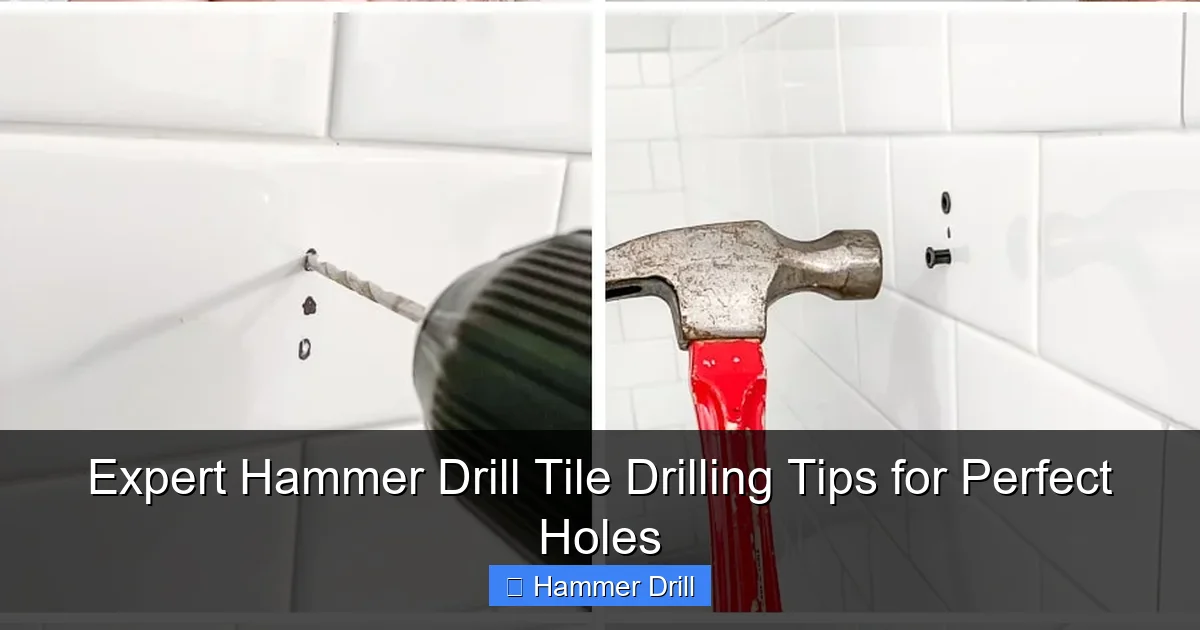
Visual guide about Expert Hammer Drill Tile Drilling Tips for Perfect Holes
Image source: maisondepax.com
- Hammer Drill: A corded or high-quality cordless drill with variable speed and a rotation-only setting.
- Correct Drill Bits:
- For Ceramic/Standard Porcelain: Spear-tipped carbide masonry bits. The sharp, angled tip is designed to bite into the hard surface without skating.
- For Hard Porcelain, Natural Stone, or Large Holes: Diamond-tipped core bits or hole saws. These are more expensive but essential for extremely hard materials.
- Masking Tape or Painter’s Tape: Your best friend for preventing chips and skate.
- Level and Measuring Tape: For accurate marking.
- Grease Pencil or Marker: To make a visible mark on the tile.
- Spray Bottle with Water or a Small Cup: For cooling the bit.
- Safety Gear: Safety glasses and a dust mask (tile dust is very fine and unpleasant to breathe).
Step-by-Step: The Foolproof Drilling Process
Step 1: Precise Planning and Marking
Measure twice, drill once is the golden rule. Use your level and measuring tape to find the exact spot. Once located, make a small, clear mark with your grease pencil. Pro Tip: For fixture installations requiring two holes (like a towel bar), measure and mark both holes before drilling the first.
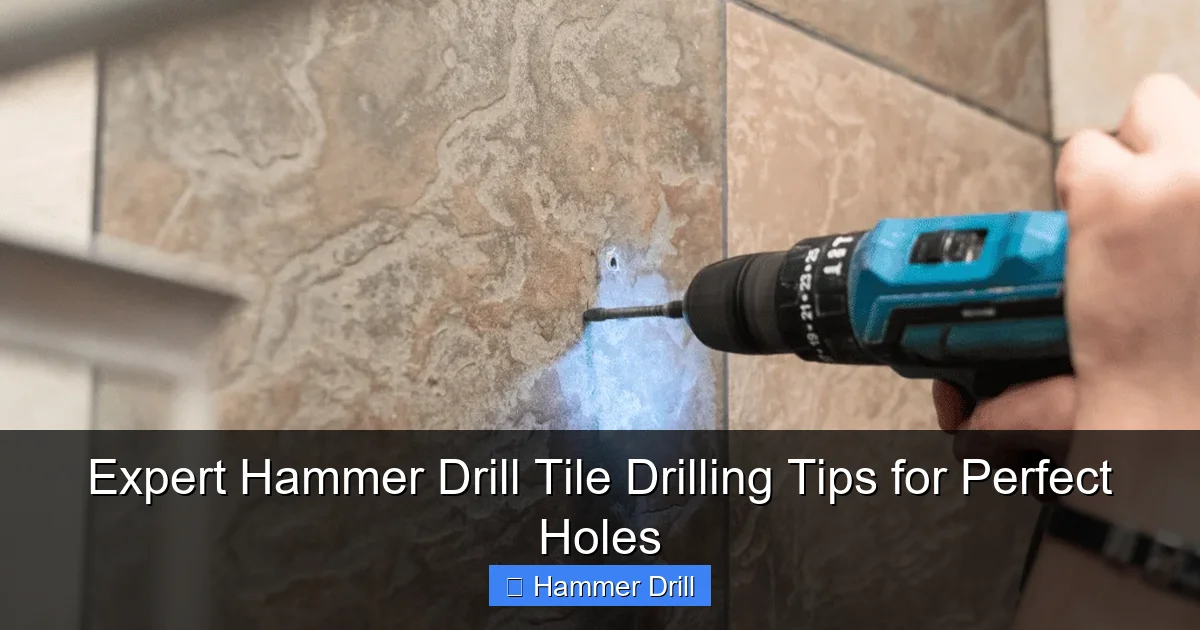
Visual guide about Expert Hammer Drill Tile Drilling Tips for Perfect Holes
Image source: ceramiccity.ie
Step 2: Applying the Guide Tape
This is a critical step. Place a small piece of masking tape directly over your mark, creating an “X” with a second piece. Press it down firmly. The tape serves two vital purposes: it gives the drill bit texture to grip onto, preventing it from “skating” across the smooth glaze, and it helps reduce chipping around the hole’s edge.
Step 3: Setting Up Your Hammer Drill
Insert your chosen carbide or diamond bit securely into the chuck. Now, on your drill’s selector switch, turn it to the rotation-only (drill) mode. Set the speed to a low or medium setting. If your drill has a clutch, set it to the drill icon (maximum torque).
Step 4: The Drilling Technique: Patience is Power
Position the drill bit perpendicular (90-degree angle) to the tile, right on your mark through the tape. Hold the drill firmly with both hands. Start the drill at its slowest speed with very light pressure. Let the bit’s tip establish a small groove or “dimple” in the tile. This is called “creating a pilot.”
Once the pilot is set, you can increase speed slightly to a medium pace. Apply steady, gentle, forward pressure. Do not force it. Let the abrasive action of the carbide or diamond tip do the cutting. You should see a fine powder, not chips.
Step 5: Cooling and Progress Checks
Especially with porcelain, friction heat is the enemy. Every 10-15 seconds, stop drilling, pull the bit out, and dip the tip in water to cool it. This prolongs the bit’s life and keeps it cutting efficiently. Blow or brush away dust from the hole to see your progress.
Step 6: Transitioning Through the Tile and Backing Material
You will feel a noticeable change in resistance once the bit punches through the tile. Stop immediately. Do not let the drill lunge forward. You are now likely hitting the wall behind it—drywall, cement backer board, or masonry.
For Drywall: Keep the drill in rotation-only mode and continue with light pressure. The bit will go through easily.
For Concrete Backer Board or Brick: This is where your hammer drill earns its name. Remove the bit from the hole. Switch the drill to hammer drill mode (hammer and drill bit symbol). You can now use more pressure and the hammer action to quickly drill through the tough backing material. If you need a deep anchor hole, you may even switch to a standard masonry bit for this portion.
Step 7: Finishing the Hole
Once the hole is complete, remove the drill and peel away the masking tape. You should be left with a clean, round hole with sharp edges. If there are any slight burrs on the tile edge, you can gently smooth them with a round file or the tip of a larger bit, turning it by hand.
Troubleshooting Common Tile Drilling Problems
- The bit is skating all over the tile: You didn’t use masking tape, started at too high a speed, or didn’t hold the drill perfectly perpendicular. Stop, reapply tape, and start again at the slowest speed.
- The tile is cracking around the hole: You likely had the hammer action turned on, applied too much pressure, or the tile was not properly supported (especially on a wall). Always use rotation-only mode for the tile layer.
- The bit isn’t cutting / is overheating: You are using the wrong bit (a standard steel bit) or not cooling a carbide bit. The bit may also be dull. Ensure you have a sharp, carbide-tipped bit and cool it with water frequently.
- Chipping on the backside (exit): This is common. To minimize it, place a piece of scrap wood behind the tile when drilling (if possible), and reduce pressure significantly as you feel the bit about to breakthrough.
Conclusion: Confidence Comes from the Right Technique
Drilling into tile with a hammer drill is a skill that marries the right tool with a delicate touch. Remember, the hammer drill’s power is there for the substrate behind the tile, not for the tile itself. By selecting the correct bit, using masking tape as a guide, starting slow, and keeping your bit cool, you will achieve professional, crack-free results every time. Whether you’re mounting a shelf or installing a new faucet, these expert hammer drill tile drilling tips empower you to tackle the project with assurance. Now, grab your drill, take a deep breath, and make that perfect hole.

Visual guide about Expert Hammer Drill Tile Drilling Tips for Perfect Holes
Image source: i.ytimg.com
