
Stop struggling with concrete and masonry—hammer drills are essential for efficient, professional results on tough materials. Our expert guide cuts through the confusion, delivering curated top picks for every budget and critical tips to maximize performance and safety. Stop guessing and start drilling with confidence using these proven recommendations.
How to Use a Hammer Drill: Your Complete Guide with Top Picks and Expert Tips
Let me tell you about the time I tried to hang a heavy mirror in my basement. I had a regular drill, some basic bits, and a can-do attitude. Ten minutes later, I had a smoking drill, a ruined bit, and a mirror that wasn’t going anywhere. That’s when a friend handed me his hammer drill. Suddenly, what seemed impossible became effortless. Today, I’m sharing everything I’ve learned about these powerful tools in this Hammer Drill Tool Guide Top Picks and Expert Tips.
Key Takeaways
- Choose hammer drills for masonry: Essential for effectively drilling into concrete, brick, and stone.
- Prioritize power and speed: Select 7+ amps corded or 18V+ cordless for tough materials.
- Select the right chuck size: 1/2-inch chucks deliver superior durability for heavy-duty work.
- Consider SDS-Plus shanks: Provides better bit retention and hammering action than standard chucks.
- Master speed control: Use low speeds (0-1,500 RPM) with high torque for optimal performance.
- Never force the tool: Let the hammer mechanism work to prevent damage and injury.
- Invest in quality bits: Carbide-tipped masonry bits are mandatory for hard materials.
Why This Matters / Understanding the Problem
Regular drills work great for wood and metal. But when you hit concrete, brick, or masonry, they struggle. The hammer drill solves this with a special mechanism that combines rotation with a rapid hammering action. Think of it like a mini jackhammer in your hand.
Without the right tool, you’ll face frustration. Bits will overheat. Materials will crack. Your project timeline will stretch. That’s why understanding when and how to use a hammer drill matters. It’s not just about having power—it’s about having the right kind of power.
If you’re still unsure whether you need a hammer drill versus a regular drill, check out this helpful guide on the difference between a drill and a hammer drill. It cleared up a lot of confusion for me when I was starting out.
What You Need
Before we dive into the step-by-step process, let’s gather our gear. You don’t need much to get started, but having the right items makes all the difference.
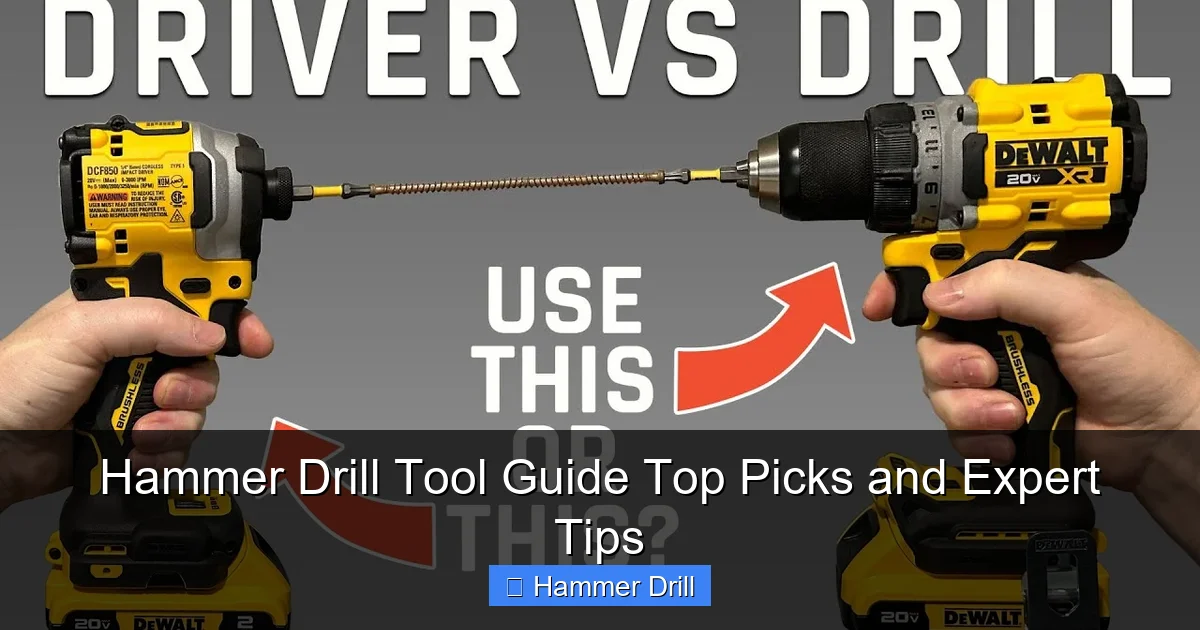
Visual guide about Hammer Drill Tool Guide Top Picks and Expert Tips
Image source: thetoolscout.b-cdn.net
- A quality hammer drill (corded or cordless)
- Masonry drill bits (SDS or standard chuck type)
- Depth stop or masking tape
- Safety glasses and dust mask
- A vacuum or brush for cleanup
- Pencil or marker for marking
- Stud finder (if drilling into walls)
Most importantly, choose a hammer drill that matches your needs. For occasional DIY projects, a 1/2-inch corded model works great. For job sites, go cordless. If you’re torn between an impact driver and hammer drill, this comparison between impact drivers and hammer drills will help you decide.
Step-by-Step Guide to Hammer Drill Tool Guide Top Picks and Expert Tips
Step 1: Choose the Right Hammer Drill for Your Project
Not all hammer drills are created equal. For light tasks like hanging shelves, a basic 7-amp corded model suffices. For heavier work like drilling through concrete floors, you need a rotary hammer drill.
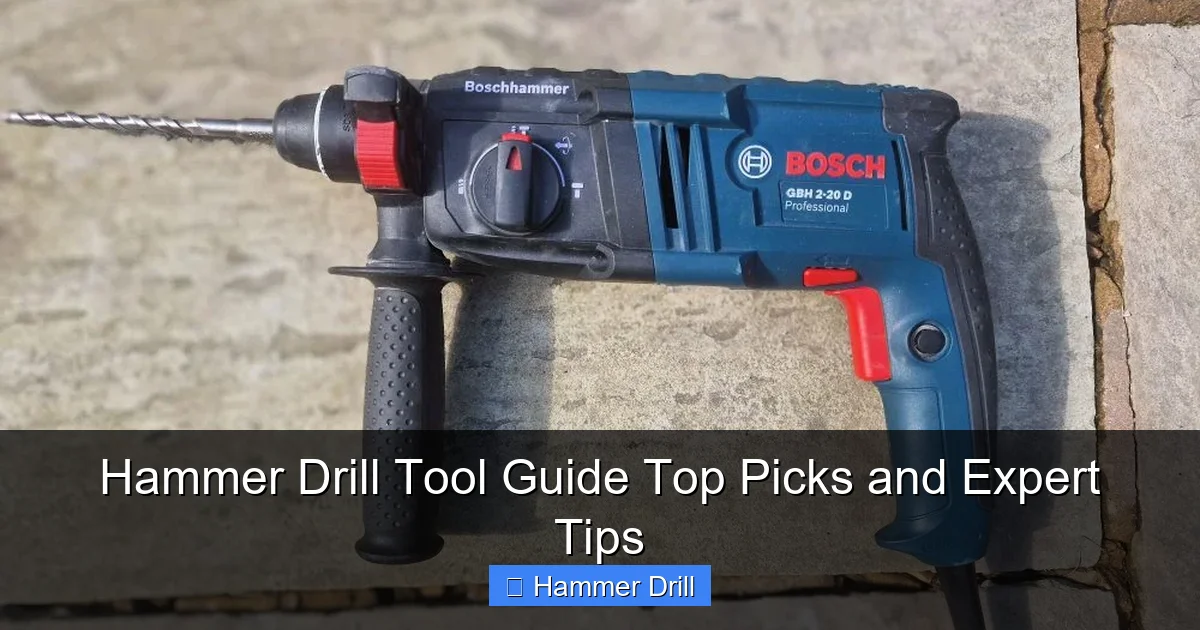
Visual guide about Hammer Drill Tool Guide Top Picks and Expert Tips
Image source: 911metallurgist.com
Cordless models offer convenience but check the voltage. 18V or 20V gives you good power for most jobs. Look for models with variable speed triggers. This lets you control the drilling speed based on material.
One of my favorite features is the hammer-only mode. This turns off rotation for pure hammering action. It’s perfect for chiseling or light demolition work.
Step 2: Select and Install the Correct Drill Bit
Using the wrong bit is the fastest way to ruin your project. Masonry bits have a carbide tip designed to withstand impact. They’re usually marked for concrete, brick, or stone.
For most hammer drills, you’ll use SDS bits. These slide into a special chuck. You’ll hear a click when they’re locked. For smaller drills, you might use a standard chuck with a masonry bit.
Pro tip: Look for bits with a spiral flute design. These help remove dust from the hole as you drill. It makes the process faster and reduces heat buildup.
Step 3: Prepare Your Work Area and Yourself
Safety first, always. Put on your safety glasses and dust mask. Concrete dust is nasty stuff. If you’re working indoors, open windows or use a fan for ventilation.
Secure your workpiece. Clamp it down if possible. A loose piece can spin or move, causing injury or a ruined hole.
Check for hidden wires or pipes. Use a stud finder with AC detection. Drilling into live wiring is dangerous and expensive. If you’re drilling into walls for anchors, this guide on using drills for wall screws has great tips for avoiding hazards.
Step 4: Mark Your Spot and Set Depth
Precision starts with marking. Use a pencil to make a clear X where you want to drill. For extra accuracy, tap a nail into the mark. This gives the bit a starting point and prevents wandering.
Measure how deep you need to drill. Most hammer drills have an adjustable depth stop. Set it now. No depth stop? Wrap masking tape around the bit at the right depth. It’s a simple trick that works surprisingly well.
Double-check your measurements. Measure twice, drill once. It’s an old saying, but it saves so many headaches.
Step 5: Master the Drilling Technique
Here’s where most people go wrong. They push too hard. Let the hammer drill do the work. Apply firm, steady pressure—about 10-15 pounds of force. No more.
Start at a low speed. Pull the trigger gently until the bit bites into the material. Then increase speed. Keep the drill perpendicular to your surface. An angled drill will create an oval hole.
Pull the bit out every 10-15 seconds. This clears dust and prevents overheating. You’ll hear the motor sound change when the bit is clogged. That’s your cue to pull out and clean.
For deep holes, use the pecking method. Drill a short distance, pull out, drill again. It’s like eating an elephant—one bite at a time.
Step 6: Finish and Clean Up
When you reach your depth, release the trigger. Let the bit stop spinning before pulling it out. This prevents damage to the hole edges.
Blow out the dust or use a vacuum. A clean hole ensures anchors or screws seat properly. I keep a small brush in my toolbox just for this.
Wipe down your drill. Remove dust from vents and the chuck. Proper maintenance extends tool life. Store bits in a case to protect the carbide tips.
Pro Tips & Common Mistakes to Avoid
Pro Tip: Keep spare bits handy. Carbide tips can chip if dropped. Having backups keeps you working without trips to the store.
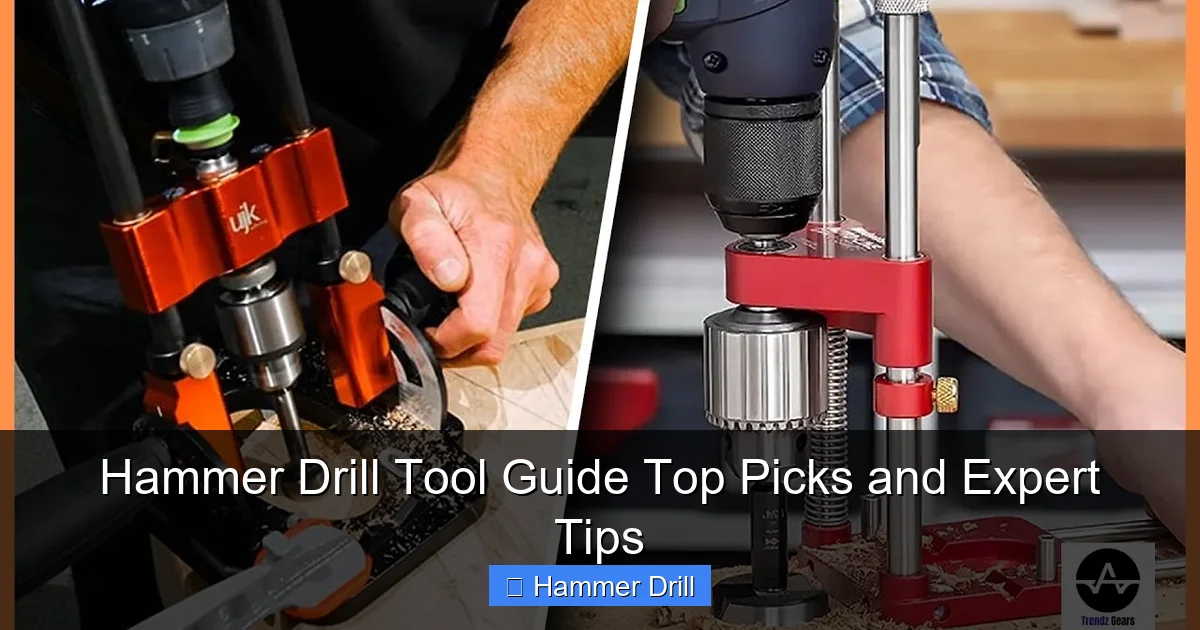
Visual guide about Hammer Drill Tool Guide Top Picks and Expert Tips
Image source: i.ytimg.com
One mistake I made early on was using hammer mode on wood. It’s too aggressive. The wood will splinter. Save hammer mode for masonry only.
Another common error is ignoring the mode selector. Most hammer drills have three settings: drill only, hammer drill, and hammer only. Using the wrong setting damages materials and tools.
Don’t forget about bit angle. Holding the drill at 90 degrees isn’t always natural. Take a moment to position yourself so you can maintain that angle throughout the cut.
Temperature matters. If your bit gets too hot, it loses hardness. Let it cool every few minutes. You can also dip it in water occasionally, but this can shorten bit life over time.
Warning: Never force the drill. If it’s not cutting, something’s wrong. Check the bit, the mode, or the material. Forcing it can cause kickback or motor damage.
Consider the noise level. Hammer drills are loud. Wear ear protection. Your neighbors and future self will thank you.
FAQs About Hammer Drill Tool Guide Top Picks and Expert Tips
Q: Can I use a hammer drill as a regular drill?
A: Yes! Most hammer drills have a switch that turns off the hammer function. This lets you drill into wood, metal, and plastic normally. Just remember to switch back when you need hammer action.
Q: Do I really need a hammer drill for DIY projects?
A: If you only drill into drywall or wood, you probably don’t. But once you tackle masonry—even just hanging a picture on a brick wall—you’ll need one. Renting is an option, but buying pays for itself after a few projects.
Q: What’s the difference between a hammer drill and a rotary hammer?
A: Hammer drills are for light to medium work. Rotary hammers are heavier, more powerful tools for professional demolition and large holes. Think of it like the difference between a sedan and a pickup truck.
Q: How do I know if my bit is dull?
A: A dull bit takes much longer to cut. It gets hot quickly. You’ll see the carbide tip wearing down or chipping. When in doubt, replace it. A sharp bit makes the job easier and safer.
Q: Can I drill into tile with a hammer drill?
A: Yes, but use caution. Set your drill to a low speed. Use a special tile bit. Start with light pressure to prevent cracking. Once through the tile, switch to a masonry bit for the backing.
Q: How deep can I drill with a standard hammer drill?
A: Most consumer models handle up to 1-1/2 inches in concrete. For deeper holes, you need longer bits and a rotary hammer. Always check your tool’s specifications.
Q: Is corded or cordless better for hammer drills?
A: Corded offers unlimited runtime and consistent power. Cordless gives you mobility. For most DIYers, a good 18V/20V cordless model is perfect. If you’re working in one spot for hours, corded might be better.
Final Thoughts
Mastering the hammer drill opens up a world of projects. From hanging shelves to installing concrete anchors, this tool does it all. Remember the key points: use the right bit, let the tool work for you, and prioritize safety.
Start with simple projects. Practice on scrap material. Build confidence before tackling that big concrete wall. The Hammer Drill Tool Guide Top Picks and Expert Tips I’ve shared here comes from real experience—both successes and mistakes.
Your first few holes might not be perfect. That’s okay. Each one teaches you something. Before long, you’ll be drilling like a pro. And when that happens, you’ll wonder how you ever managed without this versatile tool.
Got questions? Drop them in the comments. I love hearing about your projects and helping troubleshoot challenges. Happy drilling!
