
Drilling into concrete with rebar requires the right tools and techniques to avoid damage and ensure safety. This comprehensive guide walks you through selecting the correct hammer drill and carbide bit, preparing the work area, and executing the perfect drill. You’ll learn how to identify rebar, power through it effectively, and troubleshoot common problems for professional results on any project.
Key Takeaways
- Use a True Rotary Hammer Drill: A standard drill-driver or even a hammer drill setting on a combi-drill often lacks the power. For rebar, a dedicated rotary hammer drill with a “hammer-only” or “rotation with hammer” mode is essential.
- Invest in High-Quality Carbide Bits: Standard masonry bits will be destroyed by rebar. You need SDS-Plus or SDS-Max bits with a specialized, reinforced carbide tip designed to cut through steel.
- Locate Rebar Before You Drill: Use a reliable stud and rebar scanner to map out the reinforcement. This prevents accidental hits, bit damage, and weakens the concrete structure.
- Apply Steady, Firm Pressure: Let the hammer drill do the work. Avoid leaning too hard or letting the bit bounce. Consistent, moderate pressure ensures efficient cutting and prolongs bit life.
- Change Techniques When You Hit Metal: The sound and feel will change. Slow down, use a lower speed if possible, and employ a “pecking” motion to clear steel shavings and prevent bit overheating.
- Safety is Non-Negotiable: Always wear ANSI-approved safety glasses, a respirator mask for silica dust, and hearing protection. Secure your workpiece and be aware of electrical/plumbing lines.
Effective Hammer Drill Rebar Drilling Tips and Techniques
Drilling into concrete is tough. Drilling into concrete with rebar is a whole other level. That moment you hit steel can be jarring—literally. Your bit screeches, progress halts, and you might be left with a damaged tool and a half-finished hole. But it doesn’t have to be a nightmare. With the right knowledge, tools, and technique, drilling through rebar can be a smooth, controlled process. This guide will give you all the hammer drill rebar drilling tips you need to tackle reinforced concrete with confidence, whether you’re installing a deck, building a fence, or completing a renovation project.
Understanding the Challenge: Concrete and Rebar
Concrete is strong under compression but weak under tension. Steel rebar (reinforcing bar) is embedded within it to provide tensile strength, creating a composite material that’s incredibly resilient. When you need to drill into this matrix, you’re essentially asking your tool to cut through two very different materials: brittle, abrasive concrete and tough, ductile steel. A standard masonry bit is designed for the first, but will dull instantly or shatter on the second. That’s why specialized tools and methods are not just recommended—they’re required.
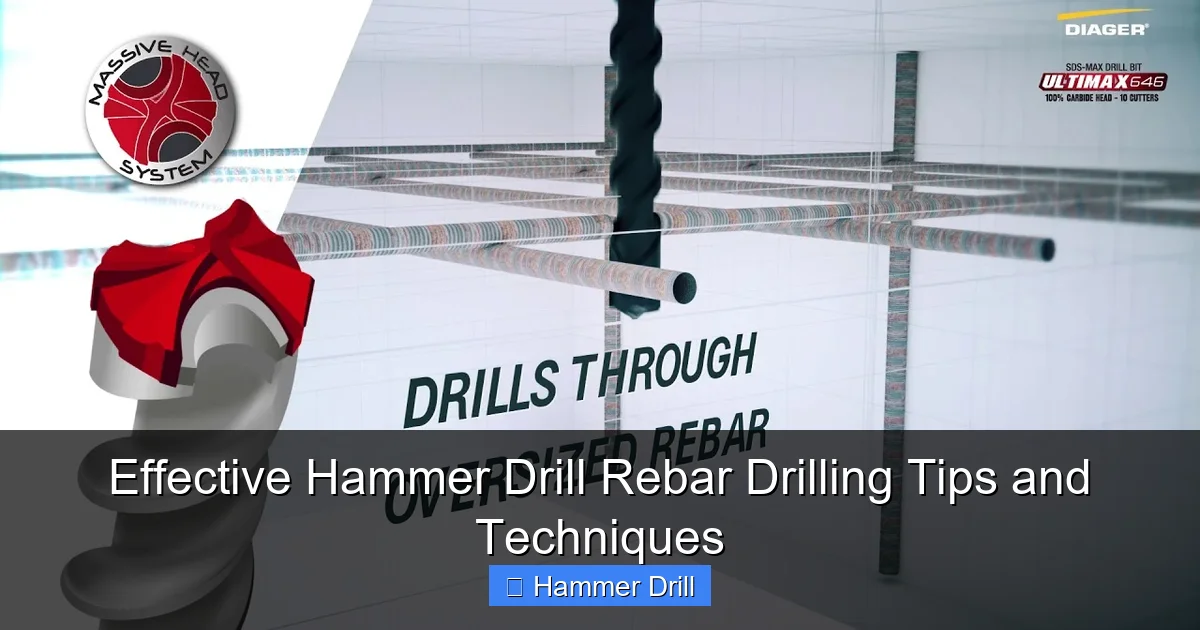
Visual guide about Effective Hammer Drill Rebar Drilling Tips and Techniques
Image source: i.ytimg.com
Why a Regular Drill Won’t Cut It
It’s crucial to understand the tool you need. Many DIYers wonder about the difference between a hammer drill and a regular drill. A regular drill only rotates. A hammer drill (specifically a rotary hammer) combines a pounding, hammering action with rotation to pulverize concrete. For light-duty concrete without rebar, a combi-drill’s hammer setting might suffice. But for the serious task of cutting through steel reinforcement, you need the brute force of a dedicated rotary hammer. For a deeper dive into tool types, our article on the difference between an impact driver and a hammer drill clarifies their distinct roles.
Step 1: Gear Up with the Right Tools
Success starts before you pull the trigger. Having the correct equipment is 80% of the battle.
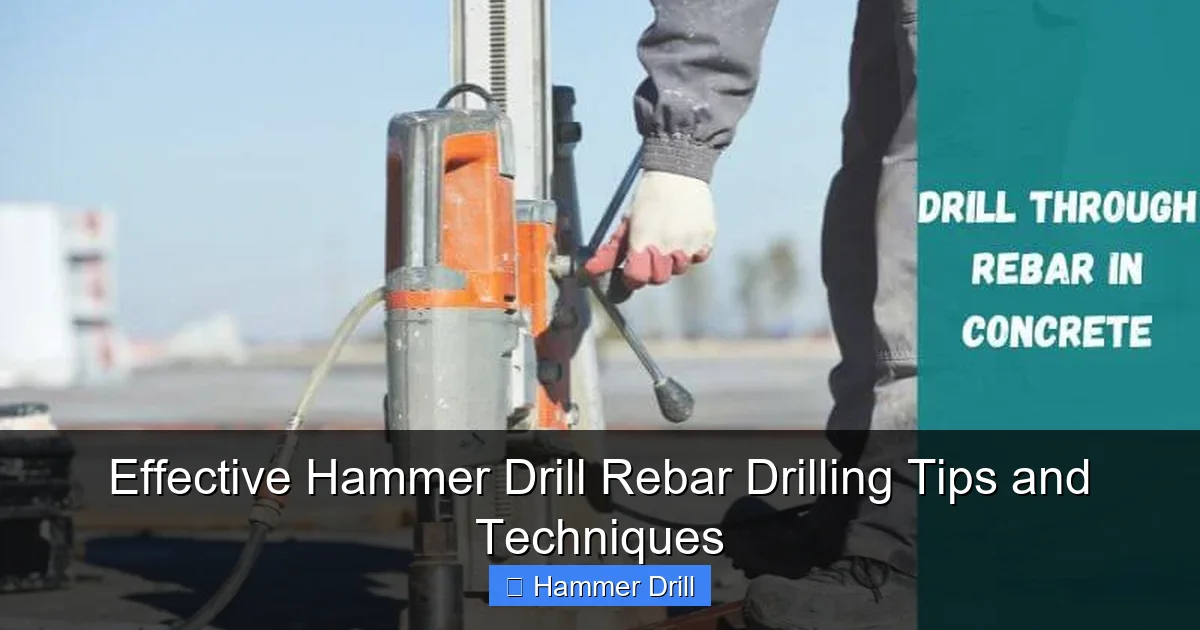
Visual guide about Effective Hammer Drill Rebar Drilling Tips and Techniques
Image source: toolstutor.com
The Drill: Choosing Your Powerhouse
For drilling rebar, you need a true rotary hammer drill, not the hammer function on a combi-drill. Look for these features:
- Power Source: Corded models offer consistent, unlimited power for big jobs. Cordless models, especially modern 18V or 36V brushless ones, offer fantastic mobility and are great for most medium-duty tasks. Check out our guide on the best cordless drill options that often include powerful hammer drill models.
- Chuck Type: SDS-Plus is the most common for mid-duty work (up to 1″ holes). SDS-Max is for heavy-duty, larger holes. These systems allow for greater hammer force and quick bit changes.
- Mode Selector: Must have “Rotation with Hammer” (for drilling) and “Hammer Only” (for light chiseling). Some have “Rotation Only” for driving screws after.
The Bits: Your Most Important Investment
This is where you should not cheap out. You need carbide-tipped masonry bits designed specifically for rebar.
- Material: Look for bits with a high-grade, reinforced carbide tip. It’s often gold or black in color.
- Design: “Rebar-Cutter” or “Multi-Construction” bits have a special tip geometry that can grind through steel without shattering. They often have a full spiral to efficiently remove debris.
- Size: Match the bit to your anchor size. Using a bit slightly larger than your anchor is sometimes necessary for a snug fit, but follow anchor manufacturer specs.
Essential Safety and Support Gear
Concrete drilling is messy and hazardous. Protect yourself:
- Eye Protection: ANSI-rated safety glasses are mandatory. Concrete chips and metal shavings are dangerous projectiles.
- Respirator: A tight-fitting N95 mask or better is needed to avoid inhaling harmful crystalline silica dust.
- Hearing Protection: Rotary hammers are loud. Use earplugs or earmuffs.
- Gloves & Knee Pads: Improve grip and comfort during prolonged work.
- Vacuum: A shop vac with a HEPA filter is ideal for dust management, especially indoors.
Step 2: Preparation is Key
Don’t just start drilling. A few minutes of prep saves hours of frustration.
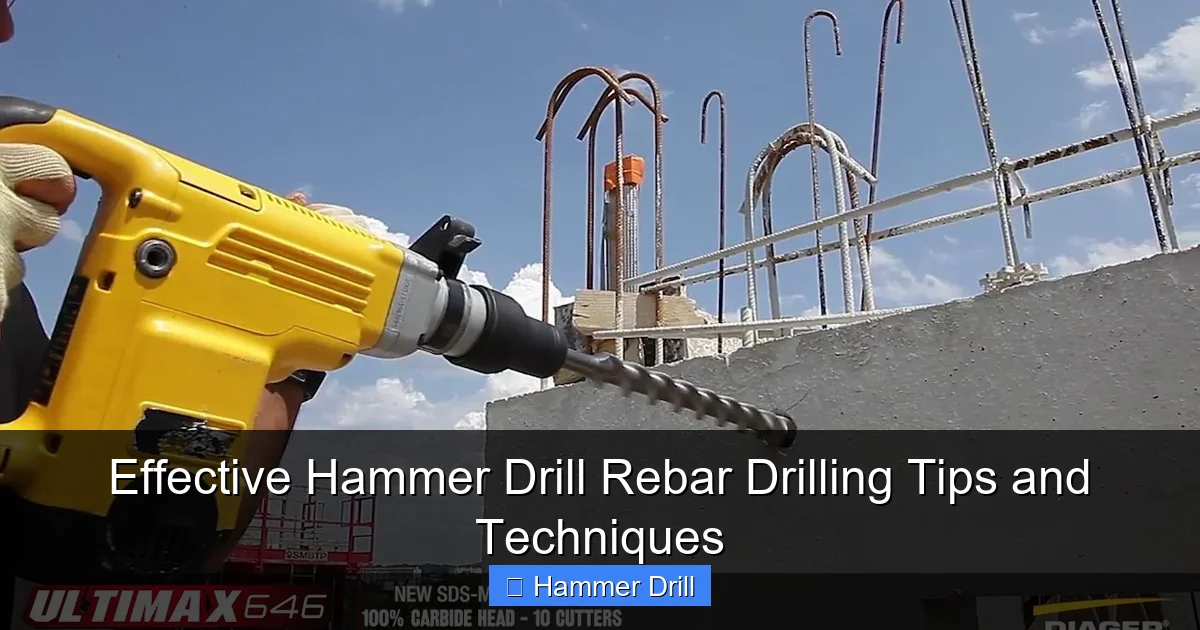
Visual guide about Effective Hammer Drill Rebar Drilling Tips and Techniques
Image source: i.ytimg.com
Locate and Mark the Rebar
Guessing is a recipe for broken bits. Use a high-quality stud and rebar scanner. Mark the edges of the rebar on the concrete with a pencil or chalk. Plan your hole location to avoid it if possible. If you must drill through it, now you know exactly where and can be prepared.
Secure Your Work Area
If you’re working on a ladder or elevated surface, safety is paramount. Ensure your ladder is stable on level ground. For comprehensive advice, review our resources on essential safety tips for climbing ladders. Clear the area of trip hazards and ensure cords are managed.
Mark Your Hole Accurately
Use a center punch or old nail and hammer to create a small divot exactly where you want to drill. This prevents the bit from “walking” or skidding across the hard concrete surface when you start.
Step 3: The Drilling Technique – A Step-by-Step Process
Now for the main event. Follow these steps for a clean, efficient hole.
Starting the Hole
Insert your rebar-cutting bit firmly into the SDS chuck. Set the drill to “Hammer + Rotation” mode. Start at a slow speed to establish the pilot dimple, holding the drill perfectly perpendicular to the surface. Once the hole is started, you can increase to full speed.
Drilling Through Concrete
Apply firm, steady pressure. Let the hammer action do the work. Don’t lean on the drill with all your weight, but don’t let it bounce either. Imagine guiding it, not forcing it. Every 10-15 seconds, pull the bit out partially to clear concrete dust from the hole. This prevents binding and keeps the bit cooler.
The Moment of Truth: Hitting Rebar
You’ll know when you hit it. The sound will change from a dull *thud-thud-thud* to a higher-pitched *screech-grind*. The vibration in your hands will feel different. Here’s what to do:
- DO NOT PANIC or force it. Keep a steady grip.
- You may need to increase pressure slightly to engage the carbide cutting edges with the steel.
- Use a “pecking” motion: drill for 5-10 seconds, then pull back completely to clear metallic shavings. This is critical to prevent overheating the bit.
- The progress will be slower through the steel. Be patient. It might take 30 seconds to a minute to get through a standard #4 rebar.
Finishing the Hole
Once you’ve punched through the rebar, you’ll be back into concrete on the other side. The sound will return to normal. Continue drilling with steady pressure until you reach your desired depth. Many drills have a depth gauge rod—use it! Blow out or vacuum the hole thoroughly before inserting any anchor.
Step 4: Troubleshooting Common Problems
Even with perfect technique, issues can arise. Here’s how to handle them.
Bit is Stuck or Binding
Cause: Debris packed in the hole or the bit wedged in rebar.
Fix: Stop immediately. Switch the drill to “Rotation Only” or even “Reverse” if available, while gently pulling back. Never try to hammer it out while stuck. Use a smaller bit or a manual punch to clear debris from the hole.
Bit Won’t Penetrate / Just Spins
Cause: Dull bit, drill in “Rotation Only” mode, or hitting extremely hard aggregate/rebar.
Fix: Check your drill mode first! If the bit is old and has drilled many holes, the carbide tip may be worn smooth. It’s time for a new bit. For hard aggregate, try a slight change in hole location.
Excessive Vibration or Wobbling
Cause: Bit not fully inserted into chuck, bent bit, or worn-out drill mechanism.
Fix: Re-seat the bit. Inspect the bit for straightness—roll it on a flat table. If the bit is true, the internal hammer mechanism of your drill may need servicing.
Overheating Bit
Cause: No clearance of shavings, excessive pressure, or drilling continuously for too long.
Fix: Always use the pecking motion, especially in metal. Pull the bit out frequently. If the bit shank is too hot to touch, let it cool down completely before continuing. A drop of cutting oil on the steel section can help, but keep it off the concrete.
Conclusion: Mastery Through Practice
Drilling through rebar with a hammer drill is a skill that blends the right tool with a patient, informed technique. Remember, the core of these hammer drill rebar drilling tips is respect: respect for the strength of the materials, respect for the power of your tools, and above all, respect for your own safety. Start with a small, non-critical project to get the feel. Listen to the sounds your drill makes. Pay attention to the feedback in your hands. By investing in a quality rotary hammer and rebar-cutting bits, preparing your site meticulously, and applying the steady, methodical technique outlined here, you’ll transform a daunting task into just another part of the job. Now, go make some clean holes!
