
Hammer drill everyday uses go far beyond simple drilling. This versatile tool transforms how you tackle home projects from hanging heavy shelves to mounting TVs and installing plumbing. You’ll learn safe operation techniques, bit selection, and troubleshooting tips to complete DIY tasks faster and more efficiently.
Key Takeaways
- Versatility is key: Your hammer drill handles wood, metal, concrete, and masonry with ease, making it essential for home projects.
- Safety comes first: Always wear eye protection and secure your workpiece before starting any drilling task.
- Bit selection matters: Use carbide-tipped masonry bits for concrete, twist bits for wood, and spade bits for larger holes.
- Know when to hammer: Switch to hammer mode only for masonry and concrete; use regular drill mode for wood and metal.
- Control depth precisely: Use the depth stop rod to ensure consistent hole depths for anchors and screws.
- Maintain your tool: Clean air vents regularly and replace worn carbon brushes to extend your drill’s lifespan.
Transform Your Home with These Hammer Drill Everyday Uses
You’ve probably seen a hammer drill sitting on your neighbor’s workbench or heard the distinctive chattering sound from a construction site. But what if I told you this powerful tool deserves a permanent spot in your garage for everyday home projects? Whether you’re hanging that massive flat-screen TV or installing new kitchen cabinets, understanding hammer drill everyday uses can save you time, money, and countless headaches.
This guide will walk you through practical applications you can tackle this weekend. We’ll cover safety basics, technique tips, and project-specific instructions that turn intimidating tasks into simple, satisfying wins. No more guessing games or ruined walls—just confident drilling that gets the job done right the first time.
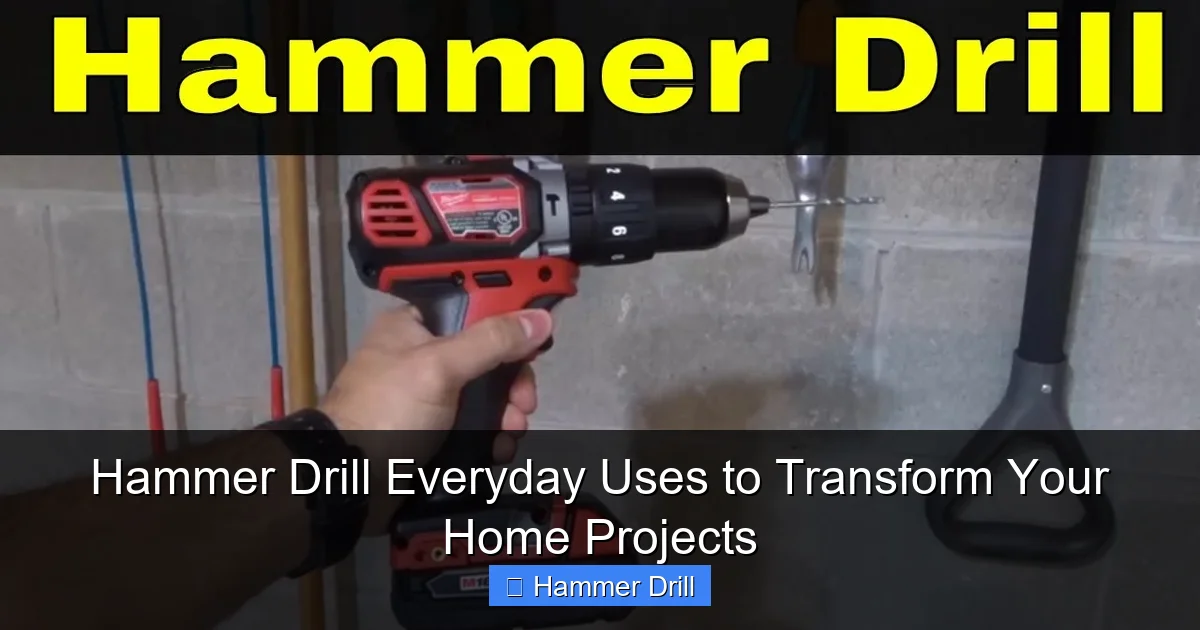
Understanding Your Hammer Drill: More Than Just a Fancy Tool
Before we dive into projects, let’s talk about what makes this tool special. A hammer drill combines rotational force with a rapid hammering action. This dual motion is what powers through tough materials like concrete and brick that would stall a regular drill.
Visual guide about Hammer Drill Everyday Uses to Transform Your Home Projects
Image source: toptiertool.com
How It Differs from Your Regular Drill
Many homeowners wonder when to reach for which tool. The key difference lies in that hammering mechanism. A standard drill simply rotates, making it perfect for wood and metal. But when you need to penetrate masonry, that rotational-only action just spins against the hard surface. The hammer drill’s piston-driven hammer action pounds the bit forward while it spins, breaking up tough materials with each pulse.
For a deeper comparison, check out our guide on the difference between a drill and a hammer drill. This will help you understand exactly when to switch modes for optimal results.
Key Components You Need to Know
Your hammer drill has three main settings you’ll use regularly. First, the drill-only mode works for standard applications in wood and metal. Second, the hammer-drill mode activates that pounding action for masonry work. Third, many models include a dedicated hammer-only setting for chiseling tasks.
The side handle is crucial for control during heavy-duty work. Always attach it and use both hands when drilling into concrete or brick. The depth stop rod lets you drill consistent holes—essential when installing anchors or mounting hardware at precise depths.
Essential Safety Preparation: Don’t Skip This Step
Every successful project starts with proper safety preparation. Taking five minutes to set up correctly prevents injuries and tool damage.

Visual guide about Hammer Drill Everyday Uses to Transform Your Home Projects
Image source: housejunkie.co.uk
Personal Protective Equipment Checklist
Start with safety glasses. Those concrete chips fly fast and can cause serious eye damage. Add a dust mask when drilling into masonry—concrete dust is nasty stuff. For extended projects, consider ear protection since hammer drills are loud. Wear snug-fitting clothes and tie back long hair to avoid getting caught in the chuck.
Workspace Setup and Tool Inspection
Clear your work area of clutter. Secure the material you’re drilling using clamps or a vise—never hold it in your hand when drilling into hard surfaces. Before plugging in, inspect your drill. Check that the chuck is tight, the power cord isn’t frayed, and the air vents are clear of dust. A quick visual check prevents mid-project failures.
Keep a vacuum or brush nearby to clean dust from your holes. This simple habit ensures anchors and screws seat properly and hold securely.
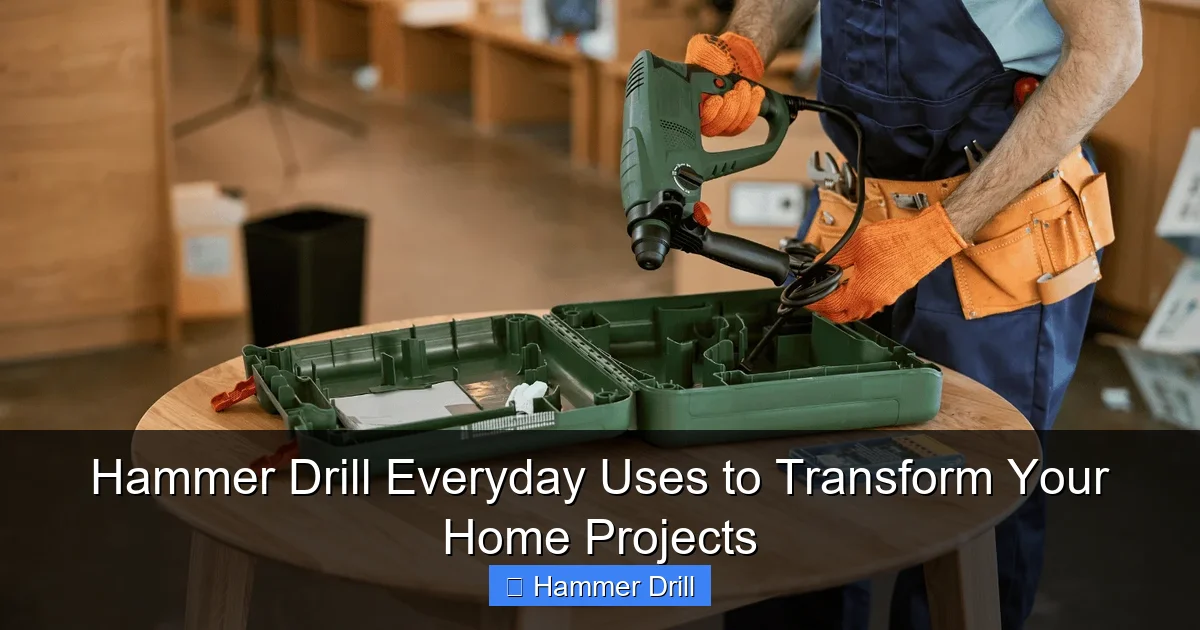
7 Everyday Home Projects That Showcase Your Hammer Drill
Now for the fun part—putting your tool to work. These hammer drill everyday uses represent the most common tasks homeowners face. Each project includes step-by-step instructions you can follow.
Visual guide about Hammer Drill Everyday Uses to Transform Your Home Projects
Image source: i.ytimg.com
Project 1: Hanging Heavy Pictures, Mirrors, and Floating Shelves
We’ve all been there. You hang a heavy mirror using the included hardware, only to hear it crash to the floor weeks later. The problem isn’t your wall—it’s using the wrong anchors. Here’s how to do it right.
First, locate your wall studs using a stud finder. Mark the stud edges with a pencil. For objects under 20 pounds, you can often use drywall anchors, but anything heavier needs stud support.
Select a drill bit slightly smaller than your anchor diameter. For plastic expansion anchors, use a bit that matches the anchor’s outer width. Set your depth stop to the anchor length plus a quarter-inch for clearance.
Drill slowly at first to create a pilot groove. Then increase speed while maintaining steady, moderate pressure. Don’t force the drill—let the hammer action do the work. After drilling, blow out the dust, insert your anchor, and drive the screw until it’s snug against your hardware.
For floating shelves that span multiple studs, use a level to ensure your holes are perfectly aligned. Measure twice, drill once, and you’ll have rock-solid support that lasts for years.
Project 2: Installing TV Mounts and Entertainment Centers
Flat-screen TVs are expensive investments that need rock-solid mounting. Most mounts require drilling into studs, but sometimes you’ll hit drywall or masonry. Here’s the professional approach.
Start by finding and marking all stud locations behind your intended mount position. Use your stud finder to map the entire area. If your mount brackets don’t align with studs, you’ll need heavy-duty toggle bolts rated for at least twice your TV’s weight.
When drilling into studs, switch your hammer drill to regular drill mode. Use a sharp spade bit or brad-point bit sized for your lag bolts. For metal studs, use drill mode with a high-speed steel bit and go slow to avoid overheating.
For masonry walls, activate hammer mode. Use a carbide-tipped masonry bit and drill at a moderate speed. Clean the hole thoroughly between drilling cycles to prevent bit overheating. Insert your anchors, attach the mount, and use a level to ensure everything is plumb before tightening completely.
Remember, proper technique when driving screws into walls ensures your mount stays secure for years.
Project 3: Building Decks, Pergolas, and Outdoor Structures
Outdoor projects often involve pressure-treated lumber, concrete footings, and metal brackets. Your hammer drill excels here, especially when pilot-drilling for large lag screws or installing through-bolt hardware.
For deck ledger boards attached to your house, you’ll need to drill through wood and into the house framing. Use drill mode with a spade bit sized for your galvanized lag screws. Drill pilot holes through the ledger, then use those holes as guides when positioning against your house.
When installing concrete footings for pergola posts, switch to hammer mode. Use a masonry bit to drill anchor holes in the cured concrete. The hammer action quickly penetrates the dense material. Blow out dust, insert epoxy anchors, and set your post base.
For attaching metal brackets to wood, use drill mode with a standard twist bit. The key is matching your bit size to the screw shank diameter—not the head size. This prevents splitting while ensuring a tight fit.
Project 4: Plumbing and Electrical Projects Around the House
Running new plumbing lines or electrical conduit requires drilling through studs, joists, and sometimes concrete. This is where your hammer drill truly shines as an everyday problem-solver.
When drilling holes for PEX tubing or copper pipes, mark your stud locations and drill at the center of the stud’s width. Use a spade bit sized for your pipe plus insulation. Keep the drill level and square to the stud face. Drill from both sides if the stud is wide to prevent splintering on the exit side.
For electrical projects, drill holes at least 1.5 inches from the stud edge to avoid nail strikes later. Use a flexible drill bit extension to reach through walls for running cables between floors. Always check for existing wires before drilling—use a stud finder with AC detection.
When installing outlet boxes in concrete basement walls, switch to hammer mode. Use a masonry bit to drill pilot holes for your plastic anchors. Then use a box cutter or chisel to square up the opening. Your hammer drill makes quick work of the anchor holes that secure the box.
Project 5: Home Renovation Tasks and Repairs
Renovations often mean opening walls, patching holes, and installing new fixtures. Your hammer drill handles the demolition and installation phases with ease.
When removing old tile from bathroom walls, use the hammer-only mode with a chisel attachment. This gently breaks the tile bond without damaging the underlying wall. Work slowly and wear eye protection—those tile shards are sharp.
For patching large holes in drywall, you’ll need to attach backing boards for support. Drill pilot holes through the drywall into the existing framing. Then use coarse-thread drywall screws to secure your backing board. The drill mode provides just enough torque without tearing the paper face.
Installing new light fixtures often requires mounting to electrical boxes. If your box isn’t secured to a stud, you’ll need anchors in the drywall. Use the smallest anchor that will hold your fixture’s weight. Drill slowly to prevent blowing out the drywall surface.
Project 6: Masonry, Brick, and Concrete Work
This is the hammer drill’s natural habitat. While regular drills struggle with masonry, your hammer drill breezes through with proper technique.
When hanging shelves on basement concrete walls, start by marking your hole locations with a pencil. Use a nail to create a small dimple that keeps your bit from wandering. Insert a carbide-tipped masonry bit and set your drill to hammer mode.
Begin drilling at a 45-degree angle to create a starter groove. Then straighten the drill and apply steady pressure. Pull the bit out every 10-15 seconds to clear dust and prevent overheating. The hammer action should sound rhythmic—if it chatters erratically, you’re pushing too hard.
For brick walls, the technique is similar, but you must avoid drilling into the mortar joints if possible. Brick provides better holding power. When you must drill into mortar, use a slightly smaller bit and choose anchors designed for hollow materials.
Installing concrete screws requires precise holes. Use your depth stop to match the screw length exactly. After drilling, clean the hole with compressed air or a vacuum. Then drive your concrete screw using drill mode—most concrete screws require a specific torque setting.
Project 7: Bathroom and Kitchen Installations
Kitchens and bathrooms need secure mounting for everything from towel bars to granite countertops. These wet areas require special consideration for both tool use and material selection.
When installing faucets on solid surface countertops, use drill mode with a spade bit. Clamp a straight board as a guide to keep your hole perfectly perpendicular. Drill slowly to prevent chipping the expensive surface.
For tile backer board installation, use coarse-thread screws and drill mode. The key is driving screws flush without breaking the board surface. Set your drill’s clutch to a lower setting to avoid overdriving.
Hanging cabinets on studs requires careful measurement. Mark your cabinet position, locate studs, then drill pilot holes through the cabinet back into the studs. Use washers under your screws to distribute the load and prevent crushing the cabinet material.
Installing shower doors often means drilling into tile. Start with a small pilot hole using a glass/tile bit in drill mode only. Then switch to a masonry bit for the final diameter, using minimal pressure to avoid cracking the tile.
Mastering the Techniques: Step-by-Step Drilling Excellence
Good tools are only as effective as the person using them. These technique tips will improve your results on every project.
Selecting the Right Bit for Every Material
Using the wrong bit is the most common mistake. For wood, use high-speed steel twist bits or spade bits. For metal, choose cobalt or titanium-coated bits and go slow. For masonry, carbide-tipped masonry bits are mandatory—standard bits will dull instantly.
Match your bit diameter to your anchor size. For plastic anchors, the bit should match the anchor’s outer diameter. For lag bolts, use a bit slightly smaller than the bolt shank. This ensures maximum holding power.
Proper Drilling Technique and Pressure Application
Hold the drill with both hands—one on the main handle and one on the side grip. Stand with your feet shoulder-width apart for stability. Apply steady, moderate pressure. Let the hammer action do the work—forcing it only reduces control and can damage the bit.
Keep the drill perpendicular to your work surface. Use a square or speed square as a visual guide. For deep holes, pull the bit out periodically to clear chips and prevent binding.
Depth Control and Precision Methods
The depth stop rod is your best friend for consistent holes. To set it, loosen the adjustment knob, slide the rod to match your desired depth, then tighten securely. Test on scrap material first.
For through-drilling, place a piece of masking tape on your bit at the desired depth. This visual marker helps you maintain consistent depth without measuring constantly.
Troubleshooting Common Hammer Drill Problems
Even with proper technique, issues can arise. Here’s how to solve the most common problems you’ll encounter.
When Your Bit Keeps Slipping or Wandering
Bits wander when they don’t have a good starting point. Create a small pilot hole or use a center punch to make a dimple. For metal, a nail works well. For masonry, tap the center punch with a hammer to create a small crater that captures your bit tip.
If your bit slips in the chuck, turn off and unplug the drill. Clean any debris from the chuck jaws, then tighten the chuck key firmly. Most slippage comes from dirty or worn chuck jaws.
Overheating and Performance Issues
Overheating happens when you push too hard or don’t clear chips. If your drill feels hot, stop immediately and let it cool. Pull the bit out every 10-15 seconds when drilling hard materials to clear dust and allow the bit to cool.
Poor performance in concrete often means a dull bit. Carbide tips dull gradually—you’ll notice more effort required and slower progress. Replace the bit when it no longer cuts efficiently. Trying to use a dull bit damages both the bit and your drill.
Excessive Vibration and Noise Problems
Some vibration is normal in hammer mode, but excessive shaking indicates a problem. Check that your side handle is tight and that you’re applying even pressure. Worn carbon brushes can cause unbalanced operation—if vibration is severe and constant, have your drill serviced.
For noise reduction, consider using ear protection. The hammer mechanism is inherently loud, but loose parts make it worse. Check that all screws and handles are tight before each use.
Conclusion: Making the Most of Your Hammer Drill Every Day
Your hammer drill is far more than a specialty tool for rare occasions. These hammer drill everyday uses demonstrate how this versatile machine can transform your approach to home projects. From hanging a simple picture to building a deck, the right techniques turn intimidating tasks into satisfying accomplishments.
Remember to always prioritize safety, select the correct bit, and use the appropriate mode for your material. Keep your tool clean and well-maintained, and it will serve you reliably for decades. The confidence you gain from mastering these skills will encourage you to tackle bigger projects and upgrade your home with professional-quality results.
Start with a simple project this weekend—perhaps those shelves you’ve been meaning to install. As your skills grow, so will your project list. Before you know it, you’ll wonder how you ever managed without this essential tool in your everyday arsenal.
Frequently Asked Questions About Hammer Drill Everyday Uses
Can I use my hammer drill as a regular drill for everyday tasks?
Absolutely! Switch to drill-only mode for wood, metal, and plastic projects. This versatility is one of the biggest advantages—you get two tools in one. Just remember to turn off the hammer function when it’s not needed to prevent unnecessary wear and extend bit life.
What’s the difference between a hammer drill and an impact driver for home projects?
While both deliver extra force, they work differently. A hammer drill pounds forward while rotating, perfect for masonry. An impact driver delivers rotational bursts, ideal for driving long screws. For detailed comparison of these tools, check our comprehensive guide to understand which tool suits each task.
How do I know when to replace my hammer drill bits?
Replace bits when you notice significantly slower drilling, increased effort required, or if the tip appears rounded instead of sharp. For masonry bits, if the carbide tip chips or wears down flush with the steel body, it’s time for a new one. Dull bits damage your drill and produce poor results.
Can I drill through tile with a hammer drill?
Yes, but use caution. Start in drill-only mode with a glass/tile bit to create a pilot hole. Then switch to hammer mode with a masonry bit if needed, using minimal pressure. The key is starting slow to prevent cracking the tile. Always support the tile from behind if possible.
Why is my hammer drill smoking when I drill into concrete?
Smoke indicates overheating, usually from pushing too hard or not clearing chips. Stop immediately and let the drill cool. Pull the bit out every 10 seconds during drilling to clear dust and allow cooling. Also check that your bit isn’t dull—a worn bit generates excessive heat.
What safety gear is absolutely necessary for hammer drill use?
Safety glasses are non-negotiable—flying debris can cause permanent eye damage. Add a dust mask for masonry work and hearing protection for extended use. For overhead drilling, consider a face shield. Always wear snug clothing and remove jewelry that could get caught in the chuck.
