
Hammer drill masonry tips make the difference between cracked walls and professional results. This guide covers everything from choosing the right carbide bits to mastering the pecking technique for clean holes in concrete, brick, and stone. You’ll learn safety essentials, troubleshooting common problems, and how to maintain your tool for long-lasting performance.
Key Takeaways
- Choose carbide-tipped masonry bits: Always use high-quality carbide bits designed specifically for hammer drill masonry work. They resist heat and stay sharp longer.
- Master the pecking technique: Drill in short bursts, pulling out every 2-3 seconds to clear dust. This prevents overheating and ensures precise holes.
- Wear essential safety gear: Protect your eyes, lungs, and ears. Masonry dust is harmful, and hammer drills create significant noise and vibration.
- Start with a pilot hole: Use a smaller bit first when drilling deep holes or working near edges. This improves accuracy and reduces walking.
- Check for hidden hazards: Always scan for rebar, electrical wires, and pipes before drilling. Use a stud finder and turn off power when needed.
- Apply steady, moderate pressure: Let the hammer drill do the work. Forcing it causes bit breakage and damages the material.
- Clean and maintain your tool: Regularly remove dust from vents and chuck. Proper maintenance extends your hammer drill’s life significantly.
Introduction: Why Hammer Drill Masonry Tips Matter
Drilling into concrete, brick, or stone without the right approach can leave you with cracked walls, broken bits, and frustration. A hammer drill masonry job requires specific techniques that differ dramatically from drilling into wood or metal. These powerful tools combine rotation with a rapid hammering action that pulverizes masonry while cutting through it. But simply pulling the trigger won’t give you clean, precise holes.
This comprehensive guide transforms you from a novice into someone who drills perfect holes consistently. You’ll discover the secrets that professionals use, from selecting the exact right bit for your material to mastering advanced techniques for reinforced concrete and overhead work. We cover safety, troubleshooting, and maintenance so your tool stays in top condition. Whether you’re hanging shelves, installing anchors, or running cables through walls, these hammer drill masonry tips ensure success every single time.
Understanding Your Hammer Drill for Masonry Work
Before you touch your tool to a wall, you need to understand what makes a hammer drill different from regular drills. This knowledge prevents damage and delivers better results.
Visual guide about Hammer Drill Masonry Tips for Perfect Holes Every Time
Image source: hk-tools.com
How Hammer Drills Work on Masonry
A hammer drill operates like a tiny jackhammer combined with a standard drill. The chuck moves forward and backward rapidly while spinning. This action creates thousands of tiny impacts per minute that break up hard materials. The difference between a drill and a hammer drill is crucial here. Regular drills simply rotate, which would overheat and dull instantly in concrete. The hammering action is what makes masonry drilling possible.
Most hammer drills feature multiple modes. The hammer-only setting works best for dense concrete. The hammer-drill mode adds rotation for most masonry tasks. Standard drill mode handles wood and metal. Always verify you’re in the correct mode before starting. Using the wrong setting can damage both your bit and your material.
Key Features to Look For
When selecting a hammer drill for masonry, consider these essential features. Variable speed control allows you to match the RPM to your bit size and material hardness. A depth stop ensures consistent hole depths for anchors and bolts. An adjustable side handle reduces vibration fatigue during extended use. A quick-change chuck saves time when swapping bits.
Corded models typically deliver more consistent power for heavy-duty concrete work. Cordless hammer drills offer mobility and convenience for most DIY projects. Look for at least an 18V battery for masonry work. Higher voltage models handle larger bits and tougher materials. Always have a spare battery charged when planning extensive drilling sessions.
Essential Safety Gear and Preparation
Masonry drilling creates fine silica dust that can cause serious lung damage. It also produces loud noise and strong vibrations. Proper protection isn’t optional—it’s essential for your health and safety.
Visual guide about Hammer Drill Masonry Tips for Perfect Holes Every Time
Image source: cdn.aws.toolstation.com
Personal Protective Equipment (PPE)
Start with safety glasses that seal around your eyes. Regular glasses won’t keep dust out. Add a NIOSH-approved N95 respirator mask or better. This filters the fine concrete dust that regular dust masks miss. Wear hearing protection—either earplugs or earmuffs. The hammering action reaches decibel levels that damage hearing over time.
Use heavy-duty work gloves to protect your hands from vibration and sharp edges. Wear long sleeves and pants to prevent skin irritation from dust. Consider a dust collection attachment or shop vacuum to capture debris at the source. This keeps your workspace cleaner and reduces airborne particles significantly.
Preparing Your Workspace
Clear the area around your drilling site. Remove furniture, tools, and obstacles that could cause tripping. Cover nearby surfaces with drop cloths to catch dust. Mark your drilling location with a pencil and center punch. This creates a small divot that helps the bit start in the right spot.
Always check for hidden hazards before drilling. Use a stud finder with AC detection to locate electrical wires. Scan for plumbing pipes and rebar in concrete. When in doubt, turn off the circuit breaker. If you’re drilling overhead, follow ladder safety best practices to prevent falls. Secure your ladder properly and maintain three points of contact at all times.
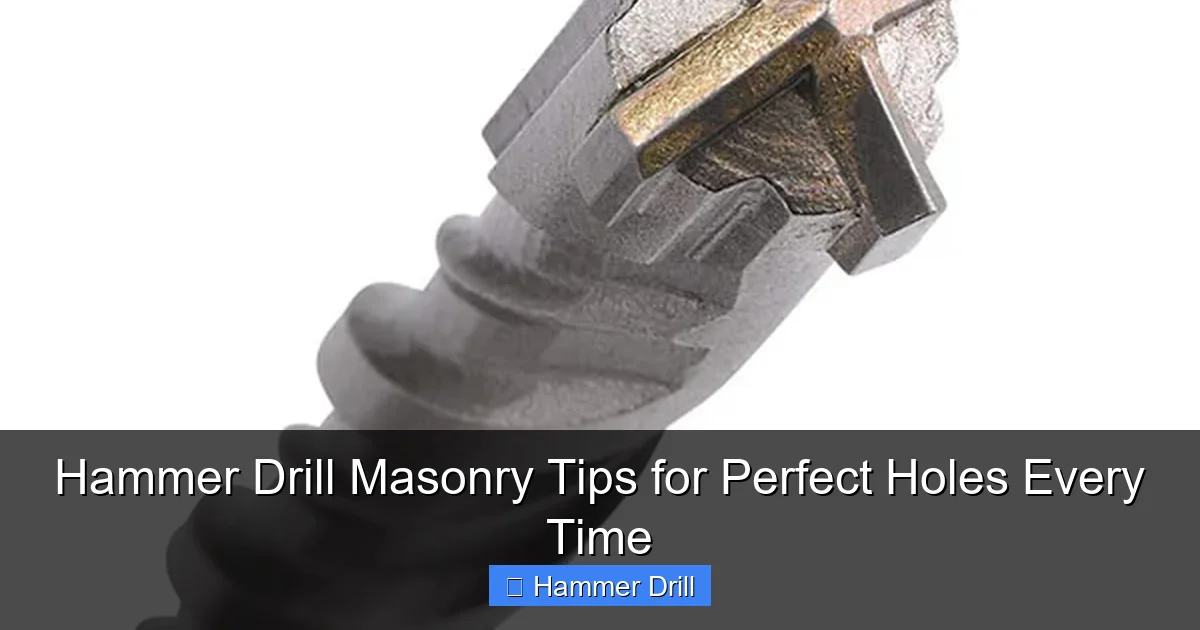
Choosing the Right Masonry Drill Bits
The wrong bit will overheat, break, or simply refuse to cut. Understanding bit types and quality saves you money and frustration.

Visual guide about Hammer Drill Masonry Tips for Perfect Holes Every Time
Image source: i.ytimg.com
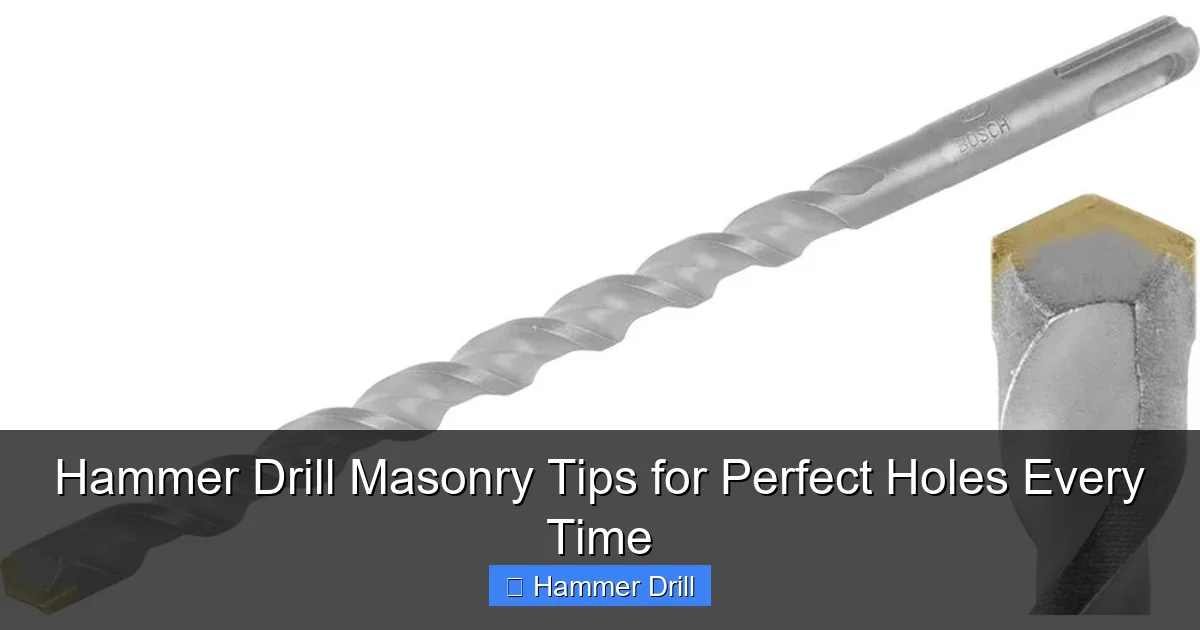
SDS vs. Standard Chuck Systems
SDS (Slotted Drive System) bits feature grooves that lock into a special chuck. This design handles the high impacts of hammer drilling without slipping. SDS-plus is the most common system for DIY tools. SDS-max handles heavier professional work. Standard chuck systems work with smaller hammer drills under 1/2 inch. They require careful tightening and can slip under heavy load.
Never use regular twist bits in hammer mode. The hammering action will shatter them instantly. Always match your bit system to your drill’s chuck. Check your owner’s manual if you’re unsure which system you have. Using the wrong bit type can damage your tool’s chuck mechanism.
Carbide Tip Quality Matters
Look for tungsten carbide tips. This material stays sharp up to ten times longer than steel. Cheap bits use inferior carbide that dulls quickly. Check the tip geometry—a chisel-shaped tip works best for concrete. A four-cutter design provides faster drilling and cleaner holes.
Inspect bits before each use. Look for cracks in the carbide tip or shaft. Even small cracks can cause catastrophic failure under impact. Replace worn bits immediately. A dull bit requires more pressure, which increases the risk of bit breakage and material damage.
Size and Length Selection
Choose the bit diameter based on your anchor or fastener size. The hole should be slightly larger than the anchor for easy insertion. For most shelving, 3/16 to 1/4 inch bits work well. Heavy-duty anchors need 3/8 inch or larger.
Select the length based on your hole depth plus 2 inches. This gives you clearance for dust and the chuck. Shallow holes under 2 inches can use shorter bits. Deep holes need longer bits to reach through walls or thick concrete. Using a bit that’s too short means you’ll need to stop and switch tools mid-job.
Step-by-Step: Drilling Perfect Masonry Holes
Follow these steps for clean, accurate holes every time. Each phase builds on the previous one for professional results.
Marking and Measuring Your Hole Location
Use a tape measure and level to mark your hole position. Double-check measurements before drilling. Measure twice, drill once. Mark the spot with a pencil and create a small pilot indentation with a center punch or nail. This prevents the bit from wandering when you start.
For multiple holes in a pattern, mark all locations first. Use a tape measure and square to ensure proper alignment. Connect marks with a straightedge to verify spacing. This is especially important for shelving brackets or mounting hardware that requires precise positioning.
Starting the Hole (The Pecking Technique)
Begin with light pressure at a slow speed. Hold the drill perpendicular to the surface. Start the hammering action without rotation for the first few seconds. This creates a small guide hole that keeps the bit stable when you add rotation.
Master the pecking technique for deep holes. Drill forward 2-3 inches, then pull out completely. This clears dust and prevents overheating. Repeat this process every few seconds. Pecking reduces bit wear and ensures a straighter hole. It also prevents the bit from getting stuck in deep holes filled with compacted dust.
Drilling at the Right Speed and Pressure
Apply steady, moderate pressure. Let the hammer drill’s weight do most of the work. Forcing it causes the motor to bog down and can break bits. Increase speed as the bit bites into the material. Use the variable trigger to control RPM based on bit size—larger bits need slower speeds.
Keep the drill level throughout the process. Tilted drilling creates oval holes and increases bit stress. For angled holes, use a guide block or jig. Practice on scrap material first to get comfortable with the tool’s vibration and sound. This helps you maintain control during actual projects.
Clearing Dust for Precision
Dust buildup is the enemy of accuracy. It reduces cutting efficiency and can cause the bit to bind. Blow compressed air into the hole periodically. Or use a small brush to sweep dust away. A shop vacuum held near the hole captures dust as you drill.
For deep holes, use a vacuum hose extension to reach inside. Remove the bit and vacuum the hole completely every 6-8 inches of depth. This prevents dust from jamming the bit and ensures a clean, deep hole. Clean holes also accept anchors more easily and provide better holding power.
Advanced Hammer Drill Techniques
Once you’ve mastered the basics, these advanced techniques handle challenging situations with confidence.
Working with Reinforced Concrete
Rebar reinforcement requires special handling. When you hit rebar, the bit will deflect or make a different sound. Stop drilling immediately. Change to a rebar-cutting bit or a diamond-tipped bit. These have harder tips that slice through steel without dulling.
To avoid rebar, scan the area with a metal detector before drilling. Mark rebar locations with tape. Drill between bars when possible. If you must drill through rebar, reduce speed and increase pressure gradually. Consider drilling a pilot hole with a smaller bit first. This creates a path that helps guide the larger bit through the steel.
Drilling Overhead and at Height
Overhead drilling requires different technique and safety measures. Use a side handle for better control. The bit tends to drop when you pull the trigger due to gravity. Support the drill’s weight with your body. Consider using a right-angle adapter for better leverage.
Always wear a face shield when drilling overhead. Falling dust and chips can hit your face. Work with a partner when possible. They can monitor your stability and hand you tools. Use a sturdy platform or ladder. Never overreach—move your position instead. Proper ladder extension ensures you work safely at height without risking a fall.
Creating Anchor Holes for Heavy Fixtures
Heavy fixtures need perfectly sized holes for maximum holding power. Oversized holes reduce anchor grip. Undersized holes make insertion impossible. Use the exact diameter bit specified by your anchor manufacturer.
Drill the hole slightly deeper than the anchor length. This provides space for dust and ensures the anchor sits flush. Clean the hole thoroughly with compressed air before inserting the anchor. Test fit the anchor before applying adhesive or driving it in. A properly prepared hole makes installation smooth and provides years of secure holding.
Troubleshooting Common Masonry Drilling Problems
Even experienced users encounter issues. These solutions fix the most common problems quickly.
Bit Won’t Bite or Is Slipping
If your bit spins without cutting, it’s either dull or you’re using the wrong mode. Check that your drill is in hammer mode. A dull bit needs replacement. If the bit slips in the chuck, tighten it according to your manual. SDS bits should click into place. Standard chucks need firm tightening with the chuck key.
Sometimes the issue is material hardness. Very old concrete can be denser than new concrete. Try a lower speed setting. If the bit still won’t bite, you may need a more aggressive bit design. Four-cutter bits work better on hard materials than two-cutter designs.
Overheating and Bit Wear
Overheating occurs from excessive pressure or insufficient pecking. If your bit smokes or turns blue, stop immediately. Let it cool completely. Apply less pressure and increase pecking frequency. Overheated bits lose hardness permanently and will dull quickly.
Prevent overheating by using water cooling for deep holes in dense concrete. Spray a small amount of water at the hole entrance. Don’t submerge the drill. This lubricates the bit and extends its life dramatically. Clean bits after wet drilling to prevent rust buildup.
Hole Quality Issues (Cracking, Blowout)
Cracking happens when you use too much pressure near edges or thin materials. Reduce pressure when drilling within 2 inches of any edge. Start with a smaller pilot bit to reduce stress on the material. For thin bricks or veneer, drill from the back side if possible.
Blowout occurs when the bit exits the far side violently. Support the material from behind when possible. Reduce speed and pressure as you approach the exit point. Place a scrap board against the exit side to contain the breakout. This produces cleaner holes and prevents material damage.
Maintenance Tips for Longevity
Proper care keeps your hammer drill performing like new for years. Neglect leads to expensive repairs and unsafe operation.
Cleaning Your Hammer Drill
Remove dust after every use. Wipe the housing with a damp cloth. Use compressed air to blow dust from vents, chuck, and motor areas. Pay special attention to the chuck mechanism where dust causes binding. Never spray water directly on the tool.
Inspect the power cord for damage. Check the plug for bent prongs. Clean the trigger mechanism if it feels sticky. Store your drill in its case to prevent dust accumulation. Proper cleaning prevents overheating and extends motor life significantly.
Lubrication and Storage
Lubricate the chuck periodically with chuck grease. Remove the chuck and apply a thin layer to the jaws and threads. For SDS chucks, apply a small amount of grease to the bit slots. This prevents corrosion and ensures smooth operation.
Store your hammer drill in a dry, temperature-controlled environment. Extreme cold makes plastic brittle. Humidity causes rust. Keep batteries charged to 50% for long-term storage. Store bits in their original case to prevent damage to the carbide tips. Proper storage maintains performance and resale value.
Conclusion: Practice Makes Perfect
Mastering hammer drill masonry work takes practice, but the payoff is worth it. Start with scrap materials to build confidence. Apply these tips consistently, and you’ll drill cleaner, faster, and safer holes every time. Remember to prioritize safety, choose quality bits, and maintain your tool properly.
Whether you’re hanging a picture or installing structural anchors, these techniques deliver professional results. Your projects will look better, hold stronger, and save you money on repairs. Keep this guide handy for reference, and never hesitate to review safety procedures. With the right knowledge and practice, you’ll tackle any masonry drilling challenge with confidence.
