
A hammer drill safety checklist is your first line of defense against serious injuries. This guide covers seven critical safety steps from personal protective equipment to proper storage. Follow these guidelines to ensure safe, effective drilling every single time.
Key Takeaways
- Always wear proper PPE: Eye, hearing, hand, and respiratory protection are non-negotiable when operating a hammer drill.
- Inspect before each use: Check power sources, cords, batteries, and the hammer mechanism to catch problems early.
- Prepare your workspace: Remove trip hazards, assess electrical risks, and ensure proper ventilation and lighting.
- Master proper handling: Use two hands, maintain stable stance, and position your body correctly for control.
- Select the right bit: Choose appropriate drill bits for your material and ensure they’re securely installed.
- Follow safe operating procedures: Apply steady pressure, control speed, and allow the tool to cool to prevent accidents.
Introduction: Why Hammer Drill Safety Matters
Hammer drills are powerful tools that make tough jobs easier. They combine rotation with a rapid hammering action to break through concrete, brick, and stone. But this power comes with risk. Without proper safety measures, you could face serious injuries like eye damage, hearing loss, or electrical shock.
Many DIYers and even some professionals skip basic safety steps. They think they’re saving time. But one accident can cost far more time and money than proper preparation ever would. This guide will show you exactly what to check before you drill. You’ll learn a simple seven-step process that takes just minutes but protects you for life.
Understanding the difference between a regular drill and a hammer drill helps you appreciate why these safety steps matter. Check out our guide on difference between a drill and a hammer drill to see how the hammer mechanism creates extra risks that require extra precautions.
Step 1: Personal Protective Equipment (PPE) – Your Essential Armor
Never start a hammer drill without proper protection. The hammering action creates dust, chips, and loud noise that can cause permanent damage. Think of PPE as your personal armor against these dangers.
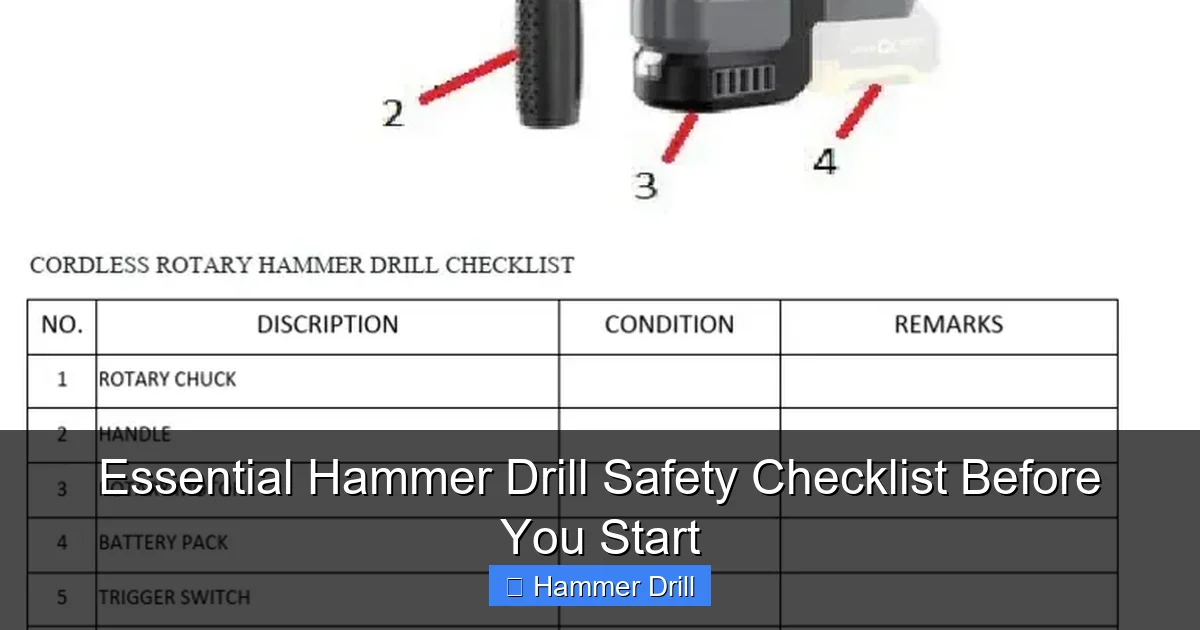
Visual guide about Essential Hammer Drill Safety Checklist Before You Start
Image source: imgv2-1-f.scribdassets.com
Eye Protection: Your First Priority
Flying debris is the most common hazard. Concrete chips can shoot out at high speed. Even a tiny piece can cause serious eye injury. Always wear safety glasses with side shields. For heavy masonry work, use goggles. They provide a tighter seal around your eyes. Look for ANSI Z87.1 rated protection. This standard ensures the glasses can handle impact.
Tip: Keep a spare pair of safety glasses nearby. Dust can fog up your primary pair. Having backups keeps you safe and your work moving.
Hearing Protection: Save Your Ears
Hammer drills are loud. Very loud. They typically produce 90-100 decibels. That’s like standing next to a motorcycle. Prolonged exposure causes permanent hearing loss. You might not notice it happening at first. But years later, you’ll struggle to hear conversations.
Use earplugs or earmuffs. For occasional use, foam earplugs work fine. For frequent drilling, invest in quality earmuffs. They’re more comfortable for long sessions. Some models even have Bluetooth for listening to music safely.
Hand Protection: Grip Safely
Your hands are closest to the drill bit. They need protection from vibration and potential contact. Wear work gloves with good grip. But make sure they’re not too bulky. You need to feel the trigger and maintain control. Anti-vibration gloves are ideal. They reduce the tingling sensation that can make your hands go numb.
Important: Never wear gloves that could get caught in the drill chuck. Remove any jewelry like rings or bracelets. These can snag and cause severe injury.
Respiratory Protection: Breathe Easy
Dust is a silent killer. Concrete and brick dust contains silica. Breathing it causes lung disease. Drywall dust irritates your lungs. Always wear a dust mask for any drilling job. For simple holes, an N95 respirator works. For heavy masonry work, upgrade to a half-face respirator with P100 filters.
Fit matters. A respirator that leaks offers little protection. Seal it properly before each use. Replace filters according to the manufacturer’s schedule.
Clothing Considerations: Dress for Safety
Loose clothing is dangerous. It can catch in moving parts. Wear fitted clothes made of durable material. Long sleeves protect your arms from dust. Long pants shield your legs. Tuck your shirt into your pants. Roll up sleeves if they’re too long. Wear sturdy closed-toe shoes. Steel-toed boots are best for workshop environments.
Avoid synthetic fabrics that melt when exposed to sparks or heat. Natural fibers like cotton or wool are safer choices.
Step 2: Pre-Operation Inspection – Check Before You Connect
Inspecting your hammer drill takes less than two minutes. But it can prevent dangerous malfunctions. Make this a habit before every single use.
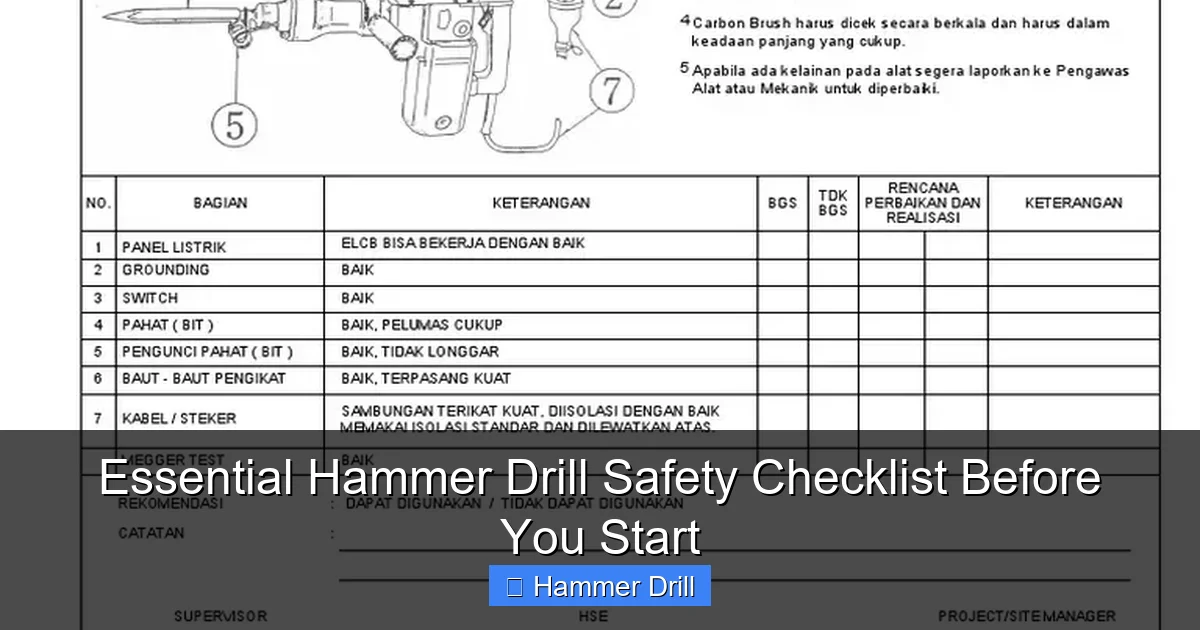
Visual guide about Essential Hammer Drill Safety Checklist Before You Start
Image source: imgv2-1-f.scribdassets.com
Power Source Check: Start at the Source
For corded drills, inspect the power cord thoroughly. Look for cuts, frays, or exposed wires. Check the plug for bent prongs or damage. For cordless models, examine the battery. Look for cracks, swelling, or leaks. Check the battery contacts for corrosion. A damaged battery can overheat or catch fire.
If you’re using a best cordless drill model, ensure the battery is fully charged. Low power can cause the drill to work harder, increasing risk.
Cord and Battery Inspection: Details Matter
Gently flex the power cord along its entire length. Feel for weak spots or internal breaks. Make sure the cord isn’t pinched under furniture or doors. For batteries, check the charge level indicator. If your drill lacks one, use a battery tester. Store batteries in a cool, dry place. Extreme temperatures reduce performance and safety.
Tip: Keep battery terminals clean. Wipe them with a dry cloth monthly. Dirt can cause poor connections and overheating.
Chuck and Bit Inspection: The Critical Connection
Examine the drill chuck carefully. Make sure it opens and closes smoothly. Check for worn teeth that might slip. Inspect the bit itself. Look for cracks, dull edges, or excessive wear. A damaged bit can shatter during use. Ensure the bit is the correct type for your material. Masonry bits have special carbide tips. Using the wrong bit is dangerous and ineffective.
Test the bit by trying to wiggle it in the chuck. It should be secure with no movement. If it slips, tighten the chuck or replace the bit.
Hammer Mechanism Check: Test the Heart
The hammer mechanism is what makes these tools unique. Before drilling, test it briefly. Insert a scrap piece of wood or soft material. Run the drill in hammer mode. Listen for unusual noises like grinding or clicking. Feel for excessive vibration. If anything seems wrong, stop immediately. Have the tool serviced by a professional.
Never force the drill if it’s not hammering properly. This can damage the mechanism and cause loss of control.
Step 3: Workspace Preparation – Set Up for Success
A clean, organized workspace prevents accidents. Take five minutes to prepare before you drill. This small investment pays off in safety and efficiency.
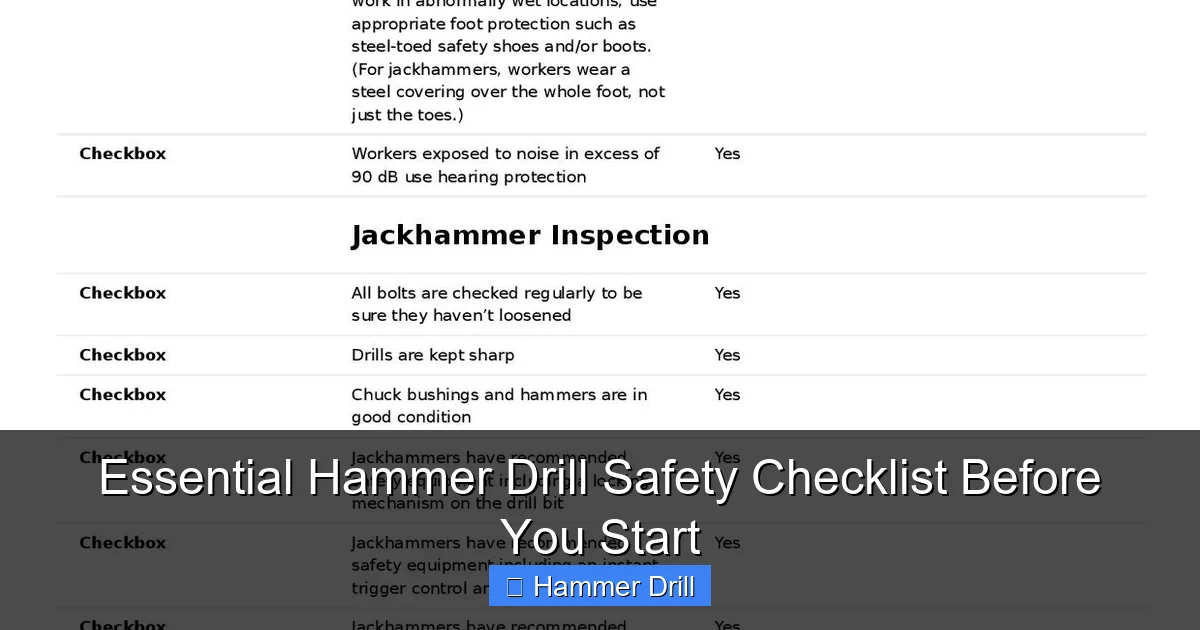
Visual guide about Essential Hammer Drill Safety Checklist Before You Start
Image source: sitemate.com
Surface Stability: Start Solid
Never drill into an unstable surface. Check that your workpiece is secure. Use clamps or a vise to hold it steady. If drilling into a wall, verify there are no hidden pipes or wires. Use a stud finder with AC detection. This reveals live wires behind drywall. If drilling overhead, make sure the surface can support the hole. Weak plaster can collapse.
For ceiling work, use a secure platform. Never stand on a chair or wobbly ladder. Check our guide on securing ladders at the correct height for safety if you need to work at elevated heights.
Electrical Hazard Assessment: Avoid Shocks
Water and electricity don’t mix. Never use a hammer drill in wet conditions. Check the floor for spills. Ensure your hands are dry. If working outdoors, use a GFCI outlet. This device cuts power instantly if it detects a ground fault. Keep extension cords off the ground. Use cord covers to prevent tripping and water exposure.
Inspect the area for existing electrical boxes. Mark their locations clearly. Drilling into a live wire can be fatal.
Ventilation and Dust Control: Clear the Air
Good airflow removes dangerous dust. Open windows and doors when possible. Use fans to pull dust away from your breathing zone. Consider a shop vacuum with a HEPA filter. Many models connect directly to drills to capture dust at the source. This protects your lungs and keeps your workspace clean.
For enclosed spaces, a portable air purifier helps. Run it during and after drilling to clear silica particles from the air.
Lighting: See What You’re Doing
Poor lighting causes mistakes. Ensure your workspace is well-lit. Use a bright work light to eliminate shadows. Position it so it doesn’t create glare on your work surface. Natural light is ideal during daytime. For evening work, LED task lights provide clear, bright illumination without heat.
Check that your light source won’t cast shadows from your hands onto the drilling area. This could cause you to misjudge depth or position.
Trip Hazard Removal: Clear the Path
Cords, tools, and debris cause falls. Sweep the floor before starting. Keep all walking paths clear. Coil extension cords neatly. Use tape to secure them to walls if needed. Keep your work area tidy throughout the job. Put tools back in their places when not in use.
Mark any floor obstacles with tape. This prevents accidental trips in low-light conditions.
Step 4: Proper Handling and Grip – Maintain Control
How you hold the drill affects both safety and results. Proper technique reduces fatigue and prevents loss of control.
Two-Handed Operation: The Golden Rule
Always use both hands. One hand operates the trigger. The other supports the drill body. This gives you maximum control over the hammering action. The side handle is essential. It screws into the drill body and provides a secure grip. Adjust it to a comfortable angle before starting.
Practice the two-handed grip with the drill off. Get comfortable with the weight distribution. The hammering action can twist the drill unexpectedly. Two hands keep you safe.
Body Positioning: Stand Smart
Position your body behind the drill, not to the side. This aligns your arms with the drilling direction. Keep your feet shoulder-width apart. This stable stance absorbs vibration. Bend your knees slightly. This helps you maintain balance during operation. Avoid overreaching. Move your feet to position yourself closer to the work.
Never drill above shoulder height without proper support. The weight of the drill can cause muscle strain and loss of control.
Stance and Balance: Stay Grounded
Your stance affects your ability to react. Keep your weight evenly distributed. Don’t lean forward excessively. Let the drill do the work. Your job is to guide it, not force it. If drilling overhead, position yourself directly underneath. This lets gravity help with control. For floor-level work, crouch or kneel on a padded surface. This reduces strain on your back.
Take breaks every 15-20 minutes. Vibration can cause numbness. Stretch your hands and wrists to maintain circulation.
Step 5: Drill Bit Selection and Installation – The Right Tool for the Job
Using the wrong bit is dangerous and wasteful. The right bit makes the job easier and safer.
Choosing the Right Bit: Match Bit to Material
Masonry bits are designed for concrete and brick. They have carbide tips that resist heat and impact. For wood or metal, use standard bits. Never use a masonry bit on wood. It will splinter and create dangerous chips. Check the bit’s shank type. It must match your drill’s chuck. SDS bits are for rotary hammers, not standard hammer drills. Using the wrong type can cause slippage.
Match bit size to your task. Larger bits require more torque and create more vibration. Start with smaller bits for pilot holes when possible.
Secure Installation: No Room for Error
Install bits properly every time. Insert the bit fully into the chuck. Tighten it securely using the key or quick-release mechanism. For keyed chucks, use the key to tighten all three jaws evenly. For keyless chucks, grip the chuck firmly and turn it clockwise. Test the installation by gently pulling on the bit. It should not come out.
Clean the bit shank before installation. Oil or dirt can cause slippage. Wipe it with a dry cloth.
Depth Setting: Control Your Drill
Most hammer drills have depth stops. Use them. They prevent drilling too deep and hitting pipes or wires. Adjust the depth stop to your desired hole depth. Measure twice to ensure accuracy. Mark the bit with tape as a visual reference. This double-check system prevents mistakes.
For through-holes, calculate depth carefully. Add the material thickness to the bit’s entry distance. This prevents the bit from breaking through violently.
Step 6: Operating Techniques – Drill Safely and Effectively
Proper technique makes your work safer and more efficient. These steps guide you through the actual drilling process.
Starting Position: Begin Correctly
Mark your drilling spot clearly. Use a pencil or awl. This prevents the bit from wandering. Position the bit at a 90-degree angle to the surface. Apply light pressure to start the hole. Let the hammer action create a small groove. Once the bit bites, increase pressure gradually. Never force the drill straight in. This can break the bit or damage the surface.
For beginners, practice on scrap material first. Get a feel for the hammer action and required pressure.
Pressure Application: Let the Tool Work
Apply steady, moderate pressure. Let the hammer mechanism do the work. Forcing the drill causes bit breakage and loss of control. If the drill bogs down, reduce pressure and clear dust from the hole. Withdraw the bit periodically to remove debris. This prevents overheating and maintains cutting efficiency.
Listen to the drill’s sound. A high-pitched whine means too much pressure. A normal grinding sound means proper operation.
Speed Control: Match Speed to Task
Start at low speed for better control. Increase speed once the hole is established. Most drills have variable speed triggers. Practice controlling the trigger before drilling. For hard materials like concrete, use lower speeds. This prevents overheating. For softer materials, higher speeds work better. Switch to hammer mode only when needed. Using it on soft materials creates unnecessary vibration.
Check out our guide on how to use a drill for screws into a wall for more technique tips that apply to hammer drilling.
Overheating Prevention: Keep It Cool
Hammer drills generate heat. Overheating damages the motor and increases risk. Take breaks every few minutes. Let the drill cool for 30 seconds. If the drill feels hot to the touch, stop immediately. Allow it to cool completely. Don’t block ventilation holes with your hands or materials. Keep them clear at all times.
For long drilling sessions, have a second drill ready. This lets you switch tools while one cools down.
Step 7: Post-Operation Safety – Finish Strong
Safety doesn’t end when you finish drilling. Proper shutdown and storage prevent accidents and extend tool life.
Proper Shutdown: End Safely
Release the trigger completely. Wait for the bit to stop rotating before setting the drill down. This prevents accidental starts. Turn off the power switch if your drill has one. For corded models, unplug the drill. For cordless models, remove the battery. This prevents accidental activation in storage.
Let the bit cool before handling. Hot bits can cause burns and damage surfaces they touch.
Cool-Down Period: Patience Pays
Allow the drill to cool naturally. Don’t place it on flammable surfaces while hot. Set it on a metal or concrete surface. Wait at least 5-10 minutes before storing. Check that the motor housing is cool to the touch. This prevents heat damage to internal components.
While the drill cools, clean your workspace. This prevents accidents and prepares for your next project.
Storage: Protect Your Investment
Store your hammer drill in its case. This protects it from dust and damage. Keep it in a dry location. Moisture causes rust and electrical problems. Store bits separately in a bit organizer. This prevents them from rolling and getting damaged. Keep the drill out of reach of children. Store batteries separately in a cool, dry place.
Check the manual for specific storage recommendations. Some drills require lubrication before long-term storage.
Troubleshooting Common Safety Issues
Even with proper preparation, problems can occur. Know these common issues and how to handle them safely.
Excessive Vibration: When Shaking Is Dangerous
Some vibration is normal. Excessive shaking indicates a problem. Check that the bit is properly installed. A loose bit causes wobbling. Inspect the bit for damage. A bent or cracked bit creates dangerous vibration. Check the chuck for wear. Worn jaws don’t grip bits securely. If vibration continues, stop using the drill. Have it professionally inspected.
Excessive vibration can cause white finger syndrome over time. This permanent condition reduces blood flow to your fingers. Take it seriously.
Bit Slippage: Loss of Control
If the bit slips in the chuck during use, stop immediately. This is extremely dangerous. Turn off the drill and remove the bit. Clean both the bit shank and chuck jaws. Reinstall the bit, tightening it securely. If the chuck is worn, replace it. Don’t continue using a slipping chuck. It can cause severe injury.
For keyless chucks, replace worn parts. Many manufacturers sell chuck repair kits.
Overheating: When Heat Becomes Hazardous
If your drill overheats, stop using it. Continuing to drill can cause motor burnout or fire. Unplug it or remove the battery. Let it cool completely. Check for blocked ventilation holes. Clear any dust or debris. If overheating happens frequently, the drill may be underpowered for the task. Use a smaller bit or switch to a more powerful model.
Never immerse a hot drill in water to cool it. This causes thermal shock and damages internal components.
Unusual Noises: Listen for Trouble
Grinding, clicking, or squealing sounds mean trouble. Stop the drill immediately. These noises often indicate bearing failure or gear damage. Continuing to use the drill can cause complete failure and injury. Have it professionally serviced. Don’t try to repair it yourself unless you’re qualified.
Regular maintenance prevents most noise issues. Keep your drill clean and properly lubricated according to the manual.
Conclusion: Safety Is Your Responsibility
Hammer drill safety isn’t complicated. But it does require consistency. Follow this checklist every single time you pick up the tool. Make it a habit. Your safety depends on it.
Remember these key points: Always wear proper PPE. Inspect your tool before use. Prepare your workspace. Use correct handling techniques. Select the right bit. Follow safe operating procedures. Practice proper shutdown and storage.
These steps take just a few minutes. But they protect you from life-altering injuries. Share this checklist with anyone who uses your tools. Encourage them to prioritize safety over speed. A safe workspace is a productive workspace.
Now you’re ready to drill with confidence. Take your time. Follow the steps. And most importantly, stay safe out there.
