

Maintaining a reliable perimeter for livestock or garden protection requires constant vigilance. For many farmers and property owners in the United States, learning how to test electric fence with screwdriver techniques provides a quick, field-ready method to verify if their electric fence system is live. While specialized equipment is often preferred for precision, this “shade-tree” mechanic’s trick remains a staple in rural fence management.
Why Property Owners Use This Method
- Immediate Availability: A screwdriver is usually already in the tool belt or truck bed.
- Quick Diagnostics: It offers an instant visual and auditory confirmation of electrical pulses.
- Accessibility: It removes the barrier to entry for performing routine electric fence maintenance checks on the go.
Understanding the Risks and Standards
Before attempting this, users must understand the basic principles of electrical safety. According to guidelines provided by the National Institute for Occupational Safety and Health (NIOSH), high-voltage discharge can be hazardous if handled improperly. Furthermore, ensuring that the installation meets the National Electrical Code (NEC) standards is vital for both human and animal welfare.
Is This Technique Reliable?
While knowing how to test electric fence with screwdriver is convenient, it is considered a qualitative assessment rather than a quantitative one. It confirms the presence of power, but it does not measure the actual voltage output. For those managing extensive acreage, relying solely on sparks can be misleading, as a weak, “leaky” fence might still produce a spark while failing to provide a sufficient deterrent for livestock.
Therefore, it is best utilized as a preliminary troubleshooting step before engaging in more granular diagnostics.
Key Takeaways
Understanding how to test electric fence with screwdriver techniques provides a quick, field-ready method for identifying if power is flowing through your livestock containment system. While this method offers immediate feedback, users must balance utility with safety and equipment preservation. For those managing agricultural infrastructure, consistent maintenance is the bedrock of farm safety, as detailed in these guidelines for animal welfare and containment.
- Immediate Diagnostics: Using a screwdriver creates a short circuit that produces an audible “snap,” indicating that the energizer is active and the fence is carrying a charge.
- Safety First: Always use a tool with a high-quality, insulated handle. Never attempt this if you are standing in water or if the ground is saturated, as this increases the risk of accidental discharge.
- Equipment Limitations: While learning how to test electric fence with screwdriver methods is helpful for emergencies, it does not provide an accurate voltage reading. For precise measurements, farmers should invest in a digital electric fence voltmeter to ensure the system meets the minimum voltage requirements for livestock security.
- Risk of Damage: Frequent testing using this method can potentially cause minor pitting on metal fence components over time.
- Environmental Factors: Vegetation interference remains the most common cause of voltage drops; ensure that weeds and brush are cleared regularly to maintain fence efficiency. According to university agricultural extensions, keeping the fence line clear is essential for the long-term health of the energizer.
By following these fundamental principles, property owners can maintain a secure, operational perimeter without compromising their personal safety or the integrity of their electrical equipment.
Essential Safety Protocols Before You Start
Before attempting to learn how to test electric fence with screwdriver methods, prioritize safety above all else. High-voltage electric fences are designed to provide a deterrent shock, and improper handling can lead to painful, albeit rarely lethal, injury. Operators must approach the fence with caution, treating every wire as if it is live, regardless of the status of the energizer. Ensuring proper electric fence maintenance starts with a solid foundation of safety and awareness.
Protective Gear Requirements
To minimize the risk of accidental discharge, operators should always utilize appropriate personal protective equipment (PPE). Following OSHA guidelines for working near electrical hazards is a smart practice, even for agricultural fencing.
- Insulated Footwear: Always wear rubber-soled boots. Avoid leather-soled shoes or working barefoot, as these provide no insulation from the ground.
- Dry Conditions: Never perform a test while it is raining or if the ground is saturated with water. Moisture significantly increases the conductivity of the soil, making accidental shocks more likely.
- Gloves: Consider wearing thick, dry, rubber-insulated work gloves to provide an additional layer of protection between the hands and the tool handle.
- Proper Clothing: Ensure clothing is dry and free of dangling jewelry or metal accessories that could accidentally make contact with the fence wire.
Identifying Potential Hazards
Before the test begins, it is vital to perform a visual sweep of the immediate environment. Recognizing common electrical hazards is the best defense against injury.
- Check for Grounding Issues: Ensure the fence is not touching metal posts or objects that could cause a short circuit, creating an unpredictable electrical path.
- Vegetation Contact: Look for branches or tall weeds touching the wires. These can bleed off voltage, creating a “leaky” fence that might not show a clear spark but can still deliver a localized sting if handled carelessly.
- Tool Integrity: Before using a screwdriver, inspect the handle for cracks or signs of wear. If the insulation is compromised, it is no longer safe for this task. According to information provided by The National Institute for Occupational Safety and Health (NIOSH), using damaged tools in electrical environments drastically increases the risk of unexpected current flow.
- Animal Safety: Keep pets and livestock away from the area during the inspection process to prevent them from being startled or inadvertently touching the wire while the technician is focused on the tool.
Selecting the Right Screwdriver
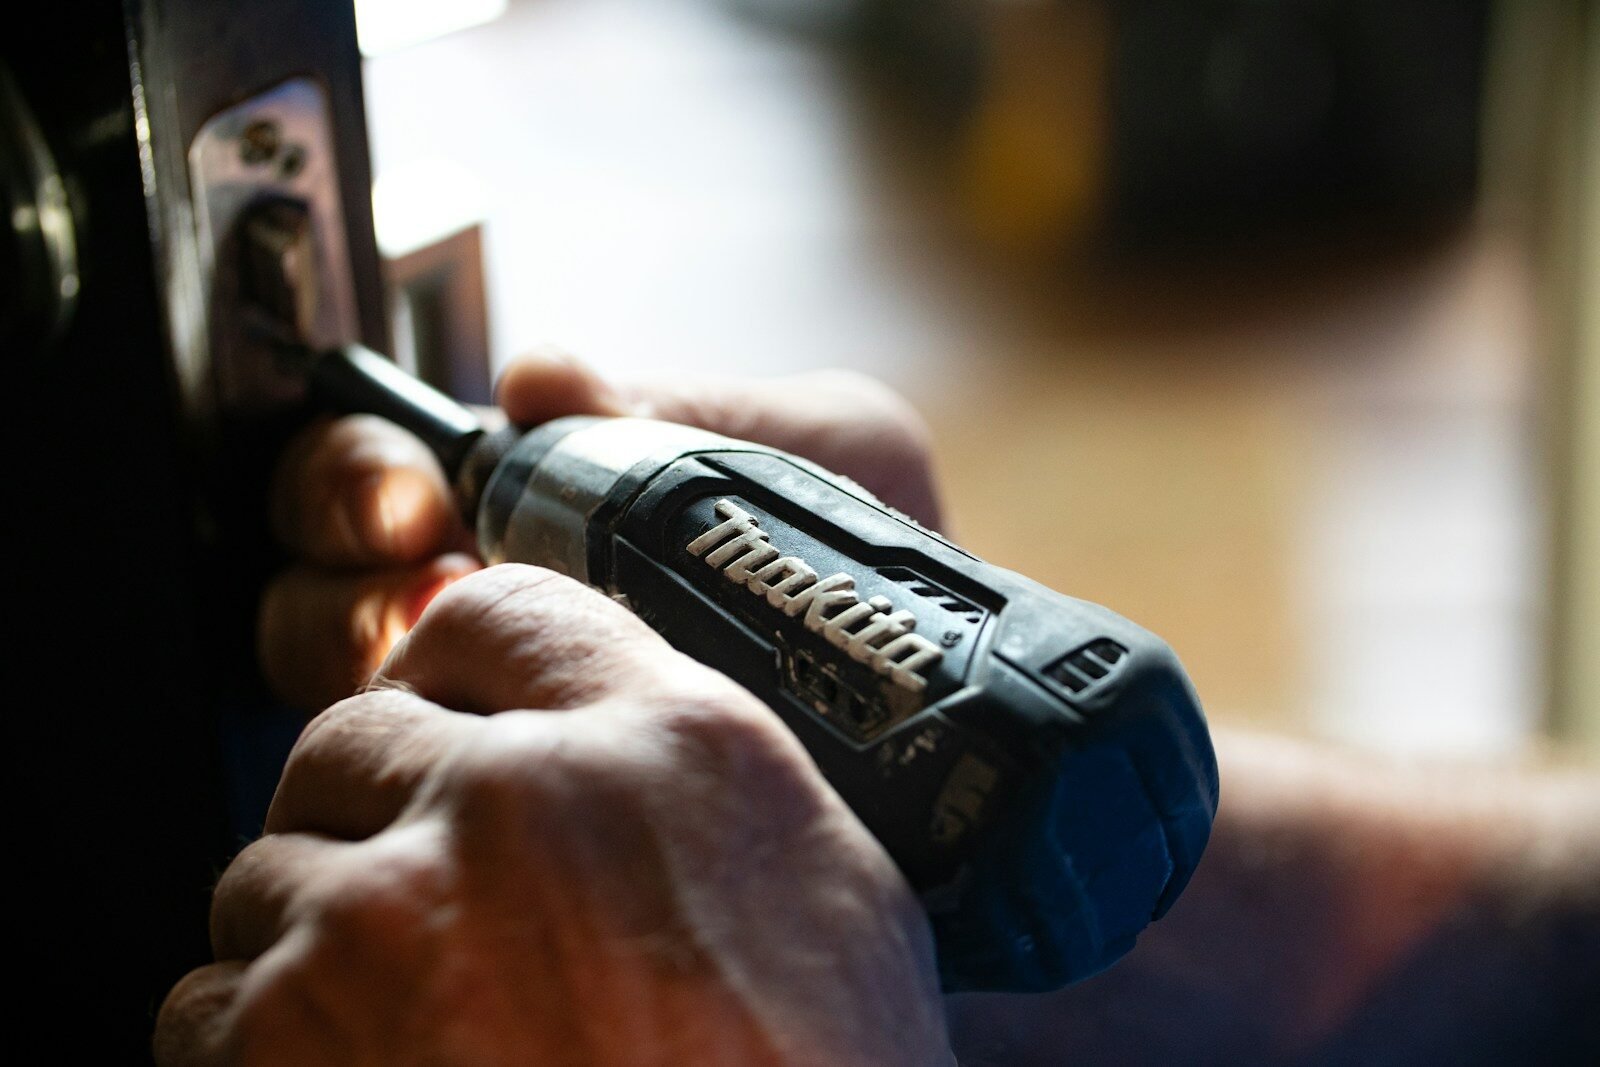
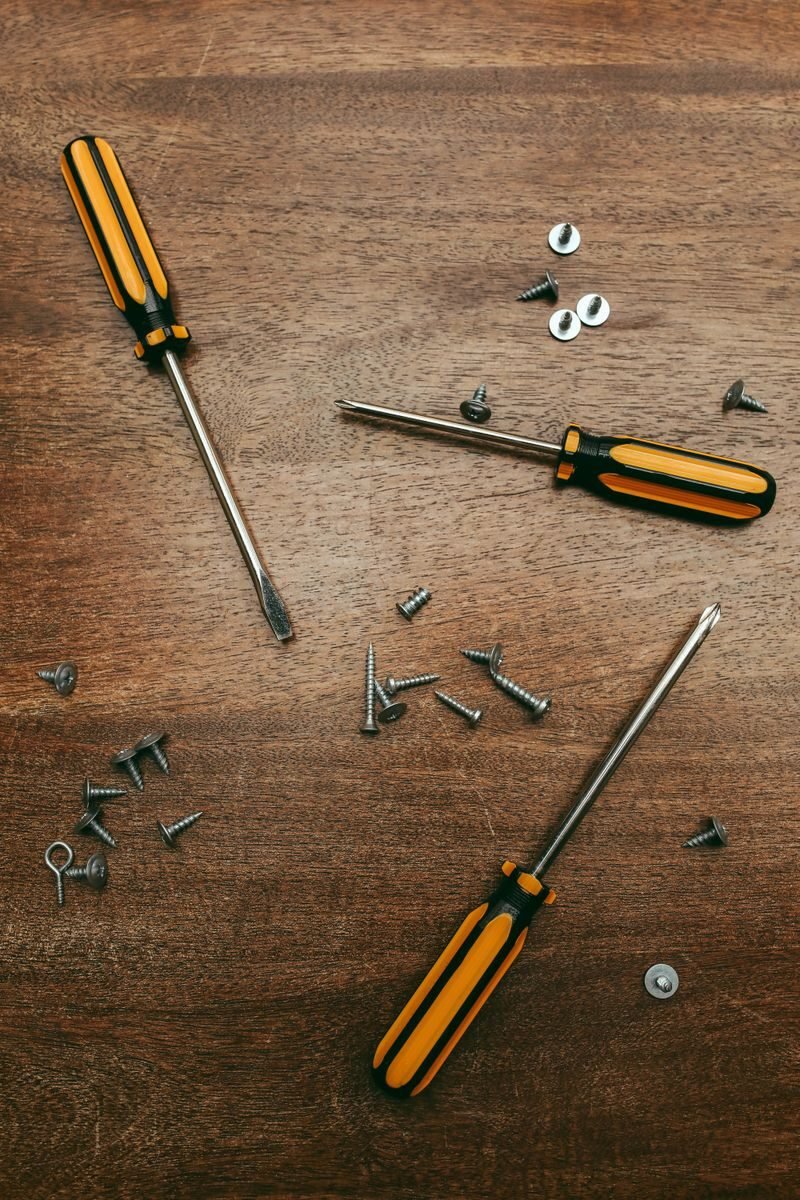
When learning how to test electric fence with screwdriver techniques, the selection of the tool is the most critical safety step. Not every tool in a workshop is suitable for this task; using the wrong equipment can lead to painful shocks or tool damage. It is vital to prioritize tools designed for electrical work that provide sufficient isolation from the high-voltage current pulsing through the wire. Proper electric fence tool selection ensures that the user remains safe while verifying the integrity of their containment system.
Insulated Handle Importance
The handle is the user’s primary barrier against a high-voltage discharge. When choosing a tool, one must strictly adhere to the following safety standards:
- Rubber Coating: Only use screwdrivers with a thick, heavy-duty, rubberized grip. This material acts as an electrical insulator to prevent current from traveling through the user’s hand.
- Voltage Rating: Ideally, the tool should be rated for high-voltage work. According to safety guidelines outlined by OSHA, tools used around energized circuits must be properly rated and free of cracks or tears in the insulation.
- Avoid Bare Metal: Never attempt to use a screwdriver with a wooden or thin plastic handle that does not provide a substantial gripping surface.
Metal Shaft Length Considerations
The length of the metal shaft plays a dual role in both safety and the effectiveness of the spark test.
- Maintaining Distance: A longer shaft allows the user to keep their hands further away from the energized wire. This added “buffer zone” reduces the risk of accidental arcing to the hand or arm.
- Shaft Diameter: A standard medium-to-large flathead screwdriver is generally preferred. The increased surface area of the tip makes it easier to create a consistent contact point with the wire.
- Strategic Positioning: As detailed in USDA agricultural safety resources, maintaining proper distance from energized components is a fundamental pillar of preventing electrical injury.
Quick Tip for Tool Inspection: Before beginning, always inspect the screwdriver for any signs of wear, moisture, or damage. If the rubber handle shows signs of dry rot or if the metal shaft is pitted or corroded, it should be discarded rather than used for testing. When determining how to test electric fence with screwdriver safely, the rule remains: if the tool’s integrity is in doubt, do not use it.
Locating the Fence Ground
Before one begins to learn how to test electric fence with screwdriver methods, they must first identify the system’s grounding point. A proper ground acts as the return path for the electrical current; without a solid connection, the fence will not deliver an effective shock. Proper installation guidelines provided by the USDA emphasize that grounding is the foundation of any reliable perimeter security system. For those performing general maintenance, checking the fence infrastructure ensures the circuit remains closed and functional.
Understanding Grounding Systems
An electric fence operates as a circuit that completes only when an animal touches the wire and the earth simultaneously. To maintain this potential, the system requires:
- Ground Rods: Deeply driven steel or copper rods—often galvanized—that establish a connection with the soil.
- The Soil Connection: Moisture levels in the ground significantly impact performance. Research from the University of Missouri Extension indicates that dry or sandy soil may require additional ground rods to ensure the grounding system functions correctly.
- Circuit Path: The current travels from the energizer, through the fence line, through the animal, into the earth, and back to the ground rod.
Choosing the Best Grounding Point
When preparing for the spark test, locating the physical connection point is critical. One should observe the following when selecting a site to place the screwdriver shaft:
- Identify the Ground Wire: Look for the heavy-duty, insulated wire running from the energizer to the ground rod array.
- Select an Exposed Section: Choose a spot on the ground rod or the lead-out wire that is clean and free of heavy corrosion.
- Ensure Stability: The chosen point must be secure. If the connection is loose, the resulting arc will be inconsistent, making it difficult to judge the fence’s actual power.
- Verify Accessibility: The site should be easily reachable without the operator needing to lean across energized lines or step into brush that might cause an accidental short or injury.
By confirming the integrity of the grounding system before initiating any test, the operator ensures a more accurate assessment of the energizer’s output.
The Step-by-Step Testing Process
When a livestock owner needs to verify if their containment system is active, learning how to test electric fence with screwdriver techniques provides a quick, field-ready solution. While this method is a diagnostic staple for farmers across the United States, it must be performed with precision to avoid equipment damage or personal injury. Before beginning, consult farm safety guidelines from the USDA to ensure you are following best practices for handling high-voltage equipment.
Correct Positioning of the Screwdriver
Proper placement is the most critical factor when using a tool to check for a live current. To perform the test effectively, follow these specific steps:
- Firm Grip: Always hold the screwdriver by the insulated handle. Never touch the metal shaft while the tool is near the fence wire.
- Establish Ground: Place the metal tip of the screwdriver against the fence wire or terminal.
- Proximity to Ground: Position the shaft of the screwdriver close to—but not quite touching—the metal ground rod or a grounded part of the fence post.
- Stable Stance: Ensure the operator is standing on dry ground to minimize the risk of a ground fault or accidental shock. For those looking to upgrade their gear for more accurate monitoring, it is worth reviewing professional fence testing equipment to ensure long-term system reliability.
Creating the Arc
Once the screwdriver is positioned correctly, the goal is to observe a visual confirmation of the current. This process effectively demonstrates how to test electric fence with screwdriver safely by creating a controlled short circuit.
- Slowly Move Closer: With the tip touching the fence wire, slowly move the shaft of the screwdriver toward the ground wire or rod.
- Observe the Gap: As the metal reaches the critical distance (usually about 1/8 to 1/4 of an inch), an electrical arc should jump from the wire to the screwdriver.
- Listen for the Snap: A healthy energizer will produce a sharp, audible “snap” or “click” sound.
- Avoid Sustained Contact: Do not hold the screwdriver against the ground for an extended period, as this can create a power short that may put unnecessary stress on the energizer unit.
For further information on the physics of electrical safety, researchers often refer to studies found via National Institute of Occupational Safety and Health (NIOSH) databases to understand how high-voltage arcs interact with metal tools. By following these steps, operators can quickly determine if the fence line is energized without requiring complex digital diagnostic tools.
Interpreting the Spark Results
When learning how to test electric fence with screwdriver techniques, observing the resulting discharge provides immediate, albeit rough, diagnostic feedback. This rudimentary method relies on creating a short circuit between the live wire and the ground, forcing the electrical current to bridge the gap through the air. For more detailed technical standards on livestock containment and fencing systems, one can refer to guidelines provided by the USDA.
What a Strong Snap Means
A vibrant, blue-white spark accompanied by a loud, crisp “snap” indicates that the energizer is functioning correctly and delivering high voltage to the fence line.
- Optimal Energy Transfer: The loud noise signifies that the voltage is sufficiently high to ionize the air gap between the screwdriver shaft and the ground wire.
- System Integrity: It suggests that the fence loop is intact and that the energizer’s output is reaching that specific point with enough force to manage livestock effectively.
- Effective Grounding: A strong snap confirms that the return path to the ground rod is low-resistance, which is critical for system performance as noted in various agricultural engineering studies.
Analyzing Weak or Absent Sparks
If the spark is thin, yellow, or entirely absent, the operator must recognize that the system is likely underperforming or compromised. You can learn more about identifying specific electric fence troubleshooting tips to narrow down the cause.
- Potential Causes for Weak Sparks:
- Excessive Vegetation: Grass or weeds touching the wire can bleed off voltage.
- Ground Faults: If the grounding system is dried out or corroded, the return path is hindered.
- Loose Connections: Corroded wire splices or connectors increase resistance, dropping the voltage before it reaches the end of the line.
- What Absence of Spark Indicates:
- Complete Open Circuit: A broken wire might exist somewhere between the energizer and the test point.
- Energizer Failure: The unit itself may have stopped pulsing, or a fuse may have blown.
- Safety Warning: If no spark is observed, it does not guarantee the fence is “off.” Always treat the wire as live until a voltmeter confirms zero voltage.
Common Electric Fence Faults
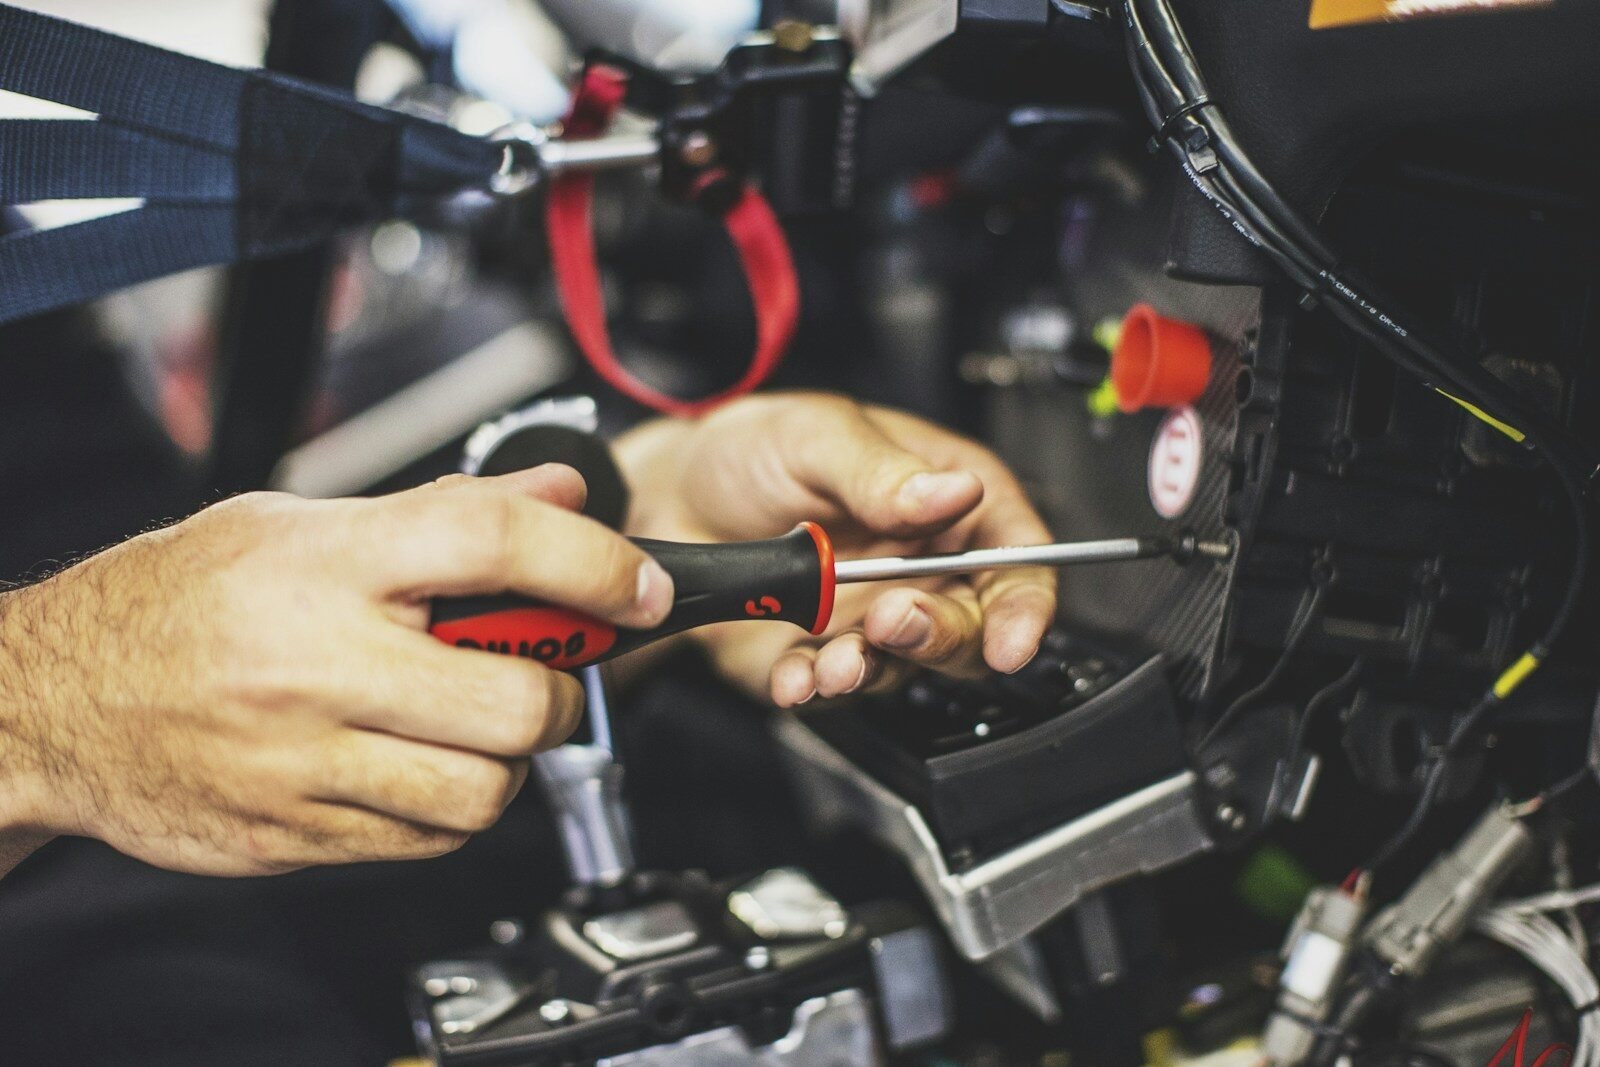
When learning how to test electric fence with screwdriver, operators often discover that the primary reason for a system failure is not the energizer itself, but rather common environmental or structural interference along the perimeter. Identifying these faults quickly ensures that the livestock containment system remains effective. Understanding how to diagnose these issues is a fundamental part of agricultural safety and property management.
Vegetation Interference
Overgrown grass, weeds, and tree branches are the most frequent culprits for a “shorted” fence. When vegetation makes direct contact with a live wire, it drains voltage into the ground, significantly reducing the fence’s efficacy.
- The “Drain” Effect: Green, moisture-rich plants act as a conductor, siphoning electricity away from the wire.
- Detection: If a user performs the how to test electric fence with screwdriver method and observes only a faint spark or no spark at all, vegetation is often the cause.
- Mitigation:
- Regularly trim back foliage at least 12 inches from the wire line.
- Use herbicides or mechanical trimmers to maintain a clear perimeter.
- For more information on perimeter maintenance, consult the USDA National Agricultural Library.
Broken Wire Detection
A physical break in the fence wire creates an open circuit, preventing the current from completing its path. This is a critical fault that renders the fence completely useless for animal control.
- Visual Indicators: Look for sagging wires, loose knots, or sections lying on the ground.
- Testing for Breaks:
- Conduct a preliminary check using the how to test electric fence with screwdriver technique at various points along the fence line.
- If the spark is strong near the energizer but suddenly vanishes at a specific interval, a break likely exists between those two points.
- Safety Tip: Always turn off the power before attempting to mend or splice a broken wire.
- Environmental Causes: High winds, falling limbs, or heavy wildlife impact can cause tension-related breaks that require immediate repair to restore system continuity.
Limitations of the Screwdriver Method
While learning how to test electric fence with screwdriver techniques can be useful in a pinch, it is primarily a rudimentary diagnostic tool. Relying solely on a screwdriver provides only a binary “yes or no” indication of current flow, failing to provide the precise data necessary for long-term agricultural infrastructure management. As noted by agricultural safety experts, maintaining consistent fence performance requires more than just confirming a spark; it requires monitoring specific voltage thresholds to ensure livestock security.
Why Voltage Meters are More Accurate
The screwdriver method is subjective and lacks the precision required for troubleshooting complex fence lines. Professional-grade digital fence testers offer significant advantages:
- Quantitative Data: A volt meter displays the exact kilovolts (kV) running through the wire, allowing the user to detect subtle voltage drops caused by poor connections or failing insulators.
- Load Testing: Unlike a screwdriver, specialized testers can simulate the load of an animal touching the fence, providing a much more accurate assessment of how the fence performs under real-world conditions.
- System Diagnostics: Modern testers can pinpoint exactly how far down the line a fault exists, whereas the screwdriver only indicates that the current is reaching the point of the test.
For those looking to move beyond basic troubleshooting, detailed guidance on proper equipment selection can significantly improve fence reliability and safety.
Risk of Damaging Fence Components
Using a tool not specifically designed for electrical testing can lead to unintended consequences for the integrity of the fencing system. According to guidelines provided by the USDA, improper maintenance can lead to premature failure of energizers and fencing components.
- Arc Damage: Repeatedly creating an arc by jumping the current from the fence to the screwdriver can cause micro-pitting on fence components, which may lead to corrosion or structural weakness over time.
- Energizer Strain: Consistently shorting out the fence to ground through a screwdriver places unnecessary stress on the energizer’s internal circuitry.
- Insulation Failure: If the screwdriver handle lacks the appropriate dielectric rating, the user risks electrical shock, while the potential for an uncontrolled arc may damage sensitive insulation materials near the connection point.
Ultimately, while understanding how to test electric fence with screwdriver is a common skill among homesteaders, it should be reserved for emergency field checks rather than regular maintenance protocols. Investing in a reliable digital fence tester is the most effective way to ensure the longevity of an electric fence system.

Best Practices for Fence Maintenance
Consistent maintenance is the cornerstone of a reliable perimeter, ensuring that livestock remain secure and predators are effectively deterred. While learning how to test electric fence with screwdriver techniques provides a quick field assessment, long-term operational success depends on proactive care and rigorous hardware upkeep. By following industry-standard electric fence safety guidelines, farmers and property owners can prevent costly repairs and maintain optimal voltage levels throughout the system.
Regular Inspection Schedules
A robust fence is only as effective as its weakest component. Implementing a structured maintenance routine ensures that potential failures are identified before they lead to containment breaches.
- Weekly Voltage Checks: Use a digital voltmeter to verify that the energizer is outputting the correct joules. Even if you know how to test electric fence with screwdriver, precision equipment provides the data needed for long-term troubleshooting.
- Hardware Audit: Inspect insulators, tensioners, and connectors for physical damage. Exposure to harsh weather and UV radiation often leads to brittle components.
- Grounding System Verification: Ensure the ground rod is secure and free from corrosion. According to USDA agricultural research, proper grounding is the most common deficiency in underperforming systems.
- Documentation: Maintain a logbook of voltage readings at the furthest point of the fence line to track system degradation over time.
For more detailed guidance on selecting the right diagnostic tools, refer to these essential tips for maintaining electric fence systems.
Clearing the Fence Line
Vegetation is the primary enemy of electric fence efficiency. When weeds, tall grass, or tree branches touch the electrified wire, they create a “short” that bleeds energy into the ground, significantly reducing the fence’s stopping power.
- Establish a Buffer Zone: Keep a 3-to-4-foot clearance on both sides of the fence line to minimize contact.
- Seasonal Trimming: During the growing season, implement a bi-weekly clearing schedule to prevent vegetation from growing into the wires.
- Chemical vs. Mechanical: Consider using approved herbicides or high-quality brush cutters to manage growth effectively.
- Clear Debris: After storms or high winds, immediately inspect the line for fallen branches or leaves that may be causing voltage leakage.
By prioritizing these maintenance practices, operators ensure their perimeter remains a formidable barrier, reducing the need for emergency repairs and maximizing the longevity of the energizer.
Frequently Asked Questions
Understanding the nuances of fence maintenance is essential for livestock security. While many owners look for quick diagnostic methods, learning how to test electric fence with screwdriver techniques requires a clear understanding of safety and hardware limitations. Below are the most common inquiries regarding this field-expedient troubleshooting process.
Will a screwdriver test hurt the energizer?
Generally, no. When a user performs a momentary “short” to ground, it typically does not damage a modern, high-quality energizer. These units are designed to withstand temporary short circuits caused by vegetation or debris. However, constant shorting or using the tool for extended periods can cause unnecessary heat buildup. For a more comprehensive look at maintaining your perimeter security, ensure your energizer is compatible with your fence length. Always consult the National Electrical Code (NFPA) requirements if you are concerned about your specific installation setup.
Can I use any metal tool for this test?
While you can technically use various metal objects, a screwdriver is preferred because of its insulated handle.
- Safety Priority: Never use a tool that lacks a fully insulated handle.
- Conductivity: Ensure the shaft is made of raw, unpainted steel to allow the current to arc effectively.
- Tool Integrity: Avoid using expensive precision tools, as the arcing process can create minor pitting on the metal surface.
How often should I check my electric fence?
Reliability depends on consistent monitoring. Experts suggest:
- Weekly Visual Checks: Look for sagging wires or overgrown vegetation.
- After Severe Weather: High winds or heavy snow can cause debris to fall on the fence line, creating a faulty fence condition.
- Routine Voltage Checks: Even if you know how to test electric fence with screwdriver methods, perform a formal voltage check with a digital meter at least once a month to ensure the system is meeting the USDA recommendations for livestock containment.
Is it safe to touch the fence if it doesn’t spark?
Absolutely not. A lack of spark when using a screwdriver does not confirm the fence is “off” or safe to handle.
- The “Dead” Fallacy: A weak connection, a blown fuse, or an improperly grounded system might prevent an arc, even though the wire is still partially energized.
- Verification: Always use a calibrated digital fence tester to verify zero voltage before making any physical contact or repairs.
- Assumption of Risk: Treat every electric fence as if it is live, regardless of whether you have attempted to verify it with a screwdriver.
Conclusion: Safely learning how to test electric fence with screwdriver
Mastering the manual method for fence diagnostics is a practical skill for any landowner, but it should be approached with caution and respect for electrical safety. While learning how to test electric fence with screwdriver provides an immediate way to confirm if the energizer is operational, it remains a crude diagnostic tool compared to professional equipment. Maintaining a secure perimeter depends on consistent diligence and an understanding of proper electric fence maintenance techniques.
Final Recommendations for Success
To ensure that both the operator and the livestock remain safe, they should adhere to these final best practices:
- Prioritize Safety: Always wear rubber-soled boots and ensure the screwdriver handle is fully insulated.
- Use the Right Tools: For precise readings of electric fence voltage, a digital voltmeter is always preferred over an improvised tool.
- Clear Interference: Regularly remove grass and branches to prevent power leakage, as detailed in guidelines from the USDA Natural Resources Conservation Service.
- Understand Limitations: Recognize that a spark test indicates the presence of current, but it does not accurately measure the actual output power of the energizer.
Summary of Safety Protocols
When evaluating the functionality of a system, users should remember that safety is paramount. According to electrical safety standards provided by the NFPA, identifying potential hazards before making contact with any live wire is the most critical step in preventing accidental injury.
- Inspect the equipment: Ensure there are no frayed wires or damaged insulators before attempting the test.
- Verify the ground: A solid ground is essential for a reliable spark; if the ground is dry or poorly installed, the test may yield inconclusive results.
- Know when to call a professional: If the fence is consistently failing or showing signs of internal damage, consult a professional to avoid costly repairs.
By balancing the convenience of knowing how to test electric fence with screwdriver with the long-term benefits of using a professional-grade voltage tester, landowners can ensure their perimeter remains robust and effective throughout the seasons. Regular inspections and adherence to safety guidelines will keep the system functioning at its peak performance.