
Mastering cordless drill safety is crucial for every DIYer and beginner. This guide covers ten essential tips that prevent injuries, protect your equipment, and ensure successful projects. You’ll learn everything from proper eye protection to battery handling and emergency procedures.
Key Takeaways
- Always wear safety glasses: Protect your eyes from flying debris and dust particles at all times.
- Inspect your drill before each use: Check for damage, loose parts, and battery issues to prevent accidents.
- Secure your workpiece properly: Use clamps or vises to prevent spinning and ensure control.
- Choose the right drill bit: Match the bit to your material and project for clean, safe results.
- Maintain a clean workspace: Remove tripping hazards and keep cords organized for maximum safety.
- Handle batteries with care: Avoid extreme temperatures and store batteries properly to extend life and prevent hazards.
Introduction: Why Cordless Drill Safety Matters
Congratulations on your new cordless drill! This versatile tool opens up endless possibilities for DIY projects, home repairs, and creative endeavors. However, without proper safety precautions, that powerful motor and spinning chuck can turn dangerous in seconds. Cordless drill safety isn’t just about avoiding injury—it’s about building confidence, ensuring project success, and enjoying your tools for years to come.
This comprehensive guide walks you through ten critical safety tips every beginner must know. We’ll cover everything from personal protective equipment to battery maintenance and emergency procedures. By following these guidelines, you’ll transform from a nervous novice into a confident, safe drill operator.
Remember: taking five minutes to review safety steps before each use can prevent a lifetime of regret. Let’s get started.
Tip #1: Protect Your Eyes With Proper Safety Glasses
Your eyes are your most valuable tool, and they’re constantly at risk when drilling. Wood chips, metal shavings, and concrete dust can fly at high speeds, causing serious injury.
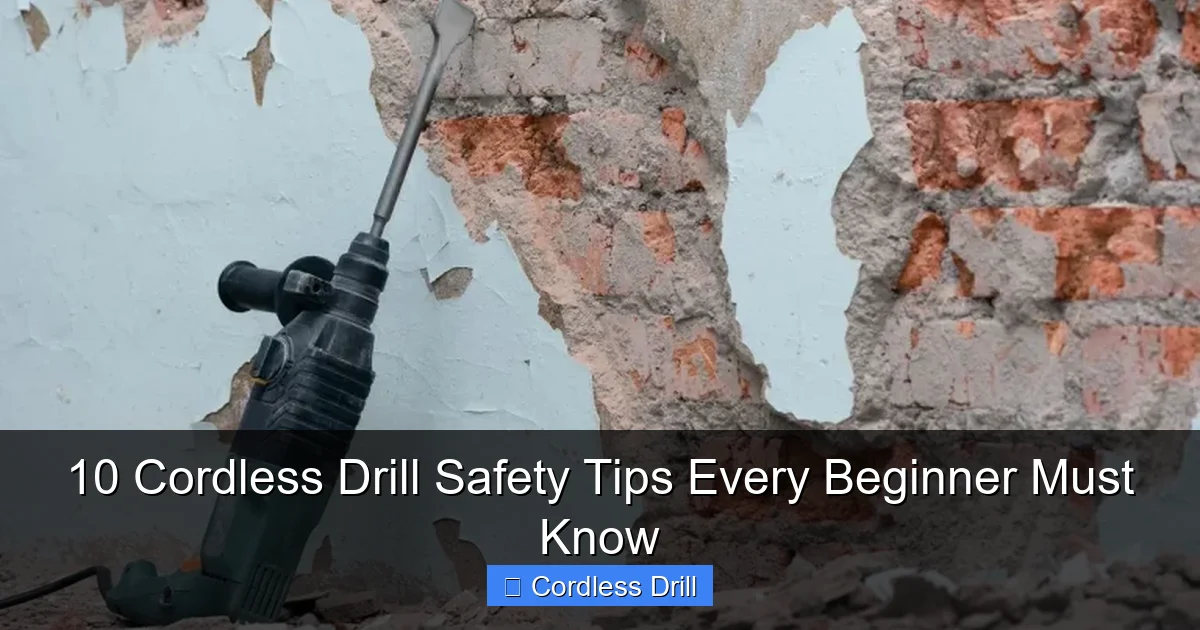
Visual guide about 10 Cordless Drill Safety Tips Every Beginner Must Know
Image source: toptiertool.com
Why Regular Glasses Aren’t Enough
Regular prescription glasses don’t provide adequate protection. They lack side shields and aren’t impact-rated. When shopping for safety glasses, look for the ANSI Z87.1 rating. This certification means they’ve passed rigorous impact tests.
Choosing the Right Safety Glasses
- Clear lenses: Best for most drilling tasks
- Tinted lenses: Useful for outdoor work in bright sunlight
- Anti-fog coating: Essential for humid conditions or extended use
- Wraparound style: Provides side protection from flying debris
Make It a Habit
Keep your safety glasses in a designated spot near your drill charging station. This way, they’re always accessible. Make it a rule: no glasses, no drilling. Even quick projects deserve proper eye protection.
Tip #2: Select the Right Drill and Battery for Your Project
Not all cordless drills are created equal. Choosing the wrong tool can make your job harder and more dangerous.
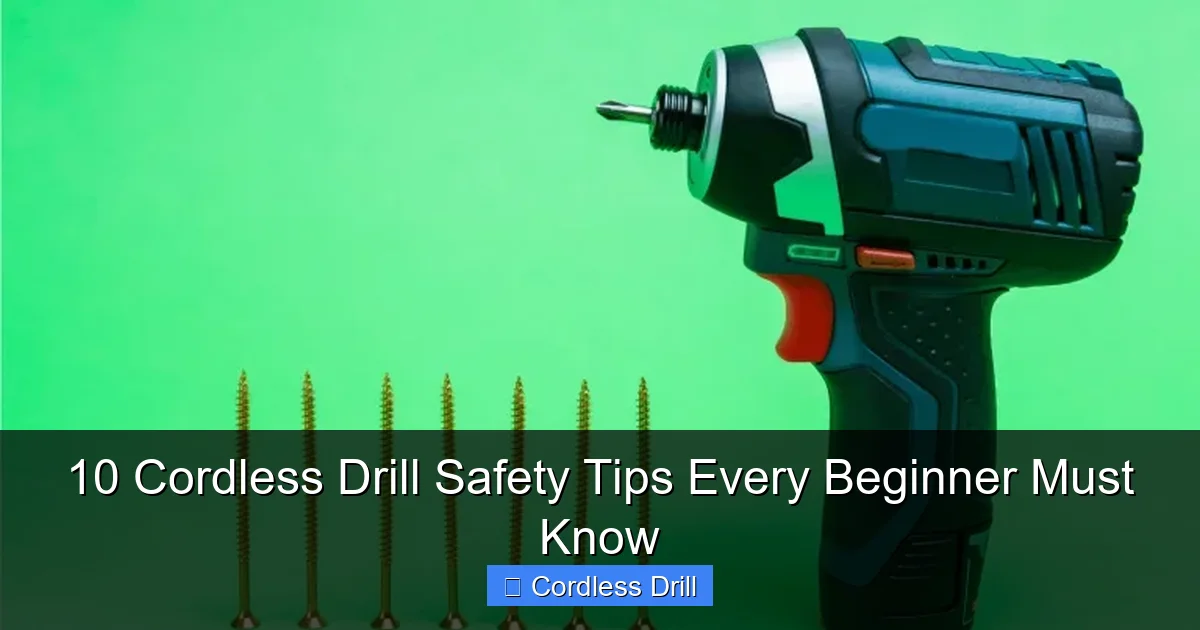
Visual guide about 10 Cordless Drill Safety Tips Every Beginner Must Know
Image source: toptiertool.com
Understanding Drill Types
Standard cordless drills work great for most DIY tasks. However, for masonry work, you’ll need a hammer drill function. If you’re driving many screws, consider an impact driver for better control. Check out our guide on what is the difference between impact driver and hammer drill to understand which tool suits your needs.
Battery Considerations
Voltage matters. For light tasks like hanging pictures, a 12V drill provides enough power with better maneuverability. For heavy-duty projects, 18V or 20V models deliver the muscle you need. Higher voltage means more weight, so balance power with comfort.
Check Battery Health
Before starting any project, inspect your battery. Look for cracks, swelling, or corrosion on the terminals. A damaged battery can leak, overheat, or fail during use. If you notice any issues, stop using it immediately and replace it.
Tip #3: Conduct a Pre-Use Inspection Every Single Time
Rushing to start your project without checking your drill is a recipe for disaster. A quick inspection takes less than two minutes but can prevent serious accidents.
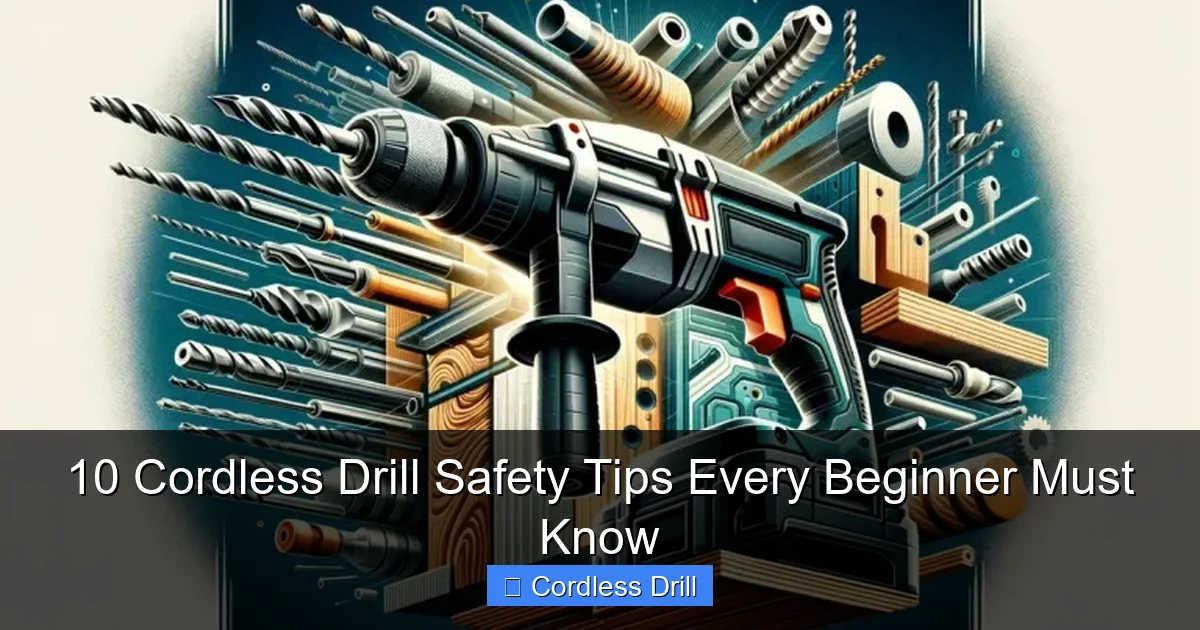
Visual guide about 10 Cordless Drill Safety Tips Every Beginner Must Know
Image source: toptiertool.com
Check the Chuck
Ensure the chuck is tight and secure. A loose chuck can cause bits to slip or fly out during operation. Rotate the chuck by hand to check for smooth operation without wobbling or grinding noises.
Test the Trigger and Speed Settings
With the battery removed, practice squeezing the trigger. It should move smoothly without sticking. Test the forward and reverse buttons to ensure they click into place properly. This prevents accidental starts.
Inspect the Housing and Grip
Look for cracks in the plastic housing, especially around the motor area. Check that the handle grip is intact and not slippery. Any damage can compromise your control and safety.
Verify Battery Connection
Make sure the battery clicks securely into place. A loose battery can cut power unexpectedly or fall during use, creating a tripping hazard or causing the drill to stop mid-task.
Tip #4: Secure Your Workpiece Like a Professional
An unsecured workpiece is one of the most common causes of drill-related injuries. A spinning board or slipping pipe can catch your drill bit and wrench the tool from your hands.
Use Clamps for Small Items
Spring clamps or quick-grip clamps work perfectly for small pieces of wood or metal. Position the clamp so it won’t interfere with your drilling path. The clamp should press the material firmly against a stable surface.
Vises Are Your Best Friend
For metal work or repetitive tasks, a bench vise provides unbeatable stability. Position the workpiece so the drilling location is supported underneath, preventing the material from flexing or breaking unexpectedly.
Create Stable Supports
When working with long boards, use sawhorses or sturdy tables to support both ends. Never hold a long piece vertically without proper support. Gravity works against you, making control difficult.
Avoid Holding Work in Your Hand
Unless the piece is too large to clamp, always use mechanical fastening. Your hand can slip, or the drill can catch and spin, causing severe wrist injury. If you must hold something small, use a drill stand or jig for stability.
Tip #5: Keep Your Workspace Clean and Organized
A cluttered workspace invites accidents. Tripping over tools, cords, or debris while holding a running drill is extremely dangerous.
Clear the Floor
Sweep up sawdust, wood chips, and metal shavings before starting. Remove any tools, boxes, or materials that aren’t part of your current project. Keep pathways clear between your work area and power source.
Manage Cords and Cables
Even though your drill is cordless, you’ll likely have a vacuum, light, or charger nearby. Use cord covers or tape down loose cables to prevent tripping. Keep charging stations organized and away from your active work zone.
Organize Your Tools
Use a tool belt or nearby bench to keep drill bits, screws, and accessories within reach but off the floor. This prevents you from bending over unexpectedly while holding a live drill.
Control Dust and Debris
When drilling into concrete or wood, dust can create a cloud that obscures your vision. Consider using a vacuum attachment or drilling with a damp cloth nearby to capture airborne particles. Good ventilation also protects your lungs.
Tip #6: Choose and Install Drill Bits Correctly
Using the wrong bit or installing it improperly can cause breakage, kickback, or inaccurate holes.
Match Bits to Materials
- Wood bits: Feature a pointed tip for easy starting in timber
- Metal bits: Made from high-speed steel for strength
- Masonry bits: Have a carbide tip for concrete and brick
- Tile bits: Special diamond-tipped bits prevent cracking
Proper Bit Installation
Always remove the battery before changing bits. Open the chuck jaws wide enough to accept the bit shank. Insert the bit straight, not at an angle. Tighten the chuck securely using the key or by hand on keyless chucks. A loose bit can fly out at high speed.
Check Bit Condition
Inspect bits for dull edges, cracks, or damage before each use. A damaged bit is more likely to break during operation. Dull bits require more pressure, increasing the risk of the drill catching and spinning.
Use Pilot Holes
For screws larger than #6, drill a pilot hole slightly smaller than the screw shank. This prevents wood splitting and reduces the torque needed, giving you better control over the drill.
Tip #7: Maintain Proper Body Position and Stance
How you stand and hold your drill affects both control and safety. Poor positioning makes you vulnerable to kickback and fatigue.
Stance Matters
Stand with your feet shoulder-width apart for stability. Position yourself so your body isn’t directly behind the drill path. This prevents you from being in the line of fire if the bit breaks or the workpiece kicks back.
Two-Handed Control
Always use both hands when possible. One hand operates the trigger, while the other supports the drill body or uses the auxiliary handle. This gives you maximum control during demanding tasks.
Keep a Firm Grip
Your grip should be firm but not tense. White-knuckling the drill causes fatigue and reduces sensitivity to the tool’s feedback. Your hands should feel secure even if the drill slips slightly.
Position Your Body
When drilling overhead, position yourself so the drill is between you and the work. If the drill slips, it falls away from your body. Never position your head directly above the drill when working overhead—debris can fall into your eyes.
Tip #8: Master Speed and Pressure Control
Applying too much pressure or using the wrong speed can damage materials, break bits, and cause dangerous kickback.
Start Slow
Always begin drilling at low speed. This allows the bit to create a small groove and prevents it from walking across the surface. Once the bit is established, gradually increase speed as needed.
Match Speed to Material
- Soft wood: High speed, light pressure
- Hard wood: Medium speed, moderate pressure
- Metal: Low speed, firm pressure
- Concrete: Hammer mode, medium speed, steady pressure
- Tile: Very low speed, minimal pressure
Avoid Excessive Force
Let the drill do the work. Forcing the tool causes the motor to strain, generates excessive heat, and increases the chance of the bit catching. If you need to apply significant pressure, check that you’re using the right bit and speed.
Watch for Binding
If the drill suddenly slows or binds, release the trigger immediately. A binding drill can twist in your hands, causing wrist injury. Remove the bit, inspect the hole, and restart with proper settings.
Tip #9: Handle Batteries With Care
Modern lithium-ion batteries are powerful but require proper handling to prevent fire, explosion, or reduced performance.
Charging Safety
Always use the charger designed for your specific battery. Never leave batteries charging unattended overnight. Remove them once they reach full charge to prevent overcharging and heat buildup.
Temperature Management
Batteries perform poorly in extreme temperatures. Don’t charge a battery that’s been in a hot car or freezing garage. Let it reach room temperature first. In cold weather, keep a spare battery in your pocket to maintain warmth.
Storage Best Practices
Store batteries at 40-60% charge in a cool, dry place. Never store them on metal surfaces or with loose change, which can cause short circuits. Keep terminals covered with the original caps or a battery case.
Disposal and Recycling
When batteries reach the end of their life (typically after 2-3 years), take them to a proper recycling center. Never throw them in household trash. Many home improvement stores offer battery recycling bins.
Tip #10: Know Emergency Procedures and First Aid
Even with perfect precautions, accidents can happen. Knowing what to do in an emergency can minimize injury and damage.
Electrical Shock Response
If you experience a shock, drop the drill immediately. Don’t grab it with your other hand. Turn off power at the source if possible. If shock is severe, seek medical attention even if you feel fine afterward—internal injuries can occur.
Eye Injury Protocol
If debris enters your eye, don’t rub it. Flush with clean water for at least 15 minutes. If you wear contacts, remove them after flushing. Seek medical attention if irritation persists or if you suspect a foreign object remains in the eye.
Minor Cuts and Abrasions
Keep a first aid kit nearby with bandages, antiseptic wipes, and sterile gauze. Clean any cut immediately with soap and water, then apply pressure to stop bleeding. Cover with a clean bandage.
Severe Injury Response
For deep cuts, severe burns, or if a bit breaks off in your skin, apply direct pressure and seek emergency medical help immediately. Keep the injured area still and below heart level if possible.
Fire Safety
Keep a fire extinguisher rated for electrical and chemical fires nearby. If a battery catches fire, use a Class D fire extinguisher or smother with sand. Never use water on a lithium-ion battery fire.
Troubleshooting Common Safety Issues
Even experienced users encounter problems. Here’s how to address common safety-related issues.
Drill Keeps Slipping
If your drill frequently slips off the mark, you’re likely using too much speed or not enough downward pressure initially. Try marking your spot with a center punch or nail to create a small divot. Start at the lowest speed setting and gradually increase.
Battery Dies Too Quickly
Rapid battery drain often indicates a problem with the battery or charger. Check for corrosion on terminals. Ensure you’re using the correct charger. If the problem persists, the battery may be reaching end of life. Consider reading our best cordless drill guide to understand battery performance in different models.
Drill Overheats During Use
Overheating suggests you’re using too high a speed for the material or applying excessive pressure. Let the drill cool down completely before continuing. Check that air vents aren’t blocked. If overheating continues, the motor may be failing—stop use immediately.
Chuck Won’t Tighten Properly
A worn or damaged chuck can be dangerous. Inspect the chuck key and jaws for wear. If the chuck doesn’t hold bits securely, replace it immediately. Continuing to use a faulty chuck risks bit ejection and serious injury.
Trigger Sticks or Won’t Release
This is a critical safety failure. Remove the battery immediately. Inspect for debris or damage. Do not use the drill until the trigger mechanism is repaired or replaced. A stuck trigger can cause the drill to start unexpectedly.
Conclusion: Making Safety a Lifelong Habit
Mastering cordless drill safety transforms you from a cautious beginner into a confident, capable DIYer. These ten tips form the foundation of safe tool operation, but remember that safety is an ongoing process, not a one-time lesson.
Make safety checks part of your routine. Create a mental checklist: glasses, inspection, secure workpiece, clean space, proper bits, good stance, right settings, battery care, and emergency readiness. Before long, these steps become automatic.
Your cordless drill is a gateway to creativity and self-sufficiency. Respect its power, honor its potential dangers, and never stop learning. Share these safety tips with friends and family who are just starting their DIY journey. Together, we can build a community of safe, successful makers.
Now grab those safety glasses, secure your workpiece, and drill with confidence. Your next project awaits.
🎥 Related Video: How to Use a Drill Safely | Power Drill Safety Tips For Beginner
📺 Tools Zone
Since drills are one of the most used tools among professionals so they must know How to Use a Drill Safely. A drilling machine is …
