
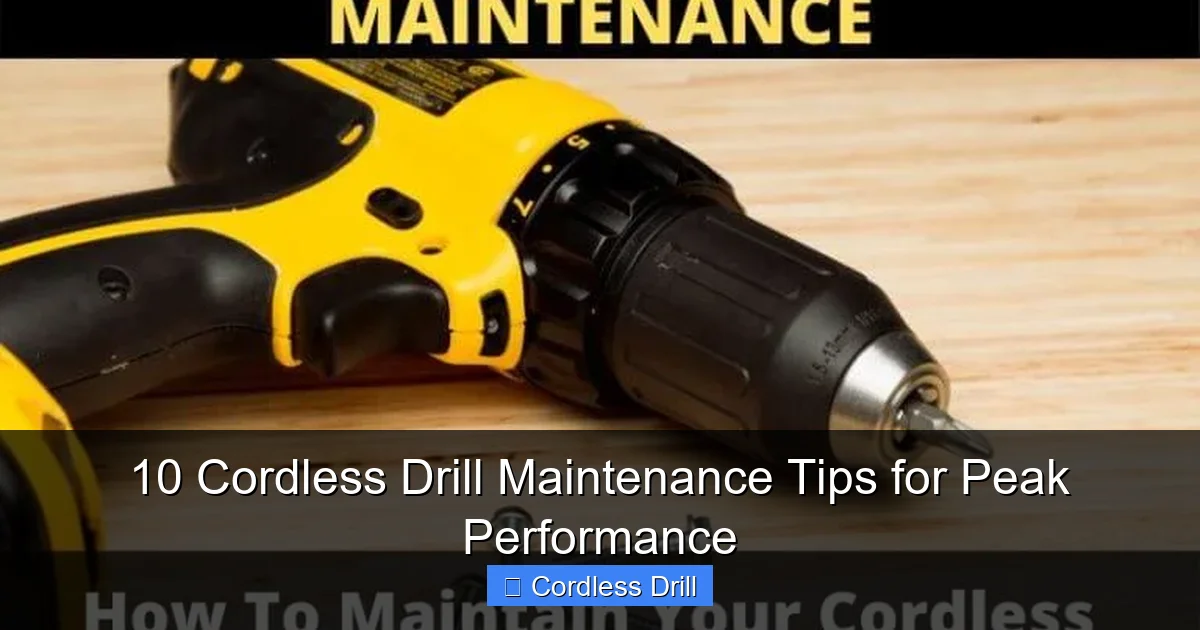
Proper cordless drill maintenance saves you money and time. This guide covers ten practical tips that every DIYer and professional should know. You’ll learn how to clean, lubricate, and store your drill correctly. Follow these steps to double your tool’s lifespan.
Key Takeaways
- Clean after every use: Dust and debris cause most drill failures. Wipe down your tool after each job.
- Lubricate moving parts quarterly: A few drops of oil keep the gearbox and chuck operating smoothly.
- Protect battery health: Never store batteries fully charged or completely dead. Aim for 50% charge.
- Inspect carbon brushes: Worn brushes cause motor failure. Check them every six months.
- Store properly: Keep your drill in a dry, temperature-controlled environment to prevent damage.
- Check chuck alignment: A loose or wobbly chuck affects performance and safety.
- Keep a maintenance log: Track service dates to catch problems early and extend tool life.
Why Cordless Drill Maintenance Matters
Your cordless drill is probably one of your most trusted tools. It drives screws, drills holes, and handles tough materials. But like any machine, it needs regular care. Neglecting maintenance leads to expensive repairs or replacement. A well-maintained drill lasts years longer and performs better. This guide shows you exactly how to keep your drill in top shape.
Whether you’re a weekend warrior or a professional contractor, these tips work for any brand. You don’t need special skills or expensive tools. Most maintenance takes just a few minutes. Let’s dive into the ten essential steps.
If you’re shopping for a new drill, check out our guide to the best cordless drill options on the market.
Tip 1: Clean Your Drill After Every Use
Dirt and dust are your drill’s worst enemies. They seep into the motor, gears, and battery contacts. Over time, this buildup causes overheating and wear. Cleaning after each job takes less than two minutes.
Visual guide about 10 Cordless Drill Maintenance Tips for Peak Performance
Image source: toolsowner.com
Step-by-Step Cleaning Process
First, remove the battery. This is crucial for safety. Use a soft brush to remove loose debris from the vents and chuck. Compressed air works great for blowing out hard-to-reach dust from the motor housing. Wipe the exterior with a damp cloth. Never use harsh chemicals that could damage plastic parts.
For stubborn grime, use a mild soap solution. Dry everything thoroughly before reassembly. Pay special attention to the air vents. Blocked vents cause the motor to overheat. Clean the chuck jaws with a small brush to remove metal shavings and dirt.
What to Avoid
Never spray water directly on your drill. Avoid solvents like acetone or brake cleaner. These damage the plastic casing and rubber grips. Don’t use high-pressure air settings. Too much pressure can force debris deeper into the tool.
Tip 2: Lubricate Moving Parts Quarterly
Lubrication reduces friction in the gears and moving parts. Without it, your drill works harder and wears out faster. A quarterly schedule works for most users. Heavy users should lubricate monthly.

Visual guide about 10 Cordless Drill Maintenance Tips for Peak Performance
Image source: toolreviewsninja.com
Where to Apply Lubricant
Focus on the chuck and gearbox. Remove the chuck by unscrewing it counterclockwise. Apply a few drops of lightweight machine oil to the spindle. Work the chuck back and forth to distribute the oil. For the gearbox, locate the grease points if your model has them. Use a small amount of white lithium grease.
The battery terminals also need attention. Wipe them with a clean cloth to remove corrosion. A light coat of dielectric grease prevents future buildup.
Choosing the Right Lubricant
Use 3-in-1 oil for most applications. For gearboxes, white lithium grease works best. Avoid WD-40 as a lubricant. It’s a solvent, not a long-term lubricant. Too much oil attracts dust, so use it sparingly.
Tip 3: Check and Replace Carbon Brushes
Carbon brushes conduct electricity to the motor. They wear down over time and eventually need replacement. Worn brushes cause sparking, reduced power, or complete motor failure.
Visual guide about 10 Cordless Drill Maintenance Tips for Peak Performance
Image source: toolreviewsninja.com
How to Inspect Brushes
Locate the brush caps on either side of the motor housing. Use a screwdriver to remove them. Pull out each brush and measure the carbon length. If it’s less than 1/4 inch, replace it. Look for cracks or chips in the carbon material. Check the spring tension. Weak springs mean poor contact.
Most brushes cost under $10. Keep spares in your toolbox. When one brush fails, replace both. They wear evenly. Never run your drill with missing or damaged brushes.
Signs of Brush Problems
Your drill may show warning signs before complete failure. Listen for unusual noises like grinding or squealing. Feel for reduced power under load. See sparks from the motor vents. If you notice any of these, check your brushes immediately.
Tip 4: Maintain Battery Health
Battery technology has improved, but proper care still extends life. Lithium-ion batteries last 300-500 charge cycles. Good habits can double that number.
Charging Best Practices
Never run your battery completely dead. Recharge when it drops to 20-30%. Avoid leaving batteries on the charger overnight. Modern chargers stop charging when full, but heat buildup still occurs. Unplug once charging completes.
Store batteries at 50% charge. A full battery degrades faster in storage. A dead battery can’t hold future charges. Remove batteries from the drill when not in use for extended periods.
Temperature Management
Heat destroys batteries. Never charge a hot battery. Let it cool for 30 minutes after use. Don’t store batteries in your car during summer. Cold weather also affects performance. Bring batteries indoors before use in winter.
Tip 5: Inspect the Chuck Regularly
The chuck holds your bits securely. A damaged chuck causes slipping, wobbling, or bit breakage. Check it monthly for smooth operation.
Checking Chuck Alignment
Open the chuck jaws fully. Look for wobble when rotating the chuck by hand. Tighten the chuck body if it moves excessively. Check that all three jaws close evenly. If one jaw sticks or closes late, remove and clean it.
Test the grip strength. Insert a bit and tighten normally. Apply moderate pressure to turn the bit by hand. If it slips, the chuck needs cleaning or replacement.
Cleaning Chuck Jaws
Remove the chuck and extract the jaws. Clean each jaw with a wire brush. Remove metal shavings and dirt from the threads. Apply a light oil to the threads before reassembly. Ensure jaws are installed in the correct order.
Tip 6: Store Your Drill Properly
Storage conditions dramatically affect tool life. Moisture, temperature extremes, and dust cause damage even when not in use.
Ideal Storage Conditions
Keep your drill in a dry, climate-controlled space. Basements and garages often have humidity problems. Use a dehumidifier if needed. Store in the original case or a dedicated toolbox. This protects from dust and physical damage.
Hang your drill if possible. This prevents the cord from tangling and keeps it off dirty floors. Keep batteries separate from the drill. Store them on a shelf, not in a drawer where they can short-circuit.
What to Avoid
Never store your drill in an unheated shed or car. Temperature swings cause condensation inside the tool. Don’t leave batteries in the drill. Don’t store with the chuck tightened on a bit. This can warp the chuck over time.
Tip 7: Check for Loose Screws and Parts
Vibration loosens screws over time. Loose parts cause noise, reduced performance, and safety hazards. A quick check takes 60 seconds.
Monthly Inspection Routine
Start with the obvious screws on the housing. Tighten any that feel loose. Don’t overtighten plastic parts. Check the handle and trigger assembly. Wiggle them gently to detect looseness. Inspect the battery latch mechanism. It should click securely.
Listen for rattling sounds when you shake the drill gently. This indicates loose internal parts. If you hear rattling, professional service may be needed. Don’t ignore it, as small parts can damage the motor.
Using Thread Locker
For screws that repeatedly loosen, use a small amount of blue thread locker. It prevents vibration loosening but allows future removal. Apply sparingly to the threads. Let it cure for 24 hours before using the drill.
Tip 8: Test the Trigger and Switches
The trigger controls speed and direction. A faulty trigger makes precise work impossible. Test it weekly for smooth operation.
Trigger Function Test
Remove the battery first. Install it and pull the trigger slowly. It should move smoothly without sticking. Listen for a clean electrical click. Release and pull again. The direction switch should engage forward and reverse easily. No grinding or resistance should occur.
Check the variable speed feature. The drill should run slowly with a light trigger pull. Full pull should give maximum speed without hesitation. If you notice lag or inconsistent speeds, the trigger may need cleaning or replacement.
Cleaning Electrical Contacts
For dirty contacts, use electrical contact cleaner. Spray a small amount into the trigger mechanism. Work the trigger several times to distribute it. Wipe away residue with a clean cloth. This removes carbon buildup that interferes with electrical flow.
Tip 9: Replace Worn Out Parts Promptly
Waiting to replace worn parts causes more damage. A small problem becomes a big repair bill. Know what parts are wear items.
Common Wear Parts
Carbon brushes top the list. They require replacement every 6-12 months for regular users. Chuck keys and wrenches get lost. Keep spares. Battery packs eventually lose capacity. Plan to replace them every 3-5 years. Switches and triggers wear internally. If they feel loose or unresponsive, replace them.
Belts and gears in the transmission wear. These require professional service. Listen for grinding noises or slipping under load. These signal internal gear problems.
Finding Replacement Parts
Most manufacturers sell parts directly. Have your model number ready. Online retailers like Amazon carry universal brushes and chucks. Check compatibility before buying. Original equipment parts fit best, but quality aftermarket options exist.
Tip 10: Keep a Maintenance Log
A log helps you track service and spot patterns. It’s especially useful for contractors with multiple tools.
What to Record
Date each service session. Note what you did: cleaned, lubricated, replaced brushes. Record battery charge cycles if you track them. Note any unusual symptoms or noises. This helps diagnose future problems faster.
Use your phone’s notes app or a dedicated tool logbook. Keep it simple. A photo of the service date on the drill itself works too. The key is consistency.
Benefits of Logging
You’ll know exactly when your next service is due. You can predict part failures based on history. When selling your drill, a maintenance log adds value. It shows the tool was well cared for.
Troubleshooting Common Problems
Even with maintenance, problems occur. Here’s how to handle the most common issues.
Drill Won’t Turn On
Check the battery first. Charge it fully. If that doesn’t work, remove the battery and inspect the terminals. Clean any corrosion. Check the trigger switch for damage. Sometimes a simple reset helps. Remove the battery for 10 minutes, then reinstall.
If the drill still won’t start, the motor brushes may be completely worn. Follow the inspection steps in Tip 3. Worn brushes are the most common cause of complete failure.
Overheating Issues
Overheating usually means blocked vents or overloading. Clean the vents thoroughly. Let the drill rest for 15 minutes between heavy uses. Check if you’re using the correct speed and bit for the material. Proper technique prevents strain on the motor.
If overheating persists, the motor may have internal damage. Professional service is required. Continuing to use an overheating drill causes permanent damage.
Battery Not Holding Charge
Batteries have limited lifespans. If yours won’t hold a charge after a full night on the charger, it’s likely dead. Try cycling it: fully discharge, then fully charge. This sometimes revives older batteries. But replacement is usually the best option.
Check for battery damage. Swelling, cracks, or leaks mean immediate replacement. Never use a damaged battery. It’s a fire hazard.
Chuck Wobble or Slipping
Loose chuck causes wobble. Tighten it according to Tip 5. If the jaws are worn, replace the entire chuck. Worn jaws can’t grip bits securely. This is a safety hazard.
Slipping bits means the chuck isn’t tight enough or the jaws are damaged. Never force a bit into a slipping chuck. Stop and diagnose the problem first.
Conclusion
Maintaining your cordless drill is simple and saves money. Ten minutes a month prevents costly repairs. Clean after each use. Lubricate quarterly. Check brushes and batteries regularly. Store properly. Keep a log.
Your drill works harder than you think. It deserves this care. Follow these tips and your drill will last for years. It will perform better and save you money. Start today. Your future self will thank you.
Understanding different drill types also helps with maintenance. Learn about the difference between impact drivers and hammer drills to better care for your specific tool.
🎥 Related Video: Makita Vs BOSCH #automobile #automotivetools #tools #tools4life #powertools
📺 MyTools
