
A hammer drill is a versatile power tool that combines rotational drilling with a powerful hammering action to penetrate tough materials like concrete, brick, and stone. This guide will teach you everything beginners need to know about choosing, operating, and maintaining a hammer drill for successful DIY and professional projects.
Key Takeaways
- What it does: A hammer drill delivers a rapid hammering motion while rotating to break up hard materials during drilling
- When to use it: Essential for concrete, masonry, brick, and stone; not needed for wood or metal
- Two main types: SDS chuck systems for heavy-duty work and keyless chucks for light-duty tasks
- Safety first: Always wear eye protection, hearing protection, and a dust mask when operating
- Proper technique: Apply steady, moderate pressure without forcing the tool for best results
- Maintenance matters: Clean air vents regularly and lubricate moving parts to extend tool life
What Is a Hammer Drill and Why Should You Care?
If you’ve ever tried to hang a shelf on a concrete wall with a regular drill, you know the frustration. The drill bit just spins without biting into the hard surface. That’s where a hammer drill comes in. This essential power tool combines the rotating action of a standard drill with a rapid hammering motion that pounds the bit forward as it turns. The result? It chews through concrete and masonry like a hot knife through butter.
Understanding what a hammer drill is becomes clearer when you see one in action. Imagine a tiny jackhammer built into your drill. As the motor spins the chuck, a special clutch mechanism creates a rapid back-and-forth hammering action that can deliver anywhere from 10,000 to 50,000 blows per minute. This dual action is what makes these tools indispensable for serious DIYers and professional contractors alike.
How Hammer Drills Actually Work
Visual guide about What Is a Hammer Drill A Complete Guide for Beginners
Image source: commonwoodworking.com
The magic happens inside the tool’s gear mechanism. When you switch your hammer drill to hammer mode, you engage a clutch that creates a ratcheting action between two plates of steel. One plate is fixed, while the other rotates with the motor. As they turn against each other, they create a rapid clicking sound and a pulsing forward thrust.
The Dual Motion Explained
Every hammer drill performs two actions simultaneously:
– Rotation: The chuck spins the drill bit clockwise to cut into the material
– Hammering: A piston-like mechanism drives the bit forward in rapid, short strokes
This combination is far more effective than either action alone. The hammering breaks up the brittle material while the rotation clears away dust and advances the hole. Think of it like using a regular hammer and chisel, but automated and much faster.
Understanding the Mechanism
Inside your hammer drill, you’ll find a crankshaft connected to a piston. As the motor turns, it drives this piston forward and backward inside a cylinder. The piston slams into an anvil, which transfers the impact energy to the drill bit. This happens so quickly that you feel it as a continuous hammering sensation rather than individual blows.
Types of Hammer Drills You’ll Encounter
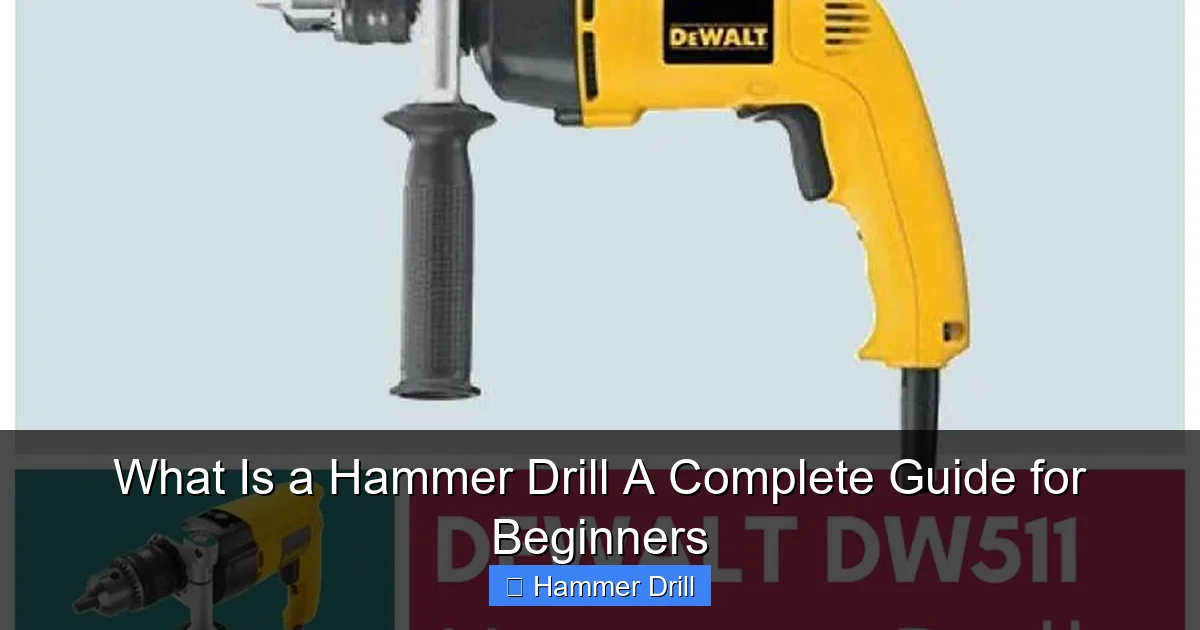
Visual guide about What Is a Hammer Drill A Complete Guide for Beginners
Image source: cordlessrotaryhammer.com
Not all hammer drills are created equal. The main differences lie in the chuck system and power source, each suited for specific applications.
SDS vs. Keyless Chuck Systems
SDS (Special Direct System) hammer drills feature a special chuck design that holds bits without a key. SDS bits slide in and lock automatically with a satisfying click. This system offers several advantages:
– Faster bit changes
– More secure bit holding under heavy vibration
– Better power transfer
– No need for a separate chuck key
For light-duty home use, keyless chuck hammer drills work just fine. They use a standard three-jaw chuck that tightens by hand. These are more versatile since they can accept regular drill bits for non-hammering tasks.
Corded vs. Cordless Models
Corded hammer drills deliver consistent, unlimited power for long jobs. They’re typically more affordable and lighter since they lack a battery. However, you’re tethered to an outlet.
Cordless models offer freedom of movement but come with trade-offs. Battery technology has improved dramatically, with modern lithium-ion batteries providing decent runtime and power. For most DIY projects, a cordless hammer drill works perfectly. Choose one with at least 18 volts, preferably 20 volts or higher for masonry work.
Many professionals prefer to have both types: a corded model for heavy demolition work and a cordless for installation tasks.
Compact vs. Rotary Hammer Drills
Don’t confuse a standard hammer drill with a rotary hammer. While they sound similar, rotary hammers are larger, more powerful tools designed for professional demolition work. They use a different mechanism (rotary piston) and are overkill for most home projects. Your standard hammer drill is the right choice for drilling holes up to about 1/2 inch in concrete.
When to Use a Hammer Drill vs. Regular Drill

Visual guide about What Is a Hammer Drill A Complete Guide for Beginners
Image source: commonwoodworking.com
Knowing when to reach for a hammer drill saves time and frustration. The simple rule: use hammer mode for brittle, crystalline materials and standard drill mode for everything else.
Perfect Applications for Hammer Drills
Your hammer drill excels at these materials:
– Concrete (foundations, walls, floors)
– Brick (both solid and hollow)
– Concrete block (CMU)
– Stone (natural and manufactured)
– Tile (ceramic and porcelain on backer board)
Common projects include:
– Installing concrete anchors
– Running electrical conduit through studs
– Mounting shelves on basement walls
– Hanging curtain rods in tiled bathrooms
– Setting up playground equipment
– Installing rebar in new concrete
When to Avoid Hammer Mode
Never use hammer mode on:
– Wood (it will splinter and tear out)
– Metal (it will damage the bit and workpiece)
– Plastic (it will crack and melt)
– Drywall (it will destroy the surface)
Using hammer mode on these materials will ruin your drill bits and potentially damage your workpiece. Always switch back to standard drill mode for these materials.
Comparing to Similar Tools
Many people confuse hammer drills with impact drivers. While both deliver extra force, they serve different purposes. An impact driver is designed for driving screws and fasteners, not drilling holes. It delivers rotational impacts rather than linear hammering. For more details on this distinction, check out our guide on what is the difference between impact driver and hammer drill.
Your Step-by-Step Guide to Using a Hammer Drill
Let’s walk through the complete process of using your hammer drill safely and effectively. Follow these steps every time for professional results.
Step 1: Safety First – Gear Up Properly
Before touching your hammer drill, suit up with proper protection:
– Eye protection: Safety glasses or goggles to block flying debris
– Hearing protection: Earplugs or earmuffs (hammer drills are loud)
– Dust mask: N95 respirator for concrete dust (silica is hazardous)
– Work gloves: Protect your hands from vibration and sharp edges
– Long sleeves: Prevent skin irritation from dust
Also ensure your workspace is clear of tripping hazards and has good lighting.
Step 2: Choose the Right Drill Bit
Using the correct bit is critical for success. For hammer drilling, you need carbide-tipped masonry bits. These bits feature a hardened carbide tip that can withstand the hammering action.
Match the bit diameter to your project:
– Small anchors (1/4″ to 3/8″): Use corresponding bit size
– Medium anchors (1/2″): Use 1/2″ bit
– Large anchors (5/8″ and above): Consider stepping up to a larger bit
Check that the bit shank matches your chuck type. SDS bits only work in SDS chucks. Standard hex shank bits work in keyless chucks.
Step 3: Insert the Bit Securely
For SDS chucks:
1. Pull back the sleeve
2. Insert the bit fully into the chuck
3. Release the sleeve and rotate the bit slightly until it locks
4. Give it a firm tug to ensure it’s seated
For keyless chucks:
1. Open the jaws by turning the sleeve counterclockwise
2. Insert the bit into the jaws
3. Tighten the chuck by turning clockwise
4. Use the chuck key to secure it firmly (if applicable)
A loose bit will wobble and create oversized, uneven holes.
Step 4: Adjust Your Settings
Most hammer drills have multiple settings:
– Drill mode only: For wood, metal, plastic
– Hammer drill mode: For masonry and concrete
– Hammer only mode: For light chipping (rarely used)
Select hammer drill mode for concrete work. Adjust the speed setting based on hole size:
– Small holes (up to 1/4″): Use high speed
– Medium holes (1/4″ to 1/2″): Use medium speed
– Large holes (over 1/2″): Use low speed for more torque
Step 5: Mark and Position Your Work
Measure carefully and mark your drilling location with a pencil or marker. For better accuracy, place a small piece of masking tape over the spot first, then mark on the tape. This prevents the drill bit from wandering when you start.
Position yourself comfortably with feet shoulder-width apart. Hold the drill with both hands: one on the main handle and one on the side handle (if equipped). The side handle provides crucial control against torque.
Step 6: Master the Drilling Technique
Start drilling with these steps:
1. Place the bit tip on your mark at a 90-degree angle
2. Apply light pressure and pull the trigger gently
3. Let the hammering action start before increasing speed
4. Maintain steady, moderate pressure throughout
5. Keep the drill perpendicular to the surface
6. Pull the bit out periodically to clear dust
7. Continue drilling to your desired depth
Never force the drill. Let the tool do the work. Excessive pressure can overheat the motor and dull the bit quickly.
Step 7: Complete and Clean Up
Release the trigger when you reach depth. Continue holding the drill in place for a moment to let the bit clear debris. Pull the bit out straight while the drill is still running to clean the hole.
Turn off the drill and inspect your hole. It should be clean and uniform. If you notice excessive wobble or an oversized hole, check that your bit is securely seated and that you’re maintaining proper alignment.
Common Mistakes That Beginners Make
Avoid these frequent errors to ensure success and extend your tool’s life.
Forcing the Tool Too Hard
Many beginners think more pressure equals faster drilling. In reality, forcing a hammer drill causes the motor to bog down, overheats the bit, and creates rough, oversized holes. Apply firm, steady pressure instead. Imagine you’re guiding the drill rather than pushing it through the material.
Using the Wrong Bit Type
Regular high-speed steel bits will not survive in hammer mode. The hammering action will shatter them instantly. Always use carbide-tipped masonry bits designed specifically for hammer drilling. Using the wrong bit is dangerous and wasteful.
Skipping Safety Equipment
Concrete dust is hazardous, and hammer drills are loud. Skipping safety gear puts your health at risk. The vibration can also cause hand fatigue and injury over time. Always wear your full protective equipment, even for quick jobs.
Drilling at the Wrong Angle
Drilling at an angle creates an uneven hole that won’t hold anchors properly. Use a level or square to ensure your drill stays perpendicular to the surface. Take your time to maintain proper alignment throughout the drilling process.
Neglecting to Clear Dust
Drilling deep holes without clearing dust reduces efficiency and can cause the bit to bind. Pull the bit out every few seconds to let debris escape. For deep holes, use a vacuum or compressed air to clear dust from the hole periodically.
Troubleshooting Common Problems
When your hammer drill isn’t performing as expected, these solutions can get you back on track.
Drill Won’t Hammer
If your drill spins but doesn’t hammer:
– Check that you’ve engaged hammer mode properly
– Inspect the mode selector switch for damage
– Listen for unusual noises that might indicate worn internal components
– Test the drill on a scrap piece of wood to confirm the hammer mechanism
If hammer mode still doesn’t work, the internal clutch mechanism may need professional service.
Excessive Vibration and Wobble
Too much vibration usually means:
– The bit is loose in the chuck (re-tighten)
– You’re using too much pressure (ease up)
– The bit is bent or damaged (replace it)
– The drill’s bearings are worn (service required)
A small amount of vibration is normal, but violent shaking indicates a problem.
Bit Getting Stuck
If your bit binds in the hole:
– Don’t force it backward or forward
– Turn off the drill and reverse the rotation if possible
– Wiggle the bit gently while pulling straight out
– Clear debris from the hole before trying again
Forcing a stuck bit can break it off in the hole, creating a major problem.
Poor Hole Quality
Rough, oversized, or uneven holes result from:
– Dull or damaged bits (replace immediately)
– Worn chuck allowing bit wobble (service the chuck)
– Incorrect speed setting (adjust speed for hole size)
– Excessive pressure (use lighter touch)
Always start with a sharp bit and maintain proper technique.
Motor Overheating
If your drill gets too hot to touch:
– You’re using too much pressure (ease up)
– The air vents are blocked (clean them)
– You’re running continuously for too long (take breaks)
– The motor may be failing (have it serviced)
Most drills have thermal protection that shuts them down before damage occurs. Let the tool cool for 15-20 minutes before resuming work.
Essential Maintenance for Long Tool Life
Proper care keeps your hammer drill running smoothly for years.
Daily Cleaning Routine
After each use:
– Wipe down the housing with a damp cloth
– Blow out dust from air vents using compressed air
– Clean the chuck with a wire brush
– Inspect the power cord for damage
– Store in a dry, dust-free location
Regular Lubrication
Every 50 hours of use:
– Apply a few drops of light oil to the chuck threads
– Lubricate the mode selector mechanism
– Check for grease on gears (repack if dry)
Some modern drills are sealed and require minimal lubrication. Consult your manual for specific maintenance schedules.
Bit Care and Storage
Masonry bits need special attention:
– Clean carbide tips after each use
– Inspect for cracks or damage
– Store in a bit holder to prevent tip damage
– Replace bits when the carbide tip becomes rounded
Dull bits make your drill work harder and can be dangerous.
Battery Maintenance (Cordless Models)
For cordless hammer drills:
– Store batteries at room temperature
– Avoid completely draining before recharging
– Clean battery contacts monthly
– Replace batteries when runtime drops significantly
Proper battery care can double their useful life.
Choosing the Right Hammer Drill for Your Needs
With so many options available, selecting the perfect hammer drill can feel overwhelming. Consider these factors before buying.
Power Requirements
For light DIY work, a 7-amp corded drill or 18-volt cordless model suffices. For frequent concrete drilling or professional use, choose 9-10 amps or 20+ volts. More power means faster drilling and better performance in hard materials.
Chuck Size Considerations
Most homeowner hammer drills have 1/2-inch chucks, which handle bits up to 1/2-inch diameter. If you need to drill larger holes regularly, consider a 5/8-inch or 3/4-inch model. Remember that larger chucks add weight and cost.
Weight and Ergonomics
Hammer drills range from 3 to 8 pounds. For overhead work or extended use, lighter is better. Try holding different models to find one that feels balanced in your hands. A comfortable grip reduces fatigue and improves control.
Additional Features to Consider
Look for these helpful features:
– Variable speed trigger for better control
– Depth stop rod for consistent hole depths
– Side handle for two-handed operation
– LED work light for dark spaces
– Brushless motor for longer life and efficiency
These extras make the tool easier and safer to use.
Conclusion: Your Hammer Drill Questions Answered
Now you understand what a hammer drill is, how it works, and how to use it effectively. This versatile tool opens up a world of possibilities for projects involving concrete, brick, and stone. Remember that the key to success lies in proper technique, safety equipment, and using the right bits for your material.
Start with small projects to build confidence, then tackle more challenging tasks as you become comfortable with your tool. A well-maintained hammer drill will serve you reliably for many years, making difficult jobs feel easy and turning impossible tasks into straightforward weekend projects.
Whether you’re hanging a TV mount on a concrete wall, installing a new mailbox post, or tackling a major renovation, your hammer drill will be your most trusted companion. Use this guide as a reference whenever you need a refresher on technique or troubleshooting. Happy drilling!
🎥 Related Video: Hammer drill tips 101! For beginners, made easy! #Milwaukee #Dewalt #Homedepot
📺 Sky Wise
