
Hammer drills combine rotation with a rapid hammering action to blast through concrete and masonry. This guide reveals the mechanical secrets behind their power, shows you exactly how to use them safely, and helps you pick the right tool for your project. You’ll learn the difference between hammer drills and regular drills, understand key components, and master professional techniques.
Key Takeaways
- Dual Action Mechanism: Hammer drills use simultaneous rotation and hammering motions to pulverize hard materials while drilling.
- Piston or Cam System: Most hammer drills create hammering action through either a piston mechanism or cam system that pounds the bit forward at 20,000+ BPM.
- Not for Wood or Metal: Never use hammer mode on wood or metal projects. It will damage both your material and drill bit.
- SDS vs Chuck: Hammer drills use specialized SDS chucks that allow bits to move freely while hammering, unlike standard drill chucks.
- Variable Settings: Modern hammer drills offer multiple modes: drill-only, hammer-only, and hammer-drill combo for maximum versatility.
- Safety First: Always wear safety glasses, dust masks, and secure your workpiece when using a hammer drill.
How Hammer Drills Work Their Magic Revealed
You’re staring at a concrete wall, ready to hang a shelf, but your regular drill just spins helplessly. That’s when a hammer drill transforms from tool to superhero. Let’s pull back the curtain on these powerful machines and reveal exactly how they chew through concrete like it’s butter.
In this guide, you’ll discover the mechanical wizardry inside every hammer drill. We’ll break down the hammering mechanism, explain the difference between hammer drills and regular drills, and walk you through step-by-step usage. By the end, you’ll know exactly when and how to deploy this tool like a pro.
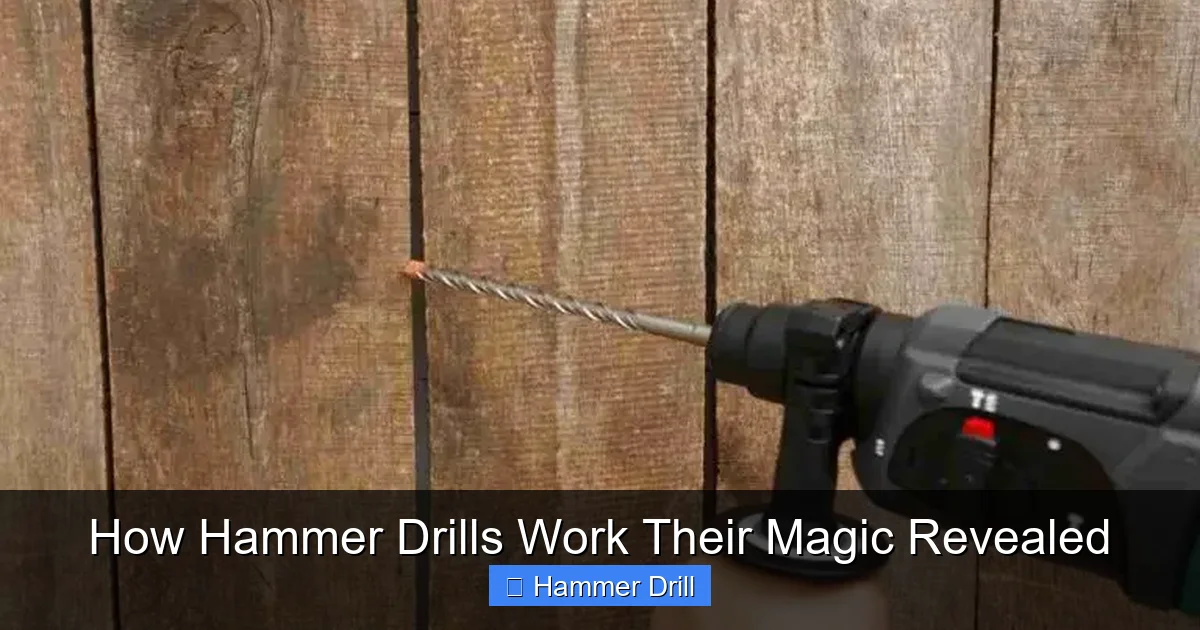
The Core Mechanism: More Than Just Spinning
At its heart, a hammer drill does two things at once: it spins the drill bit while simultaneously hammering it forward in rapid, tiny blows. This dual action is what makes it so effective on hard materials.
Visual guide about How Hammer Drills Work Their Magic Revealed
Image source: toolsmechanism.com
Think of it like this: a regular drill is like trying to dig a hole with a spoon. It works on soft material but struggles with anything hard. A hammer drill is like using a jackhammer combined with a drill. It pounds and spins simultaneously, breaking up the material as it goes.
The magic happens inside the drill’s motor housing. When you switch to hammer mode, you engage a special mechanism that converts some of the motor’s rotational energy into a rapid back-and-forth pounding motion. This happens at an incredible speed—typically between 15,000 and 50,000 blows per minute depending on the model and speed setting.
These tiny, rapid impacts create a hammering action that pulverizes concrete, brick, or stone at the tip of the bit, while the rotation clears away the dust and advances the hole. It’s this combination that gives hammer drills their unique ability to work in materials that would instantly dull a regular drill bit.
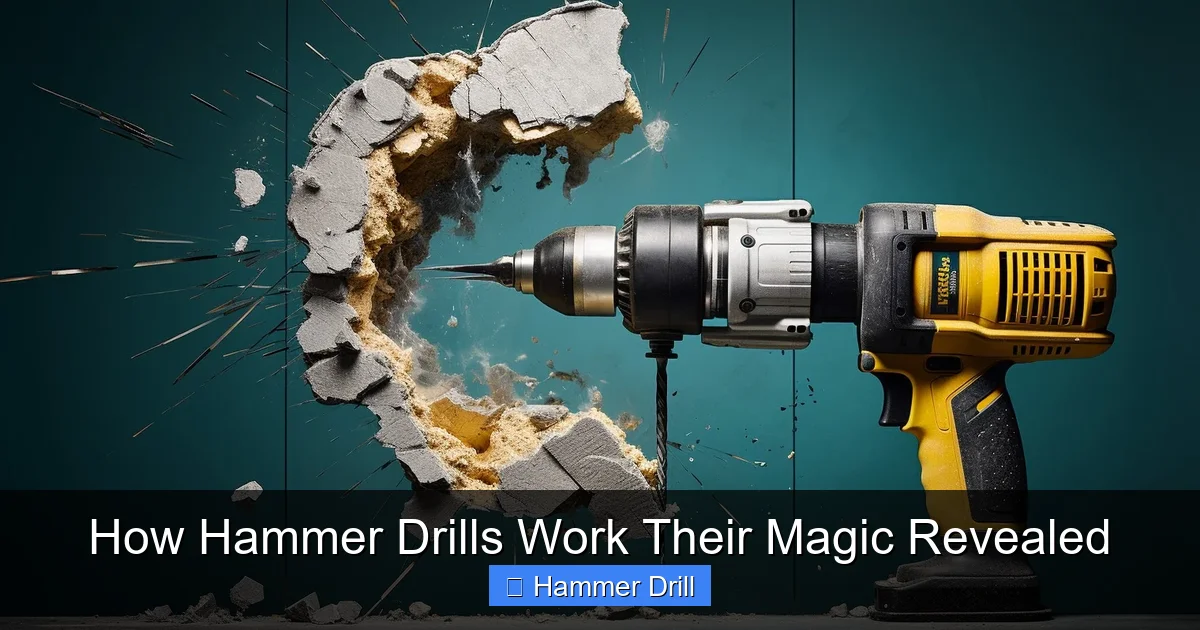
Inside the Hammering Mechanism
Now let’s dive deeper into the mechanical heart of your hammer drill. There are two main types of hammering mechanisms: cam-action and piston-driven.
Visual guide about How Hammer Drills Work Their Magic Revealed
Image source: housebouse.com
Cam-Action Hammering
Most consumer-grade hammer drills use a cam-action system. Here’s how it works:
Inside the drill, a rotating cam disk has a slightly wavy surface. As it spins, it pushes against a set of steel balls or rollers. These rollers ride in slots and are forced up and down by the cam’s wavy surface. This up-and-down motion directly drives the chuck and drill bit forward and backward.
The result is a relatively simple, cost-effective mechanism that delivers reliable hammering action. While not as powerful as professional piston systems, cam-action hammer drills handle most DIY masonry tasks with ease.
Piston-Driven Power
Professional rotary hammers use a more advanced piston system. This mechanism works like a small internal combustion engine:
An electric motor drives a crankshaft that moves a piston back and forth inside a cylinder. As the piston moves forward, it compresses air in the cylinder. This compressed air then pushes against a striker plate, which transfers the impact energy to the drill bit.
Piston systems deliver much more impact energy per blow—often measured in foot-pounds or joules. They’re designed for heavy-duty demolition work and can handle the toughest concrete drilling jobs. However, they’re heavier, more expensive, and typically overkill for most home projects.
The Critical Role of the Chuck
You might wonder why you can’t just use regular drill bits in a hammer drill. The answer lies in the chuck design.
Hammer drills use special SDS (Slotted Drive System) chucks or similar quick-change systems. These chucks allow the drill bit to slide back and forth freely within the chuck while still transmitting rotational force. This freedom of movement is essential for the hammering action to work properly.
Standard drill chucks grip bits tightly with no movement. If you tried to use hammer mode with a regular chuck, the hammering action would be blocked, and you’d likely damage both the chuck and the motor.
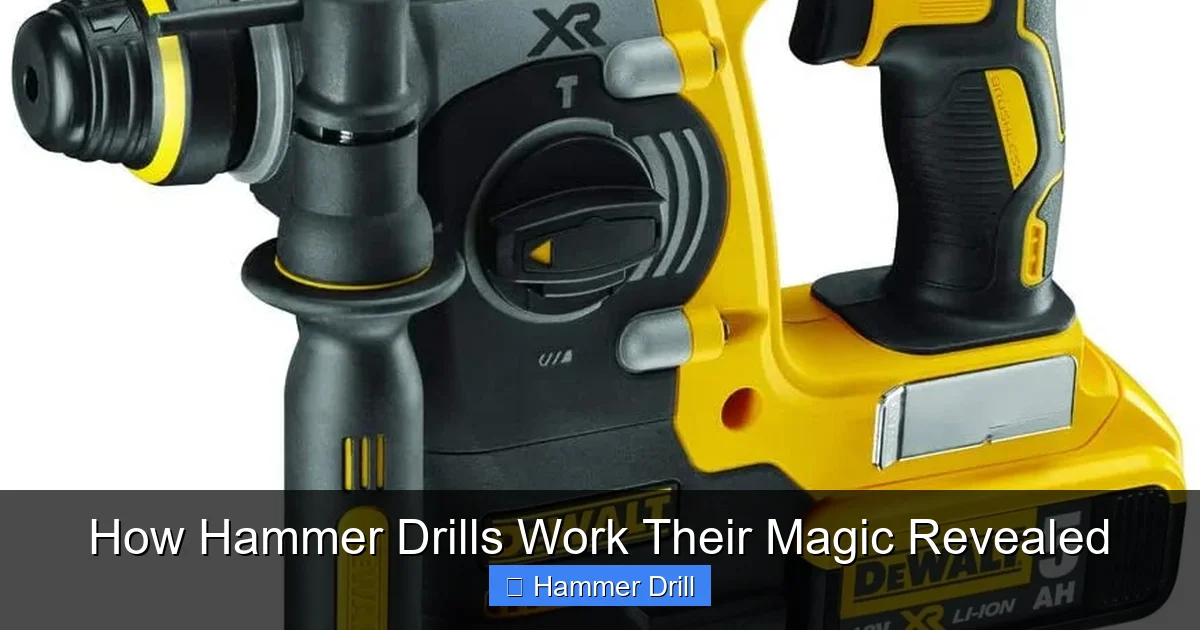
Rotary Motion vs. Hammering Action: Finding the Balance
Every hammer drill lets you control the relationship between rotation and hammering. Understanding this balance is key to successful drilling.
Visual guide about How Hammer Drills Work Their Magic Revealed
Image source: wikimachine.com
When you set your hammer drill to “drill only” mode, you get pure rotation. This is perfect for wood, metal, and plastic. The motor spins the bit at your selected speed without any hammering action.
Switch to “hammer only” mode, and you get pure hammering without rotation. This is useful for light chipping and demolition work, though most hammer drills combine both motions.
The “hammer drill” mode engages both actions simultaneously. At lower speeds, the hammering action dominates. As you increase speed, rotation becomes more prominent while hammering continues. This variable balance lets you adapt to different materials and bit sizes.
For example, when drilling a small 1/4-inch hole in concrete, you’ll use a higher speed setting with less hammering emphasis. For a large 1-inch hole, you’ll drop to a lower speed where the hammering action can really pound away at the concrete.
It’s also worth noting that hammer drills differ from impact drivers in their application. While both use hammering action, impact drivers are designed for driving screws, not drilling holes.
Types of Hammer Drills: Finding Your Perfect Match
Not all hammer drills are created equal. Let’s explore the main categories to help you choose wisely.
Corded vs. Cordless Hammer Drills
Corded hammer drills deliver consistent, unlimited power. They’re ideal for long projects and heavy-duty work where battery life would be an issue. Most professional models are corded because they can draw the high amperage needed for maximum power.
Cordless hammer drills offer freedom of movement and convenience. Modern lithium-ion batteries provide impressive runtime and power, making them suitable for most DIY tasks. Just remember that cordless models typically have less impact energy than their corded cousins.
For occasional home use, a good cordless hammer drill is usually the better choice. For professional masonry work, a corded model makes more sense.
VSR (Variable Speed Reversible) Hammer Drills
Most modern hammer drills are VSR models. This means you can:
- Adjust the speed from zero to maximum continuously
- Reverse the rotation direction for backing out bits
- Control the trigger sensitivity for precise starting and stopping
The variable speed trigger is especially important. It lets you start slowly to create a pilot indentation, then increase speed as the bit bites into the material.
Rotary Hammers: The Heavyweights
While technically a type of hammer drill, rotary hammers deserve their own category. These are the big guns of the drilling world.
Rotary hammers use the piston system described earlier and typically feature:
- More impact energy (3+ joules)
- Larger SDS-Max or Spline chucks
- Three-mode operation: drill, hammer only, and hammer drill
- Heavier weight (8-12 pounds)
These tools are designed for professional contractors who need to drill large holes or perform light demolition work daily. For most homeowners, a standard hammer drill provides plenty of power.
Key Components and What They Do
Let’s identify the major parts of your hammer drill and understand their functions.
The Motor
This is the power plant. Most consumer hammer drills have motors rated between 5-8 amps for corded models, or 12-18 volts for cordless. Higher amperage or voltage generally means more power and hammering force.
Gearbox
The gearbox translates motor power into usable speed and torque. Hammer drills typically have 1-3 speed settings. Lower gears provide more torque and slower speed, perfect for large bits and maximum hammering action.
Hammer Mechanism
As explained earlier, this is where the magic happens. Whether cam-action or piston-driven, this component converts rotational energy into hammering motion.
Mode Selector
This switch lets you choose between drill mode, hammer mode, or hammer drill mode. Always stop the drill before changing modes to avoid damaging the internal gears.
Depth Stop
A simple but invaluable feature. The depth stop rod lets you set exactly how deep the drill will go, preventing you from drilling too far or hitting hidden wires and pipes.
Side Handle
Every hammer drill comes with a side handle that attaches to either side. This provides crucial control and reduces vibration. Always use the side handle when drilling in hammer mode—it’s not optional for safety.
Choosing the Right Hammer Drill for Your Project
Selecting the perfect hammer drill doesn’t have to be overwhelming. Follow these simple guidelines.
Assess Your Needs
Ask yourself these questions:
- How often will you use it? (Occasional vs. weekly)
- What materials will you drill? (Concrete, brick, block)
- What size holes do you need? (Under 1/2 inch or larger?)
- Do you need portability or maximum power?
For Light DIY Work
A 1/2-inch corded hammer drill (5-6 amps) or an 18V cordless model will handle most home projects. These can drill up to 3/8-inch holes in concrete comfortably.
For Frequent Use
Step up to a 3/8-inch hammer drill with 7-8 amps or a 20V+ cordless model. These offer more power and can handle 1/2-inch holes with ease.
For Professional Work
Consider a rotary hammer with SDS-Max chuck. These deliver 3+ joules of impact energy and can drill holes up to 1-1/4 inches in diameter.
Also check out our guide on the best cordless drills to compare features and find top-rated models.
Step-by-Step: Using a Hammer Drill Safely and Effectively
Ready to put your hammer drill to work? Follow these steps for perfect results every time.
Step 1: Safety First
Before touching your drill, gear up. You’ll need:
- Safety glasses with side shields
- A dust mask (N95 minimum, N100 preferred for masonry)
- Hearing protection (hammer drills are loud)
- Work gloves
- Long sleeves and pants
Secure your workpiece firmly to a stable surface. If drilling into a wall, check for electrical wires and plumbing using a stud finder with AC detection.
Step 2: Choose the Right Bit
Use only masonry bits designed for hammer drills. These have:
- Carbide tips (usually tungsten carbide)
- Spiral flutes for dust removal
- SDS or spline shanks for hammer drills
Match the bit diameter to your anchor size. For a 1/4-inch anchor, use a 1/4-inch bit. For larger anchors, check the manufacturer’s recommendations.
Step 3: Set Up Your Drill
Insert the bit into the chuck until it clicks into place. Most SDS chucks are tool-free—just push the bit in and it locks. Give it a gentle tug to ensure it’s secure.
Attach the side handle to the side that gives you the best leverage. For right-handed users, this is typically on the left side of the drill.
Set your mode selector to “hammer drill” mode. If your drill has a separate hammering intensity control, start with a medium setting.
Step 4: Mark and Position
Mark your drilling location with a pencil or marker. For extra precision, make a small indentation with a center punch or nail. This prevents the bit from wandering when you start.
Position the drill bit tip at your mark. Hold the drill perpendicular to the surface (use a drill guide if needed). Grip the side handle firmly with your non-dominant hand.
Step 5: Start Drilling
Press the trigger gently to start the motor. Let the drill reach full speed before applying pressure. Press straight down on the drill with steady, moderate force—let the hammering action do the work.
Don’t force it. If you’re pushing too hard, you’ll strain the motor and reduce drilling speed. If you’re not pushing enough, the hammering action won’t engage properly.
Drill for 5-10 seconds, then pull the bit out slightly to clear dust. Repeat this pecking motion until you reach your desired depth.
Step 6: Finish the Hole
As you approach full depth, reduce pressure slightly. This prevents the bit from breaking through violently and damaging the opposite side of the material.
Once complete, release the trigger and wait for the bit to stop spinning before removing it from the hole. Clean out dust using a brush or compressed air.
For more detailed instructions on specific tasks, check our guide on how to use a drill for screws into a wall.
Troubleshooting Common Hammer Drill Problems
Even the best tools can act up. Here’s how to solve common hammer drill issues.
Drill Won’t Hammer
If your drill spins but doesn’t hammer, check these things:
- Make sure you’re in hammer drill mode (not just drill mode)
- Inspect the mode selector switch for damage
- Check that the bit is fully inserted into the chuck
- Clean any dust buildup in the chuck
If these don’t work, the hammer mechanism may be worn out and need professional service.
Excessive Vibration
Some vibration is normal, but severe shaking indicates a problem:
- Worn or damaged chuck
- Dull or damaged drill bit
- Unbalanced motor (rare)
Stop using the drill and inspect all components. Replace any worn parts immediately.
Bit Won’t Stay in Chuck
If your bit keeps falling out:
- Clean the bit shank and chuck thoroughly
- Check for worn chuck jaws
- Ensure you’re pushing the bit in far enough
For SDS chucks, make sure the ball bearings in the chuck aren’t stuck. A drop of lubricant can help.
Overheating Motor
If your drill gets too hot to touch:
- You may be pushing too hard—let the tool do the work
- Clean dust from ventilation holes
- Allow the motor to cool for 15-20 minutes
- Check for worn brushes (corded models)
Continuous overheating can damage the motor permanently.
Poor Performance in Concrete
If your hammer drill struggles:
- Your bit may be dull—replace it
- You might be using too much speed—reduce to a lower setting
- The concrete could be too hard for your drill’s power rating
Consider upgrading to a more powerful model or rotary hammer for very hard concrete.
Maintenance Tips to Keep Your Hammer Drill Running Forever
Proper care extends your hammer drill’s life dramatically. Follow these simple maintenance steps.
Clean After Every Use
Brush off dust and debris from the housing, chuck, and ventilation holes. Pay special attention to the chuck mechanism where dust can accumulate and interfere with the hammering action.
Lubricate the Chuck
Every few months, apply a small amount of lightweight machine oil to the chuck. Open and close it several times to work the oil into the moving parts. This prevents rust and ensures smooth operation.
Check Carbon Brushes
Corded hammer drills have carbon brushes that wear down over time. Most models have brush caps on the sides. Check them every 6 months and replace when they’re shorter than 1/4 inch.
Store Properly
Keep your hammer drill in its case in a dry place. Never leave it in a damp garage or basement where moisture can cause rust. If storing for long periods, apply a light coat of oil to metal parts.
Inspect the Cord
For corded models, regularly check the power cord for fraying or damage. Replace damaged cords immediately—never use a damaged drill.
Battery Care
Cordless drill batteries last longest when stored at partial charge (40-60%). Avoid leaving them on the charger continuously, and never store them fully discharged.
Conclusion: Your Hammer Drill is a Marvel of Engineering
That’s the real magic behind hammer drills: they take the simple concept of hammering and spinning and combine them with incredible precision and power. From the cam-action mechanism that delivers thousands of tiny blows per minute to the specialized chuck that lets bits move freely, every component works together to make your toughest masonry projects feel easy.
Now you know not just how to use a hammer drill, but why it works so well. You understand the difference between cam-action and piston systems, can choose the right tool for any job, and know how to maintain it for years of reliable service.
Remember that hammer drills are different from regular drills—they’re specialized tools for specialized tasks. Use them for concrete, brick, and masonry, and keep them in drill-only mode for wood and metal.
With this knowledge in your toolbox, you’re ready to tackle any project that comes your way. Happy drilling!
🎥 Related Video: Heavy Duty – Hammer Drill Mechanism #cadcam #solidworks3d #autocad #hammer #productdemo #learning
📺 Mech Marvels
