
Cordless drill common mistakes can turn easy projects into frustrating failures. This guide reveals the seven most frequent errors DIYers and pros make, from choosing wrong bits to ignoring battery life. Follow our simple fixes to save time, money, and achieve professional results.
Key Takeaways
- Choose the right bit: Using incorrect drill bits ruins materials and damages your tool. Match bits to material every time.
- Tighten the chuck properly: Loose chucks cause bits to slip or fall out, creating dangerous situations and poor holes.
- Master speed control: High speed for metal, low speed for wood and screws. Wrong speeds strip screws or burn materials.
- Respect battery limits: Running batteries dead or overcharging reduces lifespan. Always keep a spare charged.
- Let the tool work: Forcing the drill creates crooked holes and strips bits. Apply steady, gentle pressure instead.
- Use depth stops: Without depth control, you’ll drill too deep or not deep enough. Set your stop for consistent results.
- Wear safety gear: Always protect your eyes and hands. Safety glasses and gloves prevent serious injuries.
Introduction: Why Cordless Drill Common Mistakes Cost You Time and Money
Your cordless drill is probably the most versatile tool in your workshop. It drives screws, drills holes, and even mixes paint with the right attachments. But even experienced users make simple mistakes that ruin projects, damage materials, and wear out tools prematurely.
This guide covers the seven most common cordless drill errors we see daily. Each mistake has easy solutions you can implement immediately. By avoiding these pitfalls, you’ll complete projects faster, save money on replacement bits and batteries, and achieve professional-quality results.
Let’s dive into these common mistakes and learn how to fix them for good.
Mistake #1: Using the Wrong Drill Bit for Your Material
Perhaps the most frequent error is grabbing whatever bit is handy without considering what you’re drilling into. This simple oversight cracks tiles, splinters wood, and dulls bits instantly.
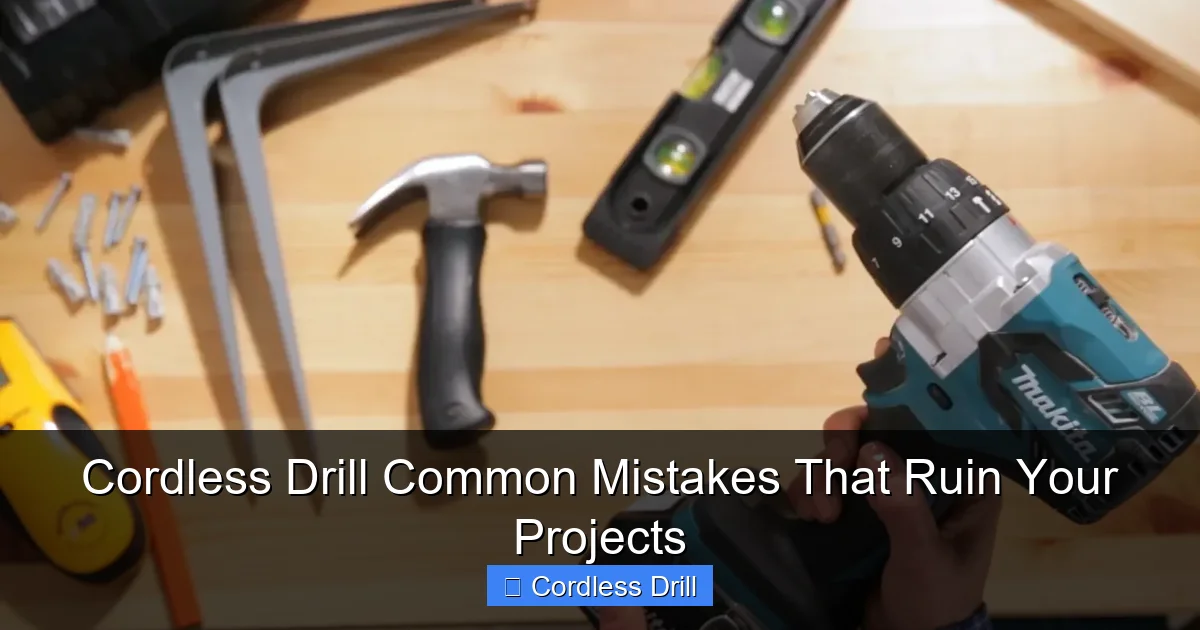
Visual guide about Cordless Drill Common Mistakes That Ruin Your Projects
Image source: cdn.apartmenttherapy.info
Why Using the Wrong Bit Ruins Your Project
Every material needs a specific bit designed for its density and composition. Wood bits have sharp points and wide flutes for clearing sawdust. Masonry bits are carbide-tipped to handle concrete’s hardness. Metal bits are sharp and narrow with tight spirals. Using a wood bit on concrete just breaks the tip. Using a masonry bit on tile usually cracks it completely.
Wrong bits also damage your drill’s motor. Your tool works harder than necessary, causing overheating and premature wear. You’ll know you’re using the wrong bit when you hear excessive strain, see smoke, or notice the bit isn’t cutting despite heavy pressure.
How to Choose the Correct Bit Every Time
Follow this simple system: Check your material first, then match the bit. For wood, use twist bits with a pointed tip. For metal, choose cobalt or titanium-coated bits. For concrete and brick, select carbide-tipped masonry bits. For tile, use specialized diamond-tipped or carbide-grit bits.
When in doubt, start with a scrap piece of the same material. Test your bit choice before drilling your actual project. This small step prevents costly mistakes on expensive materials.
Keep a basic bit organizer in your workshop. Label sections for wood, metal, and masonry. When bits are organized, you’re more likely to grab the right one instead of defaulting to whatever is on top.
Mistake #2: Ignoring Chuck Tightness
The chuck is the clamp that holds your drill bit. A loose chuck means a slipping bit, which creates oversized holes, damages materials, and can be dangerous when bits fly out during use.
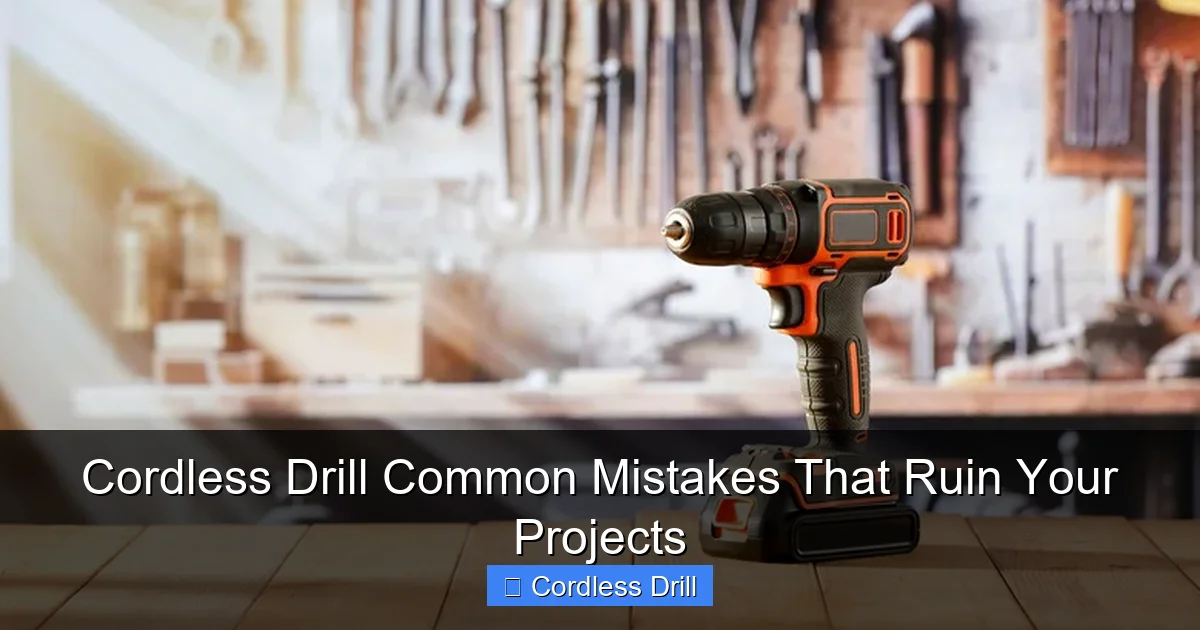
Visual guide about Cordless Drill Common Mistakes That Ruin Your Projects
Image source: housedigest.com
The Dangers of a Loose Chuck
An improperly tightened chuck allows bits to spin in place instead of cutting. This slips and creates heat, ruining both bit and material. In worst cases, bits can completely eject from the drill, potentially causing serious eye or hand injuries.
Many users assume the chuck is tight enough after a few quick turns. But vibration during drilling gradually loosens it. You should check chuck tightness every time you change bits, and once more before starting a big project.
Proper Chuck Tightening Technique
First, remove the battery or ensure the drill is off. Insert your bit fully into the chuck, making sure it’s centered. Hand-tighten the chuck by turning it clockwise until it’s snug. Then, use the chuck key to give it an additional quarter turn. For keyless chucks, grip the rubberized sleeve firmly and twist with both hands until very tight.
Test your work by pulling gently on the bit. It shouldn’t move or come out. If it does, tighten further. Remember: left loose, right tight. The chuck tightens by turning right (clockwise).
Mistake #3: Using the Wrong Speed Settings
Most cordless drills have two-speed ranges and variable speed triggers. Not using the correct speed strips screws, burns wood, and overheats bits. Speed control is critical for success.
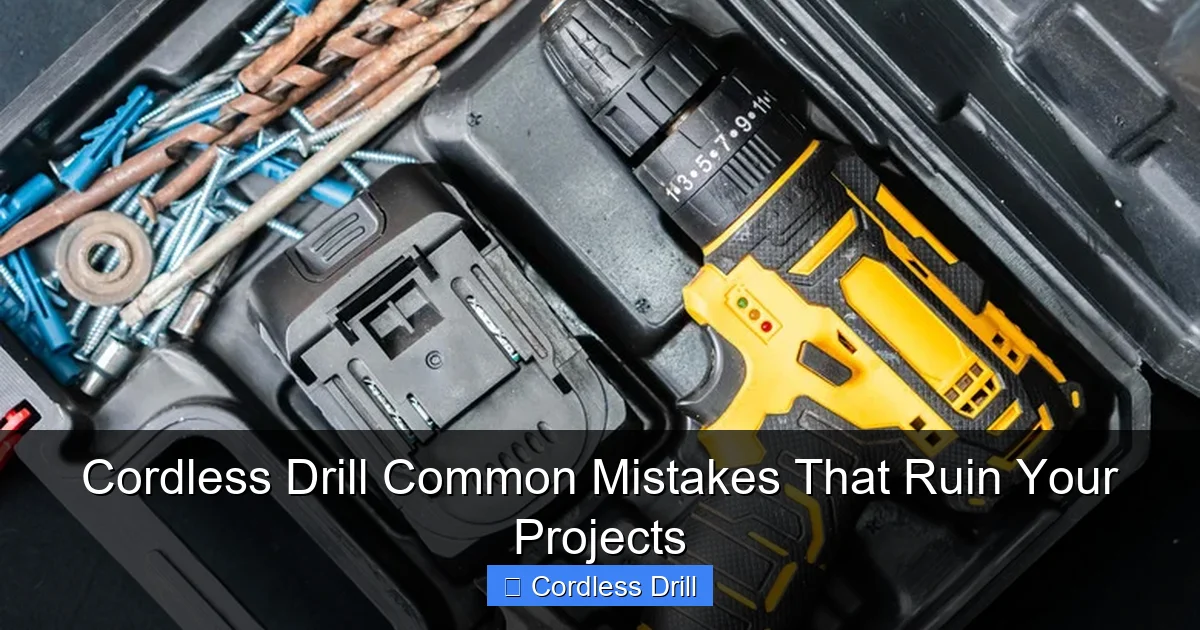
Visual guide about Cordless Drill Common Mistakes That Ruin Your Projects
Image source: housedigest.com
Understanding Your Drill’s Speed Controls
The trigger controls fine speed adjustment. Light pressure gives low speed, full press gives maximum speed. The gear selector typically has two settings: Low (1-10) for high torque tasks like driving screws and drilling large holes in wood. High (11-20) for faster drilling in metal and small holes.
Confusing these settings is a common mistake. High speed in wood creates burning and splintering. Low speed in metal causes excessive heat and dulls bits quickly. Learning the right combination prevents these issues.
Speed Settings for Common Tasks
For driving screws, always use low speed range. This gives you maximum torque and control. Set your clutch to the appropriate setting for your screw and material. For drilling wood, start with low speed for holes over 1/4 inch. Use high speed for small holes under 1/4 inch.
Metal drilling requires high speed but light pressure. The bit needs to cut quickly before heating up. For masonry, use low speed with steady pressure. The hammer action does the work; your job is to guide the drill.
When in doubt, start slower. You can always increase speed if needed. But starting too fast often causes immediate problems that are hard to fix.
Mistake #4: Forgetting to Check Battery Life
Dead batteries stop projects mid-task. Worse, improper battery care ruins them permanently. Battery mistakes are among the most common cordless drill errors.
Battery Maintenance Best Practices
Always check battery charge before starting. Most modern drills have charge indicators. If yours doesn’t, keep a spare battery charged and ready. This prevents project interruptions.
Never run your battery completely dead. Lithium-ion batteries last longest when you recharge them at 20-30% remaining. Running to 0% regularly damages the battery cells. If you notice reduced power, stop and swap batteries immediately.
Store batteries properly. Keep them at room temperature, away from metal objects that could cause short circuits. Store at about 50% charge if you won’t use them for weeks. Never leave batteries on the charger indefinitely; this overcharges and reduces lifespan.
How to Extend Battery Runtime
Use the right speed for the task. High speed drains batteries faster than low speed. For driving screws, low speed gives you more torque and longer runtime. Keep bits sharp; dull bits make your drill work harder, draining batteries quicker.
Consider investing in a higher amp-hour battery if you do heavy work. A 2.0Ah battery works for light tasks, but a 4.0Ah or 5.0Ah battery lasts significantly longer. Check out our guide to the best cordless drill options to understand battery specifications better.
Mistake #5: Using Excessive Force
Many users think more pressure means faster drilling. This is wrong. Forcing your drill creates crooked holes, strips bits, and damages materials. Your cordless drill is designed to work with steady, moderate pressure.
Why Letting the Tool Work Matters
Drill bits are designed to cut at specific speeds and pressures. Too much force pushes the bit off-center, creating oval holes or breaking through the material at an angle. This is especially common in wood and drywall.
Excessive pressure also overheats bits, dulling them instantly. You’ll hear a burning smell and see smoke. The motor strains, drawing more current and draining batteries faster. In worst cases, the bit can snap, creating dangerous metal fragments.
Proper Drilling Technique
Hold the drill with both hands. Keep your body positioned for control, not power. Apply steady, gentle pressure—let the bit do the cutting. You should feel the bit biting into the material, not struggling through it.
For wood, let the flutes clear sawdust naturally. Pull the bit out occasionally to clear debris. For metal, use cutting oil and let the sharp edges slice through. For concrete, let the hammer action chip away material; your job is to guide the drill steadily.
If the drill bogs down, reduce pressure immediately. Check that you’re using the right bit and speed. Sometimes a simple adjustment fixes the problem without forcing it.
Mistake #6: Not Using the Depth Stop
The depth stop is a simple adjustable collar that limits how deep your drill goes. Not using it means inconsistent hole depths, accidentally drilling through materials, or not drilling deep enough for your fasteners.
What the Depth Stop Does for You
Imagine installing cabinet hardware where all screws must be exactly the same depth. Without a depth stop, you’ll have some screws flush, some too deep, and some protruding. The depth stop ensures every hole is identical.
It also prevents breakthrough. When drilling through thin materials, it’s easy to punch through the backside before you’re ready. The depth stop stops the drill at exactly the depth you set, preventing this costly error.
How to Set Your Depth Stop Accurately
First, measure how deep you need to drill. Mark your bit with tape at that depth as a reference. Then, slide the depth stop collar up to the tape mark. Tighten the locking screw firmly.
Test on scrap material first. Drill a test hole and measure it. Adjust the stop if needed. Once set correctly, you can drill dozens of identical holes without measuring each time.
For through-holes, measure material thickness and set the stop slightly deeper. This ensures you drill completely through without stopping short.
Mistake #7: Skipping Safety Gear
Perhaps the most dangerous mistake is not protecting yourself. Flying debris, loud noise, and vibration cause real injuries. Safety glasses, hearing protection, and gloves are essential.
Essential Safety Equipment
Always wear safety glasses. Drilling creates tiny chips that fly at high speed. A simple pair of ANSI-rated safety glasses prevents eye injuries. Consider a face shield for overhead work or heavy drilling.
Use hearing protection. Cordless drills produce 85-95 decibels—loud enough to cause hearing damage over time. Foam earplugs or earmuffs protect your hearing without interfering with your work.
Wear gloves to protect your hands from sharp edges and vibration. Choose snug-fitting work gloves that don’t interfere with trigger control. For heavy-duty work, consider anti-vibration gloves.
Additional Safety Precautions
Secure your workpiece. Never hold small items in your hand while drilling. Use clamps or a vise. This prevents the drill from catching and spinning the material, which could cut you.
Keep your workspace clean. Remove tripping hazards and ensure good lighting. Keep batteries away from metal objects and water. Never use a cordless drill in wet conditions unless it’s specifically rated for outdoor/wet use.
Unplug or remove the battery when changing bits. This prevents accidental starts. Keep your hands away from the chuck area when the drill is running. Long sleeves and loose clothing can get caught in rotating parts.
Troubleshooting Common Cordless Drill Problems
Even with perfect technique, issues happen. Here’s how to solve the most common problems quickly.
Drill Won’t Start or Has Weak Power
First, check the battery. Is it fully charged? Are the battery contacts clean? Dirty contacts prevent proper power transfer. Clean them with a dry cloth or rubbing alcohol.
Check the trigger switch. If it feels loose or doesn’t click properly, it may be worn out. Some drills have a forward/reverse lock button that might be engaged. Make sure it’s disengaged.
If the drill works intermittently, the problem could be a loose internal connection or worn brushes (in brushed motors). For brushless motors, it might be a controller issue. At this point, professional repair is usually best.
Bits Keep Falling Out or Slipping
This is almost always a chuck problem. Remove the bit and inspect the chuck jaws. Are they worn or dirty? Clean the chuck with compressed air and a small brush. Check for debris between the jaws.
Ensure you’re tightening the chuck properly. Hand-tighten first, then use the chuck key for an extra quarter turn. For keyless chucks, twist firmly with both hands until very tight.
If the chuck is worn and won’t hold bits securely, it needs replacement. Most chucks unscrew from the drill spindle. Take your drill to a repair shop for proper chuck replacement.
Drill Overheats Quickly
Overheating usually means you’re using the wrong speed or too much pressure. Check that you’re in the correct gear range for your task. Reduce pressure and let the bit cut at its own pace.
Check for blocked vents. Dust and debris can clog cooling vents, causing the motor to overheat. Clean vents regularly with compressed air. Never operate the drill with blocked vents.
If the motor smells burnt or shuts off due to heat, stop immediately. Let it cool for 15-20 minutes. If it continues to overheat, the motor windings may be damaged, requiring professional repair or replacement.
Conclusion: Master Your Cordless Drill for Perfect Projects
Avoiding these seven common cordless drill mistakes transforms your projects from frustrating failures to professional successes. The key is preparation: choose the right bit, check your battery, set your depth stop, and use proper technique.
Remember that your cordless drill is a precision tool, not a hammer. Let it work at its own pace. Keep safety gear on every single time. Maintain your batteries properly. These simple habits save you money and time while delivering consistent results.
Now that you know these common errors, share this knowledge with fellow DIYers. Better yet, bookmark this guide and refer back to it before your next project. Your future self will thank you for perfect holes, undamaged materials, and a drill that lasts for years.
Final Pro Tips
Keep a project journal. Note which bits, speeds, and techniques work best for different materials. Over time, you’ll build a personal reference that makes every project smoother.
Invest in quality bits and batteries. Cheap bits dull quickly and break easily. Quality batteries last longer and perform better. These investments pay for themselves in saved time and frustration.
Finally, don’t be afraid to ask for help. If a project seems beyond your skill level, consult our comprehensive guide on how to use a drill for screws into a wall. The right knowledge prevents most mistakes before they happen.
🎥 Related Video: Drill Settings Guide: How to Choose the Right Setting For Your Project
📺 Georgina Bisby DIY
Choosing the right drill setting is crucial for a successful drilling project. This video explains how to select the correct setting based …
