
This guide teaches you exactly how to use a hammer drill for flawless results in concrete, brick, and stone. You’ll master bit selection, proper technique, and safety steps to avoid common mistakes. Stop wasting time and materials—get professional drilling performance on your very first project.
Key Takeaways
- Choose the Right Mode: Always use hammer drill mode (not regular drill mode) for masonry, concrete, or stone. This activates the hammering action essential for breaking hard materials.
- Prioritize Safety Gear: Wear safety glasses, a dust mask, and hearing protection every single time. Concrete dust is hazardous and the tool is loud.
- Use Sharp Masonry Bits: Dull bits overheat, smoke, and fail. Replace them at the first sign of wear for clean holes and tool longevity.
- Apply Steady, Moderate Pressure: Let the tool do the work. Pushing too hard damages bits and motors; too little pressure causes slipping and poor progress.
- Clear Dust Frequently: Withdraw the bit every few seconds while drilling to blow out dust. This prevents jamming and extends bit life significantly.
- Practice on Scrap Material: Always test your settings and technique on a similar piece of waste material before drilling your final project surface.
Your Complete Hammer Drill Usage Guide: Get Perfect Results Every Time
So, you’ve got a hammer drill, but drilling into concrete or brick feels impossible? You’re not alone. Many people struggle with getting clean, precise holes in tough masonry without damaging their tool or the surface. This guide cuts through the confusion. We’ll walk you through every single step, from choosing the right bit to mastering the perfect drilling technique. You’ll learn exactly how to use your hammer drill to conquer concrete, brick, stone, and even tough tile projects. Stop guessing and start drilling with confidence – perfect results are totally achievable, and we’ll show you how.
Why You Need a Hammer Drill (And When You Absolutely Don’t)
Let’s clear up a major confusion point first. A regular drill just spins. A hammer drill spins *and* pounds rapidly – like a tiny jackhammer – right at the bit tip. This hammering action is what shatters hard materials like concrete as the bit cuts. Trying to drill concrete with a regular drill is frustrating, slow, and will likely burn out your motor or ruin your bit.
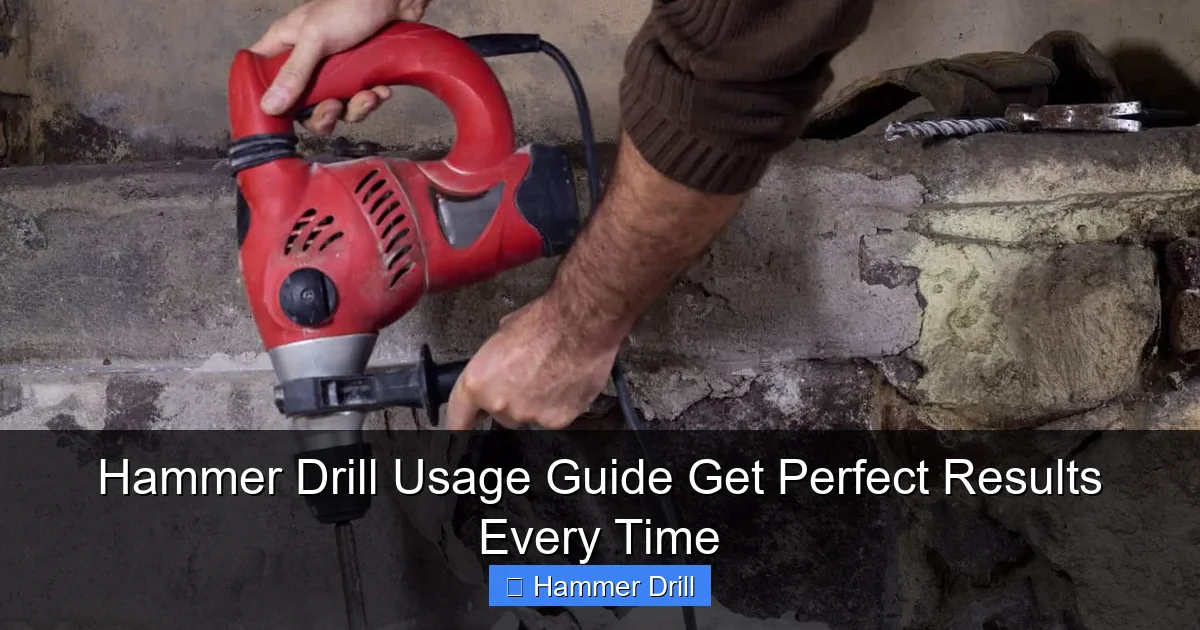
Visual guide about Hammer Drill Usage Guide Get Perfect Results Every Time
Image source: uooz.com
Use your hammer drill for:
- Concrete walls, floors, or foundations
- Brickwork (both solid and hollow core)
- Stone surfaces (like flagstones or veneer)
- Masonry tiles or backsplashes
- Installing anchors, concrete screws, or conduit in tough materials
Stick with a regular drill (or an impact driver) for:
- Wood (standard drilling or driving screws)
- Metal (using standard metal bits)
- Plastic
- Drywall (though a regular drill works fine here too)
Confused about the difference between similar tools? Understanding what sets an impact driver apart from a hammer drill is crucial for choosing the right tool for your job. Impact drivers are fantastic for driving long screws into wood but won’t help you drill into concrete. Similarly, knowing the key differences between a hammer drill and a regular drill prevents wasted effort and potential tool damage. Using the wrong tool mode is the number one reason people get poor results!
Essential Gear: Safety and Performance Must-Haves
Before you even touch the trigger, gear up. Hammer drilling creates significant noise, dangerous silica dust, and flying debris. Skipping safety gear is never worth the risk.
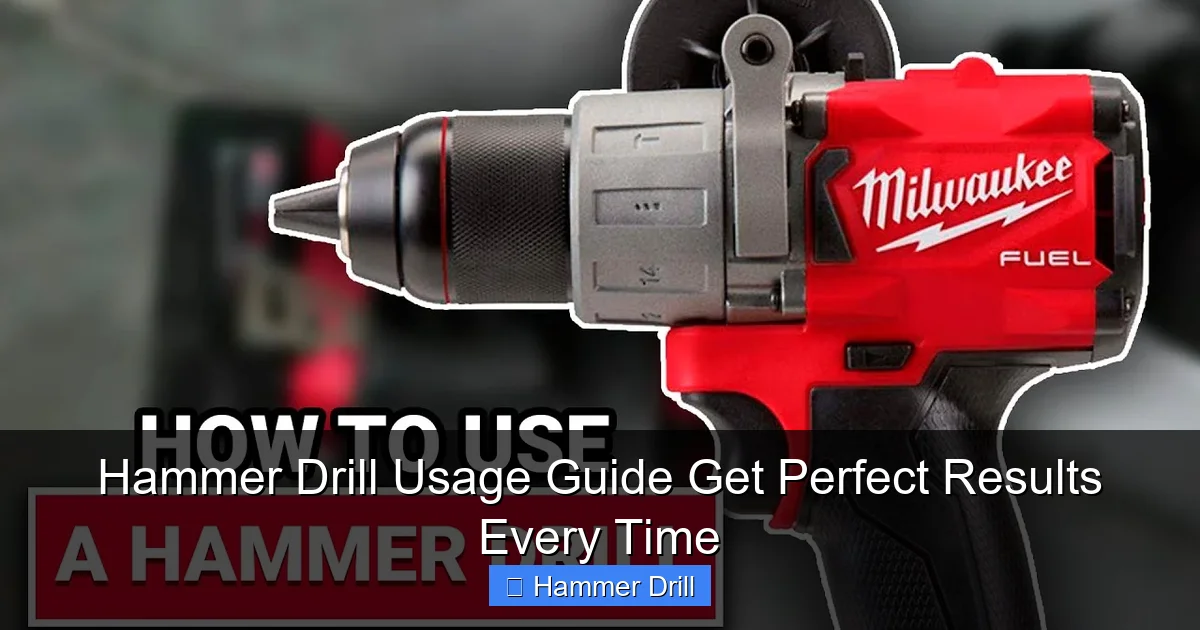
Visual guide about Hammer Drill Usage Guide Get Perfect Results Every Time
Image source: i.ytimg.com
Non-Negotiable Safety Equipment
- Safety Glasses: Not just any glasses – impact-rated safety glasses with side shields. Concrete chips fly fast.
- Dust Mask (N95 or Better): Concrete and brick dust contains crystalline silica, a serious lung hazard. A basic dust mask is essential; a respirator is even better for large jobs.
- Hearing Protection: Hammer drills are LOUD, often exceeding safe noise levels. Use earplugs or earmuffs.
Performance-Boosting Accessories
- Sharp Masonry Bits: This is critical. Use carbide-tipped SDS or SDS-Plus bits (depending on your drill type) designed for hammer drilling. Dull bits are ineffective and dangerous. Check the bit tip – if it looks rounded or shiny, replace it.
- Pencil or Marker: For clearly marking your drill point.
- Tape Measure & Level: For accurate hole placement.
- Shop Vac or Blower: For clearing dust from the hole during drilling (hugely important!).
- Scrap Wood Block (Optional but Helpful): For starting holes on vertical surfaces to prevent bit walk.
Step-by-Step: How to Drill the Perfect Hole in Concrete or Brick
Follow these steps precisely for clean, accurate, and safe holes every time. Practice on a scrap piece of similar material first!
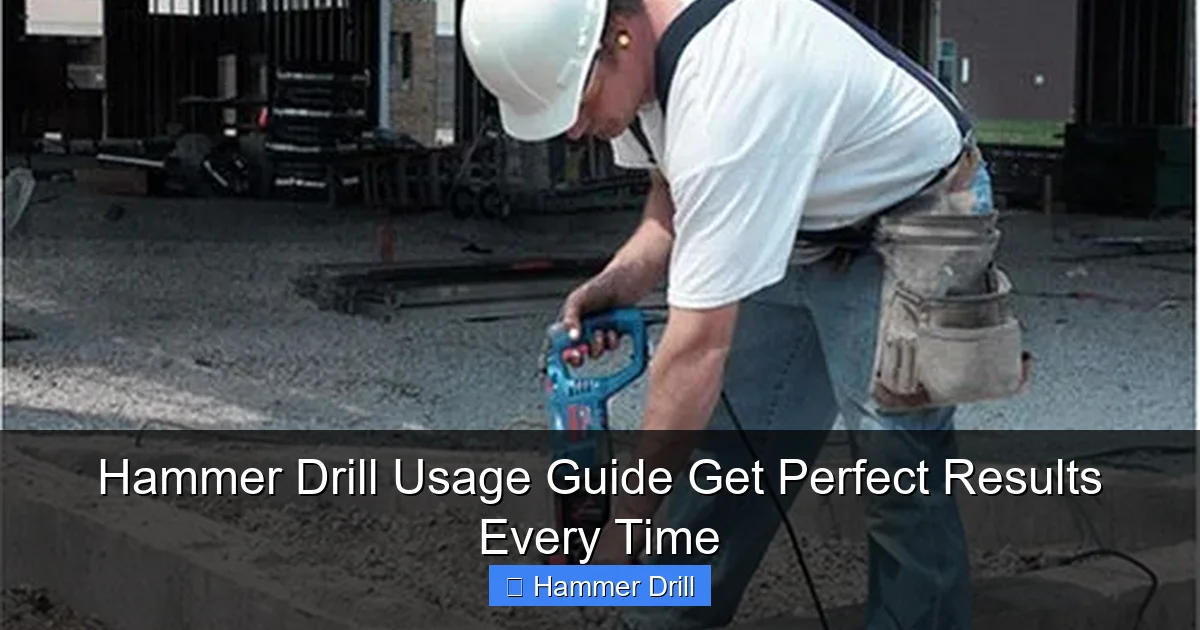
Visual guide about Hammer Drill Usage Guide Get Perfect Results Every Time
Image source: handyguyspodcast.com
Step 1: Mark Your Spot and Prepare the Surface
Use your pencil or marker to make a clear, precise dot where you want the hole center. Double-check measurements with your tape measure and level. For extra accuracy on smooth surfaces like tile, place a small piece of masking tape over the mark. This prevents the drill bit from “walking” (slipping) when you start.
Step 2: Insert and Secure the Correct Masonry Bit
Ensure your hammer drill is unplugged or the battery is removed. Open the chuck (the sleeve at the front) wide enough for your masonry bit. Insert the bit shank fully into the chuck. Tighten the chuck securely by hand, then give it an extra firm twist with the chuck key (or by hand on keyless models) until it’s very tight. A loose bit can slip or fly out dangerously.
Step 3: Select the Hammer Drill Mode
This is vital! Locate the mode selector on your drill (usually a collar near the chuck or a switch). Rotate it to the hammer drill symbol (often looks like a hammer hitting a drill bit, or says “Hammer” or “H”). Do not use the regular drill symbol (just a spinning arrow). Confirm the mode is engaged before proceeding. If your drill has multiple hammer settings (like low/high), start with the lower setting for control.
Step 4: Position the Drill and Start Slowly
Put on all your safety gear (glasses, mask, hearing protection). Hold the drill firmly with both hands – one on the main handle and one on the side handle (auxiliary handle). This provides crucial control against the hammering action. Place the tip of the bit squarely on your marked spot.
Keep the drill perfectly perpendicular (90 degrees) to the surface. This ensures a straight hole. Apply gentle, steady pressure – just enough to keep the bit engaged. Crucially, start the trigger slowly and gently. Let the bit nibble into the surface for a second or two before applying full pressure. This prevents the bit from skidding.
Step 5: Drill with Steady Rhythm and Clear Dust
Once started, apply moderate, steady pressure. Let the hammer drill do the work. Don’t lean into it like you would with a regular drill. Imagine guiding it rather than forcing it. The hammering action should be audible – a distinct “jackhammer” sound.
This is the golden rule for success: Clear the dust frequently! Every 5-10 seconds of drilling, pull the bit straight out of the hole while the drill is still running. Use your shop vac nozzle or blow forcefully into the hole to remove all accumulated dust. Reinsert the bit and continue. This prevents the bit from getting stuck, overheating, or burning out, and ensures faster drilling. Skipping this step is the most common mistake leading to failure.
Step 6: Finish the Hole and Withdraw Cleanly
As you approach the desired depth, ease off the pressure slightly to avoid blowing out the back of the material (especially on thin brick or tile). When you reach depth, slowly release the trigger and carefully pull the drill straight back while it’s still spinning slightly. This helps clean the hole edge.
Blow out any remaining dust thoroughly. Your hole is ready for anchors, screws, or whatever you need!
Pro Tips for Specific Materials and Situations
Different materials need slight technique tweaks for best results.
Drilling into Concrete (Solid)
Concrete is the toughest. Use maximum hammer action (if your drill has a setting). Be extra diligent about clearing dust – concrete dust packs tightly. Expect slower progress than in brick. Sharp bits are non-negotiable here.
Drilling into Brick (Solid Core)
Similar to concrete, but often slightly easier. Watch for voids within the brick – the drill might speed up suddenly when hitting one. Maintain steady pressure and clear dust often. Avoid drilling into the mortar joints if possible, as they are weaker and bits can slip.
Drilling into Hollow-Core Brick or Block
Use lower hammer action if possible to avoid blowing out the inner face. Start slowly and gently. You might feel the bit “fall through” into the hollow space – stop immediately once you hit the cavity unless you need to go through it. For anchoring, you’ll need special hollow-wall anchors.
Drilling into Tile (Ceramic/Porcelain)
This requires finesse! Use a lower hammer speed setting if available. Start *very* slowly with light pressure to create a small pilot groove, preventing the bit from skating across the slick glaze. A piece of masking tape over the mark is essential. Consider using a dedicated tile drill bit for the very first part of the hole, then switch to a masonry bit once you’re through the glaze into the backing (like cement board or concrete).
Drilling Overhead (Ceilings)
Clearing dust is even harder overhead. Use a shop vac held close to the hole entrance as you pull the bit out. Have a helper if possible. Wear a full face shield in addition to safety glasses. Expect more fatigue – take frequent breaks. Ensure your ladder is stable and secure; reviewing ladder safety inspection procedures is wise before any overhead work.
Troubleshooting Common Hammer Drill Problems
Hit a snag? Here’s how to fix the most frequent issues.
Problem: Drill Won’t Penetrate the Material / Bit Just Spins
Likely Causes & Fixes:
- Dull Bit: This is the #1 culprit. Stop immediately and replace the bit. Continuing will damage the drill.
- Wrong Mode Selected: Double-check you are in Hammer Drill mode, not regular Drill mode.
- Insufficient Pressure: You might be holding it too lightly. Apply firm, steady pressure (but don’t lean your whole weight on it).
- Bit Not Seated Properly: Ensure the bit is fully inserted and the chuck is extremely tight.
Problem: Bit Gets Stuck or Jammed in the Hole
Likely Causes & Fixes:
- Dust Not Cleared: You skipped the dust clearing step! Always clear dust frequently. If already stuck, try gently wiggling the drill side-to-side (while running) while pulling straight out. Do NOT force it.
- Bit Worn Down: A severely worn bit can bind. Replace bits regularly.
- Drilling at an Angle: Ensure the drill is perfectly perpendicular. An angled bit can bind.
Problem: Excessive Vibration, Smoke, or Burning Smell
Likely Causes & Fixes:
- Severely Dull Bit: Immediate stop required. Replace the bit. Continuing risks motor burnout.
- Pushing Too Hard: You’re forcing it. Ease off the pressure significantly. Let the hammer mechanism work.
- Clogged Vent Holes: Check the air vents on the drill body. Clean out dust with compressed air. Overheating causes smoke and smells.
- Using in Regular Drill Mode on Masonry: Stop immediately! You are damaging the tool.
Problem: Hole is Oversized, Ragged, or Chipped
Likely Causes & Fixes:
- Bit Walking at Start: Use masking tape over the mark. Start very slowly and gently.
- Wobbly Drill / Poor Grip: Use both hands firmly, including the side handle. Ensure you have stable footing.
- Drilling Too Fast / Too Much Pressure: Slow down the trigger speed and ease the pressure for the final part of the hole, especially near the exit point on thin materials.
- Dull Bit: A worn bit won’t cut cleanly, causing chipping.
Conclusion: Master Your Hammer Drill with Confidence
Using a hammer drill effectively isn’t magic – it’s about understanding the tool, respecting the material, and following the right steps. You now know the critical importance of selecting hammer drill mode, using sharp masonry bits, wearing proper safety gear, applying steady (not excessive) pressure, and most importantly, clearing dust frequently. Remember to always practice on scrap material first, especially when tackling tricky surfaces like tile or overhead work. Avoid the common pitfalls of using the wrong mode or pushing too hard, which lead to frustration and tool damage. With these techniques in your toolbox, you’re equipped to drill clean, precise holes in concrete, brick, and stone for anchors, screws, and installations on your very next project. Stop struggling and start achieving professional results – your hammer drill is ready when you are!
🎥 Related Video: Top3 Hammer Drill Battle Bosch win#viral#video#powertools#machine#battle#shorts#20mm
📺 Bahri Vlogs
