
Learn how professional mechanics charge cordless drills to maximize battery life and tool performance. This guide reveals expert techniques for proper charging, storage, and maintenance that can double your battery’s lifespan. Stop wasting money on replacements and keep your tools ready for any job.
Key Takeaways
- Charge before depletion: Never wait for your battery to die completely. Partial charges extend lithium-ion battery life significantly.
- Cool batteries charge better: Always let hot batteries cool to room temperature before charging to prevent damage.
- Store at partial charge: Keep batteries at 40-60% charge when not in use for extended periods to maintain health.
- Use the right charger: Never substitute chargers between different battery chemistries or brands to avoid dangerous malfunctions.
- Clean contacts regularly: Wipe battery and charger contacts monthly with a dry cloth to ensure efficient power transfer.
- Replace at the right time: Most batteries last 3-5 years. Replace when runtime drops below 70% of original capacity.
Introduction: Why Professional Charging Methods Matter
Professional mechanics know that a cordless drill is only as good as its battery. You’ve invested in quality tools, but improper charging can destroy that investment in months instead of years. This guide reveals the exact cordless drill charging techniques that mechanics use to keep their tools running strong for 5, 10, even 15 years.
You’ll learn everything from battery chemistry basics to advanced troubleshooting. We’ll cover common mistakes that drain batteries fast and professional secrets that extend battery life. By the end, you’ll know exactly how to charge cordless drills like a pro mechanic.
Understanding Your Cordless Drill Battery Chemistry
Before diving into charging techniques, you need to understand what powers your drill. Modern cordless drill batteries fall into three main types. Each requires specific handling.
Visual guide about Cordless Drill Charging Tips Professional Mechanics Use
Image source: hertoolbelt.com
Lithium-Ion Batteries (Most Modern Drills)
Lithium-ion batteries dominate today’s market. They’re lightweight, hold charges well, and have no memory effect. These batteries contain sophisticated protection circuits that prevent overcharging and overheating. Most cordless drill charging systems for lithium-ion are smart chargers that automatically stop when full.
Key fact: Lithium-ion batteries degrade fastest when fully charged or completely dead. The sweet spot for longevity is keeping them between 20% and 80% charge.
Nickel-Cadmium Batteries (Older Models)
Nickel-cadmium batteries are heavier and suffer from memory effect. If you don’t fully discharge them before charging, they “remember” that level and lose capacity. These batteries require complete discharge cycles once a month to maintain health. Most mechanics consider these obsolete for new purchases.
Nickel-Metal Hydride Batteries (Transitional Technology)
Nickel-metal hydride batteries offer better capacity than NiCd but less than lithium-ion. They’re less common in modern tools but still appear in some budget models. These batteries have moderate memory effect and benefit from full discharge cycles every few months.
Check your battery label to identify its chemistry. Your cordless drill charging strategy depends entirely on this information.
The Professional’s Charging Setup
How you set up your charging station matters as much as how you plug in the battery. Mechanics create dedicated spaces that protect both batteries and chargers.
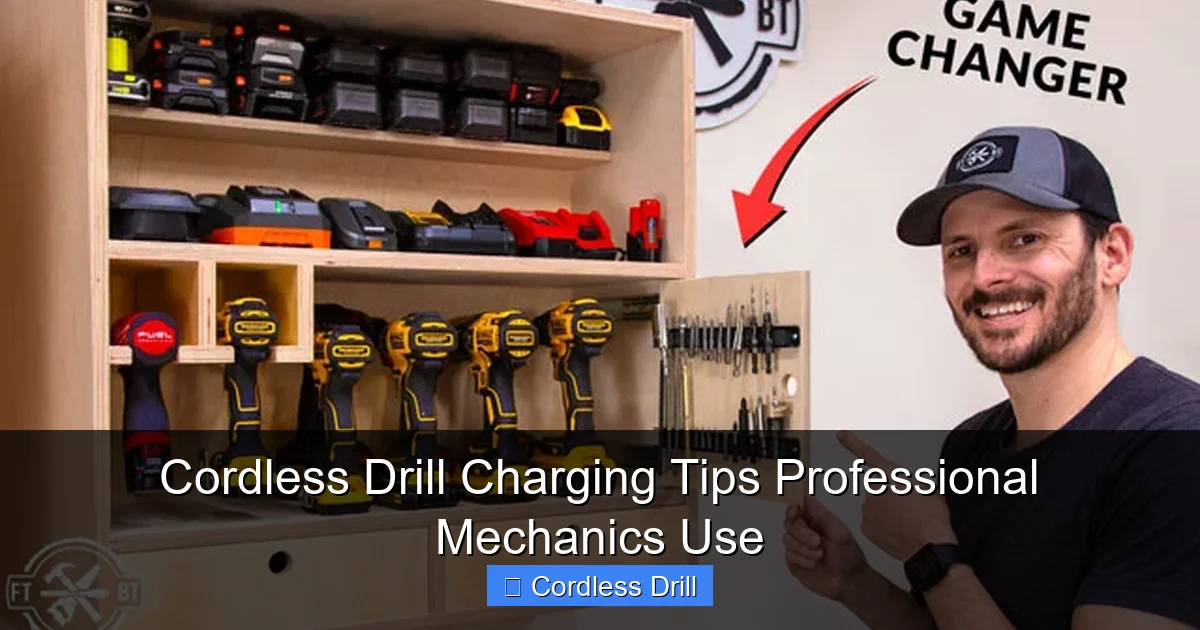
Visual guide about Cordless Drill Charging Tips Professional Mechanics Use
Image source: fixthisbuildthat.com
Choose the Right Location
Find a cool, dry spot away from direct sunlight. Heat is the number one enemy of battery life. Mechanics avoid:
- Garage workbenches near windows (sunlight heats batteries)
- Areas near heaters or furnaces
- Outdoor sheds without temperature control
- Vehicle storage (extreme temperature swings)
Ideal charging temperature is between 50°F and 77°F (10°C to 25°C). Charging outside this range reduces battery life permanently.
Organize Your Charging Station
Create a dedicated charging area with:
- A stable, non-flammable surface like metal or wood
- Adequate ventilation around the charger
- Protection from dust and metal shavings
- Clear space for hot batteries to cool before charging
Many mechanics mount chargers on pegboard or a wall shelf. This keeps them off cluttered benches and ensures consistent airflow.
Inspect Chargers and Cables
Before every charging session, quickly check:
- Cord integrity (no fraying or exposed wires)
- Plug condition (no bent prongs)
- Charger vents (clear of dust and debris)
- Battery contacts (clean and shiny)
Damaged chargers can overheat batteries or cause electrical shorts. Replace any questionable equipment immediately.
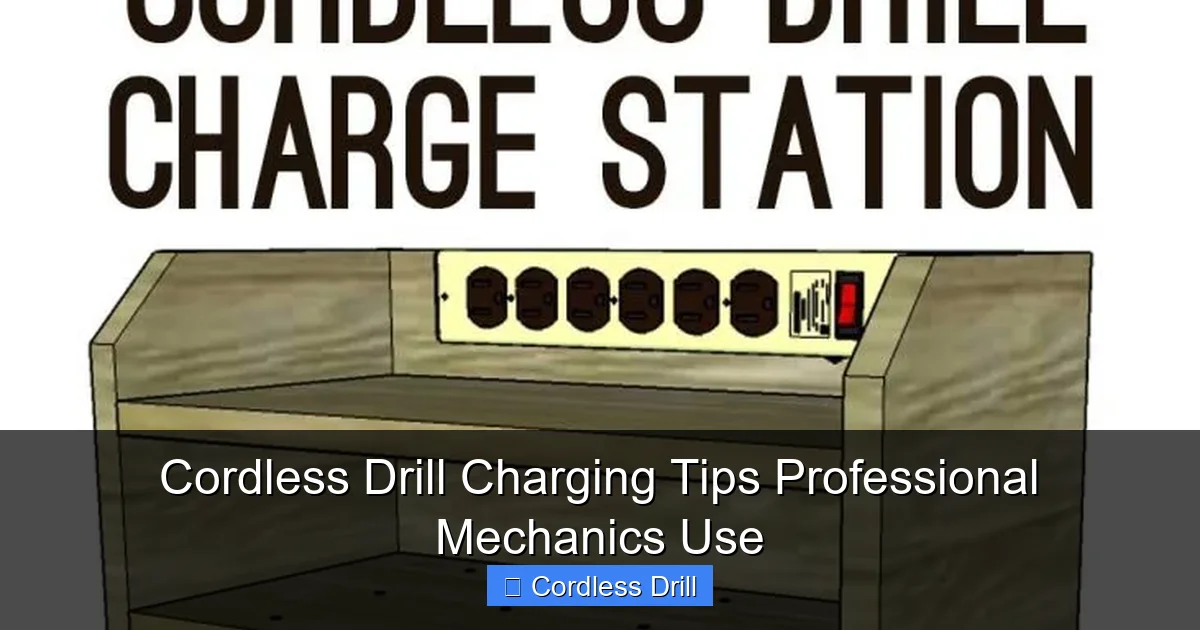
Step-by-Step Cordless Drill Charging Process
Follow these steps exactly to maximize battery health and safety. Professional mechanics do this every single time.

Visual guide about Cordless Drill Charging Tips Professional Mechanics Use
Image source: freewoodworkingplan.com
Step 1: Remove the Battery Safely
Turn off your drill before removing the battery. Press the release buttons firmly and slide the battery out smoothly. Never yank it free. Place the battery on a non-flammable surface immediately after removal.
Step 2: Check Battery Temperature
Touch the battery pack. If it’s warm or hot from use, you must wait. Mechanics always let batteries cool for 15-30 minutes before charging. Hot batteries charged immediately suffer internal damage that reduces capacity permanently.
Pro tip: On busy job sites, mechanics swap batteries and let the hot ones cool while using a second battery. This ensures continuous work and protects battery health.
Step 3: Clean Battery Contacts
Wipe the metal contacts on both battery and charger with a clean, dry cloth. Remove any dust, metal filings, or debris. Dirty contacts cause poor charging connection and can spark. Some mechanics use a cotton swab for detailed cleaning.
Step 4: Insert Battery Correctly
Align the battery with the charger terminals. Slide it in until you hear a click or feel it seat completely. Never force it. If it doesn’t slide in easily, check for obstructions. Forcing it can bend contacts and damage the charger.
Step 5: Monitor the Charging Cycle
Most modern chargers have indicator lights. Understand what yours means:
- Solid red: Charging in progress
- Solid green: Charge complete
- Flashing red: Error or problem
Don’t unplug the battery the moment the light turns green. Many smart chargers enter a maintenance phase that keeps the battery at optimal charge. Remove batteries within 1-2 hours of full charge for best results.
Step 6: Cool Before Storage
After charging, let the battery sit for 5-10 minutes before using or storing. This prevents heat buildup during the next use. Never store batteries hot from charging.
Common Cordless Drill Charging Mistakes to Avoid
These mistakes are killing your batteries. Professional mechanics see them every day in DIYers and new apprentices.
Mistake #1: Charging a Hot Battery
This is the most common error. You finish a tough job, the battery is hot, and you slap it on the charger. This heat plus charging heat creates temperatures that destroy battery cells. Always wait for batteries to cool to room temperature.
Mistake #2: Leaving Batteries on Chargers Overnight
Modern chargers are smart, but they’re not perfect. Leaving batteries plugged in for days stresses them. Mechanics remove batteries once charged. If you need constant readiness, invest in a second battery so you can rotate them.
Mistake #3: Storing Batteries Fully Charged
Storing lithium-ion batteries at 100% charge accelerates aging. Mechanics store spare batteries at 40-60% charge. If you won’t use a battery for weeks, charge it to about half before storage.
Mistake #4: Using the Wrong Charger
Never mix chargers between brands or chemistries. A Milwaukee charger on a DeWalt battery can cause fire or explosion. Even different lithium-ion voltages (12V vs 18V) are incompatible. Always use the charger that came with your specific battery.
Mistake #5: Ignoring Temperature Warnings
Many chargers won’t operate in extreme cold or heat. If your charger has a temperature sensor and won’t charge, respect it. Cold batteries can’t accept charge properly. Hot batteries can’t cool themselves during charging.
Mistake #6: Not Cleaning Contacts
Dirty contacts cause resistance, which creates heat during charging. This heat damages both battery and charger. Mechanics clean contacts monthly as part of routine maintenance.
Battery Maintenance for Maximum Longevity
Charging is just one part of battery care. These maintenance habits separate professional results from amateur disappointment.
Regular Discharge Cycles for Nickel-Based Batteries
If you have NiCd or NiMH batteries, perform a full discharge cycle monthly. Run the drill until it stops completely, then charge it fully. This prevents memory effect and maintains capacity. Lithium-ion batteries do NOT need this treatment.
Proper Storage Techniques
Store batteries in a cool, dry place. Mechanics use plastic storage cases with dividers. Never store batteries in:
- Metal containers (can short circuit)
- Areas with high humidity
- Direct sunlight
- Freezing temperatures
For long-term storage (3+ months), check the charge every 6-8 weeks and top up to 40-60% if needed.
Protect Batteries from Physical Damage
Drops and impacts crack internal connections. Mechanics store batteries in protective cases or original packaging. Never stack heavy items on batteries. Even small impacts can create internal shorts that are dangerous.
Keep Batteries Dry
Moisture causes corrosion on contacts and internal damage. If a battery gets wet, dry it thoroughly with a cloth. Let it air dry for 24 hours before attempting to charge. Never use heat sources like hair dryers, as they can melt components.
Rotate Multiple Batteries
If you own multiple batteries, rotate them regularly. This ensures even wear across all packs. Mechanics label batteries with purchase dates and cycle counts to track usage patterns.
Troubleshooting Common Charging Issues
Sometimes charging problems occur despite perfect care. Here’s how mechanics diagnose and fix them.
Battery Won’t Charge at All
First, check the charger with another battery. If that battery charges, your original battery might be dead or have a failed protection circuit. If no batteries charge, the charger is likely faulty.
Next, inspect contacts. Clean them thoroughly. If still no charge, try gently bending the charger contacts outward for better connection. If nothing works, recycle the battery safely and replace it.
Charger Light Flashes or Shows Error
Consult your charger manual for error code meanings. Common issues include:
- Temperature too high: Let battery cool longer
- Temperature too low: Move to warmer area
- Short circuit detected: Battery may be damaged internally
- Open circuit: Battery cells have failed
Flashing lights usually mean the charger detected a problem and stopped for safety. Don’t try to bypass these protections.
Battery Charges But Runs Out Too Fast
This indicates capacity loss. Lithium-ion batteries typically last 300-500 charge cycles before noticeable decline. If your battery is more than 3 years old and runtime dropped significantly, it’s time for replacement.
Before replacing, try recalibrating: fully discharge the battery, then charge it completely. Do this 2-3 times. This sometimes helps the battery meter recalibrate.
Battery Gets Extremely Hot During Charging
Normal charging creates some heat, but batteries should never become too hot to touch. If this happens:
- Remove battery immediately
- Let it cool completely
- Inspect for physical damage
- Try charging again at lower ambient temperature
If excessive heat continues, stop using the battery. It has a dangerous internal fault.
Charger Makes Unusual Noises or Smells
Clicking, buzzing, or a burning smell means immediate danger. Unplug the charger right away. Let it cool, then inspect for damage. Never use a charger that makes unusual sounds or smells. Electrical fires start this way.
When to Replace Your Cordless Drill Battery
Even with perfect care, batteries eventually need replacement. Mechanics know the signs.
Signs Your Battery Needs Replacement
- Runtime dropped below 70%: You notice significantly less work per charge
- Physical swelling: The battery pack puffs up or becomes misshapen
- Cracked or broken casing: Exposes internal cells to moisture and damage
- Won’t hold charge: Drains completely overnight when not in use
- Protection circuit failures: Frequent error codes or refusal to charge
Choosing a Replacement Battery
Always buy manufacturer-original batteries when possible. Third-party batteries are cheaper but vary wildly in quality. Some don’t meet safety standards. Mechanics stick with OEM for reliability and warranty protection.
Consider upgrading to a higher amp-hour (Ah) rating if available for your drill. A 4.0Ah battery lasts longer than a 2.0Ah version but costs more upfront.
Safe Battery Disposal
Never throw drill batteries in household trash. They contain toxic materials and can cause fires in garbage trucks. Take them to:
- Home improvement stores with battery recycling bins
- Local hazardous waste collection sites
- Manufacturer take-back programs
Many retailers offer small discounts when you trade in old batteries for new ones.
Conclusion: Charge Like a Pro, Work Like a Pro
Proper cordless drill charging isn’t complicated, but it requires consistency. The small habits that mechanics practice every day make the difference between batteries that last 2 years and batteries that last 10 years.
Start implementing these tips today:
- Always let batteries cool before charging
- Store at partial charge for long periods
- Clean contacts monthly
- Never mix chargers or chemistries
- Replace batteries when runtime significantly declines
Your cordless drill is a major investment. Treat the battery right, and it will treat you right. No more mid-project failures, no more wasted money on replacements, and no more frustration. Just reliable power when you need it.
Remember, the best cordless drill is one with a healthy battery. Choose quality tools from the start by checking out our guide to the best cordless drill options on the market. And if you’re wondering about different tool types, learn the difference between impact driver and hammer drill to make informed purchasing decisions.
🎥 Related Video: Protect Your Cordless Drill! A Trick with a Bottle #shorts #tools
📺 Handy Space
Protect Your Cordless Drill! A Trick with a Bottle Join us as a sponsor and unlock exclusive benefits!
