
Learn exactly how to set torque on your cordless drill for perfect results on any project. This guide covers torque basics, step-by-step instructions, material-specific settings, and pro tips. Stop stripping screws and start drilling like a pro today.
Key Takeaways
- Understand torque settings: Torque controls how much force your drill applies before the clutch slips, preventing damage to materials and fasteners.
- Start low and increase gradually: Always begin with the lowest torque setting and test on scrap material before working on your actual project.
- Match torque to material: Wood needs higher torque than metal, while delicate materials like drywall require very low settings.
- Listen to your drill: The sound and feel of your drill will tell you when you have the right torque setting for the job.
- Use the right drill for the task: Higher voltage drills provide more torque, but choosing the right tool matters more than max power.
- Maintain consistent pressure: Apply steady, moderate pressure while drilling for the most accurate torque application.
- Know when to use hammer mode: For masonry and concrete, hammer mode combined with proper torque settings prevents bit slippage.
Your Complete Cordless Drill Torque Guide for Perfect Results Every Time
You’ve got a cordless drill in your hand, staring at a project that needs perfect results. But those torque settings might as well be hieroglyphics. Should you use setting 5? 15? Or just wing it and hope for the best? That’s where this cordless drill torque guide comes in. We’ll decode those numbers and teach you exactly how to get professional results on every single project.
Torque control is the secret weapon that separates DIY disasters from pro-quality work. Whether you’re building a deck, hanging shelves, or crafting furniture, the right torque setting saves you from stripped screws, damaged materials, and endless frustration. By the end of this guide, you’ll know exactly how to set your drill for wood, metal, concrete, and everything in between.
Understanding Cordless Drill Torque Basics
What Is Torque and Why It Matters
Torque is simply rotational force. Think of it as how hard your drill twists the bit or screw. Your cordless drill torque setting controls when the drill’s clutch slips, preventing you from driving a screw too deep or stripping it completely. This is crucial because every material has a sweet spot where the fastener is tight but not damaged.
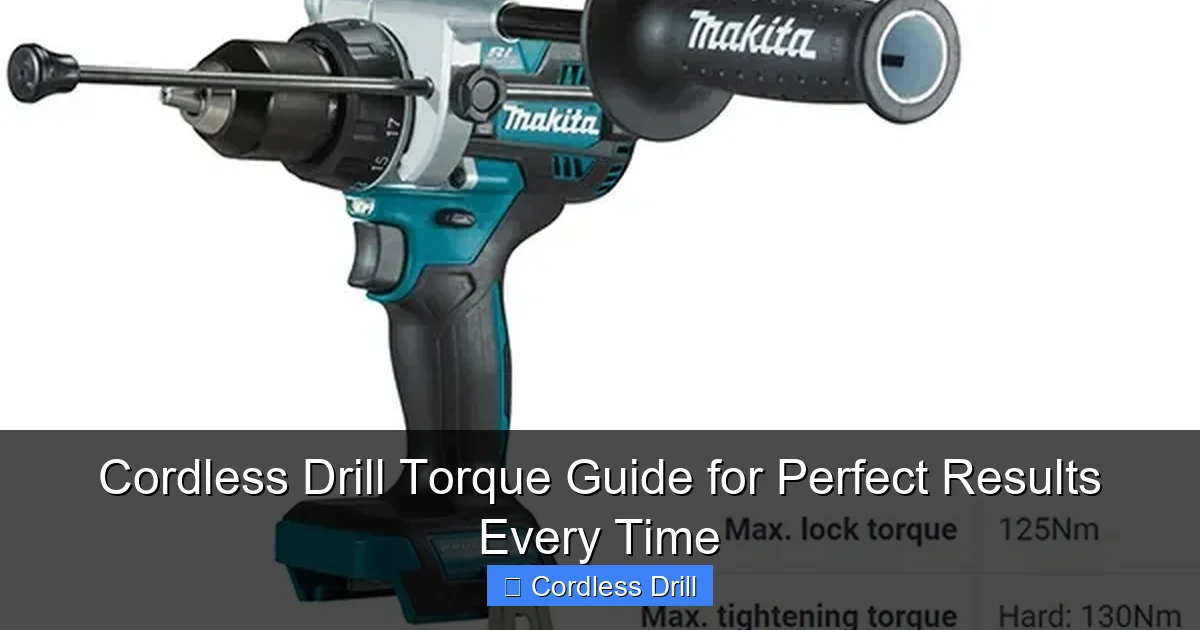
Visual guide about Cordless Drill Torque Guide for Perfect Results Every Time
Image source: i0.wp.com
Without proper torque control, you’re guessing. And guessing leads to costly mistakes. A stripped screw in hardwood can ruin your whole day. Over-tightened drywall screws pop through the paper surface. Under-tightened deck screws create wobbly, unsafe structures. Understanding torque eliminates these problems before they start.
How Torque Is Measured
Most cordless drills display torque as numbers from 1 to 15, 1 to 20, or even higher on some models. Lower numbers mean less force before the clutch slips. Higher numbers allow more force for tougher jobs. But here’s what the manual doesn’t tell you: these numbers aren’t universal measurements like inches or pounds.
Your drill’s torque settings are relative. Setting 5 on your 12V drill might feel completely different than setting 5 on a 20V model. The actual torque output varies by drill brand, model, and voltage. That’s why learning to read your drill’s behavior matters more than memorizing numbers.
Torque Settings vs. Speed Settings
Your drill has two main controls: torque rings and speed triggers. The torque collar (usually near the chuck) controls the clutch engagement. The speed trigger (the button you press) controls how fast the drill spins. These work together but serve different purposes.
Low torque settings with high speed are perfect for driving small screws into soft wood. High torque settings with low speed work best for large lag bolts into hardwood. Confusing these settings is the number one mistake DIYers make. Remember: torque controls force, speed controls rotation.
Choosing the Right Cordless Drill for Your Needs
Voltage and Torque Relationship
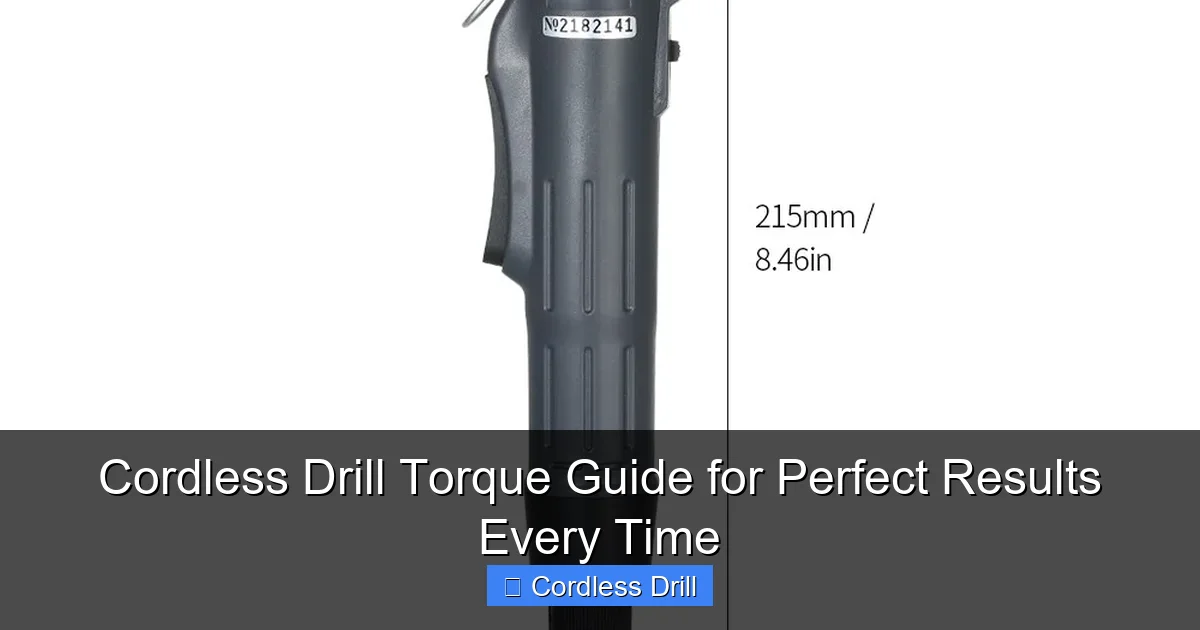
Higher voltage generally means more torque. A 12V drill might deliver 200-300 inch-pounds of torque, while an 18V or 20V drill can produce 500-700 inch-pounds or more. But don’t think you need the biggest drill for every job. For delicate work, a lower voltage drill gives you finer control.

Visual guide about Cordless Drill Torque Guide for Perfect Results Every Time
Image source: i.ytimg.com
If you’re in the market for a new drill, check out our guide to the best cordless drills for different project types. The right tool makes torque management much easier.
Brushless vs. Brushed Motors
Brushless motors deliver torque more efficiently and consistently than brushed motors. They also sense resistance and adjust power automatically. This means better torque control on variable materials. While brushless drills cost more, they’re worth it if you need precision.
Brushed motors work fine for occasional use but can struggle with consistent torque delivery as the brushes wear down. For projects requiring exact torque settings, brushless is the clear winner.
Key Features to Look For
When shopping for torque control, look for at least 15 torque settings. More settings give you finer adjustment. A drill with 20+ settings is ideal for precision work. Also check for a dedicated clutch collar that clicks audibly as you adjust it. Those clicks help you reproduce settings accurately.
Some premium drills include digital torque displays, but these are overkill for most projects. The numbered collar system works perfectly when you understand how to use it. What matters most is how the drill feels in your hand when the clutch engages.
Step-by-Step Cordless Drill Torque Setting Guide
Step 1: Assess Your Material
Before touching your drill, examine what you’re working with. Softwood like pine needs less torque than hardwood like oak. Thin metal requires less force than thick steel. Drywall needs the gentlest touch of all. Make a mental note of the material’s hardness and thickness.
Visual guide about Cordless Drill Torque Guide for Perfect Results Every Time
Image source: images.nexusapp.co
Ask yourself: “How much force would I use by hand?” Your drill’s torque should match that hand feel, then add a little extra for efficiency. If you’d drive a screw into this material with moderate hand pressure, start at torque setting 3-4. For materials needing firm hand pressure, try 6-8. For brute force situations, go higher.
Step 2: Select the Correct Bit
Using the wrong bit makes proper torque control nearly impossible. A worn or incorrect bit will slip, strip, or bind regardless of your torque setting. For wood screws, use a sharp Phillips or Torx bit that fits snugly. For metal, use high-speed steel bits. For masonry, use carbide-tipped bits.
Match the bit size exactly to the screw or hole diameter. A bit that’s too small forces the drill to work harder, requiring higher torque. A bit that’s too large won’t engage properly, needing lower torque to prevent stripping. The right bit is your first line of defense against torque problems.
Step 3: Start with the Lowest Torque Setting
Always begin at the lowest torque setting (usually 1 or the rabbit icon). This might seem slow, but it’s the safest approach. Place the bit in the screw head, press the trigger gently, and feel how the drill responds. If the screw drives easily without the clutch slipping, you’re ready to increase torque.
This method prevents immediate damage to your project. It’s much easier to increase torque than to fix a stripped screw hole. Think of it as tasting soup before adding salt—better to undershoot and adjust than to ruin everything at once.
Step 4: Test on Scrap Material
Never test torque settings directly on your project piece. Grab a scrap piece of the same material and thickness. Run your first test screw into this scrap. The results tell you everything: is the screw sitting flush? Is the material tearing? Is the clutch slipping too soon or too late?
This step saves countless projects from disaster. A 30-second test on scrap can prevent hours of repair work. Keep a pile of scrap wood, metal, or drywall nearby specifically for torque testing. Your future self will thank you.
Step 5: Adjust Gradually
After your first test, adjust the torque up by just one or two numbers. Run another test screw. Continue this gradual increase until you achieve the perfect result: the screw sits flush with the surface, the clutch engages just as it reaches final tightness, and the material isn’t damaged.
Jumping multiple torque settings at once often overshoots your target. Fine-tuning ensures you find the exact sweet spot. Most people set torque too high because they want to “make sure it’s tight.” Perfect torque is barely enough, not way too much.
Step 6: Listen and Feel the Drill
Your drill talks to you. When the clutch slips, it makes a distinct clicking sound. Learn this sound. It should click just as the screw reaches its final position, not halfway through. The feel in your hand matters too—the drill should slow slightly as it encounters final resistance, then the clutch should engage smoothly.
With practice, you’ll recognize the sound and feel of perfect torque. This skill lets you work faster without constantly checking settings. Your body becomes the sensor, and your drill becomes an extension of your hands. That’s when you know you’ve mastered cordless drill torque control.
Practical Torque Applications for Common Projects
Woodworking Projects
Wood is the most forgiving material for torque control, but it varies wildly. Softwoods like pine and cedar need torque settings of 3-6. Hardwoods like oak, maple, and cherry require 8-12. For pocket hole joinery, use settings 4-6 to avoid splitting the wood. When driving long deck screws, go up to 10-15 for maximum holding power.
Always consider grain direction. Screwing perpendicular to grain needs less torque than screwing parallel to grain, which can split the wood. Pre-drilling pilot holes reduces required torque by 20-30%. For face frames and delicate trim, drop to settings 2-4 to prevent unsightly damage.
Metal Drilling
Metal requires low torque settings combined with slow speed. Start at setting 2-4 for thin sheet metal. For thicker steel plate, increase to 5-7. The key is using sharp metal drill bits and applying cutting fluid for best results. High torque on metal causes work hardening and dulls bits quickly.
Never use high torque on metal without proper support. The bit can grab and spin the workpiece dangerously. Clamp metal securely and use a center punch to create a starting dimple. This prevents the bit from wandering and reduces the torque needed for accurate holes.
Drywall and Plaster
Drywall needs the gentlest touch—torque settings of 1-3. The goal is to sink the screw just below the paper surface without breaking it. Plaster and lathe requires 2-4, but you must find the wood lathe behind the plaster first. Hitting lathe needs slightly higher torque than just plaster.
For hanging items on walls, start at setting 1 and test on an inconspicuous area. Drywall anchors need different torque than direct screw mounting. Always use a depth-sensing bit if available, as it automatically stops at the right depth regardless of torque setting.
Masonry and Concrete
Masonry requires hammer mode, not just torque control. Set your torque to 8-10 and let the hammer action do the work. For concrete, use settings 10-12 with a hammer drill function. Standard drill mode won’t work effectively in masonry. The hammer action breaks up the material while the rotation removes debris.
When drilling into brick, reduce torque to 6-8. Brick is softer than concrete but more brittle. The key is steady pressure and letting the hammer mechanism work at its own pace. Don’t force it—this only overheats the drill and damages the bit.
Driving Screws vs. Drilling Holes
Drilling holes uses the highest speed and lowest torque (setting 1-2) to prevent bit breakage. Driving screws requires variable torque based on screw size and material. Small #6-8 screws need 3-6. Medium #10-12 screws need 5-8. Large lag bolts need 10-15.
For driving screws, switch to the slower, high-torque gear (usually marked with a “1” or “L”). This gives you more control. The higher speed gear (marked “2” or “H”) is for drilling holes where torque isn’t as critical. Confusing these gears is a common mistake that ruins projects.
Troubleshooting Common Torque Problems
Stripped Screws
If screws keep stripping, your torque is too high or your bit is worn. First, inspect your bit. A worn tip won’t engage the screw head properly, causing slippage and stripping. Replace bits frequently—they’re cheap insurance. If the bit looks good, reduce torque by 2-3 settings.
Also check your drill’s RPM. Too much speed with high torque strips screws instantly. Slow down by easing off the trigger. For stripped screws already in place, try rubber band trick: place a rubber band over the screw head, press the bit into it, and drive slowly at low torque.
Over-Tightened Fasteners
Over-tightening happens when torque is set too high. The clutch engages after the screw is already too deep, but the drill still has momentum. This either breaks the screw head or pulls the screw through the material. The solution is simple: reduce torque settings by 30% and test again.
For materials like particle board or MDF, over-tightening is especially problematic. These materials have low holding power. Use the lowest possible torque that still sinks the screw. Consider using coarse-threaded screws designed for particle board—they need less torque for the same holding power.
Under-Powered Drilling
If your drill struggles to drive screws, your torque might be too low for the material. But first check your battery. A weak battery reduces power dramatically. Also verify you’re in the high-torque gear (low speed setting). If the drill still lacks power, increase torque gradually until the clutch stops slipping prematurely.
Sometimes the problem isn’t torque but technique. Apply steady, firm pressure. Let the drill do the work—forcing it causes the motor to bog down and reduces effective torque. For very dense materials, pre-drill pilot holes to reduce required torque by up to 50%.
Inconsistent Results
Inconsistent torque results usually come from battery issues or technique problems. A battery that’s not fully charged delivers inconsistent power. Use a fresh battery for critical work. Also check if you’re pressing the trigger consistently—inconsistent trigger pressure changes RPM and affects torque delivery.
Temperature matters too. Cold batteries deliver less power. Keep spare batteries warm in your pocket during winter projects. If results remain inconsistent, have your drill serviced. Worn brushes or clutch components can cause erratic torque delivery that’s impossible to control.
Pro Tips for Perfect Torque Control
Mark your most-used torque settings with a paint pen or nail polish. This lets you dial in your favorite settings instantly without counting clicks. Number them for specific tasks: “1” for drywall, “5” for wood screws, “10” for deck bolts.
Use a torque-limiting attachment for critical projects. These inexpensive accessories fit between your drill and bit, limiting torque to a specific value regardless of your drill’s setting. They’re perfect for assembly work where consistency matters more than raw power.
Practice on scrap material before every project, even if you think you know the right setting. Wood hardness varies within a single board. Metal thickness changes between pieces. A quick test ensures perfect results every time. Make testing a non-negotiable habit.
Consider the screw head type. Torx and Robertson heads handle more torque than Phillips or slotted heads. If you’re stripping screws, switch to Torx or Robertson bits and drivers. They’re designed for higher torque applications and reduce cam-out (bit slippage).
Keep your drill clean and well-maintained. A dirty clutch mechanism can stick or slip inconsistently. Wipe down the torque collar and chuck regularly. Lubricate the chuck mechanism quarterly. A well-maintained drill delivers torque more predictably than a neglected one.
When in doubt, ask yourself: “What’s the cost of failure?” For a $5 shelf, you might risk higher torque. For a $500 piece of furniture, test extensively. Adjust your precision based on the project’s importance. Not every task needs laboratory-level accuracy.
Conclusion
Mastering your cordless drill torque settings transforms you from a frustrated DIYer into a confident craftsman. The key is understanding that torque is about feel, not just numbers. Start low, test often, and adjust gradually. Listen to your drill and respect the material you’re working with.
Remember that the best cordless drill is the one you know how to use. A $100 drill with proper torque control outperforms a $300 drill used incorrectly. Invest time in learning your tool, not just buying new tools. Your projects will thank you with professional results every single time.
Now grab that drill, find some scrap material, and start practicing. Within an hour, you’ll have the confidence to tackle any project with perfect torque settings. The difference between amateur and professional work isn’t the tool—it’s the knowledge of how to use it properly.
🎥 Related Video: Makita Vs BOSCH #automobile #automotivetools #tools #tools4life #powertools
📺 MyTools
