
This guide reveals ten professional techniques to transform your cordless drill screwdriver experience. You’ll discover how to master torque settings, select the perfect bits, and apply expert pressure for clean, precise results. Stop stripping screws and start achieving flawless finishes with these practical, easy-to-follow tips.
Key Takeaways
- Torque mastery: Always start low and increase gradually to prevent stripping screws and damaging materials.
- Bit selection: Match your driver bit precisely to the screw head type for maximum grip and minimal slippage.
- Clutch control: Use your drill’s clutch to stop at the perfect depth without over-driving screws.
- Battery management: Keep spare batteries charged to avoid project interruptions and maintain consistent power.
- Pilot holes: Drill pilot holes for wood and dense materials to prevent splitting and ensure accuracy.
- Proper stance: Position your body directly behind the drill for maximum control and straighter holes.
- Safety priority: Always wear eye protection and keep your workspace clean for accident-free projects.
Introduction: Take Your Cordless Drill Screwdriver Skills to the Next Level
Your cordless drill screwdriver is one of the most versatile tools in your workshop. Yet most people barely scratch the surface of its capabilities. They strip screws, overdrive fasteners, and struggle with inconsistent results. This guide changes everything. You’ll learn ten professional techniques that transform ordinary results into perfect finishes. Whether you’re building furniture, installing shelves, or tackling home repairs, these tips will save you time, frustration, and materials. Let’s unlock the full potential of your cordless drill screwdriver.
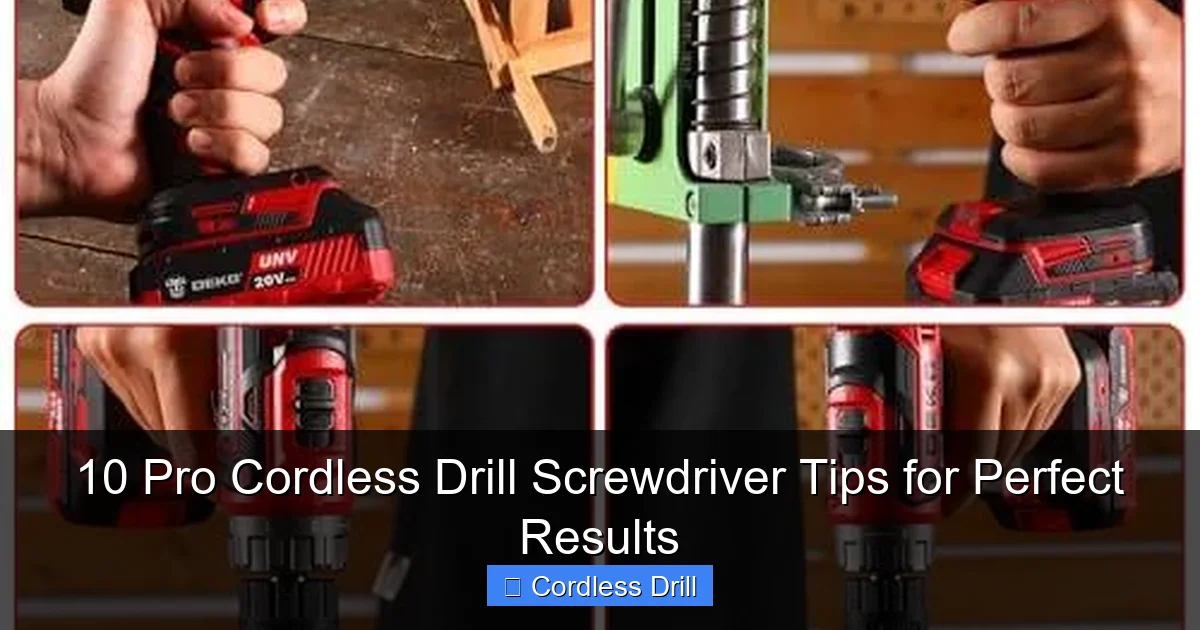
Tip #1: Master Torque Settings Like a Professional
Torque control separates beginners from pros. Your cordless drill screwdriver comes with adjustable torque settings, usually marked with numbers or icons. Each number represents a different torque level. Low numbers deliver less force, while high numbers provide maximum power.
Visual guide about 10 Pro Cordless Drill Screwdriver Tips for Perfect Results
Image source: img.pacifiko.com
Start Low and Increase Gradually
Always begin with the lowest torque setting. This prevents stripping the screw head or damaging your workpiece. Test the setting on a scrap piece first. If the screw won’t drive completely, increase the torque one setting at a time. This method protects both your fasteners and materials.
Match Torque to Material Density
Soft materials like pine need low torque. Hard materials like oak or metal require higher settings. For drywall, use setting 3-5. For hardwood, try 8-12. For softwoods, 5-8 works well. Adjust based on screw size too—larger screws need more torque than smaller ones.
Watch for Visual Cues
Your cordless drill screwdriver will give you signals. When the clutch kicks in, the drill will stop turning or make a clicking sound. This means you’ve reached your preset torque. If it kicks too early, increase the setting. If it never kicks and the screw strips, you’ve set it too high.
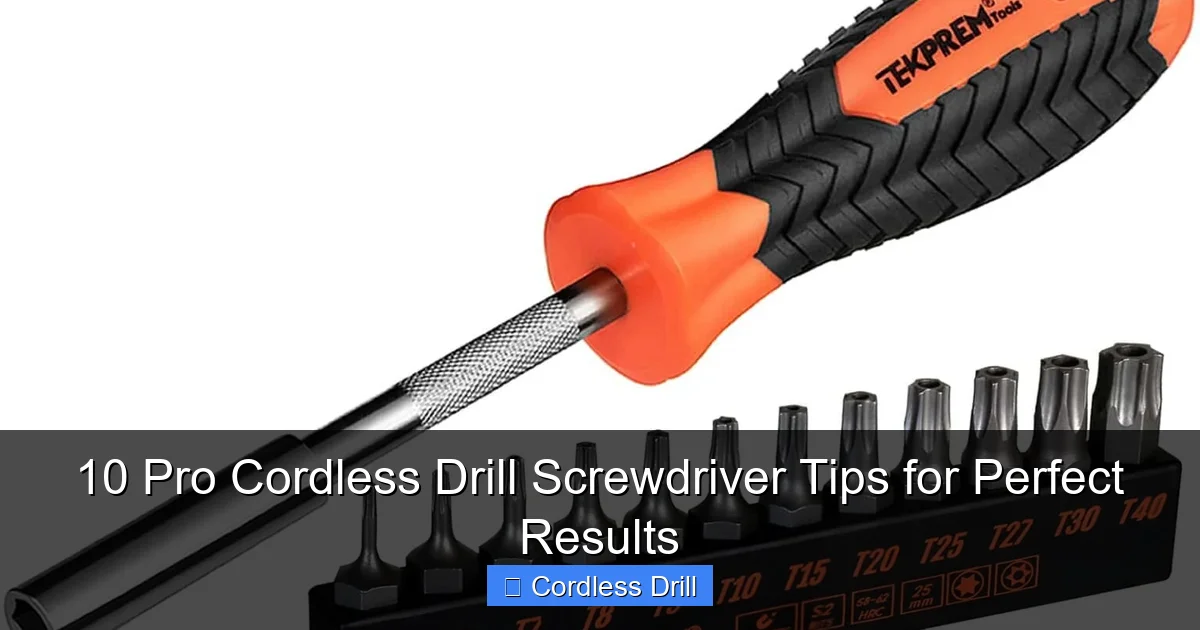
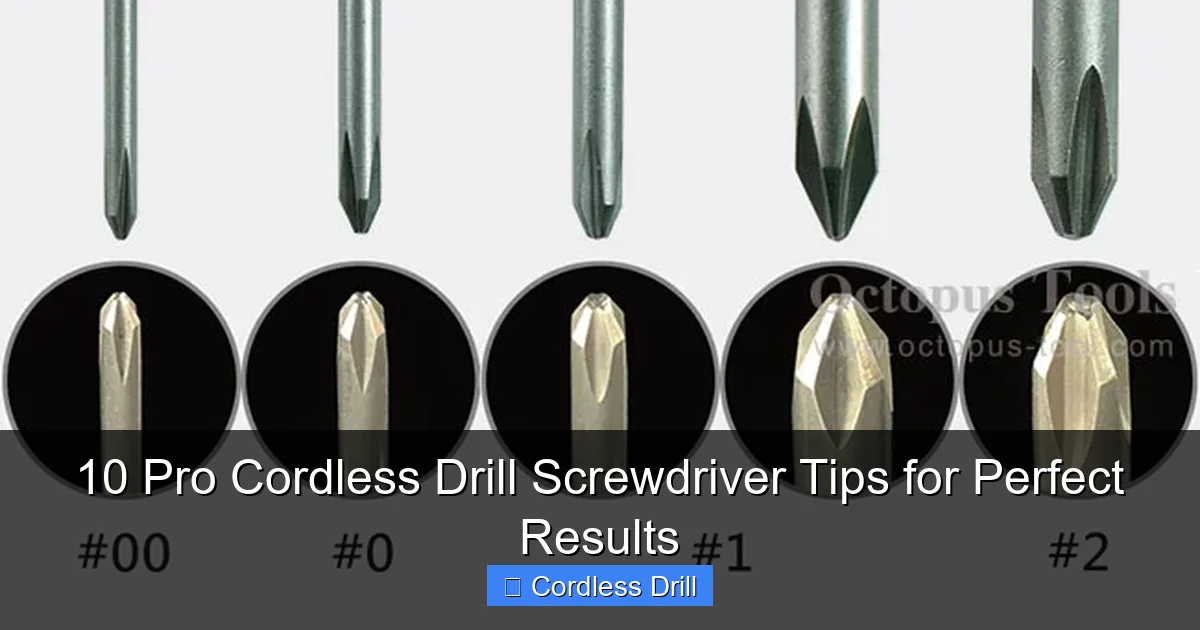
Tip #2: Choose the Perfect Driver Bit Every Time
Using the wrong bit is the fastest way to ruin a screw head. Your cordless drill screwdriver is only as good as the bit you insert. Bits come in many types: Phillips, flathead, Torx, square, and hex. Each serves a specific purpose.
Visual guide about 10 Pro Cordless Drill Screwdriver Tips for Perfect Results
Image source: protguide.com
Match Bit to Screw Head Exactly
A Phillips #2 bit must match a Phillips #2 screw. A Torx T20 bit needs a T20 screw. The fit should be snug with no wiggle room. When the bit sits perfectly in the screw head, you’ll feel it engage. This prevents cam-out, where the bit slips and strips the screw.
Invest in Quality Bits
Cheap bits wear out fast and damage screws. Buy hardened steel bits designed for power tools. They cost more but last ten times longer. Keep a variety pack handy: Phillips #1, #2, #3; flathead 1/8″ and 3/16″; Torx T15, T20, T25; and square #2. This covers 95% of household projects.
Check Bit Wear Regularly
Inspect your bits before each use. Worn tips won’t grip screws properly. If you see rounded edges or the bit feels loose in the screw, replace it immediately. A fresh bit makes driving screws effortless and protects your workpiece from damage.
Tip #3: Harness the Power of Your Clutch
The clutch on your cordless drill screwdriver is a game-changer. It automatically stops driving when reaching the preset depth. This prevents overdriving and damaging surfaces. Yet many users ignore it completely.
Visual guide about 10 Pro Cordless Drill Screwdriver Tips for Perfect Results
Image source: octopus-tool.com
Set Clutch Depth for Flush Driving
For most projects, set the clutch so screws sit slightly below the surface. Adjust the collar until the screw stops at the perfect depth. Test on scrap material first. The screw should be flush or just beneath the surface, ready for filling or sealing.
Use Clutch for Consistent Results
When installing multiple screws, the clutch ensures each one stops at the same depth. This creates a professional, uniform appearance. Perfect for cabinet installation, decking, or any project with many fasteners.
Fine-Tune for Different Materials
You’ll need different clutch settings for various materials. Softwoods require less depth than hardwoods. For delicate trim work, set the clutch shallow to avoid cracking. For structural work, set it deeper for maximum holding power.
Tip #4: Keep Your Battery System Organized
Nothing kills momentum like a dead battery. Smart battery management keeps your cordless drill screwdriver ready for action. Modern lithium-ion batteries don’t suffer from memory effect, but they do need proper care.
Always Have a Spare Battery Charged
Buy a second battery when you purchase your drill. Keep one charging while using the other. This eliminates downtime. Most chargers take 30-60 minutes for a full charge. With two batteries, you can work continuously.
Store Batteries Correctly
Keep batteries in a cool, dry place. Extreme heat or cold reduces performance. Don’t leave them on the charger permanently. Store at 50% charge if not using for weeks. This extends battery life significantly.
Monitor Battery Level During Use
Most modern cordless drill screwdriver models have battery indicators. Check it before starting big projects. A weak battery won’t deliver full torque and may stall mid-screw. Swap batteries before you reach critical low power.
Tip #5: Apply Steady, Even Pressure
Letting the drill do the work is key. Too much pressure can strip screws or damage materials. Too little pressure causes the bit to slip. The sweet spot is firm but controlled pressure.
Push Straight and True
Keep your cordless drill screwdriver perpendicular to the work surface. Angle it slightly if needed for comfort, but maintain consistency. Apply pressure directly along the axis of the screw. This prevents the bit from walking or slipping sideways.
Use Your Body Weight
Don’t rely on arm strength alone. Position your body behind the drill. Lean in gently with your torso. This gives you more control and reduces fatigue during long projects. Your arms stay relaxed while your body provides steady pressure.
Start Slow, Then Increase Speed
Begin driving at low speed to seat the screw properly. Once it’s started, increase to medium speed. This technique prevents the screw from wandering and ensures a straight drive. Your cordless drill screwdriver’s variable speed trigger makes this easy.
Tip #6: Drill Pilot Holes for Precision Work
Pilot holes are small guide holes that make driving screws easier and more accurate. They prevent wood splitting and help screws go exactly where you want them. This step takes seconds but improves results dramatically.
Choose the Right Drill Bit Size
For most wood screws, the pilot hole should be slightly smaller than the screw’s core diameter. If the screw is 1/8″ wide, use a 3/32″ drill bit. For deck screws, match the bit to the screw’s shank size. This creates just enough clearance for the threads to grip.
Drill to the Correct Depth
Your pilot hole should be 1/8″ to 1/4″ shallower than the screw length. This gives the screw something to bite into at the bottom. Use a depth stop or wrap tape around the bit as a visual guide. Consistent depth means consistent results.
Counterbore for Flush Mounting
When you need screws completely hidden, drill a counterbore first. This creates a wider hole for the screw head to sit below the surface. Use a larger bit for the top portion, then switch to the pilot hole bit for the bottom. Your cordless drill screwdriver can handle both steps easily.
Tip #7: Optimize Your Grip and Stance
How you hold your cordless drill screwdriver affects control, accuracy, and comfort. Proper technique reduces fatigue and improves results. Think of it like holding a tennis racket—form matters.
Two-Handed Control
Always use both hands when possible. One hand on the main handle, the other on the side grip or top of the drill. This gives you maximum stability. For precision work, brace your elbow against your body for a rock-solid hold.
Position Yourself for Leverage
Stand with your feet shoulder-width apart. Face the work directly. Your body should be aligned with the drilling direction. This posture gives you the best leverage and control. You’ll drive screws straighter and with less effort.
Adjust Handle Position
Most cordless drill screwdriver models have adjustable side handles. Position it for maximum comfort and control. For overhead work, move it to the top. For bench work, place it on the side. The handle should feel natural and supportive.
Tip #8: Select the Perfect Speed for Each Task
Your cordless drill screwdriver has variable speed control. Low speed delivers more torque for driving screws. High speed works better for drilling holes. Using the wrong speed causes problems.
Low Speed for Driving Screws
Set your drill to 0-500 RPM for most screwdriving tasks. This gives you maximum control and prevents overdriving. Low speed also reduces the chance of stripping screws. The slower you go, the more precise your work becomes.
High Speed for Drilling
When you need to drill holes, switch to high speed (1,000-3,000 RPM). This cuts faster and cleaner. But remember: high speed + screws = disaster. Always switch back to low speed before driving fasteners.
Use Two-Speed Drills Wisely
Many cordless drill screwdriver models have two speed ranges. Gear 1 is low speed/high torque. Gear 2 is high speed/low torque. Use Gear 1 for screws and Gear 2 for drilling. This extends motor life and improves performance.
Tip #9: Maintain Your Bits and Drill Regularly
Maintenance keeps your cordless drill screwdriver performing at its peak. Clean bits last longer and work better. A clean drill runs cooler and more efficiently. This takes just minutes but pays off in years of reliable service.
Clean Bits After Each Use
Wipe bits with a dry cloth to remove debris. For stubborn buildup, use a wire brush. Oil them lightly to prevent rust. Store them in a case to protect the tips. Sharp, clean bits grip screws better and last longer.
Check Chuck and Collet
Inspect the chuck where bits insert. Remove metal shavings and dirt. Tighten the chuck properly—loose bits slip and damage screws. If the chuck is worn or won’t grip, replace it. A good chuck is essential for precision work.
Keep Vents Clear
Airflow keeps your drill cool. Check ventilation holes regularly for dust buildup. Use compressed air to blow out debris. Overheating reduces performance and shortens motor life. Clean vents mean cooler operation and longer tool life.
Tip #10: Safety First—Protect Yourself and Your Work
Safety isn’t optional—it’s essential. Your cordless drill screwdriver is a powerful tool that can cause injury. Protect yourself and your projects with simple precautions.
Wear Proper Eye Protection
Always wear safety glasses when using power tools. Flying debris can damage eyes permanently. Even small wood chips or metal shavings can cause serious injury. Make safety glasses part of your standard gear.
Secure Your Workpiece
Clamp materials firmly to your workbench. Never hold small pieces in your hand while drilling. A secure workpiece prevents slips and injuries. It also produces cleaner, more accurate results. Use clamps or a vise for best results.
Keep Your Workspace Organized
A clean workspace prevents accidents. Store tools properly. Keep cords tidy to avoid tripping. Good lighting helps you see what you’re doing. When everything has its place, you can focus on the task instead of searching for tools.
Troubleshooting Common Problems
Even pros encounter issues. Here’s how to solve the most common cordless drill screwdriver problems quickly.
Screw Won’t Drive All the Way
If your screw stops short, check your torque setting. It’s probably too low. Increase it gradually. Also check for pilot hole issues—the hole might be too small or too shallow. Finally, inspect your bit for wear.
Screw Head Gets Stripped
Stripped heads happen when the bit doesn’t fit properly or you’re using too much speed/pressure. Use the correct bit size. Drive at low speed. Apply steady, moderate pressure. If a screw is already stripped, try a rubber band between the bit and screw for extra grip.
Drill Overheats Quickly
Overheating means you’re using too much pressure or the motor is clogged with dust. Let the drill do the work. Clean ventilation holes. Check for worn brushes. If the problem continues, have the drill serviced.
Battery Drains Too Fast
Old batteries lose capacity. Cold temperatures also reduce performance. Keep batteries warm in winter. Replace batteries after 2-3 years of regular use. Buy quality batteries from reputable brands.
Conclusion: Perfect Results Are Within Your Reach
Mastering your cordless drill screwdriver doesn’t require years of experience. These ten tips give you the knowledge to achieve professional results immediately. Start with proper bit selection and torque settings. Use pilot holes for precision. Maintain your tool and batteries. Always prioritize safety.
Practice these techniques on scrap material first. Once you’re comfortable, apply them to your real projects. You’ll notice cleaner finishes, fewer stripped screws, and less fatigue. Your cordless drill screwdriver will become an extension of your hand, delivering perfect results every single time.
Remember, the best tool is the one you know how to use. Invest time in learning your cordless drill screwdriver’s features, and it will reward you with years of flawless performance.
🎥 Related Video: Magnetic Screwdriver Bit Drill Set for Efficient Cordless Drills 5Pcs PH2 Bits|#viral #shorts #short
📺 CCMPGT_0.2
