
A hammer drill is a powerful tool that combines rotation with a rapid hammering action to bore through tough materials like concrete and brick. The main benefits include superior performance on hard surfaces, significant time savings, and versatile application options. This guide will show you exactly how to leverage these advantages for your next project.
Key Takeaways
- Superior Material Penetration: Hammer drills excel at drilling into concrete, brick, and stone with ease, outperforming regular drills by up to 10x.
- Time and Labor Savings: The hammering action reduces user fatigue and completes tough jobs in a fraction of the time.
- Versatile Applications: Modern hammer drills offer multiple modes for drilling, driving, and chiseling, making them suitable for wood, metal, and masonry.
- Enhanced Precision: Variable speed controls and depth stops provide accurate, consistent results every time.
- Cost-Effective Investment: A quality hammer drill eliminates the need for multiple specialized tools and rental equipment.
- User-Friendly Operation: Ergonomic designs and adjustable handles make these tools comfortable for extended use.
Introduction: Why You Need to Know About Hammer Drill Benefits
If you’ve ever struggled to drill into a concrete wall or watched a professional effortlessly bore through brick, you’ve witnessed the power of a hammer drill. This essential tool transforms difficult masonry work from a day-long nightmare into a satisfying thirty-minute task. Understanding the benefits of hammer drill technology can revolutionize how you approach home renovations, construction projects, and even serious DIY tasks.
In this comprehensive guide, you’ll discover exactly how hammer drills work, their five major advantages over regular drills, and step-by-step instructions for using them effectively. We’ll cover everything from selecting the right model to troubleshooting common issues, ensuring you get professional results every time.
What Exactly Is a Hammer Drill?
A hammer drill looks similar to a standard power drill but operates with a crucial difference. Inside the tool, a special mechanism creates a rapid back-and-forth hammering action while the drill bit rotates. This dual motion pounds the material as it cuts, making it perfect for hard surfaces that would defeat a regular drill.
Visual guide about Unlock the Benefits of a Hammer Drill for Your Projects
Image source: darex.com
The hammering action happens at speeds up to 30,000 blows per minute, invisible to the naked eye but incredibly effective. Most modern hammer drills feature multiple speed settings and modes, letting you switch between standard drilling for wood and metal, and hammer drilling for concrete and masonry.
Five Major Benefits of Using a Hammer Drill
Benefit #1: Unmatched Performance on Hard Materials
The primary advantage of a hammer drill is its ability to penetrate materials that stop regular drills cold. Concrete, brick, stone, and even hardened steel pose little challenge when you’re using the right hammer drill with proper masonry bits.
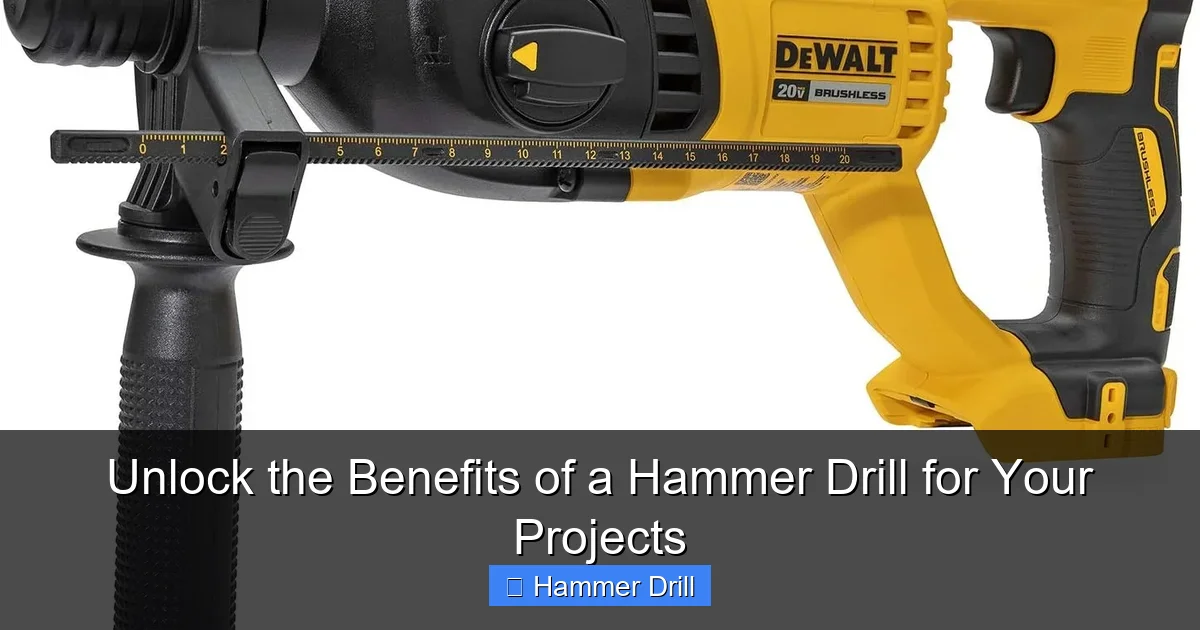
Visual guide about Unlock the Benefits of a Hammer Drill for Your Projects
Image source: mostlytools.com
Unlike standard drills that rely solely on rotation, the hammer drill’s percussive action fractures the material as it cuts. This means you can drill a 1/2-inch hole through concrete in under 30 seconds—a task that might take 15 minutes with a regular drill, if it works at all.
Benefit #2: Significant Time and Physical Effort Savings
One of the most appreciated hammer drill benefits is how much work it does for you. The tool’s mechanical hammering action means you don’t need to push hard or bear down on the drill. This reduces user fatigue dramatically, especially during long projects.
Consider drilling ten holes for anchor bolts in a concrete wall. With a regular drill, you might spend 45 minutes applying significant pressure and still end up with sore arms. With a hammer drill, the same job takes about 10 minutes with minimal physical effort. This efficiency translates to completing weekend projects in hours instead of days.
Benefit #3: Versatility for Multiple Project Types
Modern hammer drills offer multiple operating modes that make them incredibly versatile. Most models include:
- Drill mode: Standard rotation for wood, metal, and plastic
- Hammer drill mode: Rotation plus hammering for masonry work
- Chisel mode: Hammering only for light demolition work
This versatility means you can use one tool for an entire project. Start by drilling pilot holes in wood framing with standard mode, switch to hammer mode for masonry anchors, and use chisel mode to remove old grout. Understanding the difference between a drill and a hammer drill helps you maximize this flexibility.
Benefit #4: Enhanced Precision and Control
Quality hammer drills come equipped with features that improve accuracy. Variable speed triggers let you start slowly for precise positioning, then increase power as needed. Depth stops ensure consistent hole depths for professional-looking results.
Many models also feature side handles that reduce vibration and improve control. This is especially valuable when working overhead or on large projects where precision matters. The reduced vibration also means less fatigue and more accurate work over time.
Benefit #5: Long-Term Cost Effectiveness
While hammer drills cost more than basic drills, they deliver excellent value. A single quality hammer drill can replace the need for specialized tools like rotary hammers for many tasks. This eliminates tool rental fees and reduces your overall equipment investment.
Durability is another cost-saving factor. Hammer drills are built tough to withstand the stresses of masonry work, often lasting years longer than standard drills used for similar applications. When you consider the time saved and projects completed, the return on investment becomes clear quickly.
How to Choose the Right Hammer Drill for Your Needs
Understanding Hammer Drill Types
Hammer drills come in two main varieties: corded and cordless. Corded models deliver consistent power for heavy-duty work but limit mobility. Cordless hammer drills offer freedom of movement but require battery management and may sacrifice some power for portability.
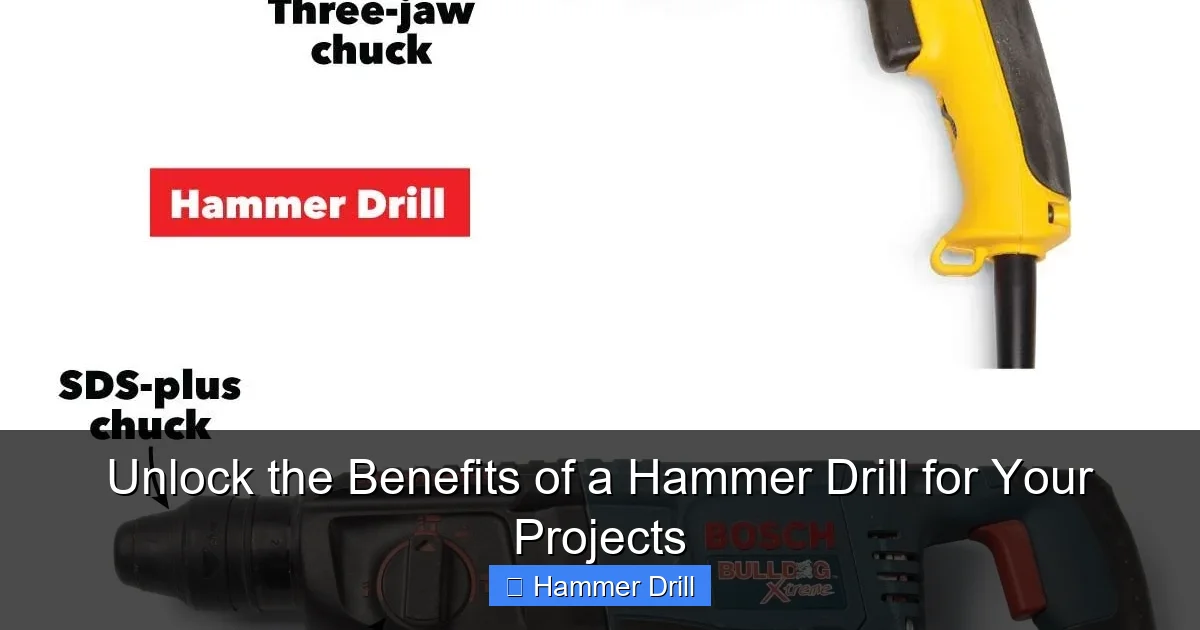
Visual guide about Unlock the Benefits of a Hammer Drill for Your Projects
Image source: familyhandyman.com
For most DIYers, a cordless model with an 18V or 20V battery provides the best balance of power and convenience. Professionals often prefer corded models for continuous use on job sites. When selecting between options, consider your typical projects and whether mobility or maximum power matters more.
Key Features to Evaluate
When shopping for a hammer drill, pay attention to these important specifications:
- Power rating: Measured in volts for cordless or amps for corded models
- Blows per minute (BPM): Higher numbers mean faster drilling through hard materials
- Clutch settings: Prevent stripping screws and overdriving bits
- Chuck size: 1/2-inch chucks accept larger bits for bigger holes
- Weight and balance: Affects comfort during extended use
For concrete drilling under 1/2-inch diameter, a standard hammer drill works perfectly. For larger holes or frequent heavy use, consider stepping up to a rotary hammer drill, which offers even more power and durability.
Step-by-Step Guide to Using Your Hammer Drill
Step 1: Gather Your Materials and Safety Equipment
Before starting any project, ensure you have the right tools and protection. You’ll need your hammer drill, appropriate drill bits, safety glasses, dust mask, and hearing protection. For concrete work, a shop vacuum helps manage dust.
Choose the correct masonry bit for your material. Masonry bits feature carbide tips designed to withstand the hammering action. Select a bit slightly longer than the required hole depth to ensure you can drill deep enough.
Step 2: Mark and Prepare Your Work Area
Use a pencil or marker to clearly indicate your drilling location. For accuracy, place a small piece of masking tape over the mark—this prevents the drill bit from wandering when you start. Double-check measurements and ensure your workpiece is secure.
If drilling into a wall, use a stud finder to locate any hidden pipes or electrical wires. This simple step prevents dangerous accidents and costly repairs. Remember that drilling into concrete requires special attention to what’s behind the surface.
Step 3: Insert and Secure the Drill Bit
Turn off and unplug your hammer drill (or remove the battery for cordless models). Open the chuck by turning it counterclockwise, insert the masonry bit fully, then tighten the chuck securely. The bit should be centered and held firmly to prevent wobbling.
Many modern hammer drills feature keyless chucks that tighten with hand pressure. Ensure the bit is seated completely in the chuck for optimal performance and safety. A loose bit can damage both the tool and your workpiece.
Step 4: Adjust Settings for Your Material
Set your hammer drill to the appropriate mode. For concrete, brick, or stone, select the hammer drill mode (usually indicated by a hammer icon). For wood or metal, use standard drill mode. Adjust the speed setting based on bit diameter—smaller bits can run faster than larger ones.
Install the side handle if your model includes one. This provides better control and reduces vibration transfer to your hands. Position the handle on the side opposite your dominant hand for maximum stability during operation.
Step 5: Drilling Your Hole
Put on your safety glasses and dust mask. Position the drill bit tip at a 90-degree angle to your workpiece, aligning it with your marked location. Start at low speed to create a small pilot indentation, then gradually increase to full speed while applying light, steady pressure.
Let the hammer drill do the work—don’t push hard. Apply just enough pressure to keep the bit engaged with the material. If the drill bogs down, reduce pressure slightly and clear dust from the hole periodically by withdrawing the bit while it’s still spinning.
For deep holes, drill in short increments, withdrawing the bit every few seconds to clear debris. This prevents overheating and ensures consistent hole quality. Use a depth stop if you need precise hole depth for anchors or bolts.
Step 6: Finishing and Cleanup
Once you’ve reached the desired depth, release the trigger and allow the bit to stop completely before withdrawing it from the hole. Remove any dust or debris using a brush or vacuum. If you need a cleaner hole, run the bit in and out a few times without hammering action.
Inspect your hole for quality and depth. If you need to enlarge the hole, switch to a larger bit and repeat the process. Always clean your hammer drill after use by wiping away dust and checking for any damage.
Essential Safety Tips for Hammer Drill Operation
Always wear proper eye protection when using a hammer drill. Concrete chips and dust can cause serious eye injury. A quality dust mask or respirator is essential for concrete work, as silica dust is hazardous to your lungs.
Secure your workpiece firmly to prevent movement during drilling. Use clamps for smaller items and ensure larger workpieces won’t shift. Keep your hands clear of the drilling area and never hold a workpiece against your body while drilling.
Be aware of what’s behind your drilling surface. Drilling into electrical wiring or plumbing can cause dangerous situations. When in doubt, use a wall scanner to detect hidden objects before starting.
Troubleshooting Common Hammer Drill Issues
Problem: Drill Won’t Hammer or Loses Power
If your hammer drill stops hammering, the most common cause is worn carbon brushes. These components deliver power to the motor and need replacement every 50-100 hours of use. Check your user manual for brush replacement instructions.
Another possibility is a damaged hammer mechanism. This internal component can wear out over time, especially with heavy use. If replacing brushes doesn’t solve the issue, professional repair may be necessary.
Problem: Excessive Vibration or Wobbling
A wobbling drill bit usually indicates a loose chuck or damaged bearings. Turn off the tool and check that the chuck is tightened properly. If the wobble continues, the chuck may need replacement or the bearings could be worn.
Using a damaged or bent drill bit can also cause vibration. Always inspect bits before use and replace any that show signs of damage. Proper technique—holding the drill firmly with both hands—also minimizes vibration.
Problem: Bit Getting Stuck or Overheating
Bits can get stuck if you apply too much pressure or don’t clear debris regularly. If a bit becomes stuck, turn off the drill and try rocking it gently back and forth while pulling. Never force it, as this can damage both the bit and tool.
Overheating occurs from excessive speed or pressure. Use lower speeds for larger bits and allow the tool to cool periodically during extended use. Proper chip clearance—withdrawing the bit regularly—also prevents overheating.
Problem: Poor Hole Quality or Cracking
If you’re getting rough holes or material cracking, check your bit condition. Dull bits create more heat and pressure, leading to poor results. Replace bits regularly, especially when drilling hard materials like concrete.
Cracking can also occur if you’re using too much pressure or drilling near edges. Reduce pressure and consider starting with a smaller pilot hole for large diameters. Using a backing board when drilling through thin materials prevents blowout on the far side.
Maintenance Tips to Extend Your Hammer Drill’s Life
Regular maintenance keeps your hammer drill performing at its best. Clean the exterior after each use with a dry cloth to remove dust. Periodically check the chuck for wear and lubricate it with appropriate grease as specified in your manual.
Store your hammer drill in a dry, temperature-controlled environment. Extreme heat or cold can damage internal components and batteries. Use the original case or a dedicated tool box to protect it from impacts and moisture.
Inspect cords and batteries regularly for damage. Frayed cords create electrical hazards, while damaged batteries can be dangerous. Replace any compromised components immediately rather than risking injury or tool failure.
Conclusion: Maximizing Your Hammer Drill Benefits
The benefits of hammer drill ownership become clear with every project you complete. From effortlessly drilling through concrete to saving hours of labor, this versatile tool pays for itself quickly in both time and frustration avoided. By understanding how to choose, use, and maintain your hammer drill properly, you’ll tackle projects that once seemed impossible.
Remember that successful results come from matching the tool to your specific needs, using proper technique, and prioritizing safety. Whether you’re hanging shelves in a concrete wall, installing a new shower, or building a deck, your hammer drill will become an indispensable part of your toolkit. Start with simple projects to build confidence, then graduate to more challenging applications as you master the techniques.
Invest in quality bits, maintain your tool regularly, and always follow safety guidelines. With these practices in place, you’ll unlock the full potential of your hammer drill and enjoy professional-quality results on every project.
🎥 Related Video: Do You Need Drill and Impact Driver?
📺 Torque & Twisted
For most smaller DIY projects, a drill is what most people would need. Drill is great for drilling holes and setting smaller screws …
