
This hammer drill troubleshooting guide walks you through diagnosing and fixing the most common problems fast. You’ll learn how to solve power issues, restore hammer action, stop overheating, and maintain your tool properly. Save time and money by fixing it yourself with our simple step-by-step instructions.
Key Takeaways
- Check power sources first: Always verify your battery, cord, or outlet before assuming major internal damage.
- Clean air vents regularly: Overheating causes 60% of hammer drill failures. Keep vents clear to extend tool life.
- Inspect the chuck monthly: A loose or worn chuck causes bit slippage and reduces hammer action effectiveness.
- Listen for unusual sounds: Grinding or clicking noises often indicate gear or hammer mechanism problems needing immediate attention.
- Replace brushes proactively: Worn motor brushes are a common failure point that’s easy and cheap to fix.
- Use proper technique: Let the tool do the work. Forcing a hammer drill causes premature wear and reduces performance.
- Know when to quit: Some internal motor or gear problems require professional repair to avoid further damage.
Hammer Drill Troubleshooting Guide: Fix Common Problems Fast
You’re ready to drill into concrete, and your hammer drill won’t start. Or maybe it’s making a weird noise and barely hammering. Don’t panic. Most hammer drill problems are simple fixes you can do at home with basic tools. This guide shows you exactly what to check and how to fix it fast.
We’ll walk through every common issue step by step. You’ll learn how to diagnose power problems, restore hammer action, stop overheating, and perform basic maintenance. By the end, you’ll know when to fix it yourself and when to call a pro. Let’s get your hammer drill working again.
Safety First: Before You Start Troubleshooting
Always unplug corded hammer drills or remove batteries from cordless models before inspection. Wear safety glasses and gloves. Work in a well-lit area. Keep small parts organized in a container. Take photos as you disassemble components so you can put them back correctly. These simple steps prevent accidents and save frustration.
Visual guide about Hammer Drill Troubleshooting Guide Fix Common Problems Fast
Image source: toolcroze.com
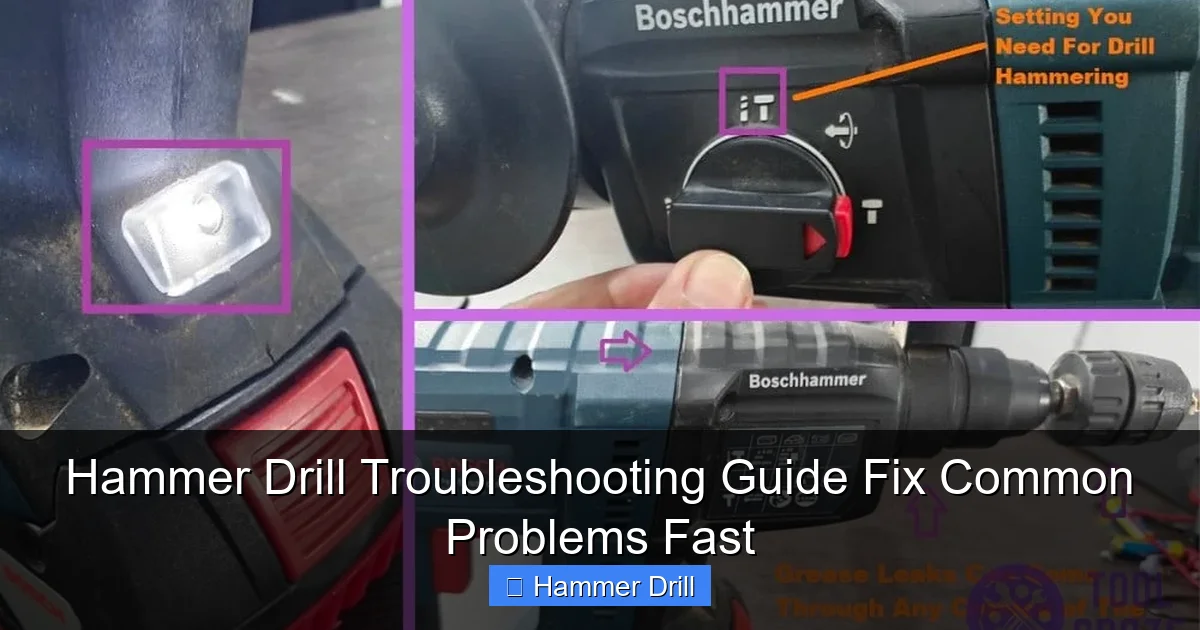
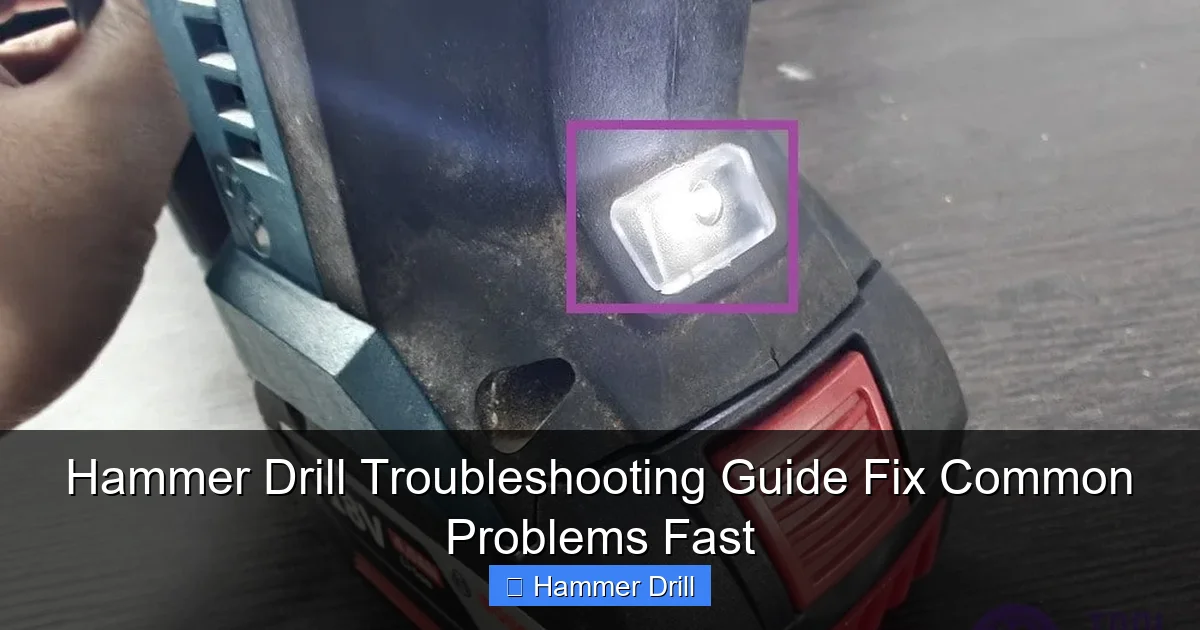
Understanding Your Hammer Drill: Basic Components
Before troubleshooting, know your tool’s main parts. The motor provides power. The hammer mechanism creates the pounding action. The chuck holds drill bits. The switch controls operation. The brushes conduct electricity to the motor. Air vents keep everything cool. Understanding these basics helps you diagnose problems faster.
Visual guide about Hammer Drill Troubleshooting Guide Fix Common Problems Fast
Image source: toolcroze.com
Most hammer drills have two modes: regular drilling and hammer drilling. The hammer mode adds a rapid back-and-forth action that breaks up masonry. If you’re unsure whether you need this tool, check our guide on hammer drill vs impact driver differences.
Problem #1: Hammer Drill Won’t Start or Has No Power
Step 1: Check the Power Source
Cordless models: Remove the battery. Check for dirt or corrosion on the battery contacts. Clean them with a dry cloth. Make sure the battery is fully charged. Try a second battery if available. A weak battery is the #1 cause of power loss.
Visual guide about Hammer Drill Troubleshooting Guide Fix Common Problems Fast
Image source: toolcroze.com
Corded models: Plug another device into the same outlet to verify power. Check your circuit breaker. Inspect the power cord for cuts, frays, or damage. A damaged cord needs immediate replacement.
Step 2: Test the Trigger Switch
Remove the housing screws carefully. Locate the trigger switch. Look for loose wires or visible damage. Use a multimeter to test for continuity. If the switch fails the test, replace it. Switches cost $5-$15 and are easy to swap.
Step 3: Inspect Motor Brushes
Find the brush caps on either side of the motor housing. Unscrew them. Pull out the brushes. If they’re shorter than 1/4 inch, replace them. Worn brushes prevent the motor from running. This is a common issue in older tools.
Brush replacement is simple. Buy the exact model number from the manufacturer. Insert the new brushes the same way the old ones came out. Reinstall the caps. Test the tool. This fix solves 30% of no-power problems.
Problem #2: Weak or No Hammer Action
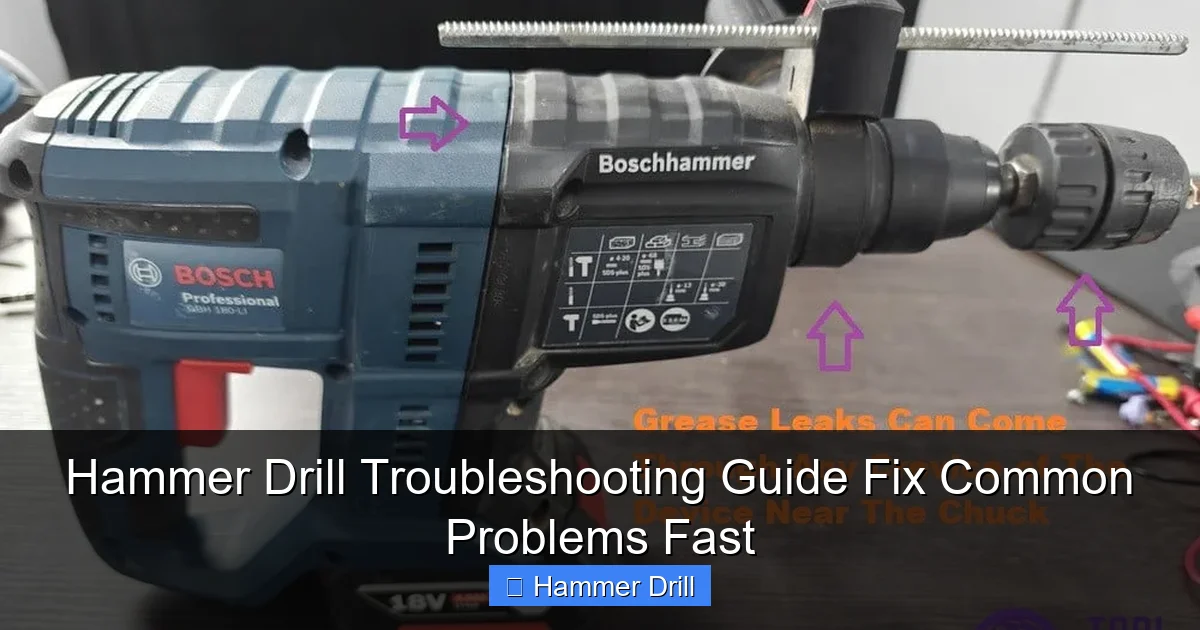
Step 1: Verify Hammer Mode is Engaged
Check that your hammer drill is switched to hammer mode. Some models have a separate switch. Others use a mode selector collar. Make sure it clicks into position. You should feel it engage. If it’s in regular drill mode, hammer action won’t work.
Step 2: Inspect the Hammer Mechanism
Remove the chuck by unscrewing it counterclockwise. Look inside for the hammer plate and clutch mechanism. Check for worn or broken parts. The hammer plate should move freely back and forth. If it’s stuck, clean it with compressed air.
Look for damaged O-rings or grease buildup. Old grease can harden and block hammer action. Clean the mechanism with degreaser. Apply fresh tool grease. Reassemble and test. This restores hammer action in most cases.
Step 3: Check the Mode Selector
The mode selector switch can wear out internally. If it feels loose or doesn’t click properly, it may need replacement. This requires more disassembly. Take photos at each step. If you’re uncomfortable, take it to a repair shop.
For cordless hammer drills, weak hammer action can also mean a battery that’s charging but not holding full voltage. Test with a fresh battery.
Problem #3: Overheating and Burning Smell
Step 1: Clean Air Vents Immediately
Locate air vents on the motor housing. Use compressed air to blow out dust and debris. Hold the can upright to avoid moisture buildup. Do this every month during heavy use. Clogged vents cause 60% of overheating problems.
Step 2: Check for Continuous Overuse
Hammer drills need breaks. Run them no more than 30 seconds at a time in masonry. Let them cool for 2-3 minutes. Continuous use without breaks overheats the motor. This is especially important in summer or hot workspaces.
Step 3: Inspect Motor Windings
If you smell burning after cleaning vents, the motor may be damaged. Remove the housing. Look for blackened or melted windings. If you see damage, the motor needs professional repair or replacement. Continuing to use a damaged motor risks complete failure.
Prevention is key. Always use sharp bits. Dull bits make the motor work harder. Use proper pressure. Let the hammer mechanism do the work. Don’t force it. These practices reduce heat buildup.
Problem #4: Excessive Vibration and Difficulty Controlling
Step 1: Check the Bit
Remove the bit. Inspect it for damage or wear. A bent or dull bit causes vibration. Replace it with a new, sharp masonry bit. Make sure it’s the right size and type for your material. Using wood bits in concrete creates vibration and damages the tool.
Step 2: Tighten the Chuck
Open the chuck jaws fully. Remove any debris inside. Insert the bit and tighten firmly. Some chucks have a locking mechanism. Engage it if available. A loose bit wobbles and causes vibration. This simple step fixes most vibration issues.
Step 3: Inspect Chuck and Bearings
If vibration continues, the chuck may be worn. Check for wobble by rotating it by hand. Excessive play means replacement is needed. Worn bearings also cause vibration. This requires more advanced disassembly. Consider professional repair for bearing issues.
For occasional users, vibration often means technique problems. Hold the drill with both hands. Apply steady, moderate pressure. Don’t twist the tool. Let the hammer action work for you. Good technique reduces fatigue and improves results.
Problem #5: Bit Slipping or Won’t Stay in Chuck
Step 1: Clean the Chuck
Open the chuck fully. Spray it with compressed air. Remove all dust and metal shavings. Old debris prevents proper gripping. Clean the bit shank too. Oil or dirt on the bit reduces grip.
Step 2: Check Chuck Teeth
Look at the teeth inside the chuck. If they’re worn smooth, the chuck needs replacement. Worn teeth can’t grip bits securely. This is common in older tools. Replacement chucks cost $15-$40.
Step 3: Test Chuck Tightness
Insert a bit. Tighten the chuck by hand, then use the chuck key for final tightening. If it slips after proper tightening, the internal threads may be stripped. Stripped threads require chuck replacement. Don’t overtighten, as this damages the mechanism.
Some hammer drills have a quick-change chuck system. If yours does, make sure it’s fully seated and locked. These systems have a specific click sound when engaged properly. Listen for it.
Problem #6: Unusual Noises: Grinding, Clicking, or Whining
Step 1: Identify the Sound Type
Grinding usually means metal-on-metal contact. Check for worn gears or bearings. Clicking often indicates a loose part. Whining suggests motor or gear problems. Stop using the tool immediately if you hear unusual sounds.
Step 2: Check for Loose Screws
Remove the housing. Check every screw for tightness. Pay special attention to motor mounting screws and gear housing screws. Loose screws cause vibration and noise. Tighten them gradually and evenly.
Step 3: Inspect Gears
Look at the gear teeth. If they’re chipped or worn, replacement is necessary. Gear damage often requires a full gear set. This is a job for experienced DIYers or professionals. Continuing to use damaged gears ruins the motor.
Grease buildup can also cause noise. Old, hardened grease makes gears grind. Clean gears with degreaser. Apply fresh grease sparingly. Too much grease attracts dust and causes problems.
Problem #7: Battery Won’t Hold Charge (Cordless Models)
Step 1: Clean Battery Contacts
Remove the battery. Check metal contacts on both battery and tool. Clean them with a dry cloth or rubbing alcohol. Corrosion prevents proper charging. Let them dry completely before reinserting.
Step 2: Test with Another Charger
Plug a different charger into the same outlet. Some chargers fail internally. If the battery charges with a different charger, replace the faulty charger. Original equipment chargers are best.
Step 3: Check Battery Age
Most lithium-ion batteries last 3-5 years. If your battery is older, it may not hold charge. Look for swelling or damage. Swollen batteries are dangerous. Replace them immediately. New batteries cost $30-$80 depending on brand and voltage.
For heavy users, having a spare battery is smart. It keeps you working while one charges. Store batteries in a cool, dry place. Extreme temperatures reduce battery life.
Problem #8: Cord or Plug Issues (Corded Models)
Step 1: Inspect the Cord
Check the entire length of the power cord. Look for cuts, kinks, or exposed wires. Pay attention to areas near the plug and tool entry point. Damage here is common. If you find damage, replace the cord or use a qualified repair.
Step 2: Test the Plug
Remove the plug cover. Check for loose wires or burnt contacts. Tighten any loose connections. If the plug is damaged, replace it with a new one. This is a simple fix with wire strippers and a new plug.
Step 3: Check Ground Fault Protection
If your cord has a GFCI plug, press the reset button. These plugs trip when they detect problems. If it won’t reset, there’s an internal fault. Stop using the tool until it’s professionally inspected.
Never bypass a damaged cord or plug. Electrical shock is a real danger. When in doubt, replace the entire cord assembly. It’s not worth the risk.
Preventive Maintenance: Keep Your Hammer Drill Running Smooth
Monthly Maintenance Checklist
- Clean air vents with compressed air
- Inspect power cord or battery contacts
- Check chuck for wear and clean it
- Test all switches and modes
- Store in a dry, dust-free area
Proper Storage Techniques
Store your hammer drill in its original case if possible. Keep it in a climate-controlled area. Extreme heat or cold damages internal components. Don’t leave batteries on the charger permanently. Store them at 50% charge.
Apply a light coat of oil to metal parts to prevent rust. Wrap the cord loosely. Don’t wrap it too tight, as this damages internal wires. Hang it or lay it flat in a toolbox.
Regular Lubrication
Apply tool grease to the hammer mechanism every 6 months. Use only manufacturer-recommended grease. Too much attracts dirt. Too little causes wear. Lubricate chuck threads lightly. This prevents seizing.
For professional users, consider a maintenance schedule. Log hours of use. Service the tool every 200-300 hours. This prevents unexpected failures on the job.
When to Seek Professional Repair
Some problems require professional tools and expertise. Don’t attempt these fixes if you’re uncomfortable:
- Motor winding replacement
- Bearing replacement in sealed units
- Internal electronic speed control failure
- Major gear damage
- Warranty-covered repairs
Most manufacturers have authorized service centers. They have the right parts and training. For older tools, weigh repair cost against replacement. Sometimes buying new makes more sense.
Before taking it in, call for an estimate. Some shops charge a diagnostic fee. Ask if they warranty their repairs. A good shop offers 90-day warranties on parts and labor.
Conclusion: Get Back to Work Fast
Most hammer drill problems are simple fixes. Check power sources first. Clean vents regularly. Replace worn brushes and bits. These three steps solve 80% of issues. Keep your tool maintained, and it will serve you for years.
Remember to work safely. Unplug or remove batteries before any inspection. When in doubt, call a professional. Don’t risk injury or further damage. A well-maintained hammer drill is a reliable partner for any project.
Now you have the knowledge to troubleshoot confidently. Save this guide for future reference. Share it with friends who might need help. And most importantly, get back to work with a hammer drill that performs like new.
🎥 Related Video: How the Rotary Hammer Drill’s Gears Move,An Inside Look at the Mechanism. #powertools #hammerdrill
📺 DIYMAN_PRO
