
Proper hammer drill maintenance is non-negotiable for performance, safety, and longevity. This guide provides a complete, step-by-step plan for cleaning, lubricating, and inspecting your tool, whether it’s corded or cordless. Follow these hammer drill maintenance tips to prevent costly repairs and ensure it’s ready for any job.
Key Takeaways
- Consistent Cleaning is Critical: Removing dust and debris after every use prevents internal damage and maintains optimal hammering function.
- Lubrication Preserves the Mechanism: Properly applying grease to the chuck and periodic gearbox lubrication reduces friction and wear on moving parts.
- Battery Care Defines Cordless Tool Life: For cordless models, following proper charging, storage, and handling protocols is the single biggest factor in long-term reliability.
- Inspect Bits and Chucks Regularly: Worn drill bits and a damaged chuck cause poor performance and can be dangerous; regular inspection is a simple preventative step.
- Store Your Tool Correctly: Proper storage in a clean, dry case protects your investment from environmental damage and physical harm.
- Know When to Call a Pro: Recognizing signs of major motor or gearbox failure can save you from causing further damage and indicates when professional service is needed.
Essential Hammer Drill Maintenance Tips You Need
Your hammer drill is a powerhouse. It drives through concrete, brick, and stone with a relentless pounding action. But that punishing force also creates stress, heat, and debris. Without proper care, even the best tool will fail prematurely. The good news? Basic hammer drill maintenance is simple, cost-effective, and immensely rewarding.
This guide will walk you through everything you need to know. We’ll cover daily cleaning, deep lubrication, battery care for cordless models, and troubleshooting common problems. By the end, you’ll have a clear maintenance routine that will extend your tool’s life, ensure it’s safe to use, and save you money on repairs or replacements. Let’s get your drill back in fighting shape.
Your Pre-Maintenance Safety Checklist
Before you touch a single bolt, safety first! This is non-negotiable.
Visual guide about Essential Hammer Drill Maintenance Tips You Need
Image source: imgv2-2-f.scribdassets.com
- Disconnect the Power: For corded drills, unplug them from the wall outlet. For cordless drills, remove the battery pack entirely.
- Allow the Tool to Cool: If you’ve just finished a job, let the drill sit for 20-30 minutes. Motors and external casings can get very hot.
- Work in a Clean, Well-Lit Area: A sturdy workbench with good lighting helps you see small parts and prevents losing screws or springs.
- Wear Safety Gear: Don safety glasses to protect your eyes from springing parts or dislodged debris. Light gloves can protect your hands from sharp edges.
- Consult Your Manual: Your manufacturer’s user guide is the ultimate authority for your specific model. It has diagrams, torque specs, and warnings unique to your drill. Have it handy.
Step 1: The Essential Clean-Up (After Every Use)
This is the most important and most neglected step. Concrete dust is abrasive and can work its way into seals, bearings, and the hammer mechanism, grinding away at precision parts.
Visual guide about Essential Hammer Drill Maintenance Tips You Need
Image source: cdn.slidesharecdn.com
Exterior Cleaning
Wipe down the entire drill body with a dry, clean cloth. For stubborn grime, use a cloth slightly dampened with water or a mild soap solution. Never spray or submerge the tool. Pay special attention to the air vents; blocked vents cause overheating.
Chuck and Bit Cleaning
Open the chuck jaws fully. Use a small, dry brush (an old toothbrush works perfectly) or compressed air to blast out the dust and metal shavings from inside the chuck. A clean chuck grips better and runs truer.
Vent Cleaning
Locate the cooling vents on the drill’s body (usually near the motor). Use your brush or compressed air to clear any dust buildup. This ensures the motor can breathe and stay cool.
Step 2: Chuck Inspection and Lubrication
The chuck is the heart of the drilling action. A wobbly or sticky chuck ruins accuracy and strains the motor.
Visual guide about Essential Hammer Drill Maintenance Tips You Need
Image source: directionaldrillingaustralia.com.au
Inspecting the Chuck
Insert a known-good, straight drill bit. Tighten the chuck and give the bit a slight side-to-side wiggle. Any noticeable play indicates wear. Also, listen for grinding noises when tightening or loosening by hand.
Lubricating the Chuck
Most modern keyless chucks are sealed, but a drop of light machine oil (like 3-in-1 oil) on the moving threads and jaws can work wonders for smooth operation. For keyed chucks, apply a small amount of grease to the gear teeth. Wipe away any excess.
If your drill seems to struggle, it’s helpful to understand its full capabilities. Knowing the difference between a drill and a hammer drill can clarify when to use the hammer function versus standard drilling, preventing unnecessary wear.
Step 3: Cordless Hammer Drill Battery Care
For cordless models, the battery is the most expensive consumable. Treat it right.
Charging Best Practices
- Use only the manufacturer’s charger.
- Charge batteries at room temperature (approx. 65°F – 75°F / 18°C – 24°C).
- Remove the battery from the charger once it’s fully charged. Don’t leave it on the charger for days.
Storage Guidelines
Store batteries in a cool, dry place. For long-term storage (over a month), charge Li-ion batteries to about 40-60% capacity. Never store a fully depleted or a fully charged battery for extended periods.
Handling and Cleaning
Keep battery terminals clean. Wipe them occasionally with a dry cloth. If you see corrosion (a white or greenish powder), clean gently with a cloth dipped in rubbing alcohol. Ensure your batteries are compatible with your tasks; using a best cordless drill with the right battery system is key for demanding jobs.
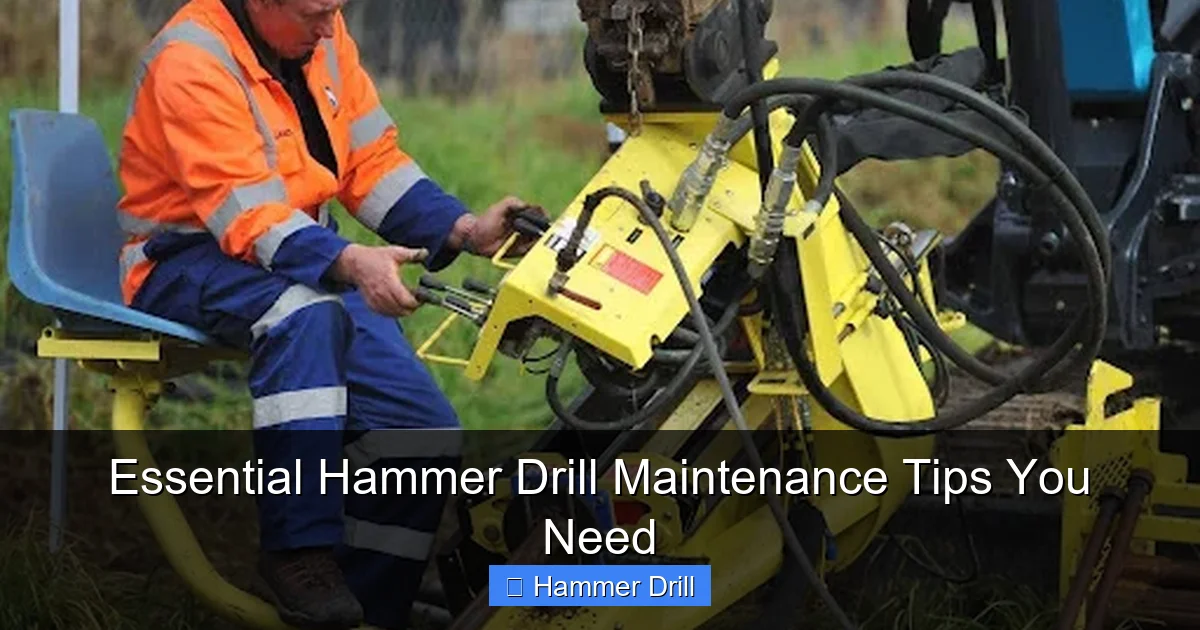
Step 4: Motor and Gearbox Attention (Periodic Service)
This is less frequent but crucial for long-term health. Always refer to your manual before attempting to open the gear housing.
Brushed Motor Maintenance
If your drill has a brushed motor, the carbon brushes will eventually wear down. Symptoms include excessive sparking, loss of power, or a burning smell. Many models have accessible brush caps for easy inspection and replacement. Replace brushes in pairs.
Gearbox Lubrication
Every 1-2 years of moderate use, the gearbox may need fresh grease. This often requires disassembly. If you’re not comfortable, take it to a service center. Using the correct, high-temperature bearing grease specified by the manufacturer is vital.
Step 5: Hammer Mechanism & Drill Bit Care
The hammering action relies on precise internals. Your bits are your connection to the material.
Bit Inspection and Selection
Always use sharp, high-quality masonry bits designed for hammer drills. A dull bit forces the tool to work harder, creating excess heat and wear. Look for worn or chipped carbide tips.
Supporting the Hammer Action
When drilling, use firm, steady pressure. Let the tool do the work. Don’t force it or use excessive side pressure, as this can damage the hammer mechanism’s internal piston and striker. For detailed application techniques, our guide on how to use a drill for screws into a wall covers fundamental principles that also apply to hammer drill use.
Step 6: Proper Storage Solutions
How you put your drill away matters as much as how you use it.
- Always store in a clean, dry place, ideally in its original case or a padded tool bag.
- For corded drills, loosely coil the cord—don’t wrap it tightly around the tool.
- For cordless drills, remove the battery for separate storage.
- Keep it away from extreme temperatures and humidity.
Troubleshooting Common Hammer Drill Problems
Here’s how to diagnose some frequent issues.
Problem: Drill loses power or won’t hammer.
Check: Power source/battery charge. Inspect for a worn or broken drive belt (if applicable). For corded models, test the outlet. The internal hammer mechanism may be jammed with debris.
Problem: Excessive vibration or wobbling.
Check: The drill bit first. Is it bent or worn unevenly? Next, inspect the chuck for wear or damage. Finally, internal bearings or the hammer mechanism may be failing.
Problem: Overheating quickly.
Check: Air vents for blockage. Are you using the correct speed setting for the material? Are you applying too much pressure, not letting the tool work? The motor brushes may be worn.
Problem: Unusual grinding or knocking sound.
Stop using it immediately. This often indicates severe internal gear or bearing damage. Continuing to use it will cause catastrophic failure.
When to Seek Professional Service
You can’t fix everything in your garage. Take your drill to an authorized service center if you encounter:
- Major internal noises (grinding, loud knocking).
- Visible smoke or a persistent electrical burning smell.
- Cracked or broken external housing.
- Complex electrical issues (switch failure, variable speed problems).
- Any problem you don’t feel confident diagnosing or repairing.
Remember, safety is paramount. Always practice essential safety tips when your project requires working at height with your tools.
Conclusion: Maintenance is an Investment
A hammer drill is a significant investment in your toolkit and your capability. Spending 10 minutes on cleanup after a job and following a simple periodic schedule isn’t a chore—it’s a smart strategy. These hammer drill maintenance tips will ensure your tool delivers maximum power, accuracy, and reliability for years, even decades. You’ll avoid the frustration of a failing drill mid-project and the expense of a premature replacement. Treat your hammer drill well, and it will return the favor on every tough job you throw at it.
🎥 Related Video: How to repair Makita Drill | Makita HammerDrill Armature replace |Armature check #machine #hammer
📺 LMT TOOL, CHIRAWA
How to repair Makita Drill | Makita HammerDrill Armature replace |Armature check #machine #hammer Hammer Drill Machine …
