
This guide walks you through the most frequent and costly hammer drill errors made by DIYers and pros alike. You will learn how to avoid mistakes in tool selection, bit usage, technique, and safety to ensure efficient, safe drilling and a longer-lasting tool. Master your hammer drill and achieve perfect results every time.
So you’ve got a hammer drill. It’s a powerful tool that feels great in your hands, ready to conquer concrete, brick, and stone. But with great power comes the potential for great… mistakes. Many enthusiastic DIYers (and even some seasoned pros) fall into common traps that lead to broken bits, damaged tools, ruined projects, or even personal injury.
This guide is here to steer you clear of those pitfalls. We’ll walk through the most frequent hammer drill blunders, explain why they’re problematic, and show you the correct techniques. By the end, you’ll not only avoid these errors but also work faster, safer, and with more confidence.
Key Takeaways
- Use the Right Tool for the Job: A hammer drill is for masonry; using it on wood or metal is a common error that can damage your material and tool.
- Select the Correct Drill Bit: Always use carbide-tipped masonry bits for hammer drilling. Standard twist bits will be destroyed instantly.
- Master Speed and Pressure Control: Let the tool do the work. Excessive force or high speed creates heat, dulls bits, and strains the drill’s motor.
- Prioritize Safety Above All: Always wear safety glasses and a dust mask. Never skip checking for hidden wires or pipes before you drill.
- Understand Your Tool’s Settings: Confusing the drill-only, hammer-only, and hammer-drill functions is a primary source of poor performance and frustration.
- Maintain Your Equipment: Regular cleaning of the chuck and bit shank prevents slippage and ensures efficient power transfer for every job.
Mistake #1: Using the Hammer Drill on the Wrong Material
This is perhaps the most fundamental error. A hammer drill is a specialized tool. Its hammering action is designed to pulverize brittle materials like masonry. If you use it on wood, drywall, or metal, you’re asking for trouble.
Why It’s a Problem:
The rapid pounding action will shred wood fibers, creating a splintered, ugly hole far larger than your bit. On metal, it can damage the bit’s tip and create an unsafe, vibrating experience. You’re also putting unnecessary wear and tear on the hammer mechanism itself.
The Correct Approach:
Use the correct mode on your drill. For drilling into wood or metal, switch the function selector to the “drill-only” icon (usually a single drill bit). Save the hammer icon for concrete, brick, stone, or block. If you’re unsure about your tool’s functions, our article explaining the difference between a hammer drill and regular drill can provide more clarity. For general screwing and non-masonry drilling, a standard cordless drill is often the better choice.
Mistake #2: Using the Wrong Type of Drill Bit
You wouldn’t use a butter knife to cut a steak. Similarly, you must use the right bit for a hammer drill.
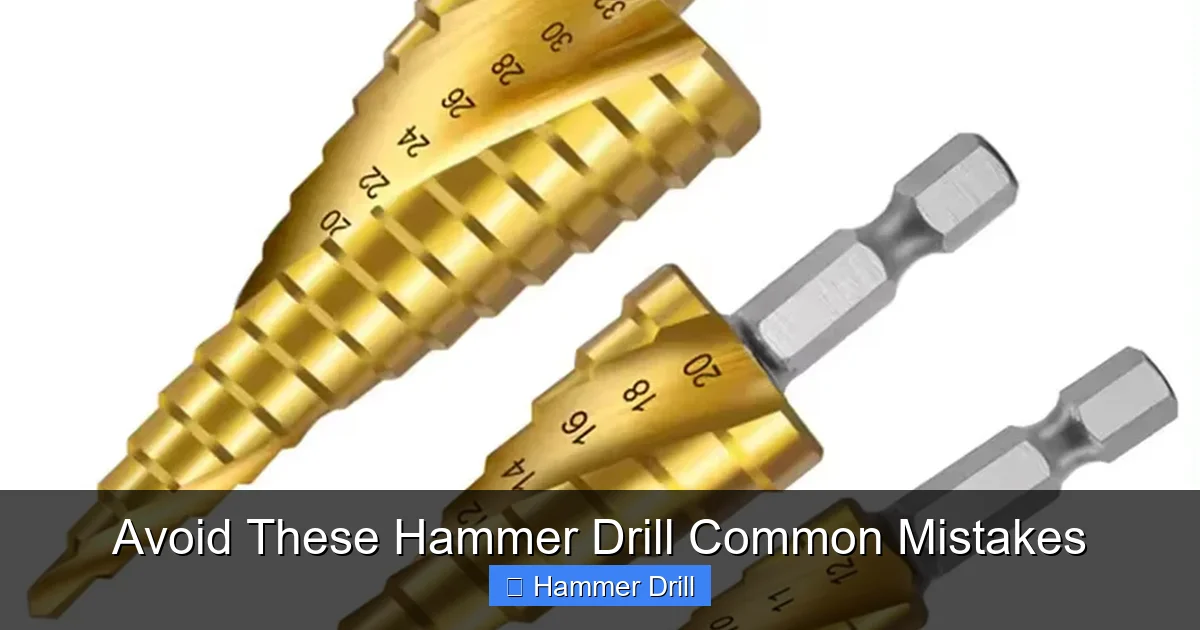
Visual guide about Avoid These Hammer Drill Common Mistakes
Image source: coinchtools.com
Why It’s a Problem:
Standard high-speed steel (HSS) twist bits are for metal and wood. They are not designed to withstand the impact of hammer drilling. Using one in concrete will dull the bit almost immediately, generate extreme heat, and likely snap the flutes right off. It’s wasteful and dangerous.
The Correct Approach:
Always use carbide-tipped masonry bits. The tip is made of ultra-hard carbide, fused to a sturdy steel body, designed to withstand the pounding and abrasion of masonry. Ensure the bit’s shank is clean and insert it fully into the chuck. For larger holes (over 1/2 inch), consider diamond-tipped core bits.
Mistake #3: Ignoring Speed and Pressure Settings
Many users think “faster and harder” equals better drilling. With a hammer drill, the opposite is usually true.
Visual guide about Avoid These Hammer Drill Common Mistakes
Image source: coinchtools.com
Why It’s a Problem:
Running the drill at full speed with heavy pressure creates excessive friction heat. This heat can soften the brazing that holds the carbide tip on the bit, causing it to fall off. It also overheats the drill’s motor and mechanism, shortening its lifespan.
The Correct Approach:
Let the tool do the work. Start at a slow to medium speed with moderate pressure. The hammer action is doing the cutting; your job is to guide it and clear dust. For harder concrete, use a slower speed. Periodically pull the bit out slightly to help clear dust from the hole, which improves cutting efficiency and reduces heat buildup.
Mistake #4: Neglecting Basic Safety Precautions
Power tools demand respect. Skipping safety steps is an invitation for an accident.
Visual guide about Avoid These Hammer Drill Common Mistakes
Image source: coinchtools.com
Why It’s a Problem:
Hammer drilling creates fine, silica-rich dust that is hazardous to your lungs. Flying debris can easily injure your eyes. The most severe risk is drilling into live electrical wires or plumbing pipes hidden behind the surface.
The Correct Approach:
- Always wear safety glasses and a snug-fitting dust mask or respirator.
- Use hearing protection, especially for prolonged use.
- Locate hidden hazards. Always use a high-quality stud, wire, and pipe detector to scan the area before you drill. Our guide on how to use a drill for screws into a wall covers this critical step in detail.
- Secure your workpiece and maintain a stable stance.
Mistake #5: Confusing the Tool with an Impact Driver
They look similar, but they are fundamentally different tools designed for different tasks. This is a very common point of confusion.
Why It’s a Problem:
An impact driver delivers sudden, rotational “impacts” (torque) to drive screws and bolts. A hammer drill delivers linear “hammering” impacts to pulverize masonry. Trying to drill a hole in concrete with an impact driver will accomplish nothing but damaging your bit and driver. Using a hammer drill to drive screws will likely strip the screw head and damage your material.
The Correct Approach:
Know your tools. If you need to understand the distinction more deeply, we have a dedicated article on the difference between an impact driver and a hammer drill. In short: use the hammer drill for making holes in hard, brittle materials. Use the impact driver for fastening screws and bolts.
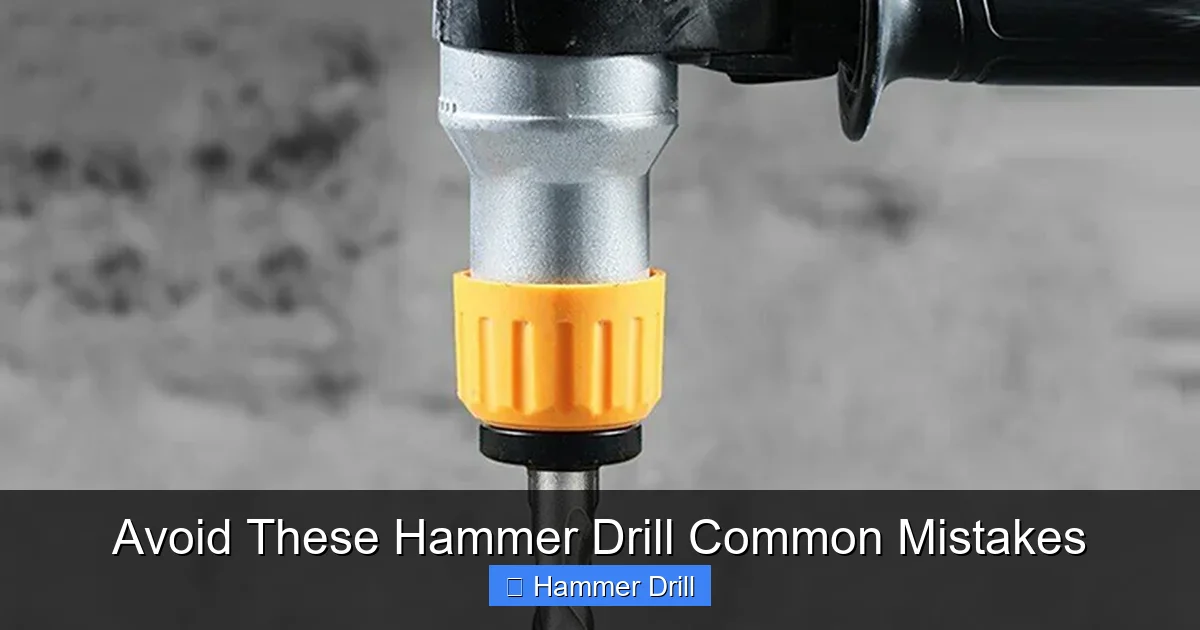
Mistake #6: Poor Bit Installation and Chuck Maintenance
A loose bit or a dirty chuck is a recipe for inefficiency and danger.
Why It’s a Problem:
A bit that isn’t fully inserted and tightly secured will wobble, causing an uneven, oversized hole. It can also slip, damaging the bit’s shank and the chuck’s jaws. Dust and debris buildup in the chuck prevent a solid grip.
The Correct Approach:
Before every use, clean the shank of your drill bit with a wire brush or cloth. Open the chuck jaws fully and blow out any dust. Insert the bit as far as it will go. If using a keyed chuck, tighten it firmly with the key. For a keyless chuck, hand-tighten it securely. Before starting, give the bit a gentle tug to ensure it’s locked in place.
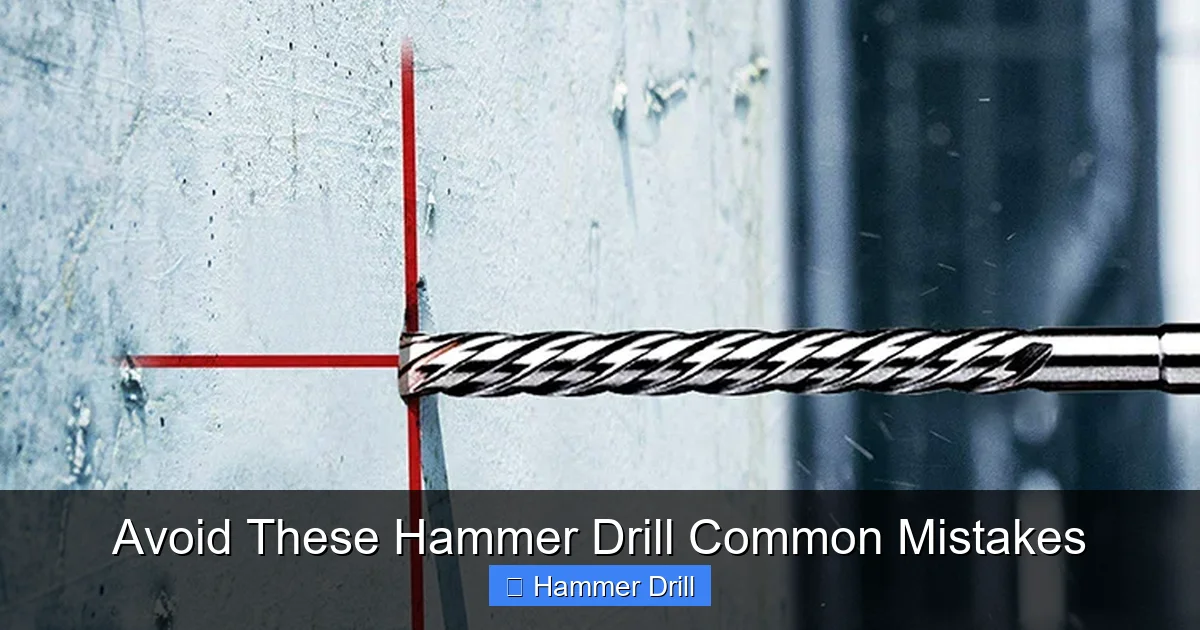
Mistake #7: Not Using a Pilot Hole for Large Anchors
When installing large concrete anchors or sleeve anchors, jumping straight to the final size can cause problems.
Why It’s a Problem:
Drilling a large-diameter hole (e.g., for a 1/2″ anchor) in one go is hard on the drill, the bit, and your arms. The bit can wander, making an imprecise hole. It also takes more time and effort.
The Correct Approach:
Use a pilot hole. Start with a smaller diameter masonry bit (e.g., a 1/4″ bit for a final 1/2″ hole). Drill your pilot hole to the required depth. Then, switch to your final size bit. The pilot hole will guide the larger bit, making the job faster, easier, and more accurate, while reducing stress on your equipment.
Troubleshooting Common Issues
Even when avoiding mistakes, you might run into issues. Here’s how to diagnose them.
The Drill is Overheating
Likely Cause: Excessive pressure, too high a speed, or a dull bit. Solution: Reduce pressure, slow down, and let the drill cool. Check and replace the bit if it’s worn.
The Bit Isn’t Making Progress
Likely Cause: Dull bit, wrong bit type (e.g., HSS bit in concrete), or the hammer function is not engaged. Solution: Verify you are on hammer mode, ensure you’re using a carbide masonry bit, and inspect the bit’s tip for wear.
Excessive Vibration or Wobbling
Likely Cause: Loose bit, bent bit, or worn chuck. Solution: Stop immediately. Check that the bit is tight and straight. Inspect the chuck for damage.
Conclusion
Mastering your hammer drill isn’t just about raw power—it’s about smart technique and avoiding simple, yet costly, errors. By choosing the right bit, respecting the material, using proper speed and pressure, and never compromising on safety, you transform this powerful tool from a potential source of frustration into a reliable partner for your toughest projects. Remember, the goal is to work smarter, not harder. Take your time, follow these guidelines, and you’ll be drilling clean, precise holes in masonry with confidence and ease for years to come.
🎥 Related Video: How to PROPERLY use a drill (including what the numbers mean)
📺 Dad Advice From Bo
How to use a drill / beginner drill basics. Love, Dad.
