
Don’t let a malfunctioning hammer drill stall your project. This guide walks you through quick fixes for the most common problems, from a lack of power to strange noises and overheating. Learn how to diagnose issues yourself and determine when a simple bit change or a professional repair is needed.
Key Takeaways
- Safety First, Always: Unplug corded or remove the battery from cordless drills before any inspection or repair to prevent accidental activation and serious injury.
- Power Problems Often Have Simple Roots: A drill that won’t start is frequently due to a tripped circuit breaker, dead battery, faulty power cord, or a locked trigger switch.
- Poor Performance is Usually a Bit or Mode Issue: Slow drilling, lack of impact, or stalling are commonly caused by a dull/wrong bit, incorrect mode setting, or excessive user pressure.
- Overheating is a Critical Warning Sign: A hot drill or motor smell indicates overuse, a dull bit, insufficient ventilation, or a failing internal component that needs immediate attention.
- Strange Noises and Vibration Point to Mechanical Wear: Grinding, rattling, or excessive shaking often mean worn gears, bearings, or a damaged chuck that requires professional service.
- Routine Maintenance Prevents Most Problems: Regularly cleaning air vents, checking brushes (on brushed motors), and lubricating the chuck can significantly extend your tool’s life.
- Know When to Call a Pro: For complex electrical faults, internal gear damage, or if basic troubleshooting fails, seeking professional repair is safer and more cost-effective than a DIY overhaul.
Solve Common Hammer Drill Problems Fast: Your Complete Troubleshooting Guide
Your hammer drill is a powerhouse for masonry, concrete, and tough materials. But when it starts acting up—making weird noises, losing power, or just refusing to work—it can bring your whole project to a screeching halt. Before you rush out to buy a new one or call an expensive repair service, take a breath. Many common hammer drill problems have simple fixes you can do yourself with basic tools and a bit of know-how.
This guide is your first line of defense. We’ll walk you through a logical, step-by-step process to diagnose and solve the most frequent issues. You’ll learn how to check the easy stuff first, understand what various symptoms mean, and figure out exactly what’s wrong. We’ll cover everything from a dead trigger to terrifying grinding sounds. Let’s get your tool back in action.
Essential Safety First
Before you touch, inspect, or try to fix anything, your safety is non-negotiable. Hammer drills are powerful tools, and working on them live is extremely dangerous.

Visual guide about Solve Common Hammer Drill Problems Fast
Image source: toolcroze.com
- Disconnect the Power: For corded models, unplug the drill from the wall outlet. For cordless models, remove the battery pack entirely.
- Allow to Cool: If the drill was overheating, let it cool down completely before handling.
- Use Personal Protective Equipment (PPE): Wear safety glasses to protect your eyes from dust or small broken parts.
- Work in a Clean, Well-Lit Area: This helps you see small components and prevents losing screws or springs.
Remember, if you are ever unsure or uncomfortable opening the tool’s housing, stop. There’s no shame in taking it to a professional. Understanding the difference between a standard drill and a hammer drill is crucial, as their internal mechanisms vary. You can learn more about their distinct functions in our guide on the difference between a hammer drill and regular drill.
Problem 1: The Drill Won’t Start or Has No Power
This is the most basic and often the most alarming problem. You pull the trigger, and nothing happens. Don’t panic. Follow these steps.
Visual guide about Solve Common Hammer Drill Problems Fast
Image source: toolcroze.com
Step 1: Check the Power Source
Always start with the simplest possibility.
- Corded Drill: Is the outlet working? Plug in a different device like a lamp to test. Check the circuit breaker or GFCI to ensure it hasn’t tripped. Inspect the power cord for any cuts, kinks, or damage. Try a different outlet on another circuit.
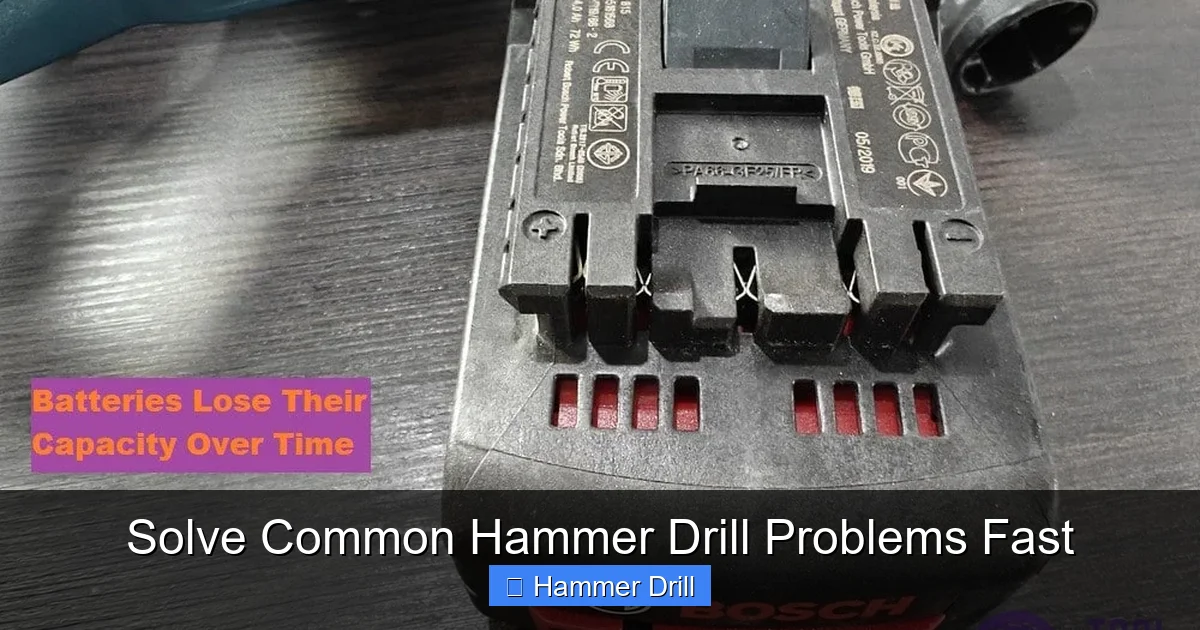
- Cordless Drill: Is the battery charged? Place it on the charger and confirm the charging lights activate. Try a second, known-good battery if you have one. Clean the battery contacts on both the drill and the battery with a dry cloth to remove dirt or corrosion.
Step 2: Inspect the Trigger and Switch
With the power disconnected, pull the trigger several times. Does it feel sticky or jammed? Sometimes debris can get lodged inside. Also, many hammer drills have a mode selector switch (drill, hammer drill, chisel). Ensure it is fully clicked into a valid position and not stuck between modes. A common mistake is trying to start the tool while it’s in the “chisel only” or “lock” position if it has one.
Step 3: Examine the Brushes (For Brushed Motor Models)
Most hammer drills use a brushed motor. The carbon brushes are consumable parts that press against the motor’s armature. When they wear down too far, the motor loses connection and won’t run.
- Locate the brush caps on the sides or back of the motor housing. They are usually small, rectangular plastic covers.
- Remove the screws and take out the brush assemblies.
- A healthy brush should be at least 1/4 inch (6mm) long. If it’s worn down to a nub or the spring is visible, it needs replacement. Replace brushes in pairs.
If your drill passes all these checks and still won’t start, the issue could be internal, like a faulty trigger module, broken wire, or damaged armature. This is typically a job for a repair shop. If you’re in the market for a new tool, researching the best cordless drill options can be a good next step.
Problem 2: Poor Performance – Slow Drilling, No Hammer Action, or Stalling
The drill runs, but it’s weak, slow, or doesn’t seem to be hammering. It might also bog down and stall under light pressure.
Visual guide about Solve Common Hammer Drill Problems Fast
Image source: toolcroze.com
Step 1: Verify the Bit and Material
This is the #1 cause of perceived performance issues.
- Wrong Bit Type: Are you using a masonry bit for concrete/stone? A standard twist bit will not work. Ensure you have a carbide-tipped masonry bit.
- Dull Bit: Masonry bits get dull, especially in reinforced concrete. Inspect the carbide tip. If it’s rounded over or chipped, the bit cannot cut or grab. Replace it.
- Wrong Bit Size: Using a bit that’s too large for the drill’s power rating will cause it to stall. Match the bit to your drill’s capacity.
- Material Too Hard: Are you hitting rebar or aggregate? This can instantly dull a bit. Try drilling in a different spot.
Step 2: Check the Mode Selector
It sounds obvious, but it happens to everyone. You might have accidentally bumped the selector. For drilling into masonry, the selector must be on the hammer drill icon (a drill bit with shockwaves). If it’s on the standard drill icon, you get rotation without the hammering percussion action, making progress painfully slow. If you’re unsure which tool mode to use for a task, our article explaining the difference between impact driver and hammer drill can help clarify their specific purposes.
Step 3: Assess User Technique and Pressure
A hammer drill does most of the work. Applying excessive pressure can actually slow it down, overheat the motor, and stall the bit.
- Use Steady, Moderate Pressure: Let the tool’s hammer action do the breaking. You’re mainly guiding it.
- Clear Dust: Regularly pull the bit out of the hole to clear masonry dust. Compacted dust at the bottom creates friction and heat.
- Use a Pilot Hole: For large holes, start with a smaller diameter bit to create a pilot hole.
Problem 3: Overheating and Burning Smell
A hot drill or the smell of burning insulation is a serious warning. Stop using it immediately.
Step 1: Let It Cool and Identify the Cause
After unplugging/removing the battery, let the drill sit for at least 30 minutes. Then, investigate.
- Overuse: Hammer drills are designed for intermittent use. Drilling long, deep holes without breaks will overheat any model. Follow the duty cycle recommended in the manual.
- Dull Bit or Wrong Bit: As mentioned, a dull bit creates massive friction, which turns into heat transferred back into the drill.
- Clogged Vents: Check the air intake and exhaust vents (usually near the motor). Are they clogged with thick dust? Use compressed air or a soft brush to clean them thoroughly. Restricted airflow is a major cause of overheating.
- Bad Bearing or Binding Mechanism: Internal mechanical friction from a failing part can generate heat.
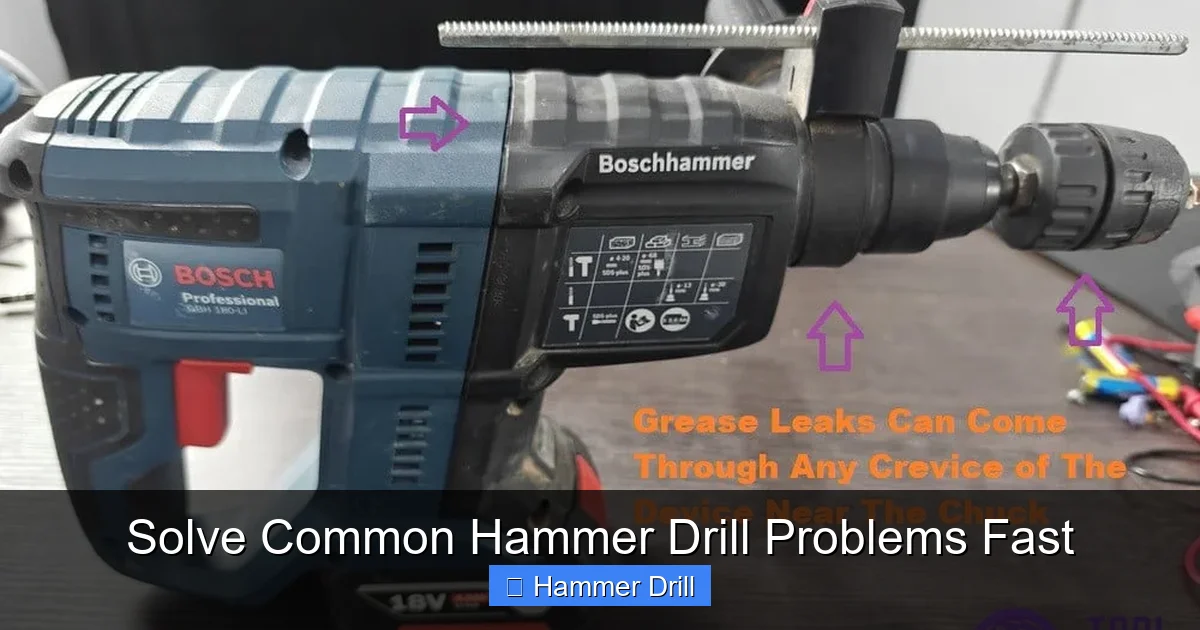
If the burning smell is strong and electrical (like melting plastic), and cleaning/resting doesn’t help, the motor insulation or wiring may be damaged. This requires professional repair.
Problem 4: Strange Noises (Grinding, Rattling, Squealing) or Excessive Vibration
New or loud noises are signs of mechanical distress.
Step 1: Isolate the Sound
Run the drill briefly (without a bit) in both standard drill and hammer drill modes. Does the noise occur in both? Only in hammer mode?
- Noise in Both Modes: Points to a problem with the motor, chuck, or main gears.
- Noise Only in Hammer Mode: Points to a problem specifically with the hammer mechanism—the piston, impact beatings, or hammer cylinder.
Step 2: Inspect the Chuck and Bit
Remove the bit. Is the chuck tight? Does it wobble? Try running the drill with an empty chuck. If the rattling stops, the issue was with the bit itself (it could be bent or damaged). If the chuck itself wobbles on the spindle, it may be loose or damaged internally.
Step 3: Diagnose Common Noise Types
- Grinding/Growling: Often indicates severely worn gears, a damaged bearing, or metal debris inside the gearbox.
- High-Pitched Squealing: Could be a dry or failing bearing, or the motor brushes vibrating.
- Loud Rattling/Clunking in Hammer Mode: The hammer mechanism parts (like the impact beatings or piston) are likely worn, cracked, or broken.
- Excessive Vibration: Can be caused by a bent drive shaft, unbalanced mechanism, or a damaged hammer action assembly.
Important: Most internal gear and hammer mechanism repairs are complex. They require special tools, grease, and knowledge to reassemble correctly. For these issues, a professional tool repair center is your best bet.
Problem 5: Chuck Issues – Won’t Hold Bit, Won’t Tighten, or Spins Irregularly
The chuck is the gripping mechanism. If it fails, your bit slips or wobbles, making drilling impossible and dangerous.
Step 1: Clean the Chuck Jaws and Bit Shank
Dust and grit can prevent the jaws from gripping properly. Use a wire brush and compressed air to clean inside the chuck. Also, clean the shank of your drill bits.
Step 2: Tighten Properly
For a keyless chuck, ensure you are tightening it by hand as firmly as possible. Some models require you to lock the spindle (often with a button or by holding the chuck collar) while you turn the chuck body with your other hand. Refer to your manual.
Step 3: Check for Wear and Damage
Look for visible damage to the jaws. Are they rounded off? Do they open and close evenly? If the chuck has visible play or the jaws are visibly worn, it needs to be replaced. Replacing a chuck is a moderate DIY task but requires the correct size removal tool (often a large Allen key) and careful installation to avoid damaging the spindle.
Final Tips and When to Seek Professional Help
Regular care prevents many headaches. After each use, clean the exterior and vents. Periodically, add a drop of light oil to the chuck threads to keep it operating smoothly. Store your drill in a dry place.
You should consider professional repair when:
- Internal electrical components are suspected (burnt smell, no power after checking all basics).
- There is confirmed internal gear or hammer mechanism damage (grinding, broken parts).
- The housing or motor is physically cracked or damaged.
- You’ve performed all basic troubleshooting without success.
A professional can often fix it for a fraction of the cost of a new high-quality hammer drill.
Conclusion
A problematic hammer drill doesn’t have to mean a dead tool or a big expense. By following this systematic troubleshooting guide—starting with safety, then checking power sources, bits, modes, and finally listening for mechanical clues—you can diagnose and often fix the issue quickly. Remember, many problems stem from simple oversights like a dull bit, a clogged vent, or an incorrect setting. For the more complex internal failures, knowing when to call a pro is just as valuable as knowing how to fix the simple stuff. With this knowledge, you’re equipped to solve common hammer drill problems fast and get back to completing your projects with power and confidence.
🎥 Related Video: Heavy Duty – Hammer Drill Mechanism #cadcam #solidworks3d #autocad #hammer #productdemo #learning
📺 Mech Marvels
