
This beginner’s guide demystifies the cordless drill, the most essential tool for DIY. You will learn to identify all its parts, understand key features like voltage and clutch, and master basic techniques for drilling holes and driving screws safely. By the end, you’ll be ready to confidently tackle your first project.
Key Takeaways
- Know Your Tool: Understanding the battery, chuck, clutch, and speed settings is the foundation for safe and effective use.
- Safety is Non-Negotiable: Always wear eye protection, secure your workpiece, and be mindful of hidden wires and pipes before you drill.
- Choose the Right Bit: Using a drill bit for holes and a driver bit for screws is crucial for good results and tool longevity.
- Master the Clutch: The adjustable clutch prevents over-driving and stripping screws, making your work cleaner and more professional.
- Start with Scrap: Practice drilling and driving on a piece of scrap wood to build muscle memory and confidence before your real project.
- Proper Maintenance Extends Life: Keep your batteries charged (but not overcharged), clean the tool, and store it in a dry place.
Learn Fast with This Cordless Drill Beginner Guide
Welcome to the wonderful world of DIY! Picking up a cordless drill for the first time can feel a bit intimidating. It makes noise, it has parts that spin, and it seems like there are a million buttons. But don’t worry. Think of this guide as your friendly coach. We are going to break it all down, step by step. By the end, you will not only know what every part does, but you’ll be drilling holes and driving screws like a pro. This tool will open doors to countless projects, from building a shelf to putting up curtains. Let’s get started!
Step 1: Meet Your Cordless Drill – The Parts Explained
Before you pull the trigger, let’s get acquainted. Knowing the names and functions of each part is your first step to confidence.
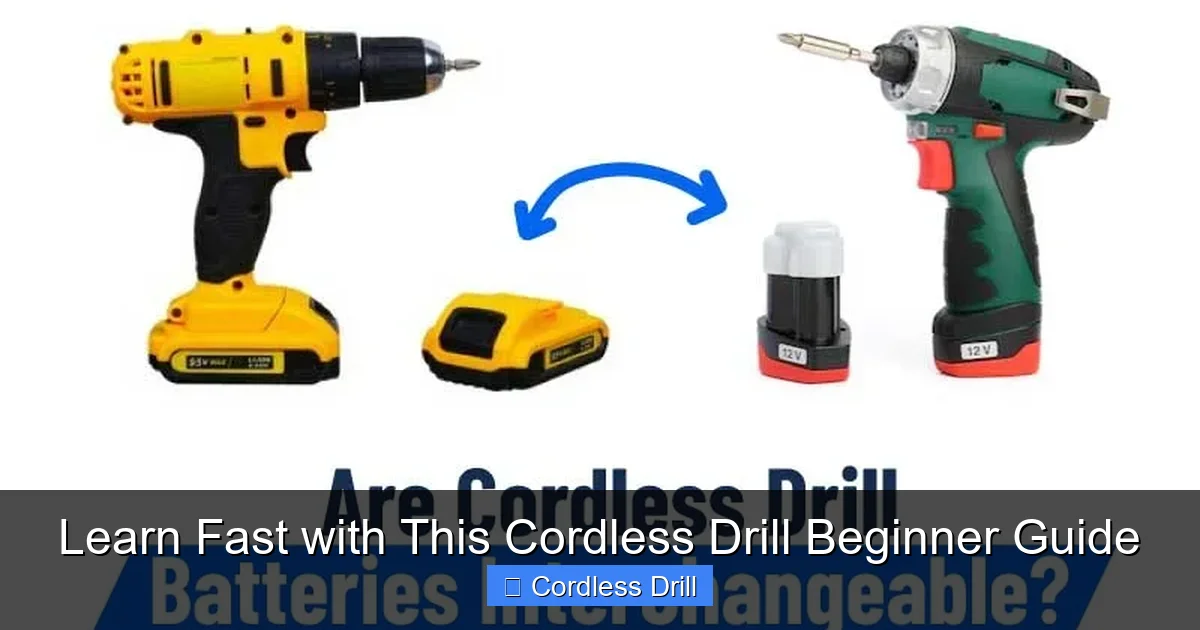
Visual guide about Learn Fast with This Cordless Drill Beginner Guide
Image source: cordlessandportables.com
The Main Body & Handle
This is the part you grip. Inside is the motor. The trigger on the handle is your speed control. Press it lightly for slow speed, harder for faster speed. Many drills have a button near the trigger to change the direction: forward (for drilling/driving in), reverse (for removing screws or backing out a bit), and a middle lock position.
The Chuck
This is the three-jawed clamp at the front of the drill that holds the bit. Most modern drills have a “keyless chuck.” You open and close it by hand. To open, hold the front collar of the drill with one hand and twist the chuck body with the other. Insert the bit, then twist the chuck body the opposite way to tighten it snugly.
The Battery
This is the power source. It clicks into the bottom of the handle. Voltage (e.g., 12V, 18V/20V Max) indicates power. For most beginner home projects, an 18V drill is perfect. Amp-hours (Ah) on the battery tell you how long it will run. A 2.0Ah battery is fine for light work; a 5.0Ah lasts much longer.
The Clutch (The Magic Number Ring)
This is a ring behind the chuck with numbers (1-10+) and a drill bit symbol. This is one of the most important features! The clutch controls how much twisting force (torque) the drill uses before it disengages with a clicking sound. Low numbers are for small screws in soft materials. High numbers are for larger screws. The drill bit setting bypasses the clutch for maximum power, which you only use for drilling holes. We’ll use this a lot.
Speed Selector & Gear Shift
Usually a sliding switch on top of the drill. Speed 1 (Low): High torque, slow speed. Perfect for driving large screws or using socket attachments. Speed 2 (High): Low torque, high speed. Ideal for drilling small holes or driving small screws quickly.
Step 2: Essential Safety First
Safety is not boring. It’s what lets you enjoy your project and keep all your fingers. Make these habits second nature.
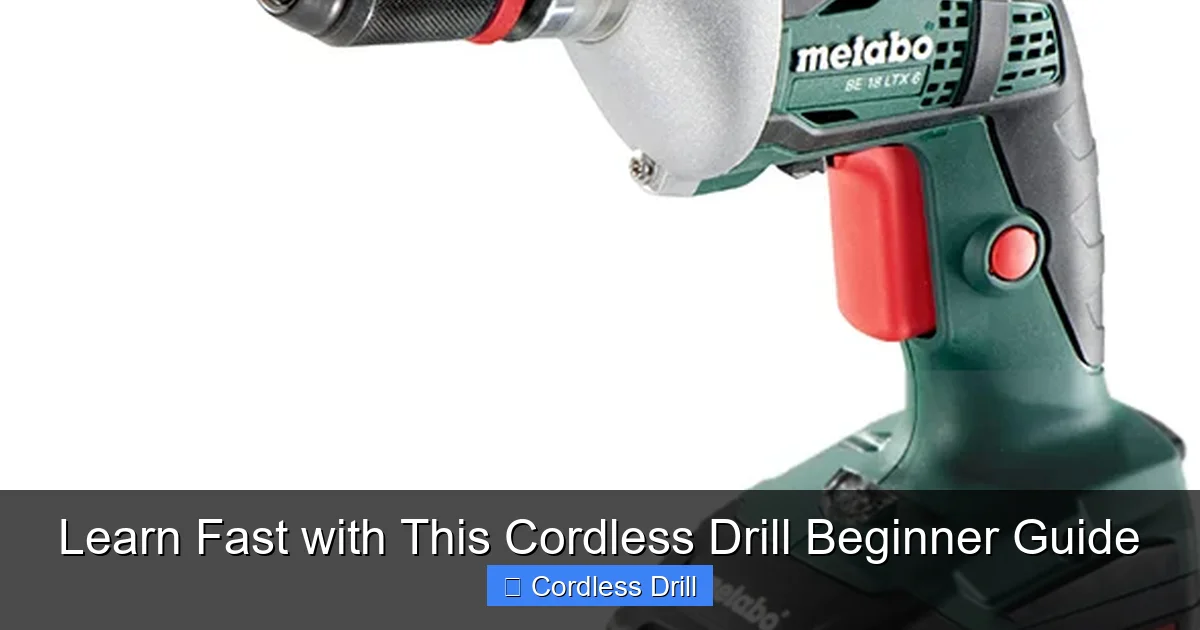
Visual guide about Learn Fast with This Cordless Drill Beginner Guide
Image source: toolguyd.com
- Eye Protection: Always, always wear safety glasses. Tiny bits of metal, wood, or concrete dust can fly off.
- Secure Your Work: Use clamps or a vise to hold your material. Never hold it with your hand—the drill can grab and spin it violently.
- Check Behind the Surface: Before drilling into any wall, use a stud finder to check for wires and pipes. Drilling into a water pipe or electrical wire is dangerous and expensive.
- Mind the Cord (If Applicable): For corded drills, keep the power cord away from the drill path and sharp edges.
- Dress Appropriately: Avoid loose clothing, gloves, or jewelry that could get caught in the rotating chuck.
- Battery Care: Use only the charger designed for your battery. Don’t leave batteries on the charger indefinitely or in extreme heat/cold.
Step 3: Choosing the Right Bit for the Job
Bits are the accessories that do the actual work. Using the wrong bit is like trying to write with a fork.
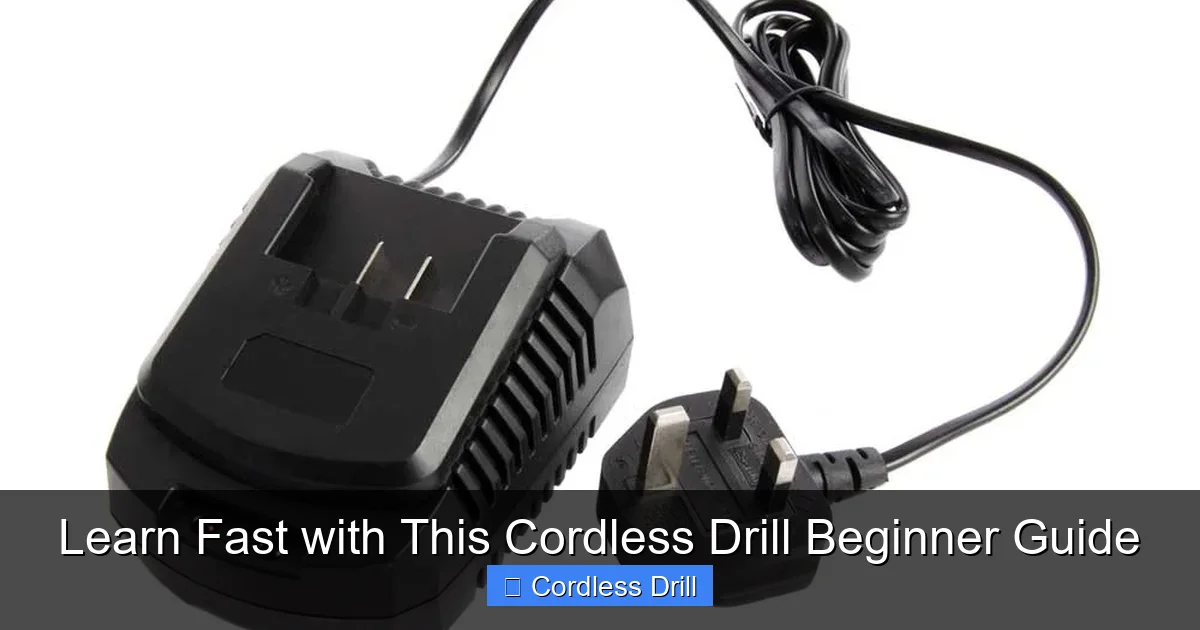
Visual guide about Learn Fast with This Cordless Drill Beginner Guide
Image source: parkerbrand.co.uk
For Drilling Holes: Drill Bits
- Twist Bits (for Wood & Metal): The most common type. Start with a basic set.
- Spade/Paddle Bits (for Large Holes in Wood): Flat, with a point. Used for holes over 1/2 inch for cables or pipes.
- Masonry Bits (for Brick, Concrete, Stone): Have a carbide tip. You must use a hammer drill function for these. Learn the difference between a drill and a hammer drill here.
For Driving Screws: Driver Bits
- Phillips (#1, #2, #3): Cross-shaped. #2 is the most common.
- Slotted/Flathead: A single straight line. Less common now.
- Robertson/Square (SQ1, SQ2, SQ3): Square socket. Very common in woodworking and decking.
- Torx/Star (T15, T20, T25): Star-shaped. Grip very well and are becoming the standard for furniture and appliances.
Pro Tip: Match the bit size exactly to the screw head. A loose fit will strip (ruin) the screw head.
Step 4: Your First Drilling Project – A Pilot Hole
Let’s practice the most fundamental skill: drilling a clean hole in wood.
1. Prepare Your Workspace
Clamp a piece of scrap wood to your workbench. Put on your safety glasses. Insert a 1/8″ twist drill bit into the chuck and tighten it.
2. Set the Drill
Turn the clutch ring to the drill bit symbol. This gives you full power. Set the speed selector to Speed 2 (high speed) for this small bit.
3. Mark and Start the Hole
Make a small “X” or dot with a pencil where you want the hole. Place the tip of the bit exactly on the mark. Hold the drill straight and level (perpendicular) to the wood.
4. Drill the Hole
Squeeze the trigger gently to start. Apply steady, firm pressure. Let the bit do the work—don’t force it. As the bit goes in, you’ll see wood shavings (chips) come out. Once the bit goes through, stop, put the drill in reverse, and pull the bit straight back out.
Step 5: Your First Driving Project – Setting a Screw
Now, let’s use that pilot hole to drive a screw perfectly.
1. Insert the Driver Bit
Remove the drill bit. Insert the correct driver bit for your screw (e.g., a #2 Phillips for a common wood screw). Tighten the chuck.
2. Set the Clutch for Success
This is key! Turn the clutch ring away from the drill symbol to a low number, like 4 or 5. You can start with a higher setting and work down. This setting will make the drill “click” and stop when the screw is snug, preventing you from driving it too deep or stripping it.
3. Align and Drive
Set the drill to forward. Place the screw on the pilot hole. Hold the drill straight. Squeeze the trigger. The screw should go in smoothly. When the screw head is just flush with the wood surface, the clutch will disengage with a rapid clicking sound. Stop! The screw is set perfectly.
Step 6: Troubleshooting Common Beginner Problems
Stuck? Here are quick fixes for common issues.
The Screw Isn’t Going In / The Drill is Struggling
Likely Cause: No pilot hole, a dull bit, or the clutch is set too low. Fix: Drill a pilot hole. Use a sharp bit. Increase the clutch setting or switch to the drill setting if you are sure you need more power.
The Screw Head is Stripped (The Bit Spins But Doesn’t Grip)
Likely Cause: Wrong size driver bit, a worn bit, or you pushed too hard at an angle. Fix: Use a fresh, correct-sized bit. For a stubborn stripped screw, you may need a special screw extractor tool.
The Bit Keeps Falling Out of the Chuck
Likely Cause: The chuck is not tightened enough. Fix: Make sure you’re twisting the chuck body, not just the collar. Grip it firmly and give it a good, strong twist to tighten.
The Drill Won’t Turn On
Likely Cause: Dead battery, direction lock engaged, or battery not fully seated. Fix: Charge the battery. Check that the direction selector is set to forward or reverse (not the locked middle). Remove and re-seat the battery.
Step 7: Basic Care and Maintenance
Take care of your drill, and it will last for years.
- Batteries: Charge them after use. For long storage, keep them about 50% charged in a cool, dry place.
- Clean the Vents: Use a dry brush or compressed air to blow dust out of the cooling vents on the drill body.
- Clean the Chuck: Occasionally open the chuck fully and wipe out any dirt or debris inside.
- Store Properly: Keep your drill and bits in a bag or case to protect them from dust and moisture.
Conclusion: You’re Ready to Drill!
Congratulations! You’ve graduated from cordless drill novice to a competent beginner. You now understand the tool, know how to stay safe, and can successfully drill a hole and drive a screw. These are the fundamental skills upon which 90% of DIY projects are built. Remember, mastery comes with practice. Grab some scrap wood and just play with the settings—feel how the clutch clicks at different numbers, see how speed affects control. When you’re ready for your first real project, like hanging a shelf, you’ll be prepared. If you’re looking for your first tool, our guide on the best cordless drill can help you choose. Now, go make something awesome!
🎥 Related Video: Cordless Drill Basics | Beginner
📺 Training Hands Academy
Today we’re talking about cordless drill basics for the beginner. If you’re new to carpentry or woodworking, the cordless drill will …
