
This guide shows you exactly how to use a hammer drill on concrete for professional results. You’ll learn the right bits, the correct settings, and the step-by-step technique to drill clean, accurate holes for anchors and fasteners. Master these skills to handle any concrete drilling project with confidence.
Key Takeaways
- Use the Right Drill: A standard drill will struggle; a hammer drill’s impact action is essential for breaking through concrete aggregate.
- Carbide-Tipped Bits are Mandatory: Only masonry bits with a carbide tip can withstand the hardness of concrete and the hammering action.
- Mark and Guide with Precision: Use a center punch to create a starting dimple and consider a guide block for perfect perpendicular holes.
- Manage Dust and Heat: Periodically pull the bit out to clear dust from the hole and prevent the bit from overheating and dulling.
- Safety is Non-Negotiable: Always wear safety glasses, a dust mask, and hearing protection. Be certain there are no pipes or wires behind your drilling point.
- Let the Tool Do the Work: Apply firm, steady pressure, but avoid excessive force. The hammer mechanism provides the power; you just need to guide it.
Master Concrete Drilling with Your Hammer Drill Guide
Concrete. It’s the backbone of modern construction. It’s strong, durable, and intimidating to drill into. Using a regular drill on concrete is a recipe for frustration, broken bits, and wasted time. But with the right tool and knowledge, you can conquer it. That tool is the hammer drill, and this is your ultimate guide. We’ll walk you through everything from picking the perfect bit to pulling off a clean, professional-looking hole for your next shelf, TV mount, or deck project. Let’s turn that slab of concrete from an obstacle into an opportunity.
Understanding Your Weapon: The Hammer Drill
First, let’s be clear: a hammer drill is not the same as your everyday drill. While a standard drill only spins, a hammer drill does two things at once. It spins the bit like a normal drill, but it also pulses it forward with thousands of rapid hammer-like blows per minute. This dual action is what chips away the hard aggregate in concrete, allowing you to penetrate it efficiently. It’s also different from an impact driver, which is designed for driving long screws and bolts, not drilling into masonry.
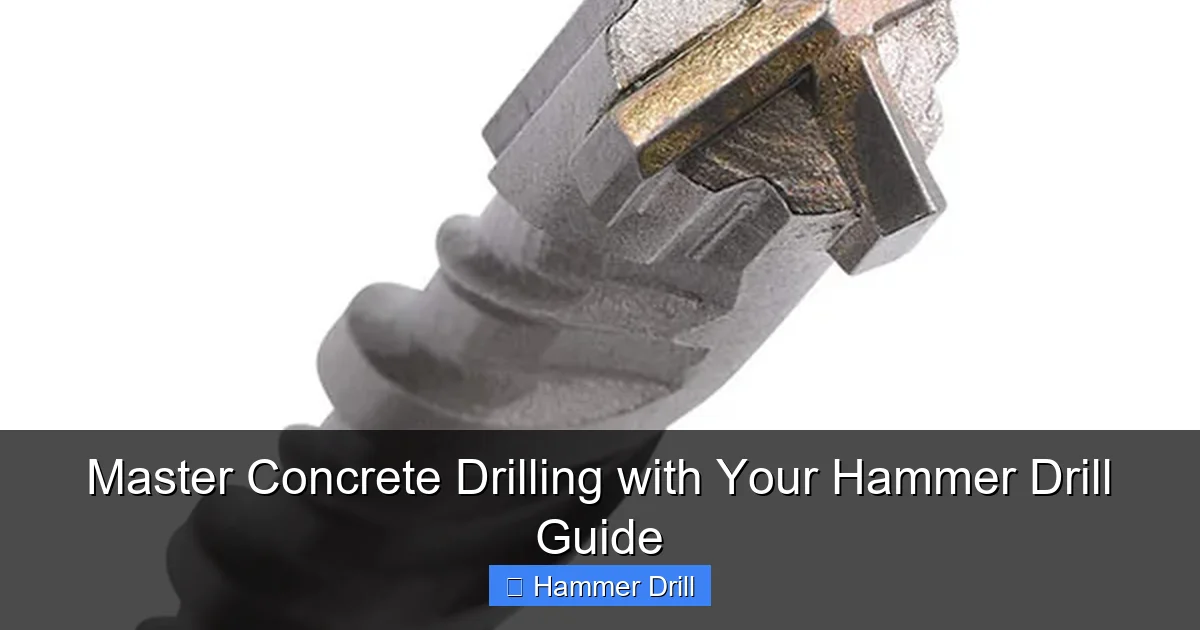
Visual guide about Master Concrete Drilling with Your Hammer Drill Guide
Image source: hk-tools.com
Choosing Your Hammer Drill
You have two main choices: corded or cordless. A powerful corded model offers consistent, unlimited power for big jobs. A modern high-quality cordless drill with a hammer function provides excellent freedom of movement and is perfect for most DIY tasks. Ensure the drill has a dedicated “hammer” mode (often marked with a hammer icon), which engages the impact mechanism.
Gathering Your Arsenal: Bits and Safety Gear
You can’t use just any bit. For concrete, you need masonry drill bits. These are easy to spot by their spear-headed carbide tip. The carbide is incredibly hard, designed to grind through concrete without dulling instantly. The flutes (the grooves spiraling up the bit) are designed to carry dust out of the hole.
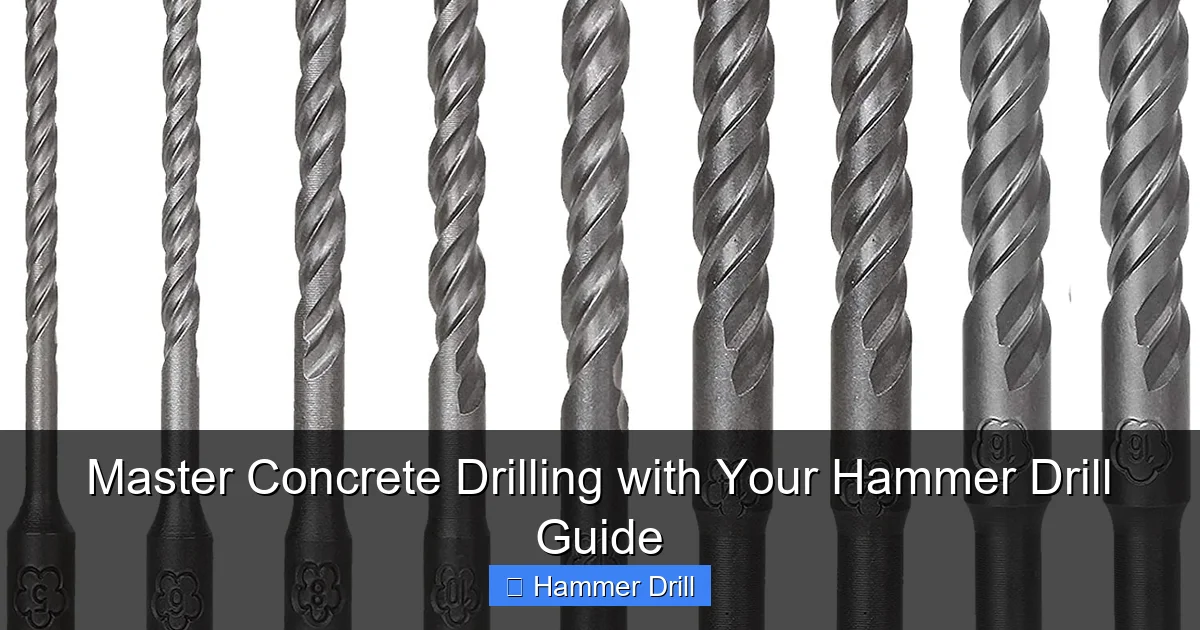
Visual guide about Master Concrete Drilling with Your Hammer Drill Guide
Image source: m.media-amazon.com
- Bit Size: Match the bit to the size of your plastic anchor or fastener. The bit diameter is usually marked on the anchor’s packaging.
- Bit Length: Choose a bit slightly longer than your anchor’s depth to allow for dust accumulation at the bottom.
Safety is paramount. Concrete drilling creates fine silica dust, which is harmful to breathe, and loud noise. Your non-negotiable kit includes:
- Safety glasses or goggles
- A tight-fitting dust mask (N95 or better)
- Hearing protection (earmuffs or plugs)
- Work gloves
Step-by-Step: Drilling into Concrete Perfection
Follow these steps in order for the best results.
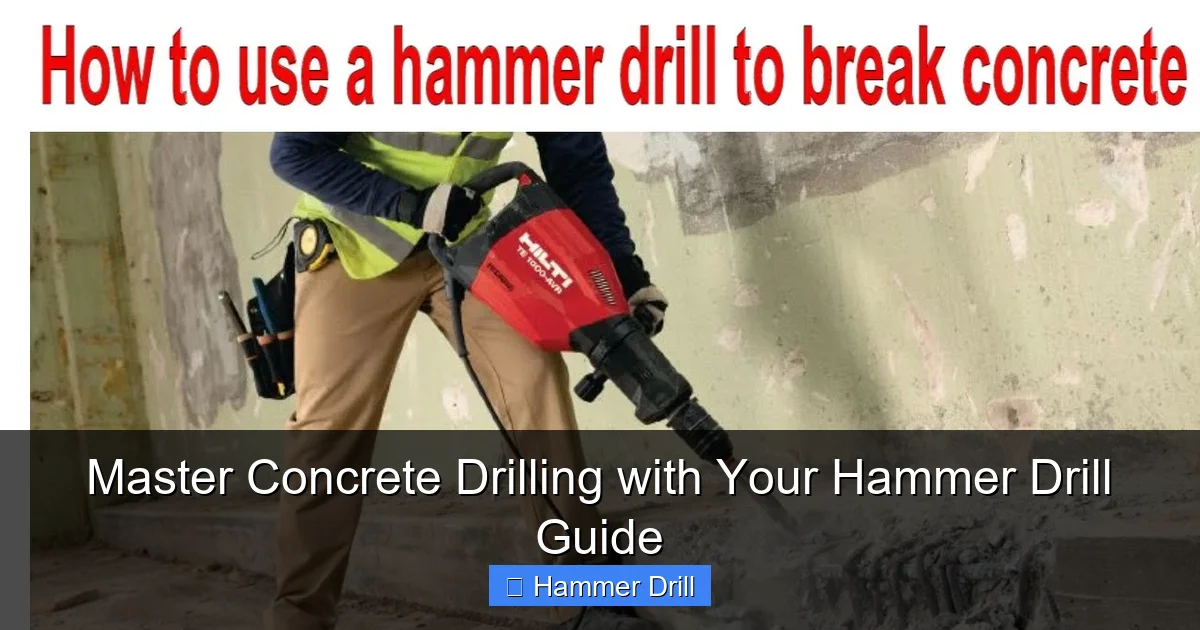
Visual guide about Master Concrete Drilling with Your Hammer Drill Guide
Image source: i.ytimg.com
Step 1: The Critical Pre-Drill Check
Before you make a single mark, you must know what’s behind the concrete. Drilling into a plumbing line or electrical conduit is dangerous and expensive. Use a stud/multi-scanner to check for pipes and wires. If you’re drilling into a floor, be aware of what’s below. If you’re drilling into a wall, consider what’s on the other side.
Step 2: Marking Your Spot with Precision
Measure twice, drill once. Use a pencil to mark your exact drilling point. Then, take a center punch (or even a large nail) and a hammer. Place the tip on your pencil mark and give it a firm tap. This creates a small dimple that will prevent the masonry bit from “walking” or skating across the hard surface when you start drilling.
Step 3: Setting Up Your Hammer Drill
Insert your carbide-tipped masonry bit into the drill’s chuck and tighten it securely. Switch your drill to the “hammer” mode. If your drill has speed settings, start on a slower speed for more control. Set the clutch (if applicable) to the drill icon or maximum setting.
Step 4: The Drilling Technique
Hold the drill with both hands. Position the bit tip into the dimple you created. Ensure the drill is perfectly perpendicular to the concrete surface (unless you need an angled hole). For critical applications, you can use a drill guide block or even clamp a scrap piece of wood with a pre-drilled hole to act as a guide. Start the drill at a slow speed to establish the hole, then increase to full speed.
Apply firm, steady pressure. Let the hammer action do the cutting. You will feel and hear the distinct pounding rhythm. Every 15-20 seconds, or if you see progress slowing, pull the bit completely out of the hole to clear the dust from the flutes. This keeps the bit cool and cutting efficiently. You can blow into the hole (wear your mask!) or use a vacuum to clear debris.
Step 5: Reaching Depth and Finishing Up
Continue the process of drilling and clearing dust until you reach your desired depth. Many bits have depth marks, or you can wrap a piece of tape around the bit as a visual guide. Once complete, remove the bit while the drill is still spinning slowly to help clean out the hole. Vacuum out the hole to ensure your anchor will seat properly.
Troubleshooting Common Problems
- Bit isn’t biting/walking: You didn’t use a center punch. Stop, create a proper dimple, and try again.
- Drilling is very slow, bit is smoking: You’re not clearing the dust, causing overheating. Pull out more frequently and clear the hole. You may also be using a dull bit.
- Hit something very hard (spark): You likely hit rebar (steel reinforcement). You need a special rebar-cutting masonry bit or a different location.
- Drill seems weak: Check you are in “hammer” mode. For cordless, check battery charge. For corded, ensure it’s plugged in and the circuit is working.
Conclusion: You Are Now a Concrete Drilling Pro
Drilling into concrete is a fundamental skill for many home improvement and construction projects. By respecting the material, using the correct hammer drill and carbide bits, and following a careful, safe process, you can achieve clean, reliable results every time. Remember the golden rules: safety gear first, let the hammer action do the work, and clear the dust often. Now, take your hammer drill, your newfound knowledge, and confidently tackle that project. That blank concrete wall is no longer a barrier—it’s a blank canvas for your next creation.
🎥 Related Video: putting in a sds masonry drill bit
📺 Bray
