
Drilling into brick with a hammer drill requires the right technique and tools to avoid damage and ensure a secure fit. This guide walks you through every step, from selecting the correct bit and setting your drill to executing the perfect hole. Follow these professional tips to tackle your next masonry project with confidence and precision.
Key Takeaways
- Use the Right Tool: A hammer drill is essential for masonry; a regular drill will struggle and can be damaged.
- Choose Carbide-Tipped Bits: Always use masonry drill bits with a carbide tip, sized appropriately for your wall plug.
- Start Slow and Control Dust: Begin at a low speed without hammer action to create a guide dimple and control dust with water or vacuum.
- Let the Tool Do the Work: Apply steady, moderate pressure—don’t force it. The hammer action breaks the material, not brute force.
- Prioritize Safety: Always wear safety goggles, a dust mask, and hearing protection. Check for hidden wires and pipes first.
- Clear the Hole Frequently: Periodically pull the bit out to clear dust from the hole, which prevents binding and overheating.
- Match the Anchor to the Job: Use high-quality, correctly sized wall plugs (anchors) designed for masonry to ensure a lasting hold.
Master Hammer Drill Brick Drilling Tips for Success
Drilling into brick, block, or concrete is a common task for DIYers and pros alike. You might be hanging a shelf, installing a light fixture, or mounting a TV. But brick is tough. Using the wrong method can lead to broken bits, damaged walls, and a lot of frustration.
That’s where a hammer drill comes in. This powerful tool combines rotation with a rapid hammering action to pulverize masonry. It makes the job possible. But owning the tool isn’t enough. You need to know how to use it correctly.
This guide will give you all the hammer drill brick drilling tips you need. We’ll cover choosing bits, setting up your drill, the perfect drilling technique, and crucial safety steps. Follow this advice, and you’ll drill clean, precise holes every time.
Gearing Up: Tools and Preparation
Success starts before you pull the trigger. Having the right gear and doing a little prep work makes everything easier and safer.
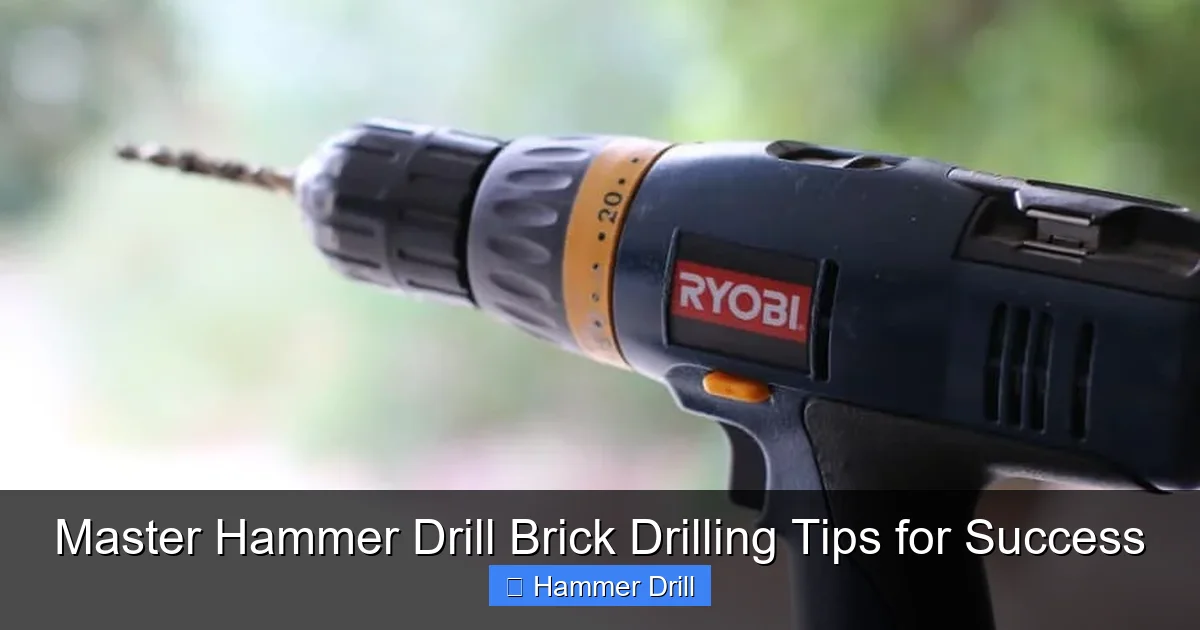
Visual guide about Master Hammer Drill Brick Drilling Tips for Success
Image source: sawshub.com
Essential Tools and Materials
You can’t just grab any drill from your shelf. Here’s what you absolutely need:
- Hammer Drill: This is non-negotiable. A standard drill/driver lacks the impact force. A rotary hammer is more powerful for very large or frequent holes, but a good hammer drill is perfect for most brick jobs. If you’re unsure about which tool to use, our guide on the difference between a hammer drill and regular drill explains it clearly.
- Masonry Drill Bits: Look for bits with a carbide tip. They are harder than brick and designed for the hammering action. Sizes (like 6mm or 1/4″) should match your wall plugs.
- Wall Plugs (Anchors): Plastic plugs are common for light to medium loads. For heavier items, consider metal anchors. Always match the plug size to your drill bit.
- Safety Gear: Safety glasses, a dust mask (N95 is best), and hearing protection. Masonry dust is fine and harmful.
- Measuring and Marking Tools: Tape measure, level, and a pencil or marker.
- Hammer and Punch (Optional but Helpful): A small punch or nail to make a starter indent.
- Vacuum or Brush & Water Spray Bottle: For dust control.
Safety First: The Critical Pre-Drill Checklist
Never skip these steps. Your safety and your home’s integrity depend on it.
- Locate Hidden Hazards: Use a stud, wire, and pipe detector to scan the area. Drilling into a live wire or water pipe is dangerous and costly.
- Wear Your PPE: Put on your safety glasses, mask, and ear protection before you start.
- Secure Your Workspace: Make sure your ladder is stable if you’re working high. For more on this, review our essential safety tips for climbing ladders.
- Check Drill and Cord: Ensure your hammer drill is in good working order and the power cord (if corded) is out of the way.
The Step-by-Step Drilling Process
Now for the main event. Follow these steps in order for the best results.
Visual guide about Master Hammer Drill Brick Drilling Tips for Success
Image source: img.brickowl.com
Step 1: Mark and Indent Your Hole
Precision starts here. Measure carefully and use a level to mark your hole location with a clear “X.” Then, take a center punch or a large nail and a claw hammer (a common household tool) to tap a small starter indent. This keeps the drill bit from “walking” or skidding across the hard brick surface when you start.
Step 2: Insert and Secure the Correct Bit
Choose your carbide-tipped masonry bit. Insert it fully into the hammer drill’s chuck and tighten it securely. A loose bit will spin, ruin the chuck, and won’t drill properly.
Step 3: Set Your Hammer Drill Correctly
This is a common mistake. Find the mode selector switch on your drill. It usually has a drill icon (rotation only), a hammer icon, and sometimes a hammer/drill icon.
- For BRICK, you want Hammer Mode (hammer + rotation).
If you have a variable speed trigger, you will control the speed. Set the clutch (if your drill has one) to the drill setting or a very high number so it doesn’t disengage under pressure.
Step 4: The Drilling Technique – Start Slow, Finish Strong
Position the tip of the bit directly in your starter indent. Hold the drill firmly with both hands. Start the drill at a very low speed, without the hammer action engaged for the first few seconds. This creates a clean guide dimple.
Once the bit is engaged, squeeze the trigger to medium speed and let the hammer action kick in. Apply steady, firm pressure straight into the wall. Let the tool do the work. Do not lean on it or force it. You should feel the hammering action and see dust coming out.
Step 5: Manage Dust and Prevent Overheating
Masonry dust is messy and can jam your hole. Every 10-15 seconds, pull the bit all the way out while it’s still spinning to clear the dust from the hole. You can use a small brush or a vacuum hose attachment. For a cleaner method, a light spray of water from a bottle into the hole (not on the tool!) helps suppress dust. This also keeps the bit cooler.
Step 6: Know When You’re Through
You’ll feel a sudden change in resistance when the bit breaks through the back of the brick. Ease up on the pressure immediately. Hold the drill steady and slowly pull the bit straight out while it’s still rotating slightly.
Step 7: Clean the Hole and Insert the Anchor
Use your vacuum, a blast of air, or a bent wire to remove all debris from the hole. A clean hole ensures your wall plug can seat fully. Tap your plastic anchor in gently with a hammer until it’s flush with the wall. Now you’re ready to screw in your fixture!
Troubleshooting Common Brick Drilling Problems
Even with great technique, you might hit a snag. Here’s how to handle it.
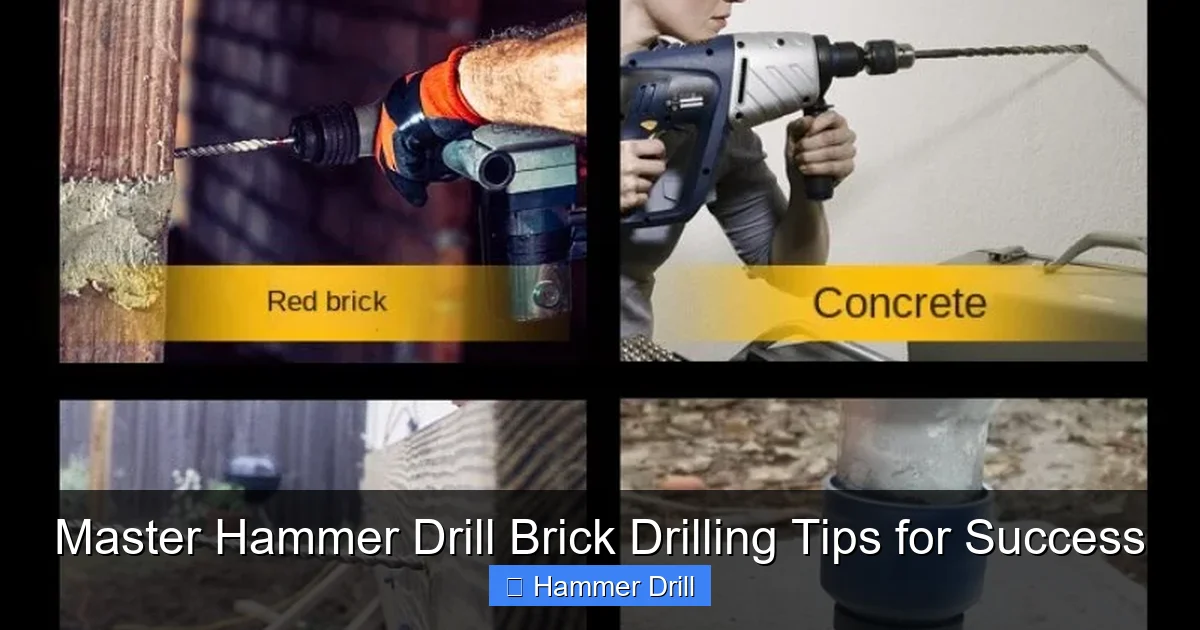
Visual guide about Master Hammer Drill Brick Drilling Tips for Success
Image source: images.nexusapp.co
Problem: The Drill Bit Isn’t Biting or Progressing
Likely Cause: You’re using a standard twist bit or a worn-out masonry bit. The hammer function may also be off.
Solution: Verify you’re in hammer mode. Use a brand new, sharp carbide-tipped masonry bit. Ensure you made a good starter indent.
Problem: The Bit Gets Stuck or Overheats
Likely Cause: Not clearing dust from the hole, forcing the drill too hard, or using insufficient speed.
Solution: Always use the “pull out to clear” method. Apply consistent, not excessive, pressure. A bit of water can cool things down. Let the tool’s speed and impact do the cutting.
Problem: The Hole is Too Big or the Brick Cracks
Likely Cause: The bit “walked” at the start, or you used excessive side-to-side pressure.
Solution: Always use a punch to create a starter hole. Hold the drill perfectly perpendicular (or at your intended angle) with both hands throughout the process.
Problem: You Hit an Extremely Hard Spot or Metal
Likely Cause: You’ve encountered a piece of hard aggregate in the brick or a metal lintel.
Solution: For aggregate, be patient and let the hammer drill work through it slowly. For metal, you must stop. You cannot drill through metal with a masonry bit. You’ll need to relocate your hole or, if necessary, switch to a metal-cutting bit (in drill-only mode).
Conclusion: Drill with Confidence
Drilling into brick doesn’t have to be intimidating. With the right hammer drill, a sharp carbide bit, and the technique outlined here, you can tackle any masonry anchoring project. Remember the core principles: safety first, start slow, let the tool work, and control the dust. Each successful hole builds your skill. Whether you’re putting up a simple coat rack or building a deck ledger board, these hammer drill brick drilling tips will ensure a strong, secure, and professional-looking result. For your next project that involves more general fastening, you can apply similar principles from our guide on how to use a drill for screws into a wall.
