
Drilling into metal with a hammer drill requires the right technique to avoid damaging your tool or workpiece. This guide provides step-by-step instructions, from selecting the correct drill bits and turning off the hammer function to using cutting fluid and maintaining the perfect speed and pressure. Follow these expert hammer drill metal drilling tips for safe, efficient, and flawless results every time.
Key Takeaways
- Disable the Hammer Action: For drilling metal, you must switch your tool to the standard rotary-only “drill” mode. The hammering function is for masonry and will ruin metal drill bits.
- Use the Correct Drill Bits: High-Speed Steel (HSS) or Cobalt bits are essential for metal. Titanium nitride-coated HSS bits offer excellent balance of performance and value.
- Start with a Pilot Hole: Using a smaller pilot bit first increases accuracy, prevents bit walking, and makes drilling the final hole size much easier, especially in hardened or thick metals.
- Apply Consistent Pressure and Low Speed: Metal requires a slow rotational speed and steady, firm pressure to cut cleanly. High speed generates excessive heat, which dulls bits and can work-harden the metal.
- Lubricate to Reduce Heat: Always use a cutting fluid or oil (like WD-40 for light work or dedicated cutting oil for heavy jobs). This cools the bit, reduces friction, and extends bit life dramatically.
- Secure Your Workpiece: Always clamp down the metal you are drilling. This prevents spinning, ensures safety, and guarantees a clean, accurate hole.
- Wear Full Personal Protective Equipment (PPE): Safety glasses, gloves, and hearing protection are non-negotiable. Metal shavings are sharp and hot, and the drilling process is loud.
Expert Hammer Drill Metal Drilling Tips for Flawless Results
So, you need to drill a hole in a metal beam, a steel bracket, or a piece of sheet metal. You’ve got your powerful hammer drill ready to go. Stop right there! Using a hammer drill on metal isn’t as simple as just pulling the trigger. In fact, using it incorrectly can ruin your drill bit, damage your workpiece, and even be dangerous.
This comprehensive guide is here to change that. We’ll walk you through everything you need to know to use your hammer drill for metal drilling like a seasoned pro. You’ll learn the critical settings to change, the best bits to buy, and the techniques that guarantee clean, precise holes without the frustration. Let’s transform that intimidating task into a simple, successful project.
Understanding Your Tool: It’s Not a Hammer Drill for This Job
First things first: a hammer drill is a versatile tool, but its namesake function is your enemy when drilling metal. The key to success is understanding your tool’s modes. If you’re unsure about the core functions of your tool, our guide on the difference between a drill and a hammer drill provides a great foundation.
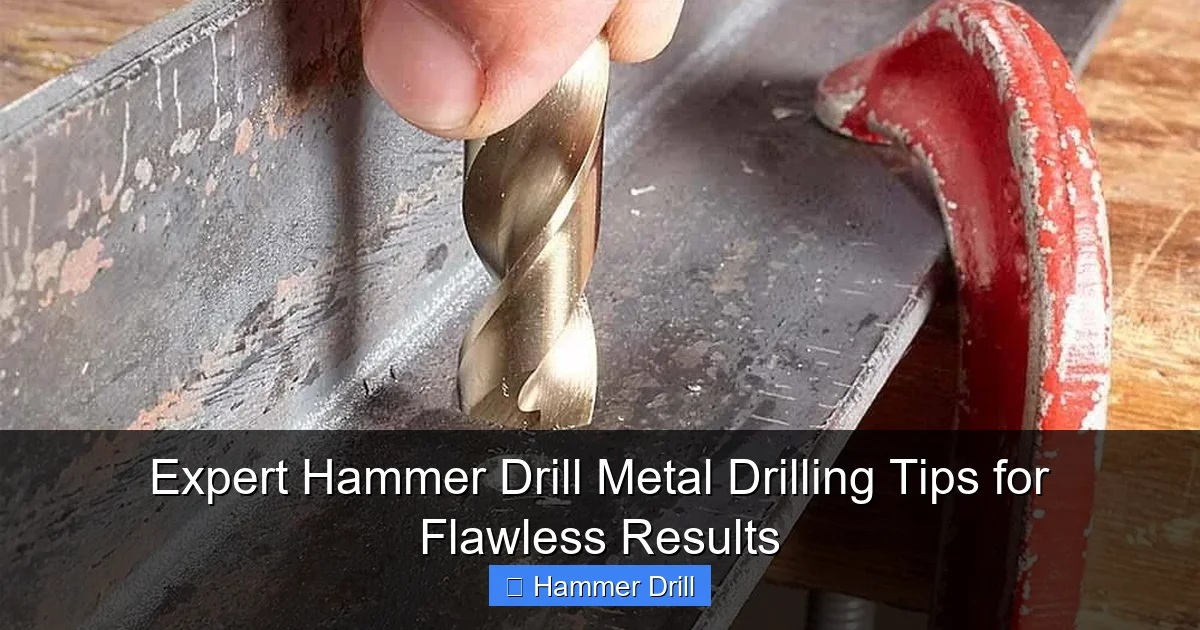
Visual guide about Expert Hammer Drill Metal Drilling Tips for Flawless Results
Image source: familyhandyman.com
Hammer drills have (at least) two modes:
- Hammer Drill Mode (Hammer Icon): This mode makes the drill bit pulse forward rapidly while spinning. It’s designed to smash through brittle materials like concrete, brick, and stone.
- Drill Mode (Drill Bit Icon): This is standard rotary-only action, just like a regular drill driver. This is the mode you use for wood, plastic, and most importantly, metal.
The Golden Rule: Always switch your hammer drill to the standard “Drill” mode before attempting to drill into any metal. The hammering action will not help; it will shatter the cutting edges of your metal bits, make a horrific noise, and produce a ragged, unusable hole.
Gearing Up: Essential Tools and Safety Prep
Before you make your first mark, gathering the right gear is 80% of the battle. Here’s your checklist.
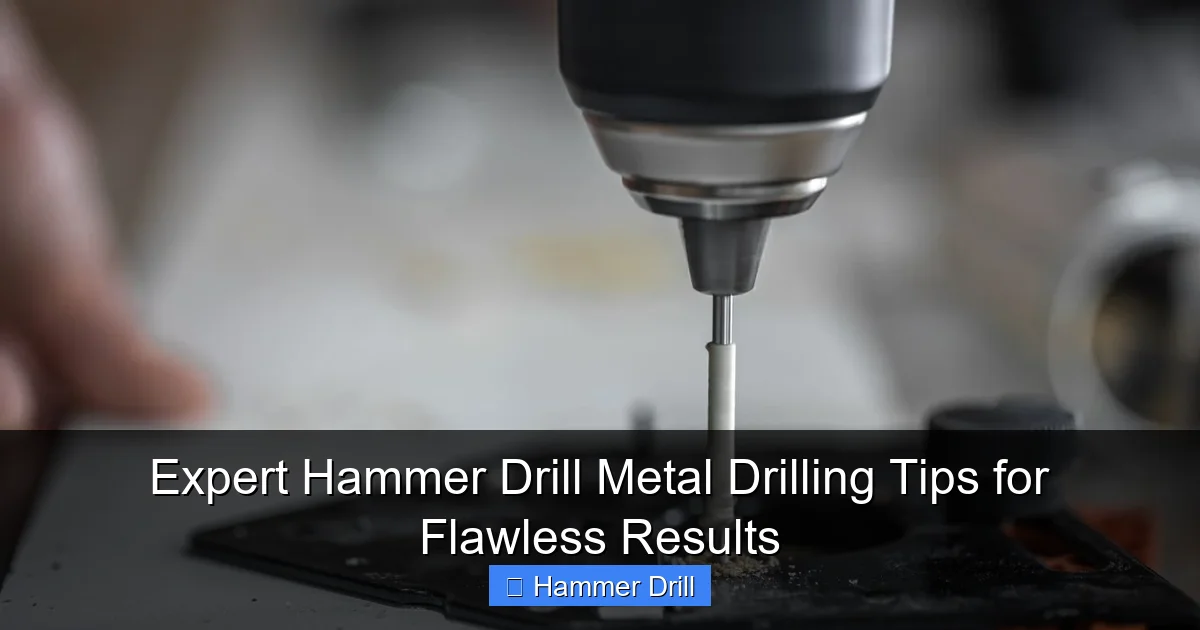
Visual guide about Expert Hammer Drill Metal Drilling Tips for Flawless Results
Image source: newmexico-metals.com
1. Personal Protective Equipment (PPE)
Safety is paramount. Metal drilling produces sharp, hot, stringy shavings called “swarf.”
- Safety Glasses or Goggles: Non-negotiable. Swarf flies unpredictably.
- Work Gloves: Protect your hands from sharp metal edges and hot swarf. Leather or heavy-duty synthetic is best.
- Hearing Protection: Drilling metal, especially thick metal, is loud. Use earplugs or earmuffs.
- Respirator/Dust Mask: If drilling indoors or without strong ventilation, a mask prevents you from inhaling fine metal particles.
2. The Right Drill Bits for Metal
You cannot use masonry bits or standard wood bits. You need bits specifically designed to cut metal.
- HSS (High-Speed Steel) Bits: The standard and most cost-effective choice for most mild steels and non-ferrous metals like aluminum and brass.
- Cobalt Steel (HSS-Co) Bits: Contain 5-8% cobalt, making them harder, more heat-resistant, and ideal for drilling stainless steel or hardened steel. They are more brittle but last much longer on tough jobs.
- Titanium Nitride Coated (TiN) Bits: These are usually HSS bits with a gold-colored coating that reduces friction and increases hardness. They are a great all-around upgrade for longer life.
Pro Tip: For large holes (over 1/2 inch), consider using a step drill bit or a hole saw with a bi-metal arbor and pilot bit. These are excellent for sheet metal and thinner materials.
3. Lubrication and Cooling
Heat is the number one killer of drill bits. Lubrication is not optional for serious metal drilling.
- Cutting Fluid or Cutting Oil: The best choice. It cools, lubricates, and helps flush away chips. Apply it directly to the bit and hole frequently.
- WD-40 or Light Machine Oil: A decent alternative for light-duty jobs on softer metals like aluminum. It’s better than nothing!
4. Workspace Setup
Clamp everything down. Use C-clamps or a vise to secure your metal workpiece firmly to a stable workbench. This prevents dangerous spinning and allows for precise control. Remember, if your project involves working at height, always review essential safety tips for climbing ladders before you begin.
The Step-by-Step Metal Drilling Process
Step 1: Mark and Punch Your Center Point
Accuracy starts here. Use a permanent marker or a scribe to mark your hole location. Then, take a center punch and give it a firm tap with a claw hammer or ball-peen hammer. This creates a small dimple that will prevent the drill bit from “walking” or skating across the smooth metal surface when you start.
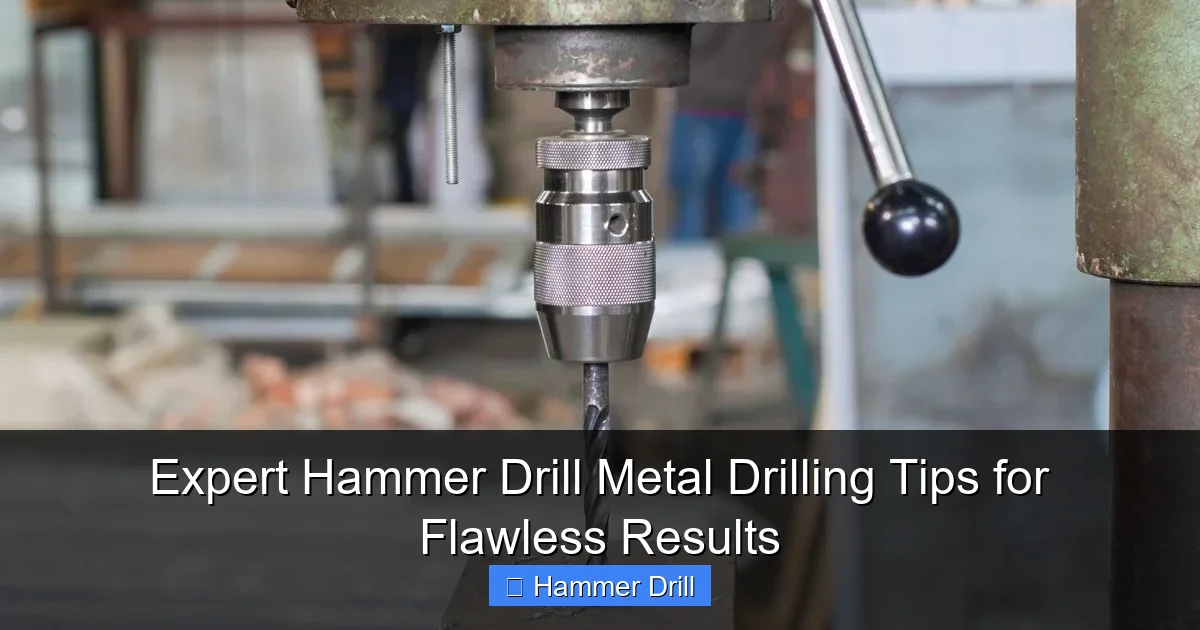
Visual guide about Expert Hammer Drill Metal Drilling Tips for Flawless Results
Image source: familyhandyman.com
Step 2: Select and Insert the Correct Bit
Choose the bit size for your final hole. For holes larger than 1/4″, it’s highly advisable to drill a pilot hole first. Insert the bit into the chuck and tighten it securely using the chuck key or by hand (for keyless chucks). Ensure it is straight and centered.
Step 3: Set Your Hammer Drill to Drill Mode & Correct Speed
Double-check that the selector collar near the chuck is set to the drill symbol, NOT the hammer symbol. Set your drill to a low or medium speed. If it has variable speed control, start slow. High speed = high heat = dull bits.
Step 4: Apply Lubricant and Start Drilling
Put a few drops of cutting oil on your center punch mark. Position the tip of the drill bit directly in the dimple. Hold the drill perpendicular (90 degrees) to the metal surface.
Starting the Hole: Begin at a very slow speed with firm pressure. Let the bit’s tip engage in the dimple. Once the hole is established, you can increase speed slightly to a steady, moderate pace.
Step 5: Maintain Proper Technique
- Use Steady, Firm Pressure: Let the bit’s cutting edges do the work. Don’t lean on it with all your weight, but provide enough force to keep it cutting.
- Pull Out to Clear Chips: Every few seconds, pull the bit completely out of the hole while it’s still spinning. This clears the swarf from the flutes, prevents binding, and allows you to apply more lubricant.
- Listen and Feel: A smooth, high-pitched whirring sound is good. A screaming, grinding sound means you’re going too fast, the bit is dull, or you need more lubricant.
Step 6: Breaking Through and Finishing
As you approach the backside of the metal, reduce pressure significantly. The last bit of material can tear out, leaving a dangerous burr. Drill through gently. For a clean exit, you can place a scrap piece of wood behind your workpiece.
Troubleshooting Common Problems
Even with the best preparation, things can go wrong. Here’s how to fix them.
Problem: The Drill Bit Won’t Start / It’s “Walking”
Cause & Solution: You didn’t use a center punch, or the punch mark wasn’t deep enough. The bit’s point has nothing to grip. Stop, make a deeper center punch dimple, and start again slowly.
Problem: The Bit is Smoking or Turning Blue
Cause & Solution: Excessive heat due to high speed, no lubrication, or excessive pressure. The blue color means the bit’s temper is ruined (it’s now soft). Stop immediately, let it cool, apply cutting fluid generously, use a slower speed, and clear chips more often. The bit may be permanently dulled.
Problem: The Drill is Stalling or Binding
Cause & Solution: You’re drilling too fast, the flutes are clogged with chips, or you hit a harder spot in the metal. Pull the bit out to clear the chips. If drilling hardened steel, switch to a cobalt bit. Ensure you’re using enough pressure to cut, not just spin.
Problem: The Hole is Ragged or Oversized
Cause & Solution: A dull drill bit, excessive wobble from a loose chuck, or the hammer function was accidentally on. Check your chuck tightness and drill mode. Always use a sharp bit. For a cleaner finish, you can drill a slightly undersized hole and then ream it to the final size.
Conclusion: Your Path to Metal Drilling Mastery
Drilling metal with a hammer drill is a powerful skill that opens up countless DIY and professional possibilities. The secret lies not in brute force, but in control and the right knowledge: disable the hammer, choose sharp HSS or cobalt bits, drill slow, use lubricant, and clamp your work.
By following this guide, you’ll move from fearing metalwork to tackling it with confidence. You’ll save money on broken bits, achieve professional-looking results, and complete your projects safely and efficiently. Remember, the right tool for the job isn’t just about the power tool in your hand; it’s about knowing how to use it correctly. For more information on choosing the right rotary tool for your needs, check out our review of the best cordless drill options available. Now, grab your gear, take a deep breath, and drill that perfect hole.
