
Hammer drill spinning is the standard rotation mode that works like a regular drill for wood, metal, and light-duty tasks. This guide explains how to use it effectively, avoid common mistakes, and fix performance issues. You’ll learn the mechanics, proper techniques, and maintenance tips to make your drilling projects successful every time.
Key Takeaways
- Dual Action: Hammer drills combine spinning with hammering, but spinning mode works independently for regular drilling.
- Material Matters: Use spinning mode for wood, metal, and plastic. Switch to hammer mode only for masonry.
- Speed Control: Start slow and increase speed gradually to prevent bit wandering and material damage.
- Proper Bits: Always use the correct drill bit type for your material to avoid breakage and poor performance.
- Safety First: Wear eye protection and secure your workpiece before starting any drilling project.
- Regular Maintenance: Clean air vents, check brushes, and lubricate moving parts for optimal spinning performance.
- Troubleshooting: Most spinning problems stem from worn brushes, damaged chucks, or incorrect mode settings.
Introduction: Understanding Hammer Drill Spinning
You’re holding a hammer drill, ready to tackle that project, but something feels off. The drill isn’t spinning right. Maybe it’s slipping, vibrating too much, or just not cutting through like it should. Don’t worry—you’re not alone. Many DIYers and even pros struggle with hammer drill spinning issues because they don’t fully understand how these versatile tools work.
Hammer drills are unique beasts. They combine two actions: the standard spinning motion you’d find in any regular drill, plus a rapid hammering action that pounds the bit forward. This makes them perfect for masonry work. But here’s the thing—the spinning mode works exactly like a regular drill for wood, metal, and plastic. The magic happens when you need both actions together for concrete or brick.
In this guide, you’ll learn everything about hammer drill spinning. We’ll cover the mechanics, show you step-by-step techniques, troubleshoot common problems, and share maintenance tips. By the end, you’ll know exactly when and how to use spinning mode for perfect results every time.
Let’s get started with the basics of how these tools actually work.
How Hammer Drill Spinning Actually Works
Before you can fix spinning problems, you need to understand what’s happening inside your tool. It’s not magic—it’s clever engineering.
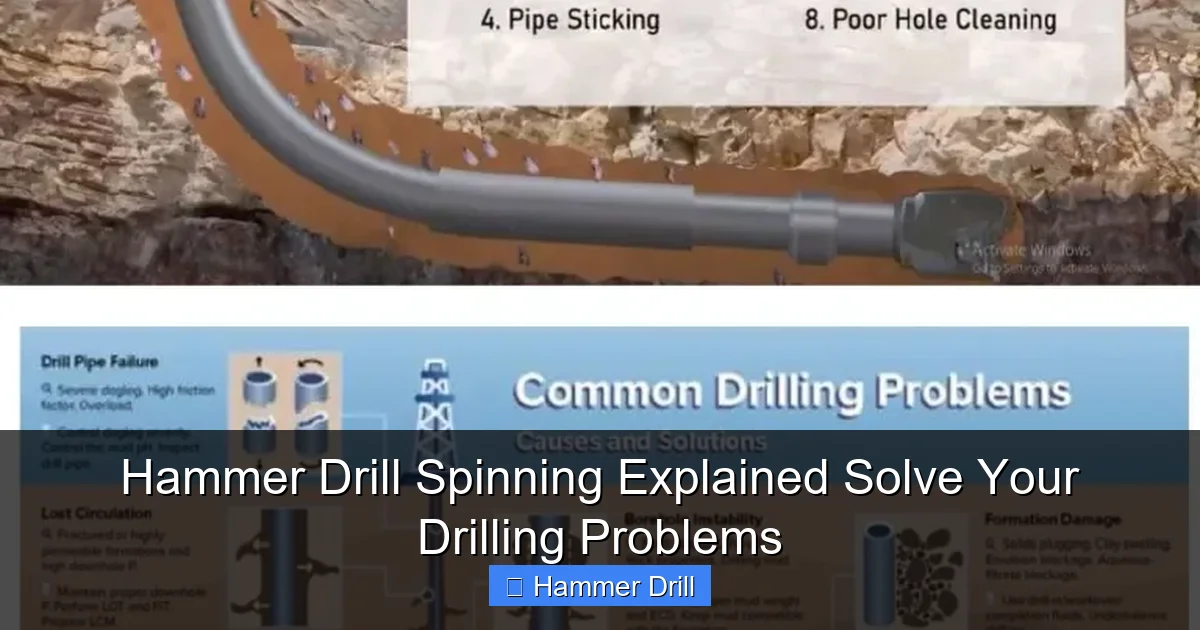
Visual guide about Hammer Drill Spinning Explained Solve Your Drilling Problems
Image source: imgv2-2-f.scribdassets.com
The Dual-Motor System
Inside your hammer drill, you’ll find a powerful motor that drives everything. This motor connects to a transmission system that can do two things independently. First, it spins the chuck in a continuous circular motion. That’s your standard drilling action. Second, it can engage a separate hammering mechanism that moves the chuck back and forth rapidly.
When you select spinning mode only, the hammering mechanism disengages completely. Your drill functions like a regular drill. This is perfect for materials that don’t need the pounding action. The motor power goes entirely to rotation, giving you smooth, controlled drilling.
Key Components That Affect Spinning
Several parts work together to create smooth hammer drill spinning:
- The Chuck: This is the clamp that holds your drill bit. A worn or dirty chuck can slip and prevent proper spinning.
- Transmission Gears: These transfer power from the motor to the chuck. Damaged gears can cause grinding or inconsistent rotation.
- Carbon Brushes: These conduct electricity to the motor. Worn brushes mean less power and slower spinning.
- Bearings: They support the rotating shaft and reduce friction. Bad bearings cause wobbling and vibration.
Understanding these parts helps you diagnose problems quickly. If your drill spins erratically, the issue is likely one of these components.
Speed and Torque Control
Most hammer drills come with variable speed triggers. The more you pull the trigger, the faster it spins. This gives you precise control for different materials. Soft materials like wood need higher speeds. Hard materials like metal require slower speeds with more torque.
Torque is the twisting force that does the actual cutting. Too much torque at high speed can burn out your motor or break bits. Too little torque won’t cut effectively. Learning to balance these is key to successful hammer drill spinning.
When to Use Spinning Mode Only
This is where most people go wrong. They use hammer mode for everything, or they never use it at all. Let’s clear this up once and for all.
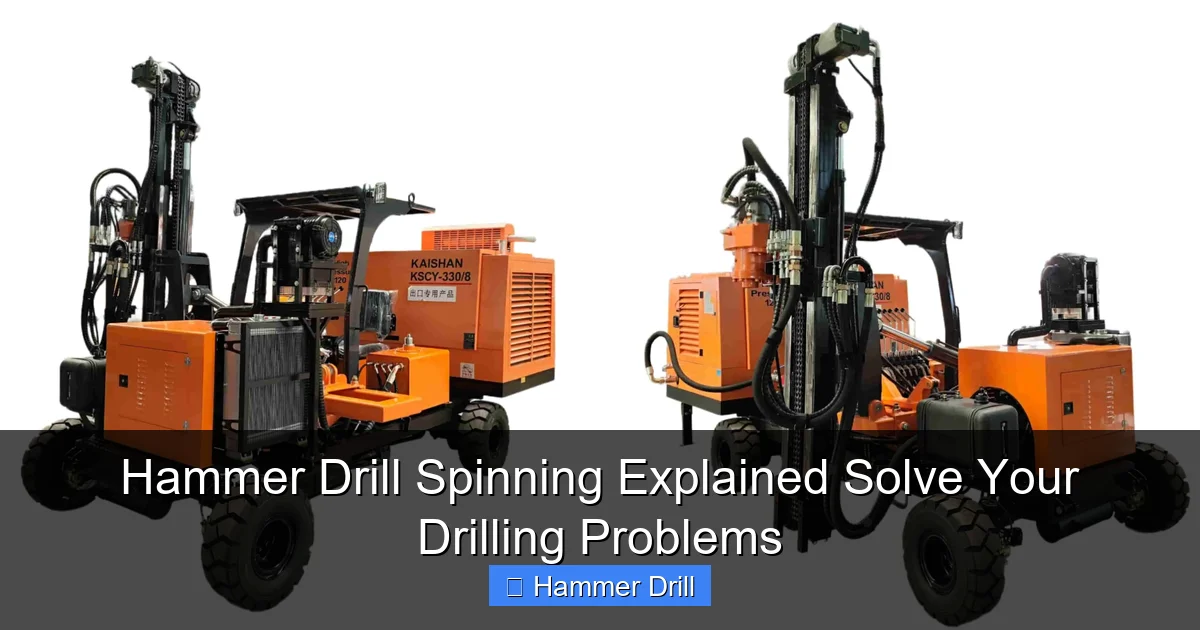
Visual guide about Hammer Drill Spinning Explained Solve Your Drilling Problems
Image source: tzpilemachine.com
Materials That Need Spinning Mode
Use spinning mode for these materials:
- Wood: All types—plywood, hardwood, softwood, particle board
- Metal: Steel, aluminum, copper, brass
- Plastic: PVC, acrylic, ABS, and other plastics
- Drywall: For installing shelves and fixtures
- Soft Composites: Fiberboard, MDF, and similar materials
These materials don’t need the hammering action. In fact, hammering can damage them. It might splinter wood, deform metal, or crack plastic. Spinning mode gives you clean, controlled holes.
Materials That Need Both Actions
Switch to hammer mode only for:
- Concrete: Walls, floors, foundations
- Brick: Masonry walls, chimneys, patios
- Stone: Natural stone, tile, flagstones
- Cinder Block: Hollow concrete blocks
These hard, brittle materials need the hammering action to break them up as the bit spins. Without hammering, you’ll overheat your drill and barely make a dent.
Project Examples
Let’s look at real-world scenarios:
- Hanging a Shelf: Drilling into drywall studs? Use spinning mode. Drilling into concrete wall anchors? Switch to hammer mode.
- Building a Deck: Drilling pilot holes in wood decking? Spinning mode only. Drilling into concrete footings? Hammer mode needed.
- Electrical Work: Running wires through wood studs? Spinning mode. Drilling conduit holes in concrete walls? Hammer mode.
If you’re unsure, start with spinning mode. If the drill bogs down or makes little progress, switch to hammer mode. This prevents unnecessary wear on your tool.
Understanding the difference between a regular drill and a hammer drill helps you choose the right tool for each job.
Step-by-Step Guide to Perfect Hammer Drill Spinning
Now let’s put this knowledge into practice. Follow these steps for flawless drilling every time.
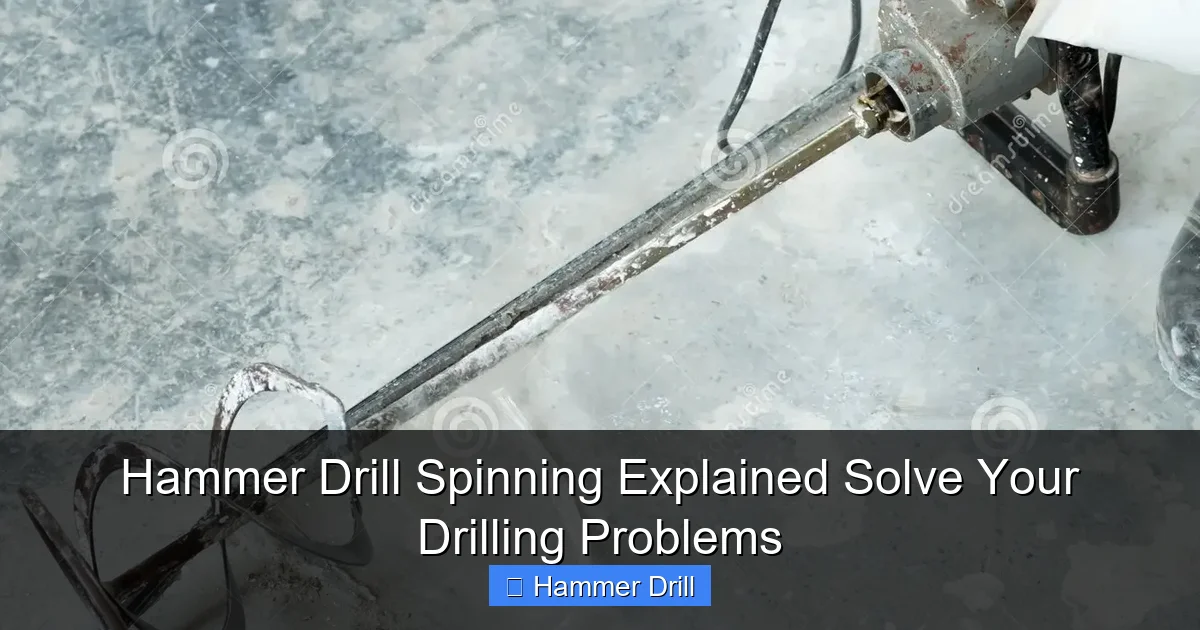
Visual guide about Hammer Drill Spinning Explained Solve Your Drilling Problems
Image source: thumbs.dreamstime.com
Step 1: Safety Preparation
Before you touch your drill, gear up. Safety isn’t optional—it’s essential.
- Eye Protection: Always wear safety glasses. Flying debris can blind you.
- Hearing Protection: Even in spinning mode, drills are loud. Use earplugs or earmuffs.
- Work Gloves: Protect your hands from sharp edges and vibration.
- Secure the Workpiece: Clamp it down. Never hold it by hand. A spinning drill can grab and twist your hand.
- Clear the Area: Remove tripping hazards and keep kids and pets away.
Take 30 seconds to set up safely. It’s worth it.
Step 2: Choosing the Right Drill Bit
Using the wrong bit is the #1 cause of spinning problems. Here’s how to pick correctly:
For Wood
Use high-speed steel (HSS) twist bits with a sharp point. For deep holes, use spade bits or auger bits. Make sure the bit is designed for wood—metal bits will tear wood fibers.
For Metal
Use HSS twist bits with a 118-degree point angle. For thin metal, use step bits. Always apply cutting fluid to reduce heat and extend bit life.
For Plastic
Use sharp HSS bits at high speed. For acrylic, use specialized plastic bits with a polished flute to prevent melting.
Size Matters
Match the bit size to your project. For small screws, use 1/16″ to 3/16″ bits. For larger holes, use spade bits or hole saws. Never force a bit that’s too large—your drill may not have enough torque.
Check your bit before each use. A dull bit requires more force, heats up faster, and can break. Replace it if the cutting edges look rounded or chipped.
Step 3: Setting Up Your Drill
Proper setup makes all the difference.
Insert the Bit Correctly
Loosen the chuck by turning it counterclockwise. Insert the bit shank fully into the chuck. Make sure it’s straight and centered. Tighten the chuck securely by turning it clockwise. Give the bit a tug to ensure it’s locked in place.
For keyless chucks, tighten with one hand while holding the bit steady with the other. For keyed chucks, use the key to tighten all three jaws evenly.
Select the Right Mode
Locate the mode selector on your drill. It’s usually near the chuck or on top of the motor housing. For spinning only, select the drill icon (usually a circle with lines). For hammer mode, select the hammer icon (looks like a hammer hitting something).
Make sure the mode switch clicks into place. A loose switch can slip during use, causing inconsistent performance.
Adjust Speed and Torque
Set the speed selector to low (1) for metal and high (2) for wood and plastic. If your drill has a torque adjustment ring, set it to the middle range for most drilling tasks. You can increase torque for tougher materials.
Step 4: Mastering the Drilling Technique
Technique separates good results from bad ones. Here’s how to drill like a pro.
Mark Your Spot
Use a pencil or marker to mark your drilling location. For precision, make a small pilot dent with a center punch or awl. This prevents the bit from wandering when you start.
Start Slowly
Position the bit tip on your mark. Hold the drill with both hands—one on the handle, one on the side grip. Keep the drill perpendicular to your workpiece. Pull the trigger gently to start at low speed. Let the bit cut into the material before increasing speed.
Starting slow is crucial. It prevents the bit from skating across the surface and ruining your mark.
Apply Steady Pressure
Push straight down with firm, steady pressure. Don’t force it—let the drill do the work. Too much pressure can break the bit or damage the material. Too little pressure will cause the bit to spin without cutting.
For wood, apply moderate pressure. For metal, use lighter pressure and more speed. For plastic, use light pressure to avoid melting.
Clear the Chips
Periodically pull the bit out to clear away chips and dust. This prevents clogging and overheating. For deep holes, pull out every 1-2 inches of depth.
Clogged flutes reduce cutting efficiency and can cause the drill to bind or kick back.
Finish the Hole
As you approach the end, reduce pressure slightly. This prevents tear-out on the backside of your workpiece. For through holes, support the backside with scrap wood to catch splinters.
Once through, release the trigger and let the bit stop completely before pulling it out. A spinning bit can catch and damage your work surface.
Step 5: Post-Drilling Cleanup
Don’t just toss your drill aside. Proper cleanup extends its life.
- Brush off dust and chips from the drill body and chuck
- Wipe the bit clean and store it properly
- Check for any damage or unusual sounds
- Return all settings to neutral positions
- Store in a dry, dust-free location
A clean drill is a happy drill. It will perform better and last longer.
Common Hammer Drill Spinning Problems and Solutions
Even with perfect technique, problems happen. Let’s fix the most common issues.
Problem 1: Drill Won’t Spin at All
If pulling the trigger does nothing, check these things:
- Power Source: Is the battery charged? Is the cord plugged in? Check for tripped breakers.
- Mode Switch: Make sure it’s fully engaged in drill mode, not stuck between modes.
- Trigger Switch: Dirt or debris can jam the trigger. Try cleaning it with compressed air.
- Carbon Brushes: Open the motor housing and check brush wear. Replace if they’re shorter than 1/4 inch.
If none of these work, you may have a bad motor or internal wiring problem. Take it to a repair shop.
Problem 2: Spinning is Weak or Slow
Your drill spins but lacks power. Try these fixes:
- Low Battery: Charge or replace it. A weak battery can’t deliver full power.
- Dirty Air Vents: Clogged vents cause overheating and power loss. Clean them with a soft brush.
- Worn Brushes: Even if they look okay, worn brushes reduce power. Replace them annually.
- Overheating: Let the drill cool for 15 minutes. Continuous use can overheat the motor and trigger thermal protection.
Also check if you’re using the right speed setting. High speed for metal can cause the motor to bog down.
Problem 3: Excessive Vibration or Wobbling
A shaky drill makes messy holes and can damage your wrist. Here’s how to fix it:
- Check the Bit: Is it bent or damaged? Replace it immediately.
- Chuck Issues: Clean the chuck jaws and retighten. A dirty chuck won’t hold bits securely.
- Loose Parts: Check that the chuck is tight on the spindle and that all housing screws are secure.
- Worn Bearings: If vibration persists, the main bearings may be shot. This requires professional repair.
Hold the drill firmly with both hands to reduce felt vibration, but don’t ignore the underlying problem.
Problem 4: Bit Slipping in the Chuck
The bit spins but doesn’t cut. This is dangerous and frustrating.
- Clean the Chuck: Oil and debris can coat the jaws. Remove the chuck, clean it thoroughly, and reassemble.
- Check Shank Size: Make sure the bit shank matches your chuck size. A 1/4″ bit won’t grip well in a 1/2″ chuck if the jaws are worn.
- Tighten Properly: Use the chuck key to tighten all three jaws evenly. For keyless chucks, tighten with firm hand pressure.
- Inspect Chuck Wear: If the chuck feels loose even when tight, it’s worn out. Replace it.
Never use a slipping bit. It can fly out and cause serious injury.
Problem 5: Drill Makes Grinding Noises
Grinding means metal-on-metal contact. Stop using the drill immediately.
- Gear Damage: The transmission gears may be stripped. This is common in hammer mode but can affect spinning too.
- Lack of Lubrication: Gears need grease. If you hear grinding, the grease may have dried up.
- Foreign Objects: Check for debris caught in the gears or chuck mechanism.
Continuing to use a grinding drill will cause complete failure. Take it to a professional for gear inspection and replacement.
If you’re still having trouble, check out our guide on how to use a drill for screws into a wall for more specific techniques.
Maintenance Tips for Optimal Spinning Performance
Prevent problems before they start with regular maintenance.
Weekly Maintenance
For frequent users, do this every week:
- Clean air vents with compressed air
- Wipe down the housing with a damp cloth
- Check chuck tightness and cleanliness
- Inspect the power cord or battery contacts for damage
Five minutes a week saves hours of frustration later.
Monthly Deep Cleaning
Once a month, give your drill a thorough cleaning:
- Remove the chuck and clean the spindle threads
- Clean the gear housing with a brush
- Check carbon brush length through the inspection ports
- Lubricate the chuck mechanism with light oil
- Test all switches and settings
Use only manufacturer-recommended lubricants. WD-40 is not a lubricant—it’s a cleaner and can damage plastic parts.
Storage Best Practices
How you store your drill matters:
- Keep it in its case to prevent dust buildup
- Store in a dry place to prevent rust
- Remove batteries to prevent corrosion
- Keep bits organized so you always know what you have
A well-stored drill performs better and lasts longer. Don’t leave it on a workbench where it can collect sawdust and moisture.
Professional Servicing
Even with perfect maintenance, some things need a pro:
- Annual bearing replacement
- Gear re-greasing every 2-3 years
- Motor rewinding if it starts smoking or losing power
- Chuck replacement if it won’t hold bits securely
Professional servicing costs less than a new drill and extends your tool’s life by years.
Choosing the Right Hammer Drill for Your Needs
Not all hammer drills are created equal. Here’s what to look for.
Corded vs. Cordless
Corded drills offer unlimited runtime and more power for heavy-duty work. They’re ideal for workshops where you’re always near an outlet. Cordless drills provide freedom to work anywhere. Modern lithium-ion batteries deliver plenty of power for most DIY projects.
For most homeowners, a good cordless hammer drill is the best choice. It’s versatile, portable, and powerful enough for 95% of tasks.
Power Ratings
Look at these specifications:
- Voltage: 12V for light work, 18V for general use, 20V+ for heavy duty
- Amps (corded): 5-7 amps for light duty, 8+ amps for serious work
- RPM: 0-1,500 RPM for spinning, 0-25,000 BPM for hammering
- Chuck Size: 1/2″ is standard and accepts most bits
More power isn’t always better. A 20V drill might be too heavy for overhead work. Choose based on your typical projects.
Key Features to Consider
These features improve your spinning experience:
- Variable Speed Trigger: Essential for control
- 2-Speed Gearbox: Low for torque, high for speed
- Keyless Chuck: Faster bit changes
- LED Work Light: Illuminates dark work areas
- Side Handle: Reduces vibration and improves control
- Brushless Motor: More efficient and longer-lasting
Brushless motors are worth the extra cost. They run cooler, last longer, and deliver more power to the chuck.
Understanding the difference between an impact driver and a hammer drill helps you choose the right tool for driving screws versus drilling holes.
Conclusion: Master Your Hammer Drill Spinning
You now know everything about hammer drill spinning. From understanding the mechanics to mastering technique, troubleshooting problems, and maintaining your tool, you’re equipped to handle any drilling project.
Remember these key points: always use spinning mode for wood, metal, and plastic. Switch to hammer mode only for masonry. Keep your bits sharp and clean. Maintain your drill regularly. And most importantly, work safely.
Practice makes perfect. Start with scrap material to get comfortable with your drill’s settings and feel. Before you know it, you’ll be drilling clean, precise holes like a professional.
Got more questions? Check the FAQs below or browse our other tool guides to become a complete DIY master.
