
Hammer mode is specifically designed for drilling into concrete, brick, and masonry by combining rotational force with a rapid hammering action that pulverizes hard materials. Expert techniques include using sharp carbide bits, maintaining firm perpendicular pressure, controlling speed with short bursts, and clearing dust frequently to prevent overheating and ensure clean, precise holes.
Key Takeaways
- Use hammer mode only on masonry: Concrete, brick, and stone require hammer action; wood and metal need regular drill mode.
- Apply steady, moderate pressure: Let the tool do the work; excessive force reduces efficiency and damages bits.
- Choose carbide-tipped masonry bits: Only specialized bits withstand hammer action’s impact forces.
- Start slow, then increase speed: Begin drilling at low RPM to establish the hole, then accelerate.
- Clear dust from deep holes: Periodically withdraw the bit to prevent overheating and jamming.
- Wear mandatory safety equipment: Safety glasses, hearing protection, and dust masks are essential.
- Utilize the depth rod: Set it for consistent, precise hole depths every time.
Why This Matters: Understanding the Problem
You know that feeling. You’re hanging a shelf, mounting a TV, or tackling a DIY project that seems simple enough. You grab your trusty drill, press it against the wall, and… nothing. Just a frustrating spinning sound and a bit that won’t bite into the concrete. I’ve been there. That moment when your regular drill bounces off masonry like a pebble hitting a truck.
This is exactly why the Hammer Drill Hammer Mode Guide Expert Techniques Revealed exists. Hammer mode isn’t just another setting on your drill—it’s a game-changer for masonry work. Without it, you’ll damage bits, frustrate yourself, and possibly ruin your project surface. With it, you’ll drill through concrete like butter.
Let me share something personal. My first time drilling into a brick wall, I pushed so hard I nearly threw out my shoulder. The bit just spun, making a horrible grinding noise. My neighbor, a contractor, saw me struggling and said, “Son, you’re missing the hammer.” He wasn’t talking about a separate tool—he meant the hammer mode I’d been ignoring. That day, I learned that brute force never beats the right technique.
Understanding hammer mode means understanding how your drill actually works. It’s not magic. It’s mechanics. And once you get it, you’ll wonder how you ever managed without this knowledge.
What You Need: Tools and Materials
Before we dive into the step-by-step process, let’s gather our gear. You don’t need a fancy toolbox full of expensive equipment. Just the essentials. Keep it simple.
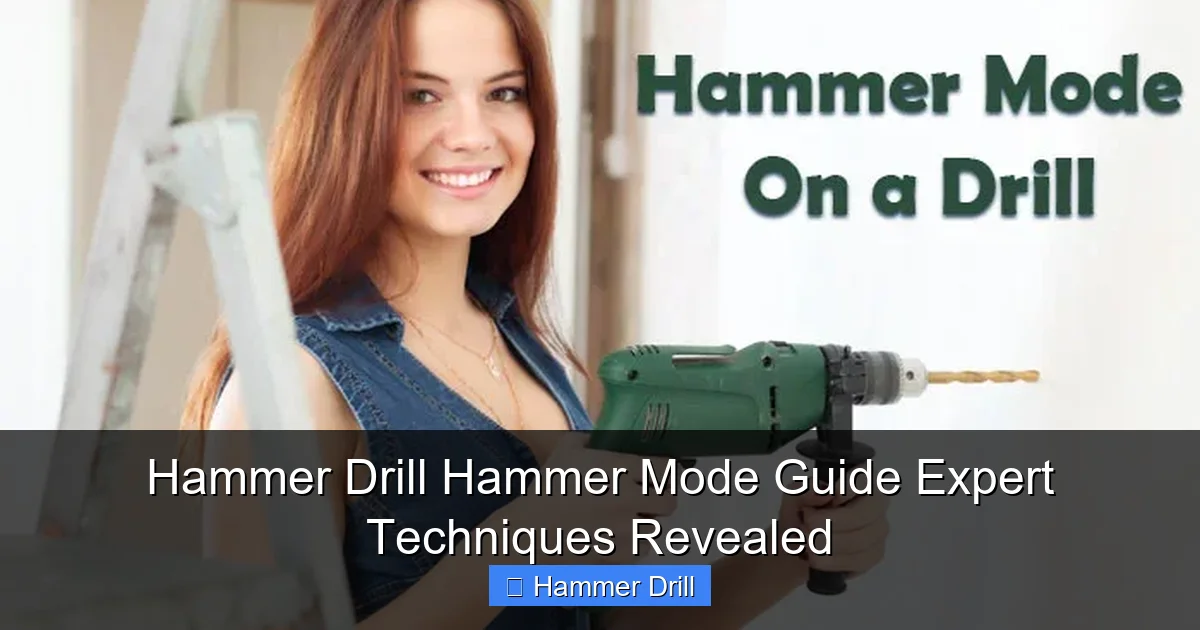
Visual guide about Hammer Drill Hammer Mode Guide Expert Techniques Revealed
Image source: industrialtoolsinfo.com
- Hammer drill – This is the star of the show. Not all drills have hammer mode, so check yours first.
- Masonry drill bits – Regular bits won’t survive. You need carbide-tipped bits designed for concrete, brick, or block.
- Safety glasses – Seriously, don’t skip these. Concrete chips fly everywhere.
- Dust mask – That concrete dust is no joke for your lungs.
- Work gloves – Protect your hands from vibration and sharp edges.
- Marker or pencil – For marking your drilling spot.
- Tape measure – Precision matters.
- Vacuum or brush – For clearing dust from the hole.
- Hammer and nail – Optional, but great for starting a pilot mark.
That’s it. You probably have most of these already. The key is using the right drill and the right bits. If you’re unsure whether your drill has hammer mode, check for a “hammer” icon—usually looks like a little hammer hitting a rock. Some drills have three modes: drill only, hammer drill, and drive. We want that middle setting.
Step-by-Step Guide to Hammer Drill Hammer Mode Guide Expert Techniques Revealed
Now let’s get into the meat of this Hammer Drill Hammer Mode Guide Expert Techniques Revealed. I’ll walk you through each step like we’re standing side-by-side in your garage. These techniques come from years of trial, error, and a few embarrassing mistakes I’d rather not repeat.
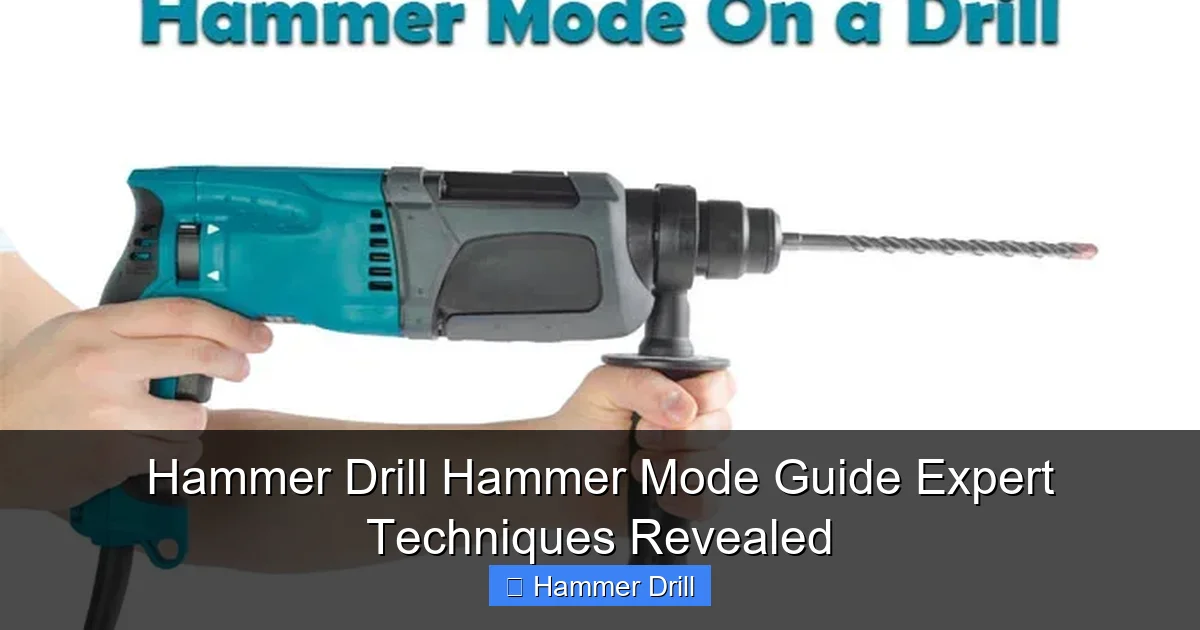
Visual guide about Hammer Drill Hammer Mode Guide Expert Techniques Revealed
Image source: industrialtoolsinfo.com
Step 1: Choose Your Weapon Wisely
Not all hammer drills are created equal. For light work like hanging shelves, a 6-8 amp corded drill or a decent cordless model works fine. For serious concrete, you want 9 amps or more. If you’re shopping for a new one, check out our guide on the best cordless drill options.
Your bit matters just as much. Masonry bits have a special carbide tip that looks like a little pyramid. The size must match your anchor. If you need a 1/4-inch anchor, you need a 1/4-inch bit. It’s that simple. I once tried using a wood bit because it was the right size. Let’s just say it lasted about three seconds.
Step 2: Mark Your Target and Make a Pilot
Measure twice, drill once. That old saying exists for a reason. Use your tape measure and mark the exact spot with a pencil. But here’s the pro move: place a small piece of masking tape over your mark first. This prevents the drill bit from “walking” when you start.
Even better, use a hammer and nail to make a tiny dimple in the wall. This gives your bit a place to grab onto. I learned this the hard way after drilling a hole an inch away from where I wanted it. The bit slid across the smooth concrete like a car on ice.
Step 3: Insert the Bit and Secure It
Open your drill chuck—usually by twisting it counterclockwise—and insert the masonry bit all the way to the base. You want it seated fully. Then tighten that chuck down like you mean it. A loose bit will wobble, create an oversized hole, and could even fall out mid-drill.
If your drill has a depth stop, set it now. This prevents you from drilling too deep. Just slide the stop to your desired depth and lock it. I always forget this step, then wonder why my anchors are too loose. Measure your anchor length and set the stop to that exact measurement.
Step 4: Set the Correct Mode and Speed
Find that hammer icon on your drill. It’s usually near the forward/reverse switch. Twist the mode selector to hammer drill. You’ll feel it click into place. Now, here’s something most guides miss: set your speed control to low. I mean, the slowest setting.
Hammer mode works best at low RPMs. High speed just creates heat and wears out your bit. Think of it like pedaling a bike uphill—slow and steady wins the race. Your drill should have a gentle hammering sound, not a frantic buzzing noise.
Step 5: Apply the Right Pressure and Angle
This is where most people go wrong. They push like they’re trying to break through a wall. Don’t do that. Let the drill do the work. Apply firm, steady pressure—about as much as you’d use to push a shopping cart.
Hold the drill perpendicular to the wall. Keep it straight. If you angle it, your hole will be crooked and your anchor won’t fit. I use my body weight, not just my arms. Stand with one foot forward, lean in gently, and let the hammer action chip away at the material.
Warning: Too much pressure can overheat your motor and burn out the bit. If you smell burning or see smoke, stop immediately. Let everything cool down for a few minutes.
Step 6: Clear the Dust and Maintain Rhythm
Pull the bit out every 10-15 seconds to clear dust from the hole. This isn’t optional. If you don’t, the dust packs down and the bit can’t cut. It’s like trying to dig a hole with a spoon full of wet sand—frustrating and slow.
While the bit is out, blow into the hole or use a vacuum. Some drills have built-in dust collection, but most DIYers just use their lungs. I keep a small brush nearby to knock dust off the bit too. This simple habit doubles the life of your bits.
Step 7: Finish Strong and Clean Up
As you approach full depth, ease up on the trigger. Don’t jam through the other side. A gentle finish prevents blowout and keeps your hole clean. Once you’re at depth, release the trigger and let the bit stop completely before pulling it out.
Brush away any loose debris around the hole. Now test your anchor by tapping it in with a hammer. It should slide in with gentle persuasion. If it’s too tight, you might need a slightly larger bit. If it’s too loose, you’ve drilled too big a hole—time to patch and try again.
Pro Tips & Common Mistakes to Avoid
Let me save you some headaches. These are the things I wish someone had told me before my first hammer drilling adventure.
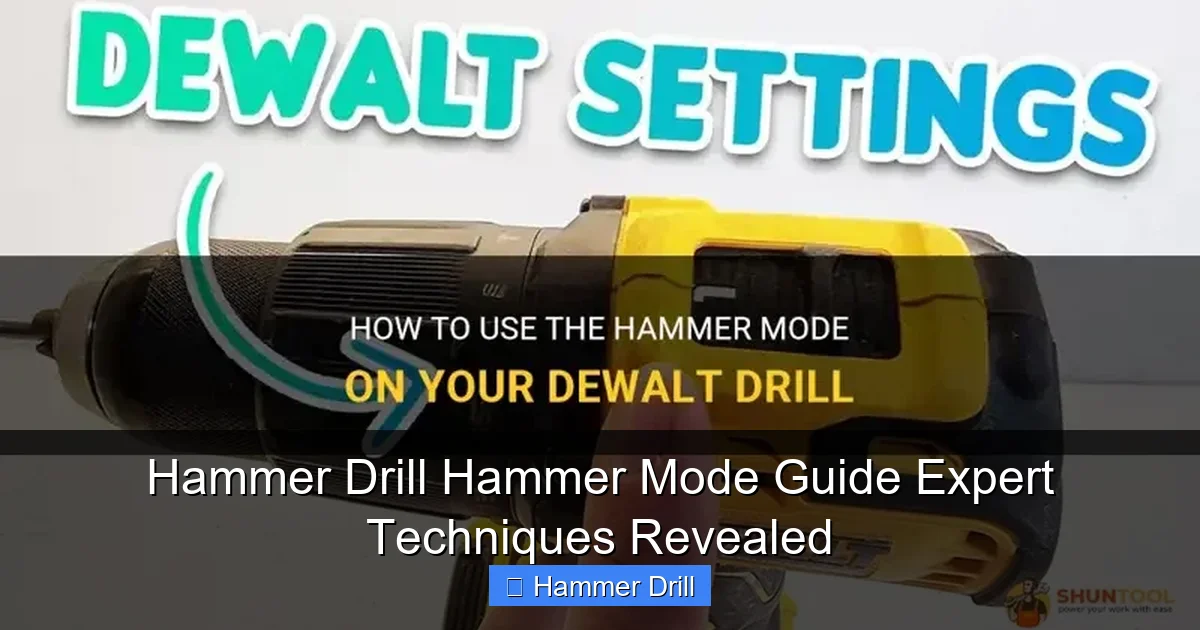
Visual guide about Hammer Drill Hammer Mode Guide Expert Techniques Revealed
Image source: shuntool.com
Don’t use hammer mode on wood or metal. I know it’s tempting. The setting is there, so why not? Because hammer mode will destroy wood fibers and leave ugly marks on metal. It’s designed for brittle materials like concrete. Use regular drill mode for everything else.
Never skip the safety gear. That dust is silica, and it’s nasty stuff. I’ve seen DIYers skip the mask because “it’s just one hole.” One hole creates more dust than you think. Protect your eyes, lungs, and hands. This isn’t negotiable.
Avoid the “death grip” mistake. Holding the drill too tightly increases vibration and fatigues your arm. Hold it like you’re holding a bird—firm enough that it doesn’t fly away, but gentle enough not to hurt it. Let the tool’s weight and hammer action do the work.
Don’t ignore the bit angle. I’ve drilled so many crooked holes by getting impatient. Take your time. Check your angle every few seconds. A crooked hole means a loose anchor, which means your shelf might fall later. Nobody wants that surprise.
Skip the water cooling for small holes. Some guides say to spray water on the bit to reduce dust. For holes under 2 inches deep, this just makes a muddy mess. For deeper holes, though, a little water can help. I usually just use the vacuum method.
Know when to stop. If you hit rebar or something solid, don’t keep hammering. You’ll break your bit. Shift your drilling spot a few inches over. Concrete is strong, but rebar is stronger.
Pro Insight: If you’re drilling multiple holes in the same area, start with the smallest bit and work your way up. This prevents the wall from cracking. I learned this while installing a TV mount and ended up with a spiderweb of cracks in my drywall.
FAQs About Hammer Drill Hammer Mode Guide Expert Techniques Revealed
These questions come up every time I teach someone how to use hammer mode. Let’s clear them up once and for all.
Q: Can I use hammer mode on wood?
A: No, absolutely not. Hammer mode will splinter and damage wood. It’s designed for masonry only. For wood, use regular drill mode with a wood bit. The hammer action has no benefit on fibrous materials.
Q: How do I know if my drill has hammer mode?
A: Look for a hammer icon on the mode selector. It usually looks like a small hammer striking a rock. If you don’t see it, check your manual. Some drills have a separate switch for hammer function. If your drill only has two speeds (high/low) but no hammer icon, you probably don’t have hammer mode.
Q: What’s the difference between a hammer drill and a regular drill?
A: A hammer drill has a special mechanism that creates a rapid hammering action while rotating. This pulverizes masonry as it cuts. A regular drill just rotates. For concrete, brick, or block, you need that hammering motion. For wood and metal, regular mode is better. Want the full breakdown? Check out our article on the difference between a drill and a hammer drill.
Q: Why is my hammer drill not hammering?
A: Several things could be wrong. First, make sure you’re in hammer mode, not just drill mode. Second, check that you’re using enough pressure—the hammer mechanism needs resistance to engage. Third, the carbon brushes might be worn out. And finally, if you’re drilling something too soft, the hammer might not activate. Try it on concrete to test.
Q: Can I use regular drill bits in hammer mode?
A: Technically yes, but they’ll break immediately. Regular bits aren’t hardened for the hammering action. The carbide tip will shatter, and the shank can snap. Always use masonry bits with a hammer drill. They have a special design that can handle the impact.
Q: How deep can I drill with a standard hammer drill?
A: Most consumer hammer drills can handle holes up to 4-6 inches deep. For deeper holes, you need a special extended bit and sometimes a more powerful drill. Always check your drill’s specifications. And remember to clear dust more frequently with deeper holes.
Q: What safety precautions are absolutely essential?
A: Safety glasses and a dust mask are non-negotiable. The dust from concrete contains silica, which can cause serious lung disease. Also, wear hearing protection—hammer drills are loud. Gloves help with vibration. And always unplug the drill when changing bits. I know it’s obvious, but in the rush of a project, people skip it.
Final Thoughts
Mastering hammer mode isn’t about having the strongest arms or the most expensive drill. It’s about understanding the tool and respecting the material you’re working with. The Hammer Drill Hammer Mode Guide Expert Techniques Revealed comes down to three simple ideas: use the right bit, use the right speed, and let the tool do the work.
Start with a practice hole in an inconspicuous area. Get the feel of the hammer action. Learn how the drill sounds when it’s working properly versus when you’re pushing too hard. This practice saves you from costly mistakes on your actual project.
Remember that how to use a drill for screws into a wall is a related skill, but hammer mode is specifically for making the hole, not driving the screw. Keep that distinction clear in your mind.
And finally, be patient. Rome wasn’t built in a day, and neither are perfectly drilled holes. Take your time, clear the dust, check your angle, and you’ll get professional results. The next time someone asks you how you drilled through concrete so easily, you can share the secret: it’s not you, it’s the hammer.
Now get out there and drill something. But remember—safety first, always.
