
This guide solves all your cordless drill problems with easy-to-follow troubleshooting steps. Learn how to fix battery issues, chuck problems, motor failures, and trigger malfunctions. Save time and money by repairing your drill instead of replacing it.
Key Takeaways
- Battery problems cause 70% of cordless drill issues – learn quick fixes to revive dead batteries and extend their lifespan
- Proper chuck maintenance prevents bit slippage and ensures precise drilling every time
- Overheating is the silent killer of drill motors – discover cooling techniques that add years to your tool’s life
- Trigger switches can be cleaned and repaired instead of replacing the entire drill
- Regular cleaning and lubrication prevents 90% of common cordless drill problems
- Know when to repair vs. replace your drill based on motor condition and battery health
- Always use the right drill for the job – understanding your tool prevents unnecessary wear and tear
Stop Drill Issues Before They Stop You
Your cordless drill sits dead when you need it most. The battery won’t charge. The chuck won’t tighten. Or worse, it starts smoking during a simple job. These problems frustrate DIYers and pros alike.
This guide walks you through every common cordless drill problem. We give you simple solutions you can try today. No technical expertise needed. You’ll learn how to fix your drill fast and keep it running for years.
We cover battery issues, chuck problems, motor failures, and trigger troubles. Plus, we show you how to prevent these problems with basic maintenance. Let’s get your drill back to work.
Understanding Your Cordless Drill Problems
Cordless drills break down in predictable ways. Most issues fall into four categories: power problems, mechanical failures, performance issues, and control malfunctions. Knowing which type you face saves time and effort.
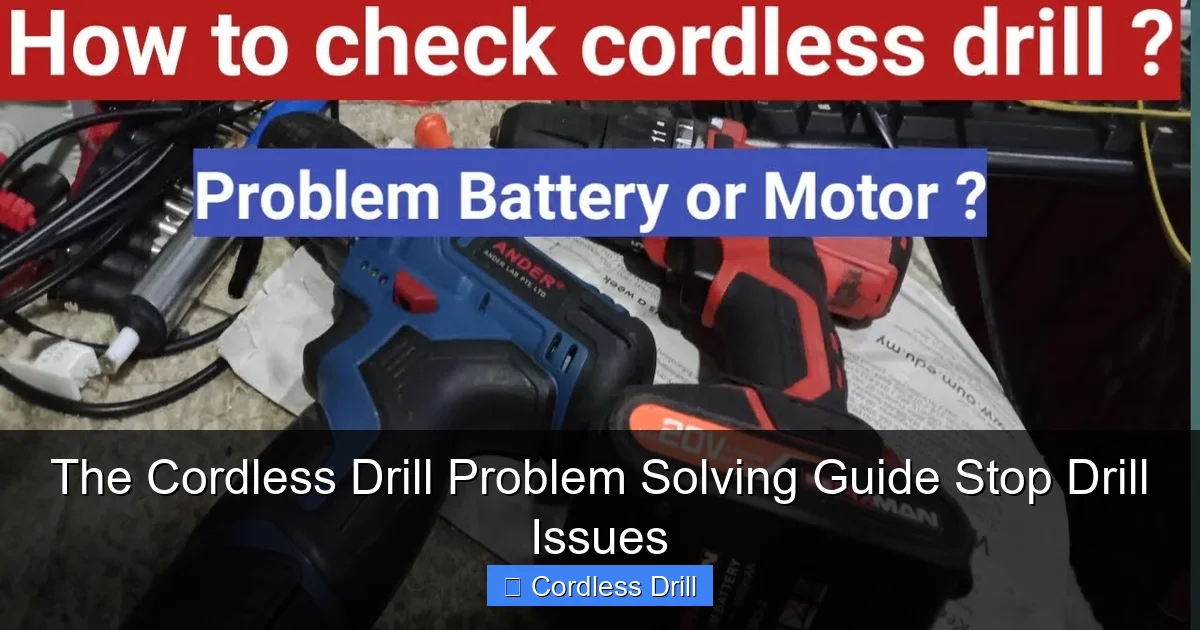
Visual guide about The Cordless Drill Problem Solving Guide Stop Drill Issues
Image source: i.ytimg.com
Power problems usually mean battery or charger faults. Mechanical issues involve the chuck, gears, or motor. Performance problems show as weak drilling or overheating. Control issues affect the trigger and speed settings.
Before diving into repairs, perform this quick diagnostic. Remove the battery and check for visible damage. Inspect the chuck for wear. Listen for unusual sounds when you pull the trigger. This basic check tells you where to focus your efforts.
Battery and Power Issues: The #1 Culprit
Battery problems cause most cordless drill headaches. Lithium-ion and nickel-cadmium batteries degrade over time. But many issues are fixable before replacement becomes necessary.

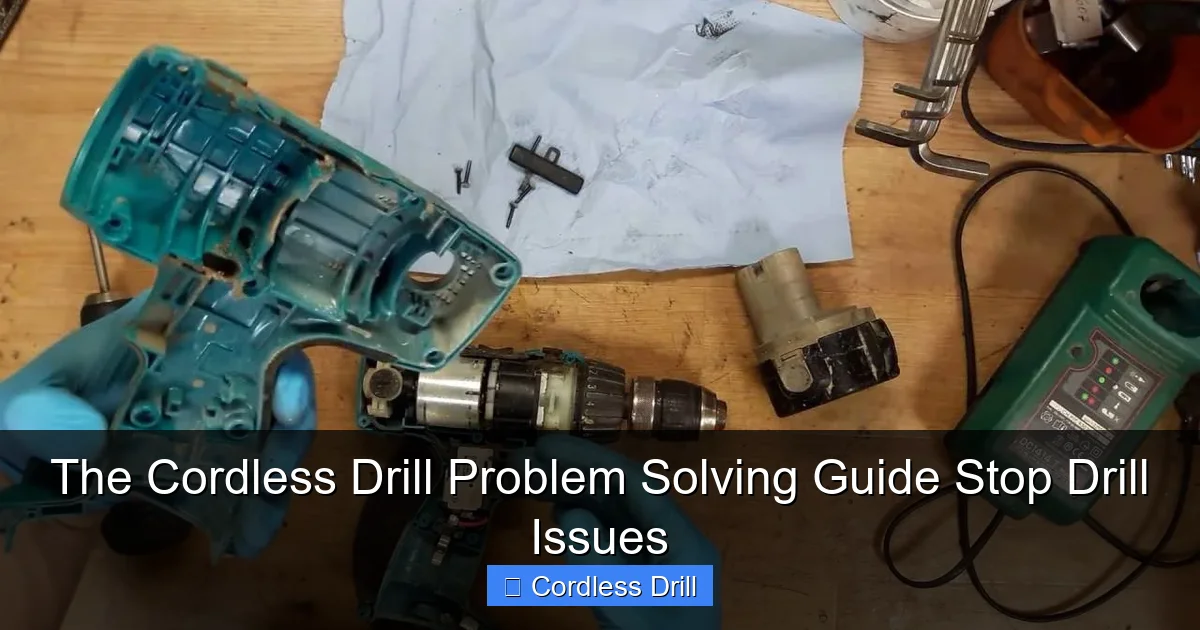
Visual guide about The Cordless Drill Problem Solving Guide Stop Drill Issues
Image source: i.ytimg.com
Dead Battery Won’t Charge
Your battery shows no life when plugged into the charger. First, check the charger itself. Plug it into a different outlet. Ensure the charging contacts are clean and free of debris. Use a cotton swab and rubbing alcohol to clean the metal contacts on both battery and charger.
If the charger light stays green, the battery might have a dead cell. For nickel-cadmium batteries, try cycling them fully discharge then charge three times. This often revives tired cells. Lithium-ion batteries don’t have this memory effect, so cycling rarely helps.
Another trick involves warming the battery slightly. Cold temperatures prevent charging. Hold the battery in your hands for a few minutes or place it in a warm room. Never use direct heat like a hair dryer, as this damages cells.
If these steps fail, the battery likely needs replacement. When buying a new battery, choose OEM over aftermarket for better performance and safety. Check our guide to the best cordless drill options if you’re considering a full upgrade.
Power Loss While Drilling
Your drill works fine until it suddenly loses power mid-job. This usually means the battery can’t deliver enough current under load. The battery might be old or damaged from deep discharges.
Test this by using a fresh, fully charged battery. If the problem disappears, your original battery has reached its end of life. Lithium-ion batteries typically last 300-500 charge cycles. If you’ve had yours for three years or more, it’s likely worn out.
Another cause is voltage sag in extension cords. Are you charging your drill through a long extension cord? Remove it and plug directly into a wall outlet. Voltage drop prevents proper charging and causes power loss during use.
For heavy-duty tasks, switch to a higher amp-hour battery. A 2.0Ah battery works fine for light tasks. But drilling into concrete or thick lumber demands a 4.0Ah or higher pack for consistent power delivery.
Charger Problems
The charger feels warm but shows no charging light. Unplug it and wait 10 minutes. Overheating triggers thermal protection circuits. After cooling, plug it back in. If it still won’t work, test the outlet with another device.
Check the charger cord for damage. Look for frayed wires, kinks, or broken connectors. A damaged cord won’t deliver power. You can often repair minor cord damage with electrical tape, but replacement is safer.
For chargers with multiple LED indicators, learn what each light means. A blinking red light often signals a battery communication error. A solid green light usually means fully charged. Refer to your manual for specific codes.
Never use a charger not designed for your battery chemistry. Mixing lithium-ion and nickel-cadmium chargers causes damage or creates a fire hazard. Always match the voltage and chemistry type exactly.
Chuck and Bit Problems: Stop the Spin
The chuck holds your drill bits securely. When it fails, bits slip, wobble, or won’t release. These problems make drilling dangerous and inaccurate. Most chuck issues are simple to fix with basic tools.
Visual guide about The Cordless Drill Problem Solving Guide Stop Drill Issues
Image source: i.ytimg.com
Loose Chuck Won’t Tighten
You squeeze the chuck but bits still spin freely. First, ensure you’re using the chuck key properly. Insert it fully into each hole and turn clockwise to tighten. The key must engage the internal gears completely.
If the chuck still won’t tighten, it may have worn jaws. Remove the chuck by unscrewing it from the spindle. Most chucks have a screw inside that must be removed first. Use the correct size Allen wrench and turn counterclockwise.
Inspect the chuck jaws for wear. Worn jaws show grooves or rounded edges. You can often flip them 180 degrees to expose fresh gripping surfaces. If all three jaws are badly worn, replace the entire chuck. Replacement chucks cost $15-$40 and take 10 minutes to install.
Another cause is a loose spindle bearing. Grab the chuck and try to wiggle it side-to-side. Excessive play means the bearing needs tightening. This requires removing the drill’s housing and adjusting the bearing preload. If you’re uncomfortable with this, take it to a service center.
Stuck Bit Won’t Release
You can’t remove a bit because the chuck won’t open. First, try tapping the chuck gently with a rubber mallet. Sometimes debris jams the mechanism. Tap around the circumference while pulling the chuck open.
For stubborn bits, use penetrating oil. Apply a few drops around the bit where it enters the chuck. Wait 10 minutes for the oil to work. Then try opening the chuck again. Don’t use excessive force, as this damages the chuck.
Another method involves heating the chuck slightly. Use a hair dryer on low heat for 30-60 seconds. Metal expands when warm, which may free the stuck bit. Never use an open flame, as this ruins the chuck’s temper.
Prevent stuck bits by cleaning the chuck regularly. Remove bits after each use. Wipe the chuck jaws with a dry cloth. Apply a light coat of tool oil to prevent corrosion. This simple habit prevents 90% of stuck bit problems.
Worn or Damaged Chuck
Your chuck shows visible cracks or the key won’t stay in the holes. Cracked chucks are dangerous and must be replaced immediately. A cracked chuck can explode under pressure, sending metal shards flying.
Test chuck wear by inserting a straight bit. Clamp it down and try to wiggle it. Any movement means the chuck is worn. Also check for concentricity by spinning the chuck by hand. It should rotate smoothly without wobbling.
When replacing a chuck, buy one with the same spindle thread size. Most drills use 3/8-24 or 1/2-20 threads. Check your manual or measure the existing threads with a caliper. Universal chucks work but OEM replacements fit better.
Install the new chuck by reversing removal steps. Apply thread locker to the spindle threads to prevent loosening during use. Tighten the chuck securely but don’t over-torque, as this cracks the housing.
Motor and Performance Problems: When Your Drill Struggles
The motor provides all the drilling power. When it falters, your drill becomes useless. Motor issues range from simple fixes to major repairs. Learn to diagnose and solve these problems safely.
Overheating Motor
Your drill gets too hot to touch after a few minutes of use. Overheating damages motor windings and reduces battery life. First, check for blocked ventilation holes. Dust and debris accumulate over time, preventing airflow.
Clean the vents with compressed air. Hold the drill so debris blows out, not deeper inside. Use short bursts to avoid forcing dust into bearings. Do this every few months during regular use.
Another cause is excessive load. Are you forcing the drill through hard materials without enough speed? Let the drill do the work. Apply steady pressure but don’t push harder than necessary. For tough materials, use a lower speed setting and proper drill bits.
Check the carbon brushes if your drill has them. Worn brushes cause the motor to work harder and overheat. Remove the brush caps and inspect the brushes. If they’re shorter than 1/4 inch, replace them. Brush replacement costs under $10 and takes five minutes.
For brushless motors, overheating often means a failing controller. This requires professional repair or drill replacement. If your drill is under warranty, contact the manufacturer before attempting repairs.
Strange Noises During Operation
Your drill makes grinding, squealing, or clicking sounds. Grinding usually means gear damage. Stop using the drill immediately to avoid further damage. Remove the housing and inspect the gears for broken or stripped teeth.
Squealing indicates bearing failure. The main spindle bearing or motor bearings may be dry or damaged. Apply a few drops of light machine oil to the bearings. If the noise persists, the bearings need replacement. Bearing replacement requires special tools and skills.
Clicking sounds often come from the clutch mechanism. The clutch adjusts torque settings. If it clicks constantly, the adjustment ring may be loose. Tighten the ring or replace the clutch spring. This is a simple fix with basic tools.
For hammer drills, some noise is normal. The hammering mechanism creates a distinctive rattling sound. But if the noise changes or becomes excessively loud, inspect the hammer mechanism for wear.
Always wear hearing protection when operating loud drills. Prolonged exposure to drill noise causes permanent hearing damage. If your drill sounds wrong, diagnose it quickly before the problem worsens.
Reduced Torque and Power
Your drill struggles to drive screws or drill holes that it handled easily before. Reduced torque means the motor can’t deliver its rated power. First, check the clutch setting. The clutch controls torque by slipping when resistance gets too high.
Adjust the clutch ring to a higher setting. Most drills have 10-20 clutch settings. Turn the ring clockwise to increase torque. If the clutch slips even on the highest setting, the clutch mechanism is worn.
Another cause is a slipping belt in drills with belt drives. Some models use a belt to connect motor to spindle. Check belt tension and condition. A loose or worn belt won’t transfer power efficiently. Replace belts showing cracks or glazing.
Test the motor by removing the chuck and running the drill no-load. If it spins freely but lacks power under load, the motor windings may be shorting. This requires professional repair or motor replacement.
Battery voltage also affects torque. A weak battery delivers less power. Test with a fresh battery before assuming motor problems. If the drill performs well with a new battery, the original battery is the culprit.
Trigger and Speed Control Issues
The trigger controls speed and direction. When it fails, your drill won’t run or won’t respond to speed changes. These problems are often electrical but can be mechanical too.
Trigger Won’t Activate Drill
You pull the trigger but nothing happens. First, ensure the battery is fully charged and properly seated. Remove and reinsert the battery. Listen for a click when it locks into place.
Check the forward/reverse switch. Some drills have a lockout switch that prevents accidental activation. Make sure it’s in the neutral or forward position. Also check for a trigger lock button that must be released first.
If the trigger feels loose or mushy, it may be disconnected internally. Remove the drill housing and inspect the trigger assembly. Look for broken wires or loose connections. Reconnect any loose wires and test the drill.
The trigger switch itself may be faulty. Test it with a multimeter for continuity. If it shows no continuity when pressed, replace the switch. Trigger switches cost $5-$20 and are easy to install. Most slide into a plastic housing and connect with quick-disconnect terminals.
For drills with electronic speed control, the problem could be the speed control board. This requires more advanced diagnosis. If you’re uncomfortable with electronics, take the drill to a service center.
Speed Control Problems
Your drill runs only at full speed or won’t reach full speed. This is dangerous and makes precision work impossible. The variable speed trigger uses a potentiometer to control motor speed. Dirt and wear cause erratic operation.
Clean the trigger assembly with electrical contact cleaner. Spray the cleaner into the trigger mechanism while working the trigger back and forth. This removes carbon buildup that interferes with speed control.
If cleaning doesn’t work, replace the trigger assembly. Some drills have the speed control integrated into the trigger, while others have a separate control board. Check your parts diagram before ordering replacements.
Another cause is a failing motor controller. Brushless motors use electronic controllers to regulate speed. A failing controller causes speed fluctuations or loss of speed control. This requires professional diagnosis and replacement.
Prevent speed control problems by avoiding full trigger pulls on start. Always ease into full speed gradually. This reduces stress on the control components and extends their life.
Essential Maintenance to Prevent Problems
Regular maintenance prevents 90% of cordless drill problems. A few minutes of care every month saves hours of troubleshooting later. Follow these simple steps to keep your drill in top condition.
Clean your drill after every use. Wipe the housing with a damp cloth to remove dust and debris. Pay special attention to ventilation holes and chuck areas. Never use harsh solvents that can damage plastic parts.
Store batteries properly. Never leave them on the charger for extended periods. Store at 40-60% charge in a cool, dry place. Extreme temperatures destroy battery capacity. Avoid storing in hot garages or cold sheds.
Lubricate moving parts quarterly. Apply a few drops of light oil to the chuck threads, spindle, and any moving levers. Use grease on gears during major teardowns. Always use manufacturer-recommended lubricants.
Inspect your drill bits regularly. Dull bits cause excessive strain on the motor and battery. Replace bits when they no longer cut cleanly. Keep a variety of sharp bits ready for different materials.
Check the carbon brushes every six months if your drill uses them. Replace when worn to 1/4 inch or shorter. This prevents motor damage and maintains peak performance.
Test the clutch monthly. Set it to the lowest setting and try to drive a screw. It should slip easily. Increase the setting until the screw drives without slipping. This ensures the clutch mechanism works properly.
Finally, keep your drill in a protective case. Cases prevent physical damage and keep dust out of critical components. Hard cases also protect batteries from accidental short circuits.
When to Repair vs. Replace Your Drill
Every drill reaches a point where repair costs exceed replacement value. But how do you decide? Consider these factors before spending money on repairs or a new tool.
Battery replacement is almost always worthwhile. Batteries wear out naturally. Replacing a $40 battery on a $150 drill makes economic sense. You get a like-new tool for a fraction of the cost.
Chuck replacement is also cost-effective. A $25 chuck part plus your time saves buying a new drill. Most chucks are easy to replace with basic tools. This repair extends drill life by several years.
Motor replacement is a gray area. If the motor fails in a quality drill under $200, replacement often costs more than a new drill. But for premium drills over $300, motor replacement makes sense. Consider the drill’s age and overall condition first.
Gearbox repairs are rarely worth the cost. Gearboxes require specialized tools and expertise. Unless you have a vintage or extremely expensive drill, replace the entire tool instead.
Trigger switch replacement is usually worthwhile. These inexpensive parts fail frequently and are easy to install. A $10 switch can revive a $200 drill.
Consider your drill’s warranty. Most quality drills have 3-year warranties. If your drill fails within this period, contact the manufacturer for a free replacement. Never attempt repairs on a warranted drill, as this voids coverage.
Finally, evaluate your needs. If your current drill no longer meets your project demands, upgrade instead of repairing. Maybe you need more torque, longer battery life, or hammer function. A new drill might be the better investment.
Final Thoughts: Keep Your Drill Running Forever
Cordless drill problems don’t have to end your projects. Most issues are simple fixes you can do at home. With the right approach, you’ll spend less time troubleshooting and more time building.
Remember the key steps: diagnose the problem category, check the simplest solutions first, and work methodically through potential causes. Keep your drill clean, your batteries charged, and your bits sharp.
Invest in quality tools from the start. A good drill costs more upfront but saves money long-term through durability and performance. Check our best cordless drill reviews to find the right tool for your needs.
Finally, know when to walk away. If a repair seems too complex or dangerous, seek professional help. Your safety matters more than any tool. With these tips, you’ll solve most cordless drill problems and keep your projects moving forward.
