
Cordless drill long term care is essential for maximizing your tool’s lifespan and performance. This guide reveals proven strategies to extend battery life through proper charging habits, storage techniques, and routine maintenance. You’ll discover simple daily routines that prevent costly replacements and keep your drill ready for any project.
Key Takeaways
- Batteries love partial charges: Keep lithium-ion batteries between 20-80% charge for maximum lifespan instead of always charging to 100%.
- Temperature is your enemy: Never store or charge batteries in extreme heat or cold – room temperature is ideal for cordless drill long term care.
- Clean regularly: Wipe down your drill after each use and clear dust from vents to prevent overheating and motor damage.
- Store smart: Keep batteries at 40-50% charge during long storage periods and check them every few months.
- Use it or lose it: Batteries degrade faster when unused; rotate between multiple batteries if you have them.
- Match the tool to the task: Using the wrong drill type can cause excessive wear; know when to use a regular drill versus a hammer drill.
Introduction: Why Cordless Drill Long Term Care Matters
Your cordless drill represents a significant investment in your toolbox. Proper cordless drill long term care can double or triple its useful life while maintaining peak performance. Most DIYers and professionals alike have experienced the frustration of grabbing a drill only to find the battery dead or the tool sluggish. This comprehensive guide will teach you exactly how to prevent those situations through simple, actionable steps.
You’ll learn battery-specific strategies, mechanical maintenance routines, and storage solutions that manufacturers don’t always include in the manual. By implementing these tips consistently, you’ll save money, reduce downtime, and ensure your drill is always ready when you need it most. Let’s dive into the world of cordless drill maintenance and discover how to keep your power tool running like new for years to come.
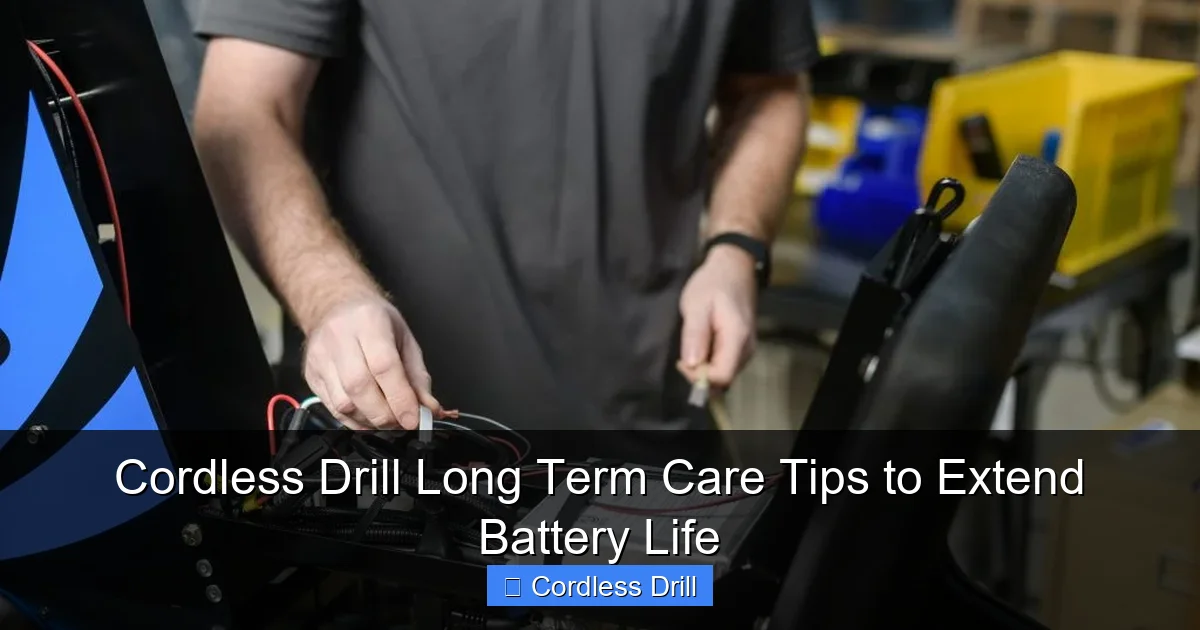
Understanding Your Cordless Drill Battery: The Heart of Your Tool
Before you can properly care for your cordless drill, you need to understand what powers it. Modern drills use lithium-ion batteries, which require specific care compared to older nickel-cadmium or nickel-metal hydride technologies.
Visual guide about Cordless Drill Long Term Care Tips to Extend Battery Life
Image source: myamigo.com
Lithium-Ion vs. Older Technologies
Most new cordless drills today feature lithium-ion batteries. These batteries offer higher energy density, lighter weight, and no memory effect. Memory effect was a problem with older nickel-cadmium batteries that would lose capacity if repeatedly recharged after partial discharges. Lithium-ion batteries actually prefer partial discharges, making them more forgiving for casual users.
However, lithium-ion batteries are more sensitive to temperature extremes and overcharging. They contain sophisticated battery management systems that protect against dangerous conditions, but these systems can’t prevent all wear and tear. Understanding these characteristics is the foundation of effective cordless drill long term care.
How Battery Chemistry Affects Care
Lithium-ion batteries degrade through chemical reactions that occur during charging and discharging. Heat accelerates these reactions, while deep discharges strain the battery cells. The goal of long-term care is to minimize these stress factors. Think of your battery like a car engine – gentle operation, regular maintenance, and avoiding extreme conditions will keep it running smoothly for much longer.
When shopping for a new drill, consider investing in quality brands with good battery warranties. Check out our guide on the best cordless drill options to find models known for battery longevity.
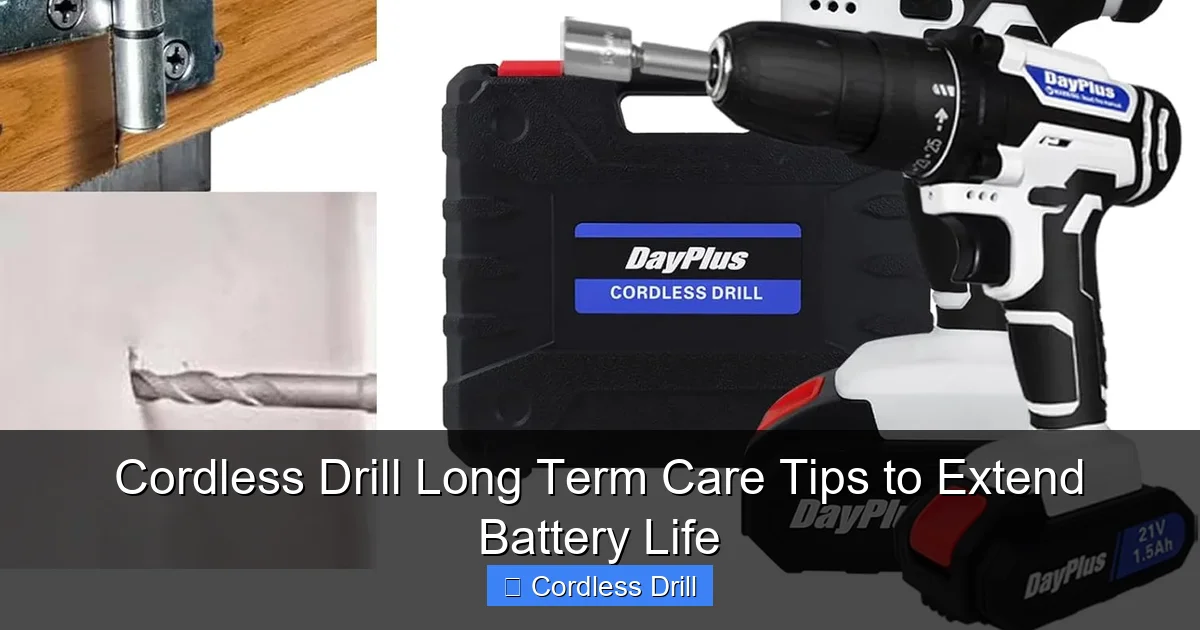
Daily and Weekly Care Routines for Lasting Performance
Consistency is key when it comes to cordless drill maintenance. Small actions performed regularly prevent major problems down the road. Think of these as the equivalent of brushing your teeth for your power tools – quick, simple, and incredibly effective.

Visual guide about Cordless Drill Long Term Care Tips to Extend Battery Life
Image source: livinator.com
Cleaning Your Drill After Each Use
After finishing a project, take two minutes to wipe down your drill. Use a clean, dry cloth to remove dust, wood chips, or drywall debris from the housing. Pay special attention to the air vents – these are critical for cooling the motor and battery. Clogged vents force the drill to overheat, which damages both components.
For stubborn grime, use a slightly damp cloth with mild soap. Never spray water directly onto the drill or use harsh solvents that could damage plastic components. A soft-bristled brush works well for cleaning the chuck area where debris tends to accumulate. For detailed projects like hanging shelves or installing fixtures, proper cleaning prevents cross-threading and ensures smooth operation. If you need guidance on using your drill for specific tasks, our guide on how to use a drill for screws into a wall includes maintenance tips.
Checking for Wear and Tear
During your weekly tool check, inspect your drill for signs of damage. Look for cracks in the housing, loose screws, or excessive play in the chuck. Check the battery terminals for corrosion – a white, powdery substance that can interfere with charging. If you spot corrosion, gently clean the terminals with a cotton swab and rubbing alcohol.
Listen for unusual noises during operation. Grinding, clicking, or squealing sounds indicate internal problems that need attention. Don’t ignore these warning signs – small issues become expensive repairs if neglected. Regular inspections are a cornerstone of effective cordless drill long term care.
Proper Storage Between Uses
When you’re done working for the day, don’t just toss your drill in a hot truck or damp basement. Store it in a clean, dry place at room temperature. Many professionals use hard plastic cases that came with their tools, while DIYers can repurpose toolboxes or dedicated storage bins.
Keep the drill in a position that doesn’t stress the chuck or trigger. Avoid storing it with heavy items on top that could crack the housing. If you have multiple batteries, store them separately from the drill to prevent accidental discharges.
Battery-Specific Maintenance Strategies
Your battery deserves special attention in any cordless drill long term care routine. Battery replacement costs often exceed half the price of a new drill, making battery preservation your top priority.
Visual guide about Cordless Drill Long Term Care Tips to Extend Battery Life
Image source: m.media-amazon.com
The 20-80% Rule for Charging
The single most important practice for extending lithium-ion battery life is avoiding full charge cycles. These batteries experience the least stress when kept between 20% and 80% charge. Charging to 100% creates high voltage stress on the cells, while dropping below 20% can cause the battery management system to struggle.
Most modern chargers show charge level through LED indicators. Learn to unplug the battery when it reaches about 80% – usually indicated by the third light on a four-light system. For overnight storage, remove the battery from the charger entirely. Smart chargers that automatically stop charging at 100% are better than older trickle-charge models, but even these can’t prevent the stress of maintaining a full charge.
Avoiding Extreme Temperatures
Heat is the number one enemy of lithium-ion batteries. Never leave your drill or spare batteries in a hot car, garage, or direct sunlight. Temperatures above 86°F (30°C) accelerate capacity loss significantly. In extreme cases, heat can cause permanent damage or even safety hazards.
Cold is also harmful. Batteries lose power quickly in freezing temperatures, and charging a cold battery (below 32°F/0°C) can cause internal damage. If your drill has been in a cold environment, let it warm to room temperature before charging or using. The ideal operating and storage temperature is between 50°F and 77°F (10°C to 25°C).
Storage Charge Levels for Long Periods
If you won’t use your drill for several weeks or months, prepare the battery properly. Store lithium-ion batteries at approximately 40-50% charge. This “storage charge” level minimizes stress on the cells while preventing deep discharge over time.
To achieve this, charge your battery normally, then use the drill briefly on a low setting to bring it down to the halfway point. Remove the battery from the drill and store it separately in a cool, dry place. Check the charge level every two to three months and top it up to 50% if it drops below 30%. This simple habit can prevent the battery from becoming completely dead and unusable.
Preventing Deep Discharge
Never leave a lithium-ion battery completely dead. If a battery discharges fully and sits for weeks, its voltage can drop too low for the protection circuit to allow recharging. This “bricked” battery is effectively dead and must be replaced.
Pay attention to your drill’s low battery warnings and stop using it when power becomes noticeably reduced. If you have multiple batteries, rotate them during long projects to keep all of them in the healthy charge range. This rotation also ensures even wear across your battery fleet.
Drill Maintenance Beyond the Battery
While batteries get most of the attention, your drill’s mechanical components also need care. A well-maintained motor and transmission will outlast several battery replacements.
Chuck Care and Lubrication
The chuck is the part that holds your drill bits. Over time, it can become stiff or clogged with debris. Every month, open the chuck fully and clean it with a dry cloth. For keyless chucks, apply a drop of light machine oil to the threads and work it in by opening and closing the chuck several times.
Check for wear by inserting a bit and tightening the chuck. The bit should hold firmly without slipping. If you notice slipping, the chuck jaws may be worn and need replacement. A properly maintained chuck not only extends drill life but also ensures safe operation and accurate drilling.
Gearbox and Motor Maintenance
The gearbox and motor assembly rarely need user service, but they do require clean air to stay cool. Every few months, use compressed air to blow dust from the air vents. Hold the can upright and use short bursts to avoid damaging internal components.
If your drill has a brush motor (most do), the carbon brushes will eventually wear out. Listen for sparking noises or reduced power as indicators. Professional repair shops can replace brushes, but this is typically needed only after several years of heavy use.
Trigger and Switch Inspection
The variable speed trigger controls your drill’s RPM. If it becomes sticky or unresponsive, spray a small amount of electrical contact cleaner into the mechanism and work the trigger several times. Avoid using lubricants that attract dust.
Check the forward/reverse switch for smooth operation. If it feels loose or makes poor contact, have it inspected by a professional. Electrical issues are dangerous and should not be ignored.
Seasonal and Long-term Storage Solutions
Different seasons and usage patterns require specific storage approaches. Whether you’re a weekend warrior or a professional contractor, proper storage protects your investment.
Preparing Your Drill for Storage
Before storing your drill for an extended period, give it a thorough cleaning. Remove all bits, clean the chuck, and wipe down every surface. Charge the battery to 50% as discussed earlier. This preparation prevents dust from baking onto hot components and ensures you’ll find a healthy battery when you return to the tool.
Consider creating a maintenance log where you note the date, battery charge level, and any observations. This simple record helps you track your cordless drill long term care routine and spot potential issues early.
Battery Storage Best Practices
Store batteries in a plastic container rather than a metal one. Metal can cause short circuits if terminals touch. Keep batteries away from conductive materials like paper clips or coins.
For those with multiple batteries, store them in a way that prevents terminal contact. Original battery cases work best, but egg cartons or specialized battery storage boxes are good alternatives. Always store batteries at room temperature in low humidity.
Reactivating After Long Storage
When you pull your drill out of storage, don’t immediately put it to work. First, inspect the battery charge level. If it’s below 20%, charge it normally. Check for any signs of damage or deterioration.
Run the drill briefly without a bit to ensure smooth operation. Listen for unusual noises and feel for vibration. If everything sounds good, you’re ready to resume work. This gentle reactivation process prevents shock to components that have been idle.
Troubleshooting Common Issues
Even with perfect care, issues can arise. Knowing how to diagnose and fix common problems saves time and money.
Battery Not Holding Charge
If your battery loses power quickly, it may have reached the end of its life. Lithium-ion batteries typically last 2-5 years or 300-500 charge cycles. However, poor charging habits can shorten this dramatically. Try calibrating the battery by fully discharging it (use the drill until it stops) and then charging it completely. Do this once to reset the battery gauge.
If calibration doesn’t help, the battery is likely worn out. Check if your drill is still under warranty, as some manufacturers cover battery replacement. When buying a new battery, purchase from the original tool manufacturer for best compatibility.
Overheating Problems
An overheating drill indicates blocked vents or excessive load. Stop using the drill and let it cool completely. Clean all air vents with compressed air. If overheating continues, you may be using the wrong drill for the task. For example, using a standard drill for heavy masonry work can cause overheating. Consider whether you need a hammer drill or impact driver for specialized applications.
Drill Losing Power Under Load
When your drill bogs down during normal tasks, check the battery first. A battery that can’t deliver sufficient current will sag under load. If the battery is fine, the motor brushes may be worn. This requires professional service.
Also check that you’re using the correct drill speed and gear setting. High torque tasks require low speed settings. Using high speed for driving screws can overload the motor and cause premature wear.
Chuck or Mechanism Issues
A slipping chuck wastes energy and damages bits. Tighten the chuck properly using the key or keyless mechanism. If it continues to slip, inspect the chuck jaws for wear or damage. Worn jaws must be replaced to maintain performance and safety.
For drills with a two-speed gearbox, ensure you’re shifting gears only when the drill is stopped. Forcing the shift lever while running damages the transmission. If the gearbox won’t stay in gear, it may need adjustment or repair.
When to Replace vs. Repair
Eventually, every tool reaches a point where replacement makes more sense than repair. Knowing when to make this decision is part of smart cordless drill long term care.
Battery Replacement Signs
Replace your battery when it holds less than 70% of its original capacity. You’ll notice this as significantly reduced runtime. Another sign is the battery taking much longer to charge than when new. Most importantly, if the battery becomes hot during charging or shows physical swelling, replace it immediately – swollen batteries are dangerous.
When purchasing replacement batteries, consider upgrading to higher amp-hour models if compatible. A 4.0Ah battery will last longer between charges than a 2.0Ah version, though it may cost more initially.
Tool Lifespan Expectations
A quality cordless drill should last 5-10 years with proper care. The motor and gearbox are typically durable, but switches, chucks, and electronics can fail. If repair costs exceed 50% of a new drill’s price, replacement is usually the better choice.
Technology advances quickly. A 10-year-old drill may lack features like brushless motors, LED lights, or improved ergonomics that make work easier and safer. Consider upgrading to take advantage of these improvements.
Conclusion: Building Your Maintenance Routine
Effective cordless drill long term care doesn’t require complicated procedures or expensive equipment. It simply demands consistency and attention to detail. By following the strategies outlined in this guide – from the 20-80% charging rule to regular cleaning and proper storage – you’ll dramatically extend your drill’s lifespan and maintain its performance.
Start implementing these habits today. Create a simple checklist for daily, weekly, and monthly tasks. Store your drill properly after your next project. Check your battery charge levels before putting tools away. These small actions compound over time, transforming your cordless drill from a disposable tool into a reliable workhorse that serves you for years. Remember, the best drill is the one that starts every time you pull it from your toolbox – and that’s exactly what proper long-term care delivers.
