
Don’t toss a faulty cordless drill just yet! Many common problems have simple DIY fixes. This guide provides essential cordless drill repair tips, from diagnosing the issue to replacing parts like triggers and chucks. With basic tools and safety, you can often restore your tool to full working order.
Key Takeaways
- Safety First, Always: Disconnect the battery before any repair. This is the most critical rule to prevent shock or accidental startup.
- Diagnosis is Half the Battle: Systematically identify the symptom (no power, weak power, strange noise) to pinpoint the likely faulty component, saving time and effort.
- The Battery is Often the Culprit: Weak performance or failure to charge is frequently a battery issue. Learn to test and properly maintain your batteries for longer life.
- Basic Repairs are Very Doable: With common tools, you can replace worn chucks, faulty triggers, and dirty switches, which are common failure points.
- Know When to Call It: Major motor or gearbox damage often requires professional service or replacement. Don’t risk further damage on complex internal repairs.
- Preventative Maintenance is Key: Regular cleaning, proper battery care, and correct usage can prevent many common problems from occurring in the first place.
Fix Your Drill: Essential Cordless Drill Repair Tips
Your cordless drill is a trusty sidekick for countless projects. But what happens when it starts acting up? Before you rush out to buy a new one, know this: many cordless drill problems are repairable at home. With some basic tools and a bit of know-how, you can often bring your tool back to life. This guide will walk you through the most common issues and provide step-by-step cordless drill repair tips to save you money and extend the life of your equipment. Let’s get your drill running like new again.
Your Safety Toolkit: The First Step in Any Repair
Before you touch a screwdriver, let’s talk safety. Working on power tools requires caution.
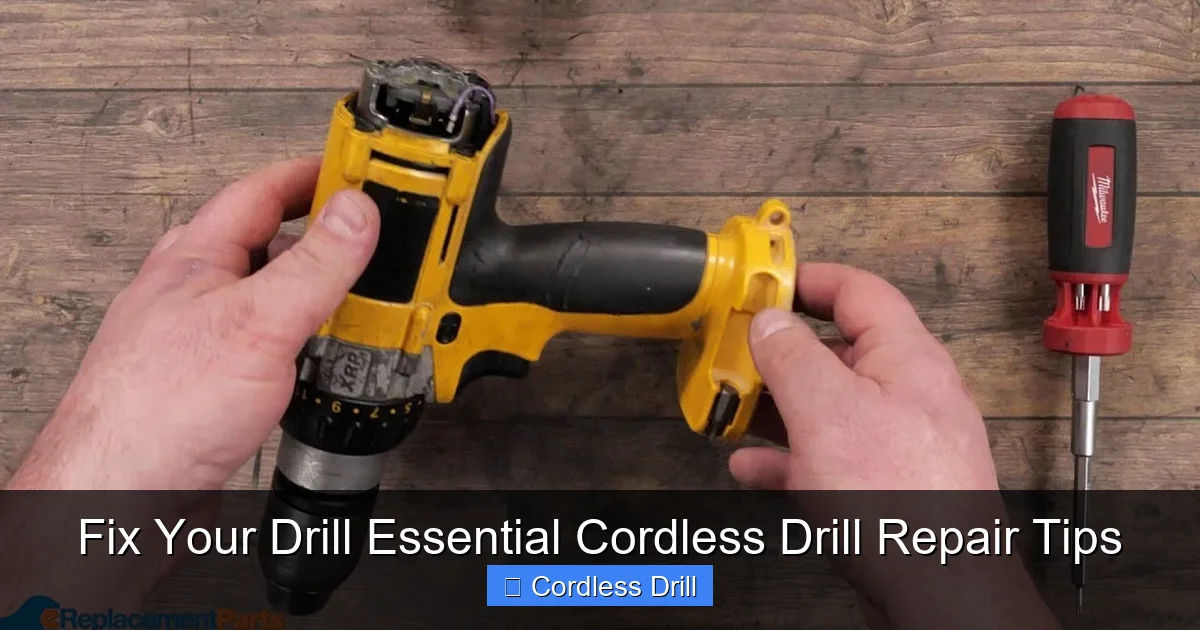
Visual guide about Fix Your Drill Essential Cordless Drill Repair Tips
Image source: i.ytimg.com
- Remove the Battery: This is non-negotiable. Always remove the battery pack before opening the drill’s housing. It prevents accidental startup and electrical shock.
- Eye Protection: Wear safety glasses. Small springs, metal shavings, or debris can fly when disassembling.
- Work in a Clean, Well-Lit Area: A clear workspace helps you keep track of small screws and parts.
- Use the Right Tools: Have a set of screwdrivers (both Phillips and flathead), needle-nose pliers, and a multimeter for electrical testing. Refer to our essential safety tips for a mindset that applies to all tool work.
Step 1: Diagnose the Problem
Is the drill dead, weak, or making a funny noise? Identifying the symptom is the first key to repair.
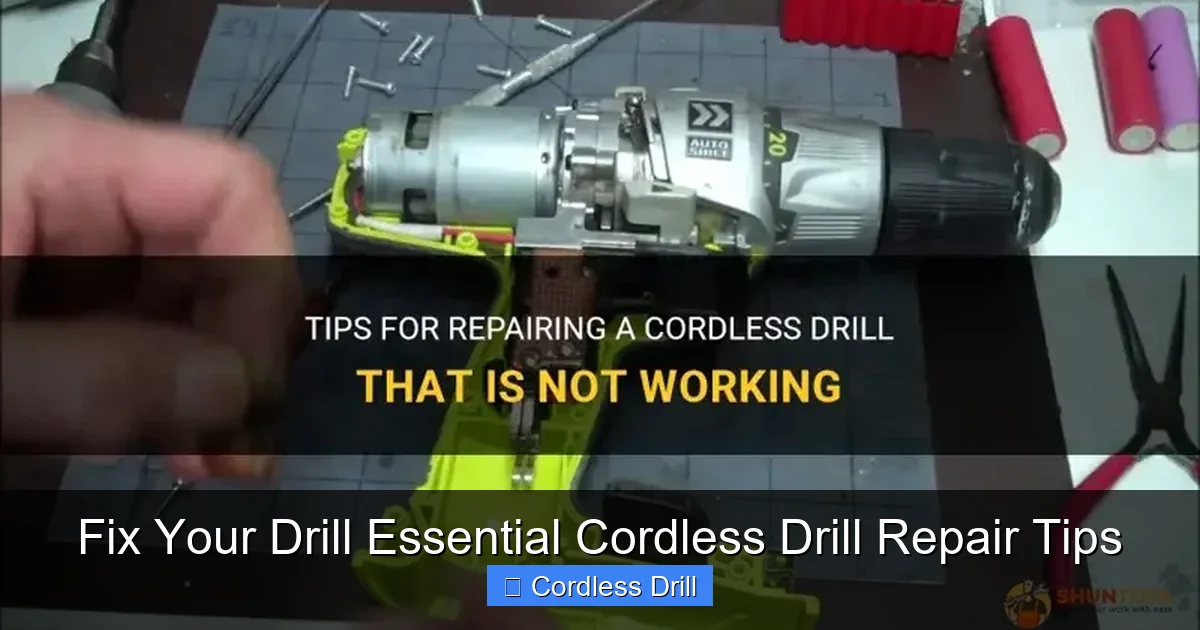
Visual guide about Fix Your Drill Essential Cordless Drill Repair Tips
Image source: shuntool.com
Common Symptoms and Their Likely Causes
- Drill Won’t Start at All: Dead battery, faulty trigger switch, damaged battery terminals, or a broken connection inside.
- Drill Runs Weak or Slows Under Load: Worn-out battery, failing motor (brushes), or internal mechanical binding.
- Drill Smells Like Burning or Gets Hot: Overheating motor often due to overuse, blocked vents, or worn brushes creating excess friction.
- Chuck Won’t Tighten or Loosen: Worn chuck jaws, damaged internal gear teeth, or a broken chuck key.
- Strange Grinding or Clicking Noise: Damaged gears in the transmission/gearbox, a foreign object inside, or a failing bearing.
- Trigger Speed is Inconsistent: Faulty variable speed trigger switch or a poor electrical connection.
Step 2: The Battery – The Most Common Fix
Battery issues are the #1 reason for drill failure. Let’s start here.
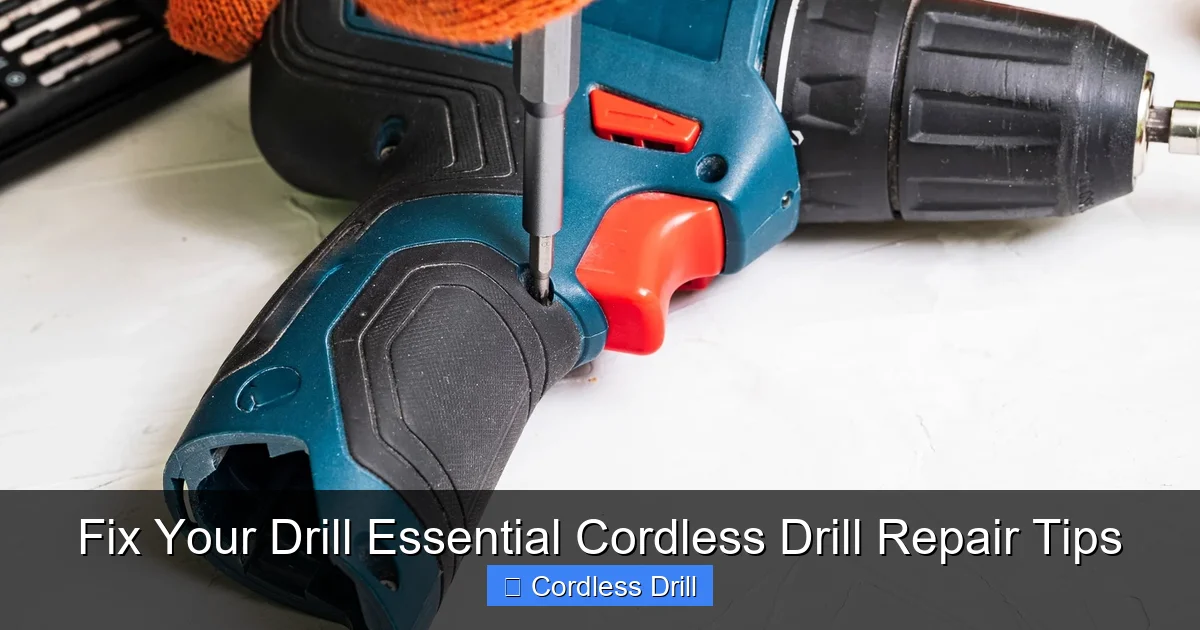
Visual guide about Fix Your Drill Essential Cordless Drill Repair Tips
Image source: toptiertool.com
Testing Your Battery
If you have a multimeter, set it to DC Volts. A fully charged 18V battery should read around 20-21V. A 12V battery should read about 13-14V. If the voltage is significantly lower, the battery is depleted or damaged. Also, check the battery terminals on both the drill and the charger for dirt, corrosion, or bending. Clean them with a dry cloth or a small brush.
Battery Maintenance Tips
- Avoid fully draining lithium-ion batteries. Charge them when they hit about 20%.
- Store batteries in a cool, dry place, away from metal objects that could short the terminals.
- If a battery pack is dead and won’t hold a charge, it may be a single bad cell. Rebuilding battery packs is possible but requires advanced skill and caution. For most, replacement is safer. When looking for a new drill or battery, our guide on the best cordless drill can help you understand quality brands.
Step 3: Internal Electrical Repairs
If the battery checks out, the problem is likely inside the drill.
Opening the Drill Housing
Carefully remove all visible screws from the drill’s plastic clamshell housing. They are often hidden under labels or rubber grips. Use a plastic pry tool or a flathead screwdriver wrapped in tape to gently separate the two halves. Go slow to avoid breaking plastic tabs.
Inspecting and Testing Components
- Trigger/Switch: Look for burned marks or melted plastic. With the battery removed, you can use a multimeter in continuity mode to test it. The reading should change as you pull the trigger.
- Forward/Reverse Switch: Check for cracked housing or dirty contacts. Spraying electrical contact cleaner into the switch can sometimes fix intermittent issues.
- Motor Brushes: On brushed motors, locate the brush caps (usually two plastic caps on the motor). Remove them and check the carbon brushes. They should be longer than 1/4 inch and move freely in their holders. Worn, stuck, or shattered brushes are a common failure point and are cheap to replace.
- Wiring: Look for any loose, disconnected, or frayed wires. Check where wires connect to the trigger and motor.
Step 4: Mechanical Repairs
These fixes deal with the physical parts that make the drill work.
Replacing the Chuck
A wobbly or stuck chuck needs replacing.
- Open the jaws fully and look inside for a screw. This screw has reverse threads (lefty-tighty, righty-loosey).
- Use the correct screwdriver to remove it.
- Insert a large Allen key or chuck key into the chuck, tighten it slightly, then give it a sharp tap with a hammer in the clockwise direction (viewed from the front) to loosen the chuck’s standard threads. It should spin off.
- Screw the new chuck on hand-tight, then replace and tighten the reverse-threaded screw inside to secure it.
Dealing with Gearbox Issues
Grinding noises often point to stripped plastic or metal gears.
- After opening the housing, locate the gearbox attached to the motor.
- Remove the screws or clips holding it together.
- Carefully open it and lay out the gears in order.
- Identify the damaged gear (it will have missing or mashed teeth).
- Replacement gear kits are often available online. Match the part number from your old gear. Reassemble in the exact reverse order, applying a small amount of gear grease.
Understanding the different internal mechanisms can be helpful. For instance, knowing the difference between impact driver and hammer drill explains why their gearboxes differ.
Step 5: Reassembly and Final Testing
This is where your organizational skills pay off.
- Ensure all parts are clean and free of old grease or debris.
- Carefully guide all wires back into their channels to avoid pinching.
- Snap the two housing halves together, ensuring all tabs align.
- Insert and tighten all screws evenly. Don’t overtighten.
- Insert a freshly charged, known-good battery for the first test.
- Test the drill in a safe, no-load condition. Check forward, reverse, and variable speed.
Troubleshooting Persistent Problems
What if it still doesn’t work?
- Still No Power: Double-check all wire connections, especially to the motor. The motor itself may have an internal break and need replacement.
- Motor Spins but Chuck Doesn’t: The pinion gear on the motor shaft might be stripped, or the gear selector ring is disengaged/broken.
- Smoke or Spark Upon Startup: Stop immediately. You likely have a serious short circuit. This usually requires professional repair or tool replacement.
When to Call a Professional or Replace the Drill
Not every repair is a DIY job. Consider professional service or replacement if:
- The armature or field coils inside the motor are burned (you’ll see blackened, crispy windings).
- The gearbox casing is cracked.
- The repair parts cost more than half the price of a comparable new drill.
- You simply don’t feel comfortable with the complexity.
For your next project after the repair, like hanging shelves, our guide on how to use a drill for screws into a wall will ensure you use your revived tool correctly.
Conclusion: Empowerment Through Repair
Fixing your cordless drill is a rewarding skill. It saves money, reduces waste, and gives you a deeper understanding of the tools you rely on. By following these cordless drill repair tips, you’ve learned to diagnose issues, perform common fixes, and maintain your tool for the long haul. Remember, start with safety and simple diagnostics. Often, the solution is simpler than you think. With your drill now purring again, you’re ready to tackle the next project with confidence and the satisfaction of a job done well—twice over!
