
This guide unlocks the full potential of your hammer drill for outdoor projects. You will learn how to tackle common tasks like installing a fence, setting mailbox posts, and creating masonry anchor points. We provide clear, step-by-step instructions and essential safety tips to ensure your success.
Key Takeaways
- Master the Modes: Understanding when to use hammer-only, drill-only, or rotary hammer action is crucial for efficiency and preventing damage to your tool or material.
- Concrete is King: A hammer drill’s primary outdoor superpower is drilling into concrete, brick, and stone, making it ideal for permanent installations.
- Right Bit for the Job: Always use masonry bits for concrete/brick and auger or spade bits for wood. Using the wrong bit leads to poor results and potential injury.
- Safety is Non-Negotiable: Wear PPE (safety glasses, gloves, hearing protection), check for hidden utilities before any digging or drilling, and secure your workpiece.
- Plan for Power: For extensive outdoor projects, a cordless hammer drill with high-voltage batteries offers the best mobility, but a corded model provides relentless power for heavy-duty tasks.
- Post Setting Perfection: Using a hammer drill to create pilot holes for post anchors or to mix concrete ensures much more stable and long-lasting posts for fences and decks.
Top Hammer Drill Outdoor Uses Every Homeowner Should Know
Got a hammer drill? You might think it’s just for those occasional shelf-hanging jobs inside. But take it outside, and this tool transforms into a home improvement superhero. It’s the key to tackling projects that make your outdoor space more functional, beautiful, and secure.
This guide will walk you through the most valuable outdoor uses for your hammer drill. We will cover everything from simple installations to foundational projects. You will get clear, step-by-step instructions. Let’s turn that intimidating tool into your best backyard buddy.
Understanding Your Hammer Drill First
Before we head outside, let’s get familiar with the machine. A hammer drill combines two actions: rotation and a rapid hammering punch. This dual action is what lets it chew through tough materials like concrete, brick, and stone. Most models have a switch to select different modes.
Visual guide about Top Hammer Drill Outdoor Uses Every Homeowner Should Know
Image source: i.ytimg.com
- Hammer-Only Mode: This is for light chiseling or breaking. We won’t use this mode much for the projects below.
- Drill-Only Mode: Use this for wood, metal, or plastic. It works just like a standard power drill.
- Rotary Hammer Mode (Hammer + Drill): This is the magic setting for drilling into masonry. The hammer action helps pulverize the material while the bit rotates to clear the dust.
It’s important to know this isn’t the same as a regular drill. If you’re unsure about the distinction, our guide on the difference between a hammer drill and regular drill explains it in detail. For most outdoor tasks, you’ll be living in “Rotary Hammer” mode.
Essential Outdoor Project #1: Installing a Fence or Gate
This is a classic hammer drill project. Whether it’s a wooden privacy fence or a metal garden gate, you need solid anchor points in the ground or on masonry walls.
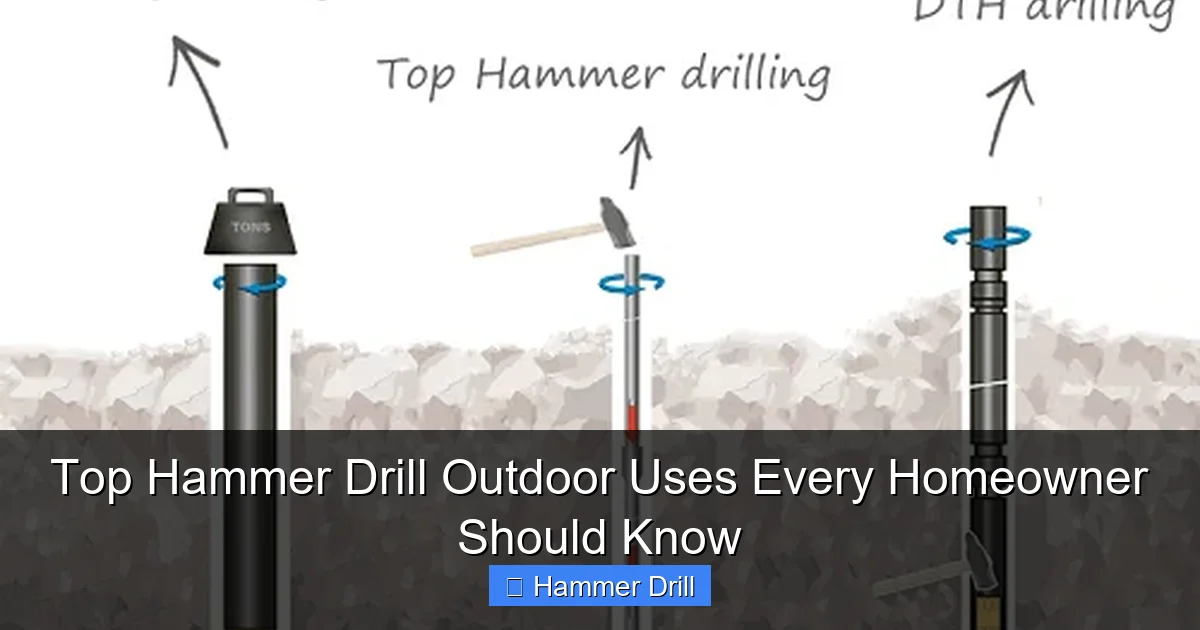
Visual guide about Top Hammer Drill Outdoor Uses Every Homeowner Should Know
Image source: miro.medium.com
Step 1: Plan and Mark Your Layout
Use string lines and stakes to mark exactly where your fence posts or gate hinges will go. Measure twice, drill once! This is also the critical moment to call 811 or your local utility locating service to mark any buried lines.
Step 2: Drilling for Post Bases (Into Concrete)
For attaching posts to an existing concrete patio or footing, metal post bases are the answer. Mark your hole locations on the concrete. Insert a masonry bit into your hammer drill. Set it to rotary hammer mode. Drill your holes to the depth specified by the anchor. Blow out the dust (wear safety glasses!). Insert the concrete anchor, place the post base, and tighten. This method is far superior to just using surface-mounted brackets.
Step 3: Setting Posts in the Ground
For wooden posts set in concrete, use your hammer drill to secure the below-ground portion. After digging your hole, use a large-diameter auger bit (in drill-only mode) attached to your hammer drill to rough out the bottom of the hole for better concrete adhesion. You can also use a dedicated mixing paddle in your hammer drill (drill-only mode, low speed) to mix bags of concrete right in a wheelbarrow. It’s faster and more thorough than mixing by hand.
Essential Outdoor Project #2: Building a Deck or Pergola
Attaching a ledger board to your house is the most important step in deck building. This requires drilling into your home’s concrete foundation or brick siding.
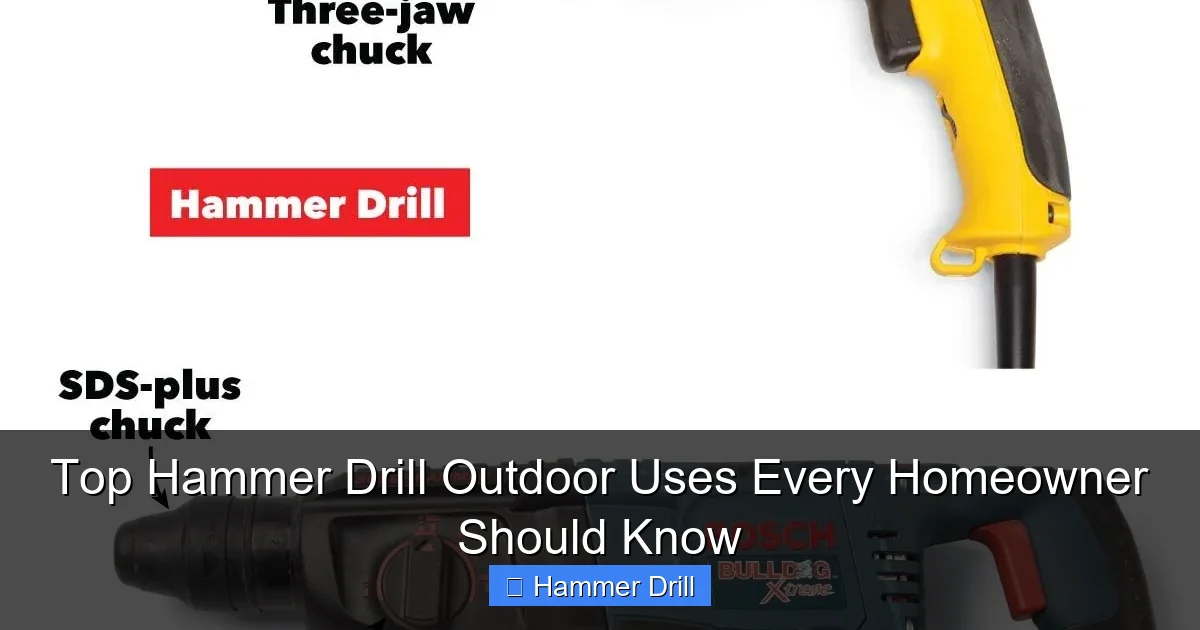
Visual guide about Top Hammer Drill Outdoor Uses Every Homeowner Should Know
Image source: familyhandyman.com
Step 1: Attach the Ledger Board
Position your pressure-treated ledger board against the house. Use a masonry bit to drill pilot holes through the board and into the foundation. Switch to drill-only mode to drill through the wood first, then switch to rotary hammer to drill into the concrete. Insert shield anchors or sleeve anchors and tighten securely. This creates a load-bearing connection that will safely support your deck.
Step 2: Secure Footings and Posts
Similar to fence posts, you can use your hammer drill to prepare concrete footings or attach post hardware to existing pads. The process is identical to the fence project but with a greater focus on precise, level placement.
Essential Outdoor Project #3: Mounting Anything on Brick or Stone Walls
Want to hang outdoor lights, a mailbox on a brick pillar, a house number sign, or a trellis? Your hammer drill is your ticket.
Step 1: Choose the Right Anchor
For brick and stone, use sleeve anchors or wedge anchors for heavy items. For lighter items, plastic wall plugs with masonry screws work well.
Step 2: Drill Your Pilot Hole
Mark your spot. Use a masonry bit that matches the anchor size. Hold the drill steady and apply firm, even pressure. Let the tool do the work—don’t force it. Drill to the required depth. Pro tip: To prevent the bit from wandering on rough stone, make a small starter indent with a center punch.
Essential Outdoor Project #4: Installing a Mailbox Post
A wobbly mailbox is an eyesore. Secure it permanently.
You have two great options. The first is the concrete anchor method. Use a post mount bracket that anchors into an existing concrete sidewalk or pad. Drill with your hammer drill as described above.
The second is the in-ground set method. Dig your hole, place the post, and use your hammer drill with a mixing paddle to prepare concrete for pouring around it. For a super-solid hold, you can even drill a few holes horizontally into the sides of the hole (in the earth) to give the concrete “ears” to grip onto.
Essential Outdoor Project #5: Creating a Concrete Anchor for a Shade Sail or Hammock
These items put tremendous tension on their anchor points. A hammer drill lets you install ground anchors or eye bolts into concrete that won’t pull out.
For a concrete patio, drill a hole for a heavy-duty eye bolt with a masonry bit. Use a wedge anchor designed for overhead loads. For lawn installations, you can use a drive-in ground anchor, but setting a concrete-filled tube form with an embedded eye bolt (using your drill to mix the concrete) is the gold standard.
Essential Outdoor Project #6: Drilling into Stone for Landscaping
Building a retaining wall, a stone walkway, or a decorative rock feature? You might need to drill a hole to rebar or pin stones together for stability.
Use a masonry bit designed for rock. Be prepared for a slower process—granite and bluestone are very hard. Use water to keep the bit cool and reduce dust. This is a specialized task, but it showcases the raw power of a hammer drill.
Troubleshooting Common Hammer Drill Issues Outdoors
Even with the right tool, things can go wrong. Here’s how to fix common problems.
- Bit Won’t Penetrate: Are you in the correct mode? Ensure it’s set to “Hammer + Drill.” Are you using a sharp masonry bit? Dull bits just spin and burn. Check if you’ve hit rebar. You’ll need a specialized bit to cut through it.
- Drill Overheating: Don’t force the drill. Apply steady, moderate pressure. For deep holes, use a pecking motion: drill for 10-15 seconds, pull out to clear dust, then go back in. This also helps cool the bit.
- Anchors Feel Loose: Did you drill the hole too big? The hole diameter must match the anchor specification exactly. Did you blow all the dust out? Debris at the bottom of the hole prevents the anchor from seating fully.
Safety: Your Outdoor Work Commandments
Working outdoors adds variables. Please follow these rules.
- PPE Always: Safety glasses are non-negotiable. Hearing protection for extended use. Gloves to protect your hands.
- Call Before You Dig or Drill Deep: Hitting a gas, water, or electrical line is catastrophic. Always have utilities marked.
- Check for Wiring and Pipes in Walls: Before drilling into a house wall, use a stud finder that detects wires and pipes.
- Secure Your Workpiece: Use clamps. Never hold a loose piece of masonry or wood with your hand while drilling.
- Mind the Cord: For corded models, keep the cord away from your path, standing water, and the drilling area to avoid cutting it.
Choosing the Right Hammer Drill for Outdoor Work
If you’re in the market for a new tool, consider your projects. For most homeowners, a quality cordless hammer drill offers the best balance of power and convenience. You’re not tethered to an outlet, which is a huge advantage in the yard. Look for a model from our best cordless drill roundup that includes a hammer function. For serious, all-day masonry work (like drilling dozens of holes), a corded hammer drill or a dedicated rotary hammer might be worth it.
Remember, a hammer drill is different from an impact driver. While both are essential, they do different jobs. If you’re curious, we break down the difference between impact driver and hammer drill in another guide.
Conclusion: Unleash Your Outdoor Potential
Your hammer drill is so much more than an indoor tool. It’s the key to building, securing, and improving your outdoor living space. From the simple satisfaction of a perfectly mounted mailbox to the major accomplishment of a new deck, these projects are now within your reach.
Start with a small project to build confidence. Follow the steps, respect the safety rules, and let the hammering action of your drill power through the tough stuff. Remember, the goal is to create something lasting and secure. So grab your hammer drill, head outside, and start building the backyard of your dreams.
