
Brushless motor technology is the critical upgrade that transforms cordless drill performance, delivering significantly longer runtime, extended tool life, and superior power efficiency compared to outdated brushed models. This essential guide cuts through the marketing noise to explain why brushless motors are non-negotiable for demanding tasks and how they provide unmatched long-term value, making them the smart investment for serious DIYers and professionals. Discover the key advantages that make brushless drills the undisputed standard for power, durability, and runtime.
Your Friendly Cordless Drill Brushless Guide: Everything You Need to Know
Let me tell you about the time I killed my third brushed drill in two years. I was hanging heavy shelves in my garage, pushing the tool hard, and that familiar burning smell hit my nostrils. Again. That’s when I finally invested in a brushless model. And honestly? It changed everything.
If you’re staring at drill options feeling overwhelmed, this Cordless Drill Brushless Guide is for you. I’ll walk you through exactly what makes these tools special, how to use them like a pro, and why they’re worth the extra cost. No technical jargon, just real talk from someone who learned the hard way.
Key Takeaways
- Brushless motors deliver 30% more runtime per charge than brushed models.
- Eliminate maintenance by choosing brushless—no carbon brushes to replace.
- Expect longer tool life with brushless motors due to reduced heat and wear.
- Higher upfront cost pays off through extended durability and performance.
- Optimize efficiency with electronic torque control for precise driving and less waste.
- Choose brushless for heavy-duty tasks; reserve brushed for light DIY projects.
Why This Matters: Understanding the Brushless Difference
Here’s the thing about brushed drills. They work fine until they don’t. Then you’re buying a new one every couple of years. The motors wear out, brushes need replacing, and that efficiency? It’s laughable compared to what’s available now.
Brushless technology isn’t just a marketing buzzword. It’s a fundamental change in how your drill works. Think of it like upgrading from a flip phone to a smartphone. Both make calls, but one feels ancient after you’ve experienced the other.
The problem is most people don’t understand what they’re getting. You see the higher price tag and wonder if it’s worth it. You read specs that might as well be written in another language. This confusion leads to either overspending on features you’ll never use or sticking with outdated technology that costs more in the long run.
In this Cordless Drill Brushless Guide, you’ll learn exactly how to avoid those mistakes. More importantly, you’ll discover how the right tool can save your projects, your back, and your sanity.
What You Need Before Getting Started
Don’t worry. You don’t need a workshop full of tools to begin with brushless. Here’s your simple starter list:
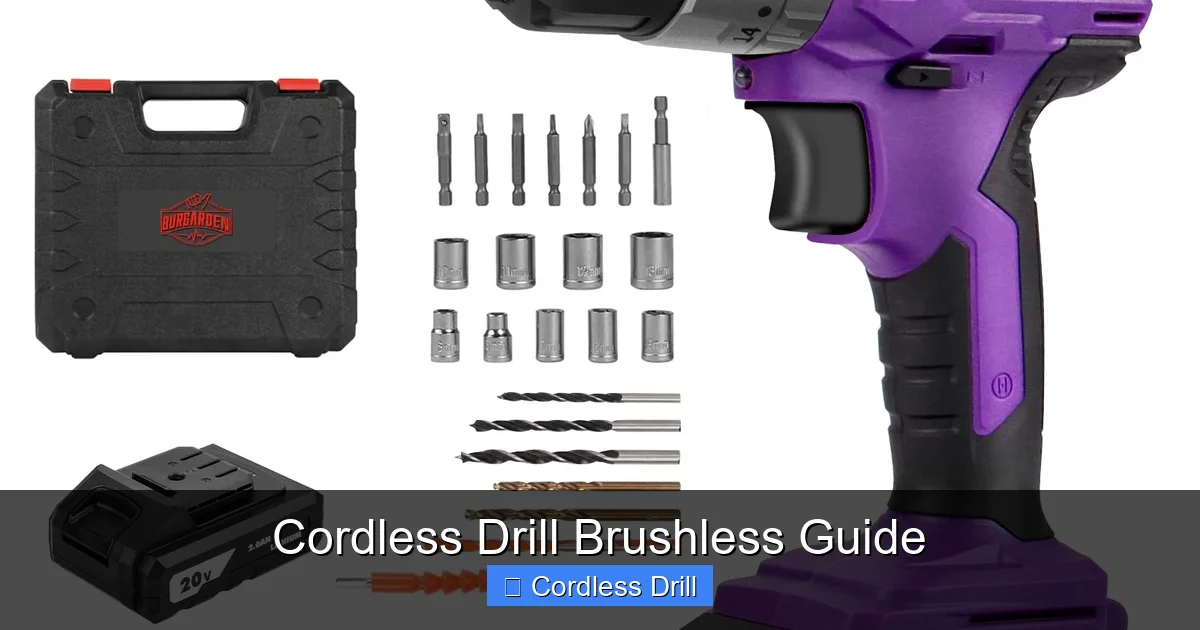
Visual guide about Cordless Drill Brushless Guide
Image source: m.media-amazon.com
- A quality brushless cordless drill (voltage depends on your needs)
- Two batteries minimum (this is crucial, trust me)
- The correct charger for your battery system
- A set of drill bits (start with a basic 10-15 piece set)
- Safety glasses (non-negotiable)
- A workspace to call your own
When I bought my first brushless drill, I made the mistake of getting just one battery. Big error. You always want a backup ready to go. Nothing kills momentum like waiting three hours for a charge.
Choosing the right drill depends entirely on what you’ll use it for. For light DIY work, an 18V model hits the sweet spot. Heavy construction? Step up to 20V or even 36V for the real stuff. Need help picking the perfect model? Check out our guide on the best cordless drill options for every budget and project type.
Step-by-Step Guide to Mastering Your Cordless Drill Brushless Guide
Step 1: Understand What “Brushless” Actually Means
Let’s get this straight from the start. A brushed motor uses physical brushes to deliver power to the coils. These brushes wear down over time. They create friction, heat, and eventually fail. Simple as that.
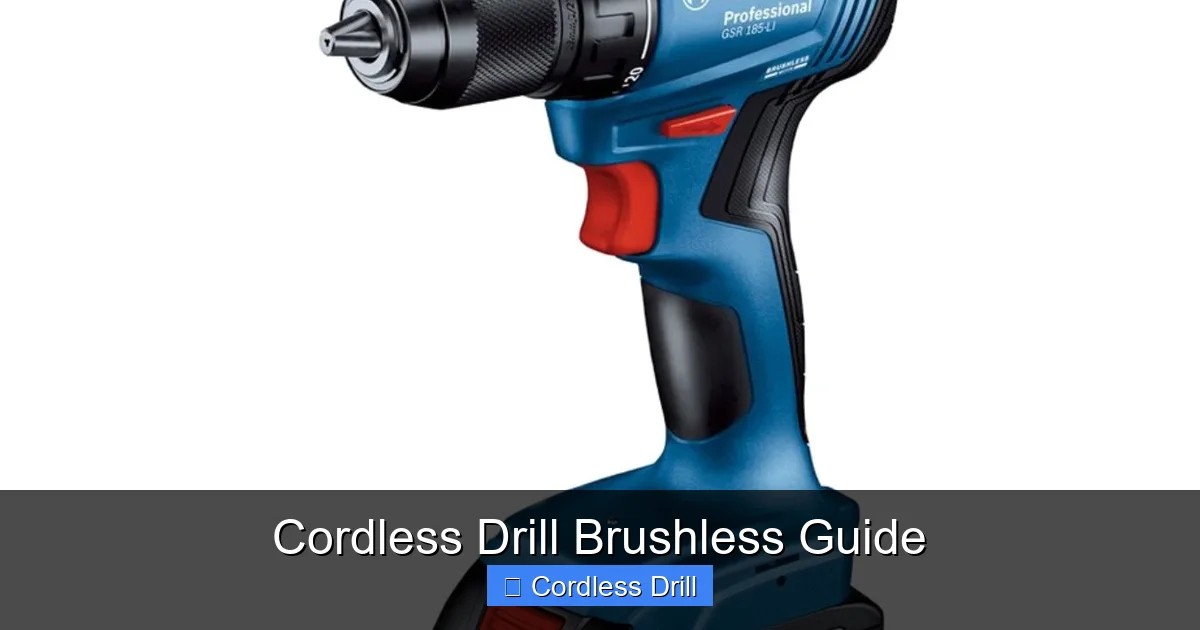
Visual guide about Cordless Drill Brushless Guide
Image source: alrahat.com
Brushless motors flip this design on its head. They use electronic controllers instead of physical brushes. No contact means no wear. No wear means your drill lasts years instead of months. It’s like the difference between a bicycle with a chain versus one with a direct drive. Both get you there, but one needs constant maintenance.
This design also means better power efficiency. Your battery lasts longer, and you get more torque when you need it. The drill thinks for itself, adjusting power based on the material you’re working with. It’s pretty magical once you experience it.
Step 2: Get Familiar with Your Drill’s Components
Your brushless drill has three main parts that matter most. The motor, obviously. The battery system. And the electronic controller that makes it all work together.
Take five minutes to identify these parts on your specific model. Read the manual, I know it’s boring, but do it anyway. Look for the brushless label or marking. Some models have an “XR” or “XRP” designation. Others simply state “brushless motor” right on the housing.
While you’re at it, find the speed settings, torque adjustment ring, and forward/reverse switch. These work differently on brushless models. The electronic control means smoother starts and stops. You’ll notice less jerk when the bit bites into material. It feels more controlled, more professional.
Step 3: Master Battery Care from Day One
Here’s where most people mess up. They treat brushless batteries like old Ni-Cad packs. You can’t do that. Lithium-ion batteries, which all quality brushless drills use, need specific care.
Never run your battery completely dead. Stop when the drill starts losing power. Lithium-ion cells don’t like being drained to zero. It stresses them and shortens their lifespan dramatically.
Store batteries at about 50% charge if you won’t use them for a while. Keep them in a cool, dry place. Never leave them in your hot garage or freezing shed. Temperature extremes kill battery capacity permanently.
And please, use the charger that came with your drill. Generic chargers can damage the battery management system. That fancy electronic brain inside your battery? It needs the right communication to stay healthy.
Step 4: Learn Proper Bit Selection and Installation
Your brushless drill is only as good as the bit you’re using. I learned this hanging a simple picture frame. Used the wrong bit for drywall, stripped the anchor, and had to start over. Embarrassing.
Match your bit to the material first. Wood bits for wood. Masonry bits for concrete. Metal bits for, well, metal. The spiral flutes on wood bits clear chips better. Masonry bits have that carbide tip you can see. Metal bits stay sharp longer under heat.
Install bits straight into the chuck. Don’t just tighten it by hand. Use the keyless chuck properly. Hold the shank firmly and twist until it’s snug. A wobbling bit isn’t just annoying. It’s dangerous and ruins your holes.
Pro tip: Keep your bits organized in a case. Mark which ones are for which material. It saves time and prevents mistakes. Your future self will thank you.
Step 5: Understand Speed and Torque Settings
This is where brushless drills shine. The electronic control lets you be incredibly precise. But only if you know what you’re doing.
Speed settings work like this: Low speed (setting 1) gives you maximum torque for driving screws and drilling large holes. High speed (setting 2) is for smaller bits and faster drilling in soft materials.
The torque adjustment ring above the trigger is your best friend. It limits how much force the drill applies. For delicate work like driving screws into soft wood, set it low. For heavy tasks, crank it up. The clutch will slip when it hits your preset limit, preventing stripped screws or damaged material.
Here’s a trick I use. Set your torque ring to the middle. Test on a scrap piece. Adjust up or down based on results. It’s faster than constantly changing settings mid-project.
Step 6: Practice Proper Drilling Technique
Hold your drill with both hands. One on the handle, one on the chuck or front grip. This gives you control when the drill wants to twist. Because it will, especially with large bits.
Start slow. Let the bit find its mark before applying full power. This prevents wandering and keeps your hole straight. Apply steady pressure, but don’t force it. Let the drill do the work. Forcing it bogs down the motor and wastes battery.
For deep holes, use the peck drilling method. Drill a bit, pull out to clear chips, drill again. This keeps bits from overheating and breaking. It’s especially important with metal and hardwood.
When driving screws, keep the drill perpendicular to the surface. Angle it slightly and you’ll cam out the head, strip the slot, and ruin both screw and material. Straight and steady wins every time.
Step 7: Master Advanced Features
Most brushless drills come with extras that brushed models rarely offer. Hammer functions for masonry. Built-in LED lights. Belt hooks. Bluetooth connectivity on some premium models.
The hammer function is simple but powerful. It adds a rapid back-and-forth motion to the rotation. Perfect for drilling into brick or concrete. Don’t use it on wood or metal. You’ll destroy your bits and possibly your drill.
That LED light? It’s not just for show. Position yourself so the light illuminates your work area, not casts shadows. Some models let you adjust the brightness or angle. Use it. You’ll drill fewer wrong holes.
Some high-end brushless drills even have apps that track battery health and usage. It’s overkill for most DIYers, but interesting if you’re into data. The real value is in the precision control these tools offer.
Step 8: Perform Regular Maintenance
Brushless drills need less maintenance than brushed models, but they’re not maintenance-free. Clean the air vents regularly with compressed air. Dust buildup can cause overheating.
Check your chuck for wear. A worn chuck won’t hold bits securely. Replace it if you notice excessive wobble. It’s a cheap fix that prevents big problems.
Inspect batteries for damage. Swollen batteries are dangerous. Cracked casings need immediate replacement. Don’t ignore these warning signs.
Lubricate the chuck threads occasionally with light oil. It keeps it spinning smoothly and prevents seizing. A drop every few months makes a noticeable difference.
Pro Tips & Common Mistakes to Avoid
My biggest lesson: Never buy a brushless drill without extra batteries. I learned this during a bathroom remodel. Halfway through, my only battery died. Three-hour wait. Project stalled. Two batteries minimum, three if you’re serious about DIY.
Let’s talk about voltage myths. Higher voltage doesn’t always mean better. An 18V brushless drill often outperforms a 20V brushed model. It’s about efficiency, not just raw numbers. Don’t fall for the “bigger is better” marketing.
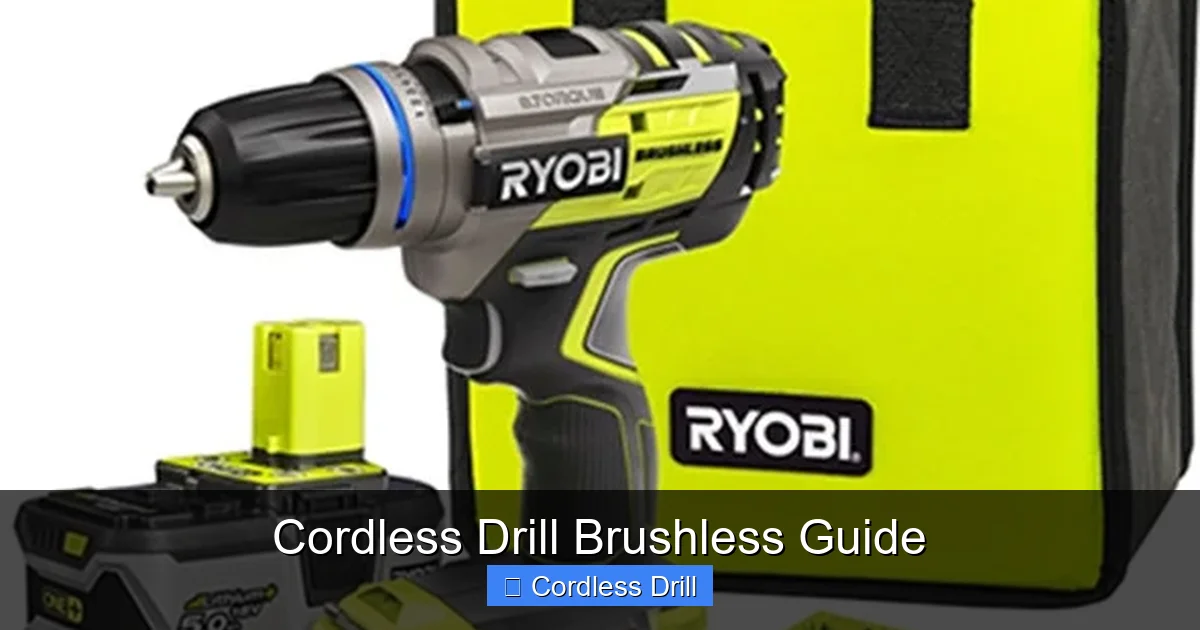
Visual guide about Cordless Drill Brushless Guide
Image source: toolguyd.com
Battery compatibility matters more than you think. Stick with one brand ecosystem. Mixing and matching batteries and chargers can damage your tools. Plus, you’ll save money buying bare tools later instead of complete kits.
Here’s a mistake I see constantly. People use drill bits as screwdriver bits. Don’t do this. The geometry is wrong. You’ll strip screw heads and ruin bits. Invest in proper driver bits. They cost little and last forever.
Another common error: ignoring the clutch setting. Setting it to maximum every time defeats the purpose. You’ll strip screws, damage materials, and possibly hurt yourself when the drill kicks back. Take two seconds to adjust it.
Temperature matters more with brushless than you’d expect. Cold batteries deliver less power. If you work in a cold garage, keep batteries inside until you need them. Warm them in your pocket if necessary.
Finally, don’t assume brushless means unbreakable. I’ve seen people try to drill through steel beams with cheap bits. The drill survived, but the bit shattered. Match your tools to the task. There’s no shame in renting a hammer drill for serious masonry work.
FAQs About Cordless Drill Brushless Guide
Q: How much longer does brushless really last compared to brushed?
A: In my experience, about 3-4 times longer. My brushed drills died every 18-24 months with regular use. My current brushless model is going on six years with just basic care. The difference is night and day.
Q: Can I use my old batteries with a new brushless drill?
A: Only if they’re the same voltage and brand. Mixing old Ni-Cad batteries with lithium-ion tools can be dangerous. Even different lithium chemistries don’t play well together. Start fresh with a complete system.
Q: Why is my brushless drill more expensive?
A: You’re paying for the electronic controller and more efficient motor design. That upfront cost pays back over years of reliable service. Think of it as investing in a quality tool that won’t die mid-project.
Q: Do I really need to read the manual?
A: Yes. Seriously. Brushless drills have different break-in procedures and maintenance schedules. Skipping the manual is like buying a car and never checking the oil. It’ll work until it doesn’t.
Q: What’s the best voltage for home use?
A: For most homeowners, 18V hits the sweet spot. It’s powerful enough for serious projects but light enough for all-day use. If you mostly do light tasks, consider 12V. For construction work, step up to 20V or higher.
Q: How do I know if my battery is dying?
A: Watch for reduced runtime, slow charging, or the drill cutting out under load. Most brushless models have battery indicator lights. If yours doesn’t, pay attention to how long it lasts compared to when it was new.
Q: Can I use my brushless drill for automotive work?
A: Absolutely. The precision control makes it perfect for drilling holes in car panels or driving screws in tight spaces. Just be mindful of battery life and keep a spare charged. Automotive work drains batteries fast.
Final Thoughts: Making the Switch Worth Your Investment
Look, I get it. Spending more on a drill feels ridiculous when the brushed one in your drawer still spins. But here’s the truth I learned after killing three brushed motors: cheap tools cost more in the long run.
A good brushless drill is an investment in your ability to get things done. It won’t quit on you. It won’t burn out when you need it most. It just works, consistently, for years.
Start simple. Get a quality 18V model from a reputable brand. Buy two batteries. Learn the settings. Practice on scrap material. Build your confidence.
Once you’ve mastered the basics, you’ll wonder how you ever managed with a brushed drill. The smooth operation, the battery life, the reliability—it all adds up to a better experience.
Remember, the best tool is the one you know how to use. This Cordless Drill Brushless Guide gives you the foundation. Now go build something. And if you run into questions about specific techniques, like how to use a drill for screws into a wall, we’ve got you covered there too.
Your projects deserve the right tool. Your back deserves the break. Make the switch. You won’t regret it.
🎥 Related Video: How to Use a Cordless Drill – Beginner's Guide
📺 Driver’s Therapy
In this video we show viewer’s how to use cordless drill. This is a great beginners guide. How to Use a Cordless Drill: Charge the …
