
Understanding your cordless drill’s charging time is crucial for efficient project planning and maximizing your tool’s life. Charging times vary drastically based on battery type, capacity, and charger technology. This guide will explain the factors, provide time estimates, and share pro tips to keep your batteries in peak condition.
Key Takeaways
- Battery Voltage & Capacity Are Key: Higher voltage (V) and amp-hour (Ah) ratings generally mean longer charging times, but also provide more power and runtime.
- Charger Technology Makes a Difference: Standard chargers are slow, while fast and super-fast chargers can cut charging time by 70% or more.
- Battery Chemistry Defines the Curve: Older NiCd batteries have a “memory effect,” while modern Li-ion batteries charge quickly initially and then slow to protect the cells.
- Environment Affects Performance: Always charge batteries at room temperature (65°F-75°F / 18°C-24°C). Extreme heat or cold can damage cells and increase charging time.
- Proper Care Extends Lifespan: Avoid fully draining Li-ion batteries, store them partially charged, and keep contacts clean for the best long-term health.
- Match Your Charger to Your Battery: Using the correct charger from the same brand and product family is non-negotiable for safety and battery longevity.
Master Cordless Drill Charging Time Guide for DIYers
Welcome, DIYer! You’ve got the project planned, your materials ready, and your trusty cordless drill in hand. You press the trigger… and nothing. A dead battery. Now what? Knowing how long to charge your cordless drill battery can mean the difference between a smooth, productive afternoon and frustrating downtime.
This guide is your complete resource for understanding cordless drill charging time. We’ll break down the technical details into simple language. You’ll learn why charging times vary, how to estimate the wait for your specific battery, and how to care for your batteries to make them last for years. No more guessing. Let’s get your tools ready for action.
The Core Factors That Determine Charging Time
Think of your battery like a water tank. Charging time depends on the size of the tank and the speed of the hose filling it. Here are the main “size” and “speed” factors.

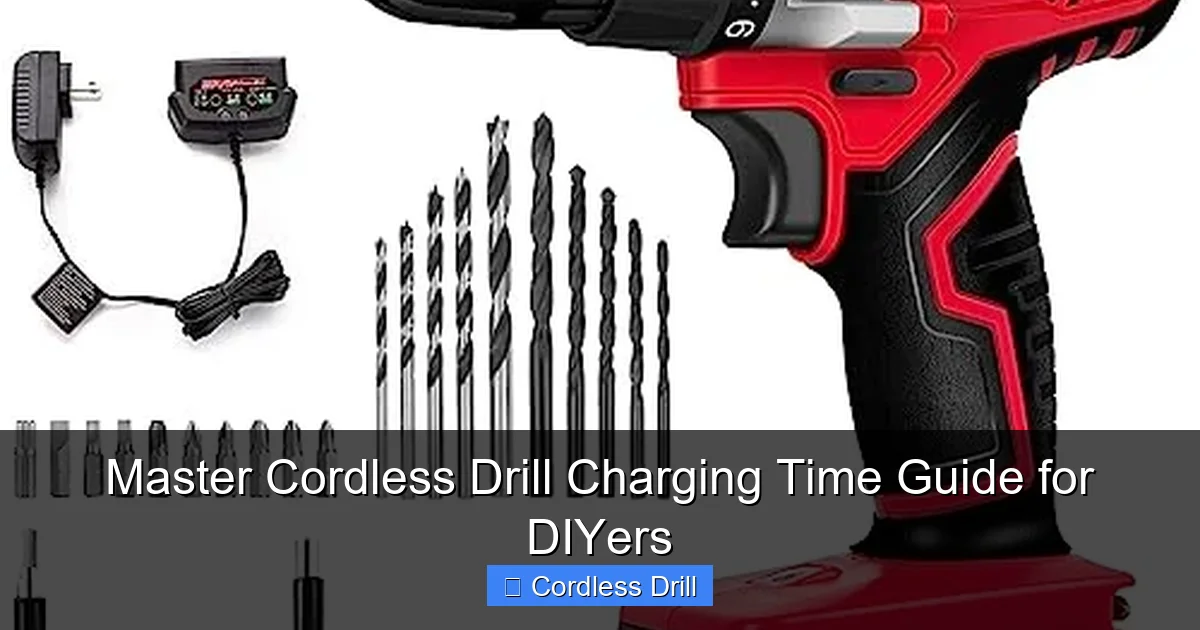
Visual guide about Master Cordless Drill Charging Time Guide for DIYers
Image source: toolsadvisers.com
1. Battery Chemistry: NiCd vs. NiMH vs. Li-ion
This is the most important factor. The type of battery changes everything.
- Nickel-Cadmium (NiCd): The old standard. They are durable but suffer from a “memory effect” (losing capacity if not fully discharged). Charging is slow, often taking 1-3 hours for a standard pack. They are less common today.
- Nickel-Metal Hydride (NiMH): An upgrade from NiCd with less memory effect and better capacity. Charging times are similar to NiCd, usually 1-3 hours.
- Lithium-Ion (Li-ion): The modern king. They are lightweight, hold a charge longer, and have no memory effect. Most importantly, they can accept a very fast charge. Most Li-ion drill batteries today use this tech.
2. Battery Voltage and Amp-Hour Rating
These numbers are on every battery pack (e.g., 18V 2.0Ah).
- Voltage (V): Think of this as the “power” or pressure. Common voltages are 12V, 18V/20V Max, and 36V. Higher voltage tools are more powerful.
- Amp-Hours (Ah): This is the “capacity” or tank size. A 4.0Ah battery can deliver 4 amps of current for one hour. A higher Ah rating means longer runtime.
Simple Rule: A higher Ah battery takes longer to charge than a lower Ah battery of the same voltage and chemistry.
3. Charger Technology
This is your “hose speed.” Chargers are not created equal.
- Standard Charger: The basic charger that often comes with a kit. For an 18V 2.0Ah Li-ion battery, this might take 60-90 minutes.
- Fast Charger: Designed to push more current safely. Can charge the same battery in 30-45 minutes.
- Super-Fast/Ultra-Fast Charger: Top-tier chargers from major brands. They have advanced cooling and monitoring. Can charge a 2.0Ah battery in 15-20 minutes and a 5.0Ah in under an hour.
4. Battery Condition & Temperature
A brand-new, healthy battery charges as expected. An old, worn-out battery will charge slower and hold less charge. Temperature is critical. Never charge a battery that is freezing cold or hot to the touch. Let it reach room temperature (around 72°F / 22°C) first. Charging in a cold garage in winter will take noticeably longer.
Estimated Charging Time Table
Use this table as a general reference. Always check your drill and charger manual for exact times.
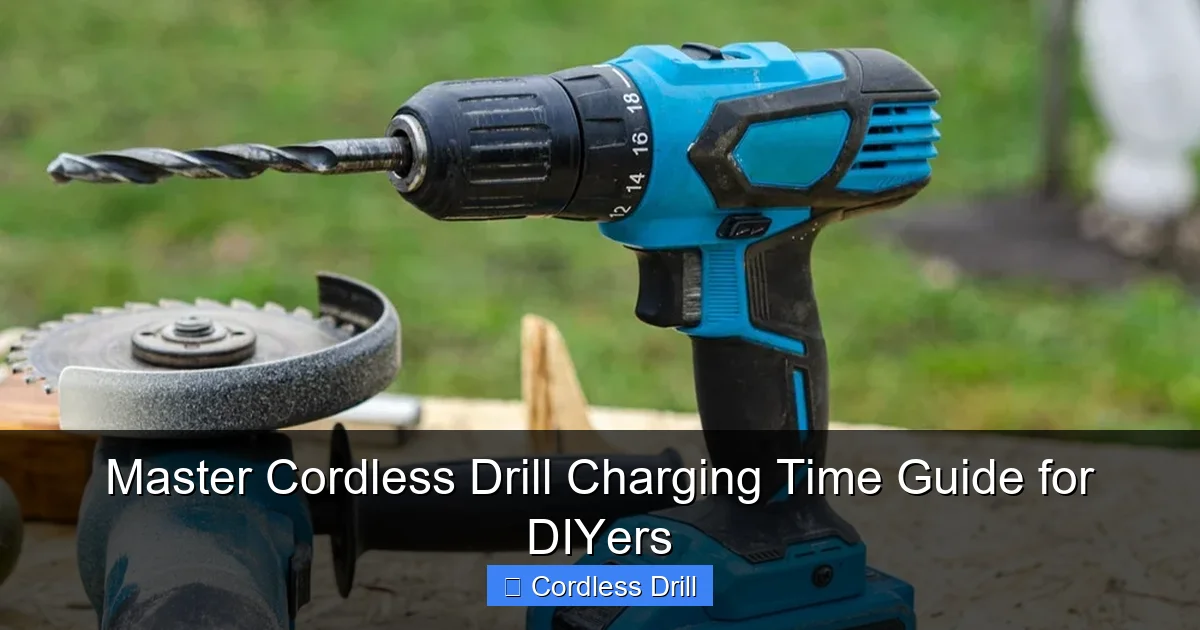
Visual guide about Master Cordless Drill Charging Time Guide for DIYers
Image source: toolgearlab.com
| Battery Type | Voltage & Capacity | Standard Charger | Fast Charger | Super-Fast Charger |
|---|---|---|---|---|
| Li-ion | 12V 2.0Ah | ~60 min | ~30 min | ~15 min |
| Li-ion | 18V/20V 2.0Ah | ~60-90 min | ~30-45 min | ~15-20 min |
| Li-ion | 18V/20V 4.0Ah | ~90-120 min | ~45-60 min | ~30-40 min |
| Li-ion | 18V/20V 5.0Ah+ | ~2-3 hours | ~60-90 min | ~45-60 min |
| NiMH/NiCd | 18V 2.0Ah | ~1-3 hours | N/A (Rare) | N/A |
Step-by-Step: How to Charge Your Drill Battery Correctly
Step 1: The Pre-Charge Check
Before you plug anything in, do a quick safety and prep check. Inspect the battery for cracks, leaks, or damaged terminals. Blow out any dust from the battery and charger contacts. Ensure you are in a dry area, away from flammable materials. If you’re selecting your first drill or upgrading, our guide to the Best Cordless Drill can help you choose a model with great battery performance from the start.
Visual guide about Master Cordless Drill Charging Time Guide for DIYers
Image source: homesguide.co.uk
Step 2: Plug in the Charger First
Plug your charger into a wall outlet. Most chargers will have an indicator light (often red or flashing) showing they have power but no battery is connected. This is the safest sequence.
Step 3: Insert the Battery
Firmly slide the battery pack onto the charger until it clicks or locks into place. The charger’s indicator lights will change, typically to a flashing pattern, signaling that charging has begun.
Step 4: Monitor the Charge Cycle
You don’t need to babysit it, but check in occasionally. Modern smart chargers and Li-ion batteries communicate. The charger will apply a fast charge until the battery reaches about 80% capacity, then slow to a “trickle charge” to top it off safely to 100%. This is why the last 20% takes longer.
Step 5: Know When It’s Done
The indicator light will usually turn a solid green (or another color specified in your manual). This means the battery is fully charged and the charger has switched to a maintenance mode.
Step 6: Post-Charge Protocol
Remove the battery from the charger. For daily use, it’s fine to leave it fully charged. For long-term storage (over a month), charge Li-ion batteries to about 50-70%. Store in a cool, dry place.
Pro Tips for Maximizing Battery Life and Efficiency
- Invest in a Fast Charger and a Spare Battery: This is the #1 tip for serious DIYers. While one battery is working, the other is charging. A fast charger is a game-changer, especially when paired with high-capacity batteries for bigger projects.
- Charge at Room Temperature: As mentioned, this is non-negotiable for speed and health.
- Don’t Let Li-ion Batteries Fully Die: Unlike old NiCd batteries, it’s better for Li-ion to recharge when they have 1-2 bars of power left. Avoid deep discharges.
- Clean Contacts Quarterly: Use a dry cloth or a dab of rubbing alcohol on a Q-tip to clean the metal contacts on the battery and tool. Poor connection reduces efficiency.
- Plan Your Project: Before starting a big job like installing shelves or hanging drywall, make sure all your batteries are fully charged. It saves mid-project frustration.
Troubleshooting Common Charging Problems
Is your battery not charging? Here’s what to check.
- Charger Shows No Lights: Check the wall outlet and power cord. Try a different outlet.
- Battery Gets Extremely Hot During Charge: Stop charging immediately. The battery or charger may be faulty. Let it cool completely before trying a different, known-good charger.
- Charger Light Blinks Red/Error Pattern: Consult your manual. This often indicates a faulty battery, incompatible battery, or a problem with the charger’s temperature sensor.
- Battery Charges But Dies Quickly: The battery is worn out. Lithium-ion batteries have a lifespan of about 500-1000 full charge cycles. It’s time for a replacement.
- Battery Won’t Click Into Charger: Check for physical obstructions or debris in the charging port or on the battery rails.
Conclusion: Charge Smart, Work Smart
Mastering your cordless drill charging time is a simple but powerful skill. It takes the guesswork out of your projects and protects your investment. Remember: use the right charger, charge at the right temperature, and don’t abuse your batteries. By understanding the basics of voltage, amp-hours, and battery chemistry, you can make informed decisions, whether you’re buying a new drill, an extra battery, or just planning your weekend build.
A well-maintained battery is the heart of a reliable cordless tool. With this knowledge, you can ensure your drill is always ready when you are, saving you time and money in the long run. Now, go tackle that project with confidence!
