
This guide teaches you everything about your cordless drill clutch—how it works, how to set it correctly, and why it matters. You’ll learn practical settings for wood, metal, drywall, and masonry, plus troubleshooting tips to keep your drill performing perfectly. Stop stripping screws and damaging materials today.
Key Takeaways
- Understanding the basics: Your cordless drill clutch prevents over-tightening by slipping when resistance gets too high, protecting both screws and surfaces.
- Numbers mean torque: Higher clutch settings (like 15-20) deliver more force for tough jobs, while lower settings (1-5) are perfect for delicate materials.
- Material matters: Always adjust your clutch based on what you’re working with—soft wood needs less torque than hard metal or masonry.
- Test before you drive: Always test your clutch setting on a scrap piece to avoid stripping screws or damaging your project.
- Maintenance is key: Keep your clutch mechanism clean and lubricated for consistent performance and longer drill life.
Your Cordless Drill Clutch: The Complete How-To Guide
You’ve got a cordless drill in your hand. The battery is charged. The bit is ready. But that mysterious ring with numbers around the drill’s chuck—what does it actually do? That’s your clutch. And understanding it can mean the difference between a perfect project and a frustrating mess of stripped screws and damaged materials.
This guide will walk you through everything you need to know about your cordless drill clutch. We’ll cover how it works, how to set it correctly for any material, and pro tips to make your work look professional. Let’s get started.
What Is a Cordless Drill Clutch and Why Should You Care?
The clutch on your cordless drill is a mechanical torque-limiting device. In simple terms: it’s your drill’s built-in safety guard. When the resistance against the screw or bit reaches a certain level, the clutch slips, preventing the motor from turning further.

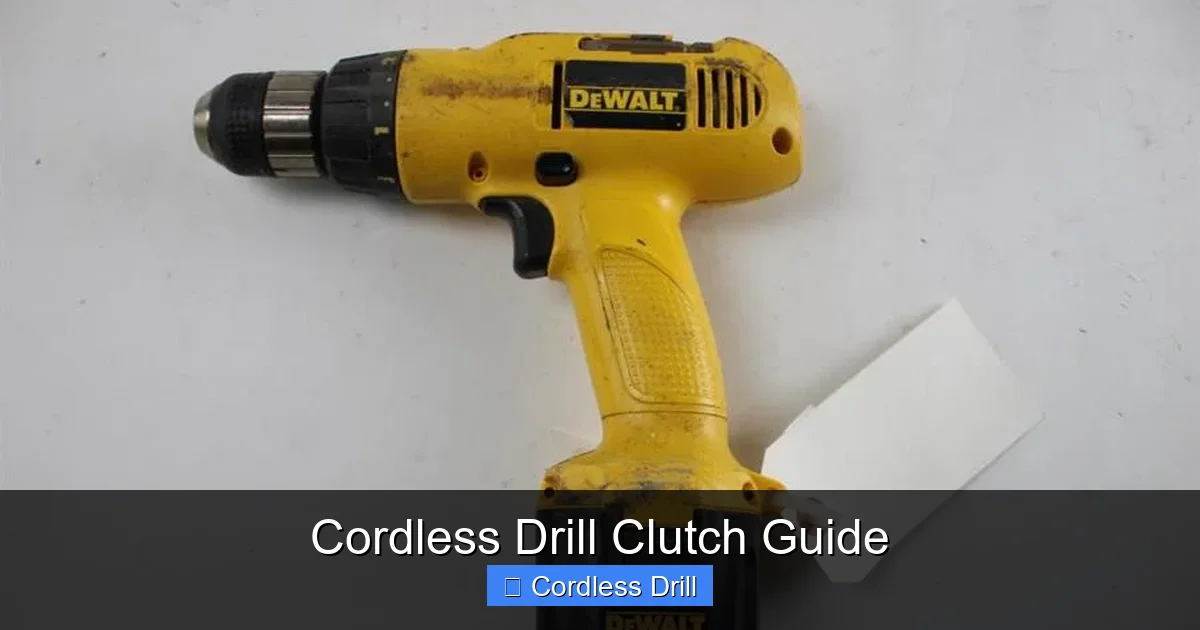
Visual guide about Cordless Drill Clutch Guide
Image source: ecx.images-amazon.com
Think of it like the clutch in your car—it engages and disengages power smoothly. Without it, you’d strip every screw you drive into hardwood. You’d crack drywall. You’d ruin expensive materials. The clutch protects your work and extends the life of your drill by preventing motor strain.
How Cordless Drill Clutches Actually Work
Inside your drill, the clutch mechanism uses spring pressure against a set of ball bearings or jaws. When you select a setting, you’re adjusting that spring tension. Higher numbers mean tighter springs, which require more force before the clutch slips.
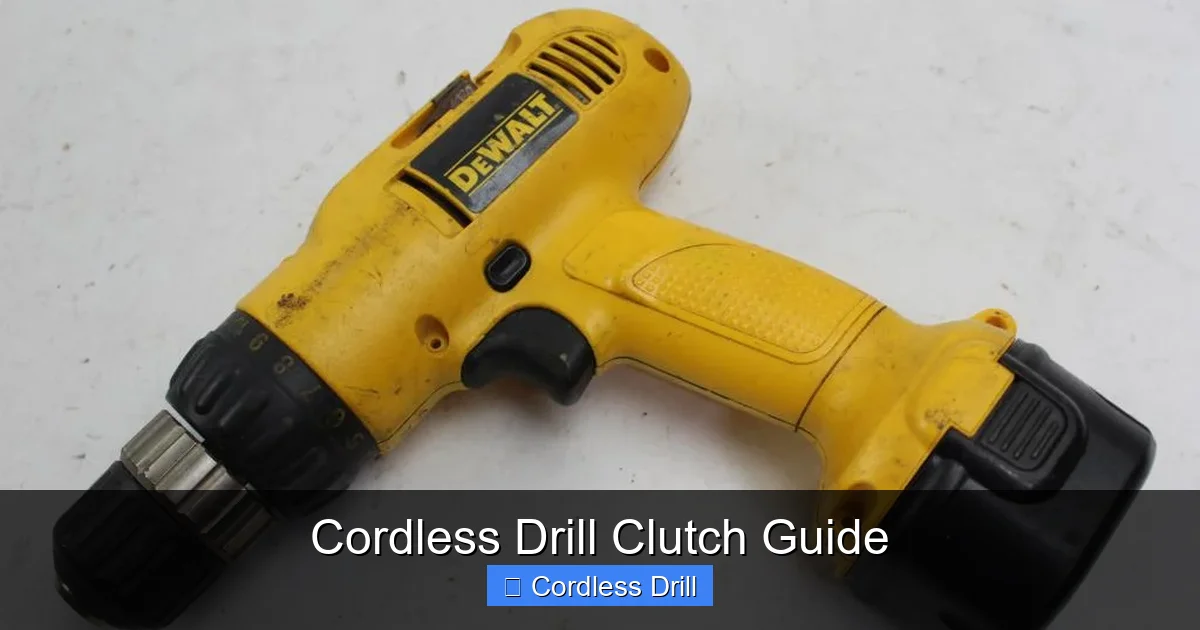
Visual guide about Cordless Drill Clutch Guide
Image source: content.propertyroom.com
Most cordless drills have 15-20 clutch settings, plus a drill mode (usually marked with a “D” or just the highest number). Each click of the ring represents a different torque level. When the screw is driven deep enough or hits resistance, the clutch activates, making that distinctive clicking sound.
Understanding Your Clutch Settings: What the Numbers Mean
That numbered ring can look confusing, but it’s actually straightforward. Here’s the simple breakdown:
Visual guide about Cordless Drill Clutch Guide
Image source: content.propertyroom.com
Low Numbers (1-5): Delicate Work Zone
These settings deliver minimal torque. Perfect for soft materials like drywall, softwoods, and plastic. Use these when you’re driving small screws close to the surface.
Middle Numbers (6-12): General Purpose Range
This is your everyday sweet spot. Most screw driving tasks in wood, metal studs, and cabinetry happen here. Start around 8 and adjust based on results.
High Numbers (13-19): Heavy Duty Territory
When you’re driving large lag bolts into hardwood or need serious driving power, these settings deliver maximum torque before the clutch slips.
The Drill Mode (20 or “D”)
This bypasses the clutch entirely. Use only for actual drilling, not driving screws. In this mode, your drill will keep turning regardless of resistance, which can strip screws or damage materials.
Step-by-Step: How to Set Your Cordless Drutch for Perfect Results
Follow these steps every time you start a new project. It takes 30 seconds and saves hours of frustration.
Step 1: Identify Your Material
What are you working with? Hardwood needs different settings than softwood. Metal requires less torque than you think. Drywall is extremely delicate. Take a quick assessment before touching the clutch ring.
Step 2: Choose Your Screw Size
Match your clutch setting to your screw. Small #6-8 screws work best on lower settings (3-7). Medium #8-10 screws need middle settings (8-12). Large #10+ screws and lag bolts require higher settings (13-18).
Step 3: Start Lower Than You Think
Always begin with a conservative setting. It’s easier to increase torque than to fix a stripped screw. For most wood-to-wood construction, start at 6 or 7. For drywall, start at 2 or 3.
Step 4: Test on Scrap Material
This is the pro’s secret. Grab a piece of scrap wood or an old block. Drive a test screw. If the clutch slips too early, increase the setting by 2-3 numbers. If the screw head strips or sinks too deep, decrease by 1-2 numbers.
Step 5: Listen and Feel
Your drill tells you what it needs. If you hear the clutch clicking before the screw is flush, you need more torque. If the screw strips without clicking, you need less torque. Pay attention to these cues.
Step 6: Adjust as You Work
Materials change. A knot in wood or a hidden nail can alter resistance. Don’t be afraid to fine-tune your setting mid-project. Better to adjust than to ruin a piece.
Clutch Settings for Every Material: Your Quick Reference
Bookmark this section. These are starting points for common materials. Always test first!
Softwood (Pine, Cedar, Plywood)
Start at setting 5-7. Softwoods are forgiving but can still split near edges. Keep screws at least 3/4″ from board ends. If you’re working with plywood veneers, drop to 3-4 to prevent surface damage.
Hardwood (Oak, Maple, Cherry)
These dense woods need more power. Start at 9-12 for standard screws. For pocket holes, try 7-9. Hardwoods often require pre-drilling to prevent splitting, which also means you can use a higher clutch setting since resistance is lower.
Drywall
This is the most delicate material you’ll work with. Set your clutch to 1-3. Drywall paper tears easily, and you only need to drive screws until they’re just below the surface. Use a depth-sensing bit if available, but the clutch is your backup safety net.
Metal (Sheet Metal, Studs)
Surprisingly, metal needs lower settings than wood. Start at 3-5 for sheet metal screws. For metal studs, 6-8 works well. The key is consistent pressure—let the bit cut through without forcing. If you hit a metal stud while anchored in drywall, your clutch prevents the screw from snapping.
Masonry (Concrete, Brick, Block)
When using a hammer drill function, your clutch settings change. For Tapcon screws in concrete, set to 8-10. The hammer action does most of the work. For basic masonry drilling without hammer mode, use setting 15-18 but go slow. Consider reading our guide on using drills for screws into walls for detailed masonry techniques.
Plastic and Composite Materials
These vary wildly. Start at 2-4 for most plastics. Composites like Trex decking need 6-8. Always pre-drill plastic to prevent cracking, then use a low clutch setting to avoid stripping the threads you’ve created.
Common Applications: Real-World Clutch Settings
Let’s look at specific tasks you’ll encounter regularly.
Driving Standard Wood Screws
For joining 2x4s or framing, set your clutch to 8-10. This provides enough torque to pull joints tight without sinking screw heads below the surface. For finish carpentry like trim work, drop to 5-7 for a cleaner look.
Hanging Pictures and Shelves
This is where most DIYers fail. For picture frames in drywall, use setting 2-3 with plastic anchors. For shelves in studs, use 6-8. The key is driving the screw until it’s snug but not so deep that it crushes the wall or backing material.
Driving Lag Bolts and Structural Screws
These need serious power. Set your clutch to 15-18. But here’s the trick: pre-drill your hole, then drive the lag bolt in stages. Start at a medium speed, let the threads catch, then increase speed. The clutch will slip if you hit excessive resistance, protecting your expensive structural hardware.
Countersinking and Counterboring
When you need to sink a screw head below the surface, use two-step drilling. First, drill your pilot hole. Then switch to a countersink bit and set your clutch to 3-5. This prevents over-driving and gives you a clean, professional recess every time.
Drilling Holes: When to Bypass the Clutch
For pure drilling tasks, switch to drill mode (the highest setting or “D”). This bypasses the clutch entirely, giving you full power. Just remember: never use drill mode for driving screws. We’ve all made that mistake once. If you’re unsure whether you need the clutch, ask yourself: “Am I making a hole or driving a fastener?” If it’s the latter, keep the clutch engaged.
Troubleshooting Common Clutch Problems
Even the best clutches can act up. Here’s how to fix the most common issues.
The Clutch Won’t Slip at All
If your clutch isn’t clicking even on the lowest setting, it’s likely jammed with debris. Turn off your drill, remove the battery, and clean around the adjustment ring with compressed air. Check for damaged springs inside the clutch mechanism. If it’s still stuck, the clutch pack may need replacement.
Inconsistent Slipping
Your clutch should slip at the same torque level every time. If it’s unpredictable, you likely have dirt or grease buildup inside. Remove the clutch assembly (consult your manual) and clean it with brake cleaner. Re-lubricate with light machine oil, not WD-40.
Stripping Screws Despite Proper Setting
If you’re still stripping screws, check your bit first. A worn or wrong-sized bit will slip, making it seem like the clutch is faulty. Also, ensure you’re applying enough forward pressure. Letting the drill bounce reduces bit engagement and increases stripping risk.
Clutch Makes Grinding Noises
This is serious. Grinding means metal-on-metal contact inside the clutch. Stop using your drill immediately. This usually indicates worn clutch plates or broken springs. Continuing to use it will damage the transmission. Take it to a service center or consider replacement if it’s an older drill.
Settings Won’t Stay Put
If your adjustment ring moves during use, the retaining mechanism is worn. Some drills have a lock button you need to press before adjusting. Others have worn detents (the little ball bearings that click into place). A drop of thread locker on the ring threads can temporarily fix this, but replacement is the permanent solution.
Maintenance Tips to Keep Your Clutch Working Forever
A little care goes a long way. Follow these simple steps to keep your clutch in top shape.
Clean Regularly
Every time you change bits, blow compressed air around the clutch ring. This removes sawdust and debris that can gum up the mechanism. Pay special attention to the gap between the ring and the drill housing.
Lubricate Sparingly
Once every few months, apply a drop of light machine oil or 3-in-1 oil to the clutch mechanism. Rotate the ring back and forth to work it in. Wipe away excess oil to prevent attracting more dirt.
Store Properly
Always store your drill with the clutch set to its lowest setting. This relieves spring pressure and prevents the mechanism from seizing over time. Store in a dry place with low humidity.
Check Battery Health
A weak battery can make your clutch behave erratically. If your clutch seems inconsistent, try a fresh battery. Voltage fluctuations affect motor performance and clutch engagement. For a complete selection of quality tools, check out our guide to the best cordless drills on the market.
Test Your Settings
Before every major project, run a quick test. Grab a scrap piece and drive a few screws. This verifies your clutch is working correctly and helps you dial in the perfect setting for that specific material.
Advanced Techniques for Professional Results
Once you’ve mastered the basics, try these pro-level tricks.
The Two-Finger Method
For delicate work, hold the drill with just two fingers on the trigger. This gives you better control and lets you feel the clutch engagement. Your pinky and ring finger provide subtle feedback that helps you stop at the perfect depth.
Speed Control Combination
Use low speed (the “1” setting on hammer drills) with a medium clutch setting for maximum control. High speed with a low clutch setting can work too, but gives you less time to react. Experiment to find what works for your hands.
Pulse Driving
For tough materials, use short bursts of power. Pull the trigger, let the clutch slip slightly, release, then repeat. This gives the material time to accept the screw and prevents overheating. It’s especially useful for dense hardwoods and composites.
Depth Stop Jig
For production work where every screw must be identical, create a depth stop. Wrap tape around your bit at the desired depth, or use a commercial depth stop collar. Set your clutch 1-2 numbers higher than normal to ensure full driving power.
When to Upgrade Your Cordless Drill
Sometimes the problem isn’t you—it’s your tool. If your clutch consistently fails despite proper maintenance, it might be time for a new drill. Modern drills offer better clutch mechanisms with more settings and smoother engagement. They also feature brushless motors that work more efficiently with the clutch system.
Consider whether you need a hammer drill function for masonry work or an impact driver for heavy-duty fastening. Understanding the difference between impact drivers and hammer drills can help you choose the right tool for your needs. The right tool makes clutch adjustment almost automatic because you’re using the correct machine for each specific task.
Conclusion: Master Your Clutch, Master Your Drill
Your cordless drill clutch isn’t just another dial—it’s your project’s best friend. By understanding how it works and how to set it correctly, you’ll save time, money, and frustration. You’ll drive every screw perfectly. You’ll protect every material. You’ll look like a pro.
Remember the golden rule: start low, test often, and adjust as needed. Keep your clutch clean and maintained. And never use drill mode for driving screws. Follow this guide, and you’ll never strip another screw or damage another project.
Your cordless drill is only as good as your understanding of its clutch. Now you know everything. Go build something amazing.
🎥 Related Video: CORDLESS VS. CORDED DRILLS–What Are The Numbers For?! (Clutch Control / Slip Clutch / Torque Drill)
📺 The Honest Carpenter
Check Out Our FREE GUIDE: *25 Must-Have Carpentry Tools…Under $25 Each!* https://www.thehonestcarpenter.com/ AFFILIATE …
