
This guide will transform you from a clutch novice to a confident expert. You will learn the simple purpose of the numbered collar, how to match settings to materials and screw sizes, and develop a reliable process for perfect results every time. Stop stripping screws and start driving like a pro.
Does this sound familiar? You’re driving a screw, putting in a little extra muscle, and suddenly—zzzzip—the head strips right out. Or maybe you’re assembling a piece of furniture and you can’t seem to get the screw to sink flush without the drill screaming and kicking in your hand. Frustrating, right?
The culprit and the solution are the same: that mysterious numbered collar right behind the chuck of your cordless drill, known as the torque clutch. Most people ignore it or set it to the drill icon and forget it. But mastering this simple control is the single biggest upgrade you can make to your DIY game. It’s the difference between amateur hour and professional-looking results.
This guide is your key. We will demystify the clutch, translate those confusing numbers into practical knowledge, and give you a foolproof system for choosing the perfect setting for any task. By the end, you’ll drive screws with precision, protect your materials and bits, and work faster and smarter. Let’s dive in and master your cordless drill clutch settings now.
Key Takeaways
- The Clutch is a Torque Limiter: Its primary job is to prevent over-tightening and damage by disengaging the drive at a set force.
- Low Numbers for Delicate Work: Use settings 1-4 for small screws in softwood, drywall, or assembling electronics to avoid stripping.
- High Numbers for Heavy Driving: Use settings 10-15+ for larger screws, lag bolts, and drilling into hardwoods to maximize power.
- The Drill Symbol Means No Clutch: This setting bypasses the clutch entirely for maximum torque, used only for drilling holes.
- Start Low and Test: Always begin with a lower setting on unknown material, drive a test screw, and increase the clutch as needed.
- Material Dictates the Setting: Softer materials require lower clutch settings, while harder materials require higher settings.
- Clutch and Speed are a Team: Use a low speed (gear 1) with high torque for driving; use high speed (gear 2) with the drill setting for boring holes.
What Is a Drill Clutch and Why Does It Matter?
Think of the clutch as the brainy protector of your drill. Its technical name is the adjustable torque clutch. In simple terms, it’s a mechanical governor that limits how much rotational force (torque) the drill motor applies. When the resistance meets the limit you’ve set, the clutch “clicks” and disengages the motor from the chuck. The bit stops spinning, even though you can still hear the motor running.
Why is this so important? It gives you incredible control. Without a clutch, the drill will apply all its force until you release the trigger or something breaks—usually the screw head, the bit, or the material. The clutch prevents that damage. It lets you drive a screw to a perfect, flush finish every time without guesswork. It’s essential for consistency, especially when you have 50 screws to drive.
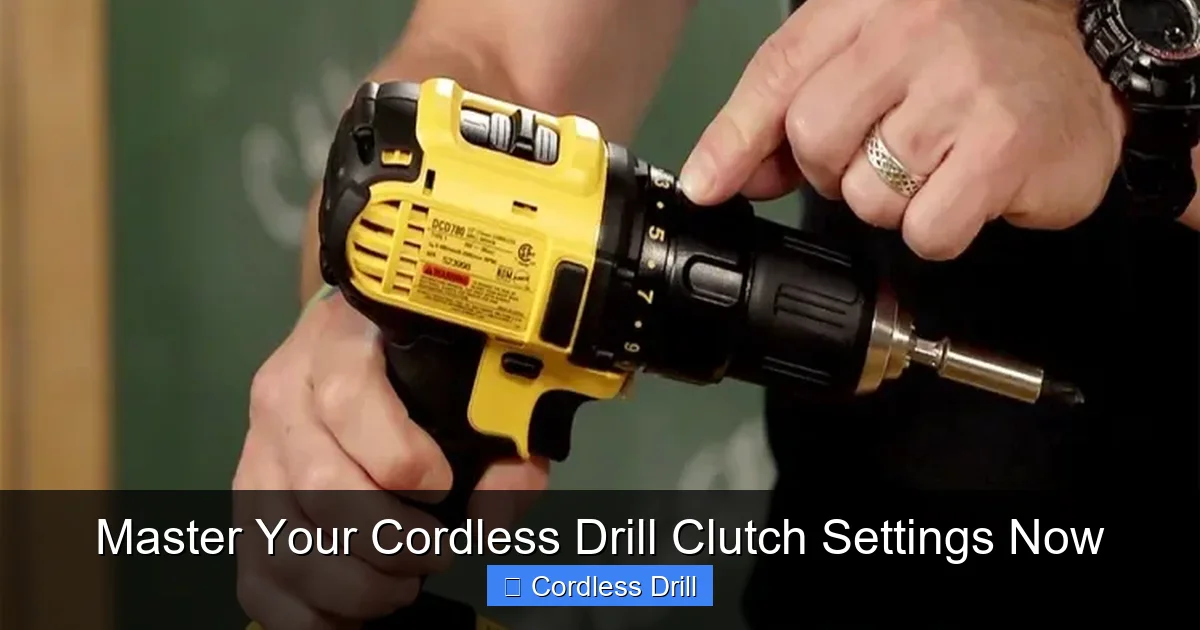
Decoding the Clutch Collar: Numbers, Symbols, and Settings
Let’s break down the typical clutch ring you’ll see on a modern cordless drill.

Visual guide about Master Your Cordless Drill Clutch Settings Now
Image source: protoolreviews.com
The Numbered Settings (1 through 10, 15, or 20+)
These are your adjustable torque levels. Important: These are relative numbers, not foot-pounds of force. A “5” on one drill brand is not the same as a “5” on another. The rule is universal, however: a higher number equals higher torque. More force before the clutch disengages.
- Low Range (1-4): Delicate territory. Use for pilot holes in softwood, assembling small cabinets, attaching hardware to particleboard, or any task where over-tightening is a real risk.
- Mid Range (5-10): The workhorse zone. Perfect for general construction with #8 or #10 wood screws into pine or spruce, driving into drywall anchors, or most common DIY furniture assembly.
- High Range (10+): Power zone. Reserved for driving large screws, deck screws (like #12), lag bolts (with a socket adapter), or working with hardwoods like oak or maple.
The Drill Symbol (🌀)
This icon, often a drill bit, is your clutch bypass. When selected, the clutch mechanism is disengaged, and the drill delivers maximum available torque directly to the chuck. Use this setting ONLY for drilling holes with twist bits, spade bits, hole saws, etc. You do not want the clutch engaging when you’re trying to bore a clean hole.
The Hammer Drill Symbol (🔨)
If your drill has this function, you’ll see a hammer icon. This engages a percussive hammering action along with the rotation, designed for drilling into masonry, concrete, or brick. Remember, this is different from the rotary-only action of a standard drill or the impacting action of an impact driver. Do not use the hammer setting on wood or metal.
Your Step-by-Step Guide to Using the Clutch
Follow this simple, reliable process every time you pick up your drill.
Visual guide about Master Your Cordless Drill Clutch Settings Now
Image source: toolsadvisers.com
Step 1: Assess Your Task and Materials
Before you touch the clutch, ask yourself:
- What am I doing? Driving a screw or drilling a hole?
- What screw size? A tiny #4 screw or a massive #14 lag bolt?
- What material? Soft pine, brittle drywall, tough oak, or metal?
This quick assessment points you toward the right torque range. Soft materials and small screws need low torque. Hard materials and big screws need high torque.
Step 2: Select the Right Clutch Setting
Based on your assessment, turn the clutch collar. When in doubt, start too low. It’s safer to start at a setting like 4 or 5 and work up than to start at 15 and strip your first screw. For tasks like driving screws into a wall, a mid-range setting is usually perfect for securing a drywall anchor without over-driving it.
Step 3: Perform a Test Drive
This is the golden rule. Drive your first screw into a scrap piece of the same material or an inconspicuous spot.
- If the clutch disengages too soon (screw isn’t flush): Increase the clutch setting by 1-2 numbers and try again.
- If the screw strips or the drill strains before the clutch clicks: Decrease the clutch setting.
- If it sinks perfectly flush with a satisfying click: You’ve found your setting! Lock it in for the rest of the identical screws.
Step 4: Combine with the Right Speed (Gear)
Your drill likely has a 2-speed gearbox. This teams up with your clutch setting.
- Gear 1 (Low Speed, High Torque): Use this for almost all screw driving. It gives you more control, more power for turning larger fasteners, and is easier on the clutch.
- Gear 2 (High Speed, Low Torque): Use this with the drill setting for fast, clean drilling of holes, especially with smaller bits. The high speed helps clear material.
Clutch Settings for Common Materials (A Practical Chart)
Use this as your starting point. Remember, always test first!
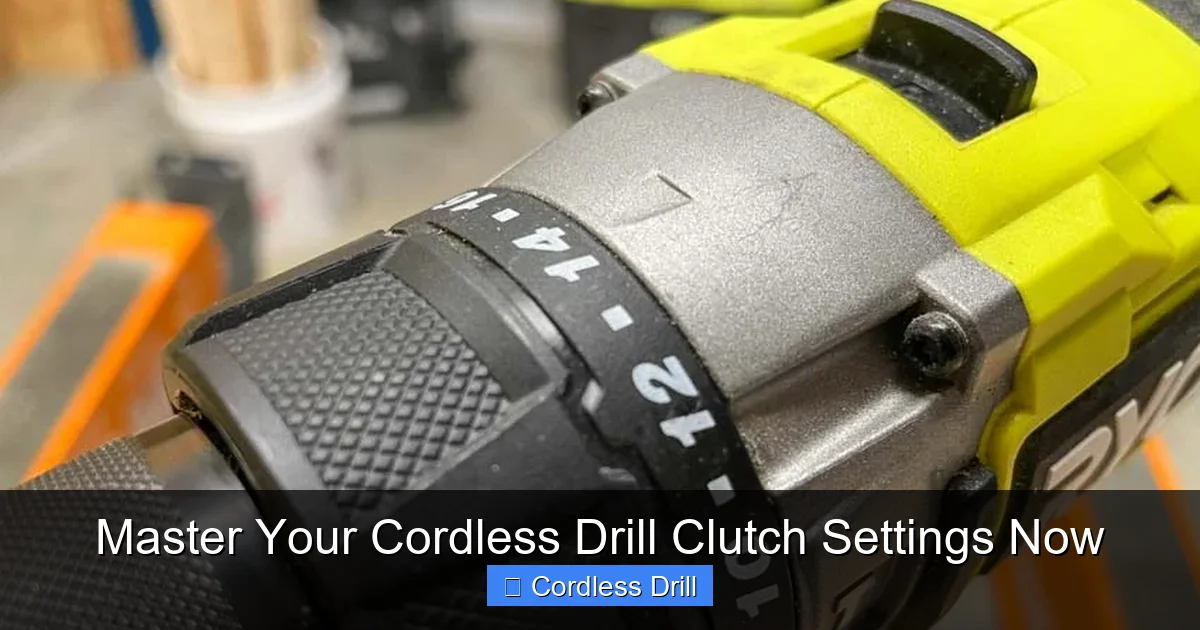
Visual guide about Master Your Cordless Drill Clutch Settings Now
Image source: protoolreviews.com
- Drywall & Plaster: 3-5. The goal is to seat the screw without breaking the brittle surface.
- Softwood (Pine, Cedar): 5-8 for #8 screws. Start at 6 and adjust.
- Plywood & Particle Board: 4-7. The edges and surfaces are easy to strip out.
- Hardwood (Oak, Maple): 10-15+. You need significant force. Pre-drilling a pilot hole is almost mandatory here.
- Decking (Pressure-Treated Lumber): 12-18 (or higher). Deck screws are big and the wood is dense. This is heavy-duty driving.
- Metal (with self-tapping screws): 8-12. Pilot drilling is critical. Go slow to avoid breaking the screw.
Troubleshooting Common Clutch Problems
Even with a guide, things can go wrong. Here’s how to fix them.
Problem: The Clutch Clicks Immediately
Cause & Fix: Your setting is far too low for the task. You’re trying to drive a deck screw with a setting of 3. Solution: Significantly increase the clutch number. Also, ensure you’re not in gear 2, which provides less torque. Switch to gear 1.
Problem: The Screw Strips Before the Clutch Clicks
Cause & Fix: Your setting is too high, or you’re not using enough forward pressure. The drill’s torque is overcoming the screw’s head before the clutch can disengage. Solution: Lower the clutch setting. Ensure you are using a sharp, correctly sized bit and applying firm, straight pressure.
Problem: Inconsistent Results (Some screws flush, some not)
Cause & Fix: This is often a material density issue, especially in natural wood where knots change the hardness. Solution: Set your clutch for the hardest section you’ll encounter. It will click early on soft spots, but that’s better than stripping a screw on a knot. Drive all screws consistently with steady pressure.
Problem: The Drill is “Hammering” or Ratcheting Loudly While Driving
Cause & Fix: You are likely using an impact driver, not a drill. An impact driver uses concussive blows to deliver high torque and makes a loud rattling sound. Its clutch works differently. If you are using a drill and hear this, you may have accidentally engaged the hammer drill symbol. Turn it back to a numbered setting or the standard drill symbol.
Clutch vs. Impact Driver: Knowing Your Tool
This is a crucial distinction. An impact driver is a different tool designed for high-torque applications. It has a specialized clutch (often with different settings) that works with its impacting mechanism. The clutch on a standard drill provides smooth, controlled disengagement. The impact driver’s clutch manages the intensity of the impacts. For detailed fastener work and precision, the drill clutch is superior. For driving long lag bolts or loosening rusty bolts, the impact driver is the king. Knowing the difference between these tools ensures you use the right one for the job.
Conclusion: You Are Now in Control
That mysterious numbered ring is no longer a mystery. You now understand that the clutch is your partner in precision, preventing damage and ensuring consistent, professional results. You have a simple process: assess, set, test, and adjust. You know that low numbers protect delicate materials, high numbers power through tough jobs, and the drill symbol is reserved for making holes.
The true mastery comes with practice. The next time you have a project, consciously use the clutch. Start low, listen for the click, and feel the control. You’ll save screws, save your arms, and save your projects from ugly mistakes. Your cordless drill is a powerful tool, and you have just learned to wield its most intelligent feature. Now go put that knowledge to work!
