
Using the wrong drill bit is the fastest way to ruin your cordless drill on concrete. Always select a carbide-tipped masonry bit and engage your drill’s hammer mode to efficiently chip through the hard surface without stripping bits or damaging the tool. Starting slow prevents bit wandering and ensures precise, cost-saving holes every time.
Key Takeaways
- Choose a hammer drill over standard drills; concrete requires hammering action for effective drilling.
- Always use carbide-tipped masonry bits to avoid breakage and achieve precise holes in concrete.
- Mark and center-punch your spot to prevent the bit from wandering on hard surfaces.
- Drill at low speed with hammer mode to maximize efficiency and protect your tool.
- Apply firm, consistent pressure without forcing; let the tool do the work to prevent overheating.
- Wear protective gear including safety glasses and a dust mask for concrete drilling safety.
- Keep backup batteries ready since concrete drilling quickly drains power and heats up batteries.
Why This Matters / Understanding the Problem
Let me tell you about the time I learned this lesson the hard way. I was hanging a heavy shelf in my garage, confident my cordless drill could handle the concrete wall. Thirty minutes later, I had a smoking drill, a broken bit, and a hole that looked like a miniature crater. That’s when I realized drilling into concrete isn’t like drilling into wood—it’s a whole different beast.
Concrete is unforgiving. It laughs at regular drill bits and can turn your powerful cordless drill into a paperweight if you don’t know what you’re doing. Every year, DIYers damage expensive tools and walls by using the wrong techniques. But here’s the good news: with the right Cordless Drill Concrete Tips Avoid Costly Drilling Mistakes, you can get professional results without the professional price tag.
The key is understanding that concrete needs a specific approach. You’re not just making a hole—you’re surviving a battle against one of the toughest materials in construction. Let me walk you through exactly how to win that battle.
What You Need
Before we dive into the steps, let’s gather our gear. Having the right equipment isn’t just helpful—it’s the difference between success and a trip to the hardware store with a broken tool.
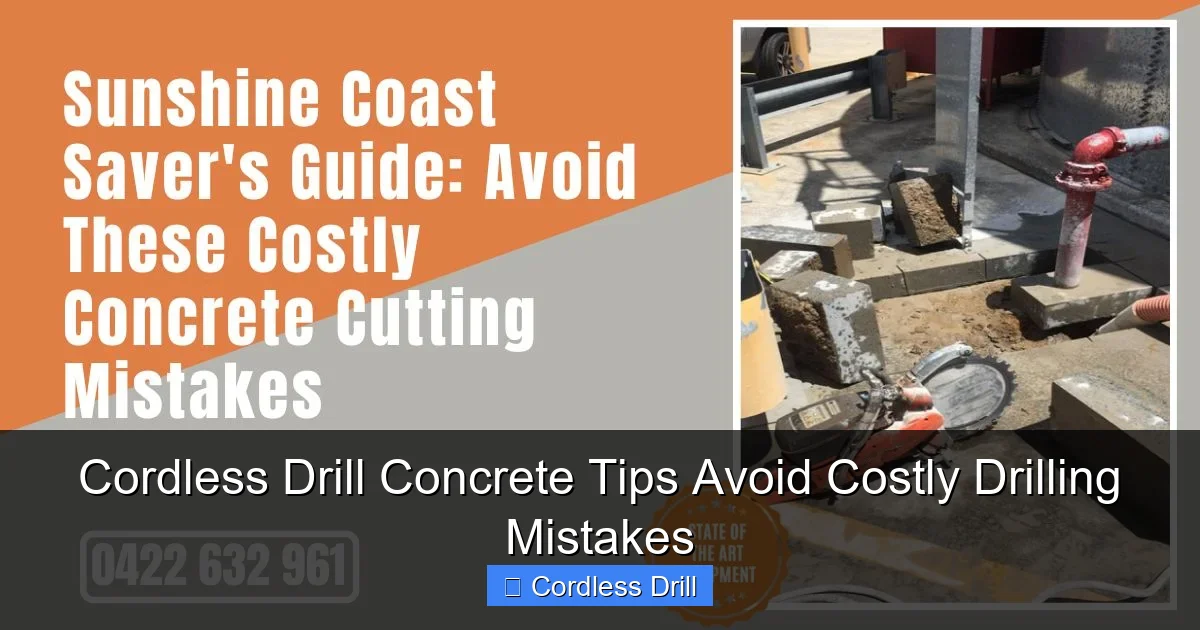
Visual guide about Cordless Drill Concrete Tips Avoid Costly Drilling Mistakes
Image source: dieselsconcretecutting.com.au
- The Right Drill: Not every cordless drill will cut it. You need either a hammer drill or a rotary hammer. A regular drill will overheat and fail. Check out our guide on the difference between a hammer drill and regular drill to understand why this matters.
- Masonry Bits: These are special carbide-tipped bits designed for concrete. They look different from wood bits and have a unique shape. Buy quality—cheap bits snap easily.
- Depth Gauge: Most hammer drills have this built-in, but you can also use tape on your bit to mark drilling depth.
- Vacuum or Brush: You’ll need to clean out dust frequently. A small brush or shop vac is essential.
- Eye Protection: Concrete chips are no joke. Safety glasses are non-negotiable.
- Anchors and Screws: Have these ready before you start drilling.
Optional but helpful: a stud finder to avoid rebar, and a center punch to make your starting mark more precise.
Step-by-Step Guide to Cordless Drill Concrete Tips Avoid Costly Drilling Mistakes
Step 1: Choose Your Weapon Wisely
The first mistake I see people make is grabbing whatever drill is sitting in the garage. For concrete, you absolutely need a hammer drill or rotary hammer. These tools have a special mechanism that pounds the bit as it spins—think of it as a mini jackhammer built into your drill.
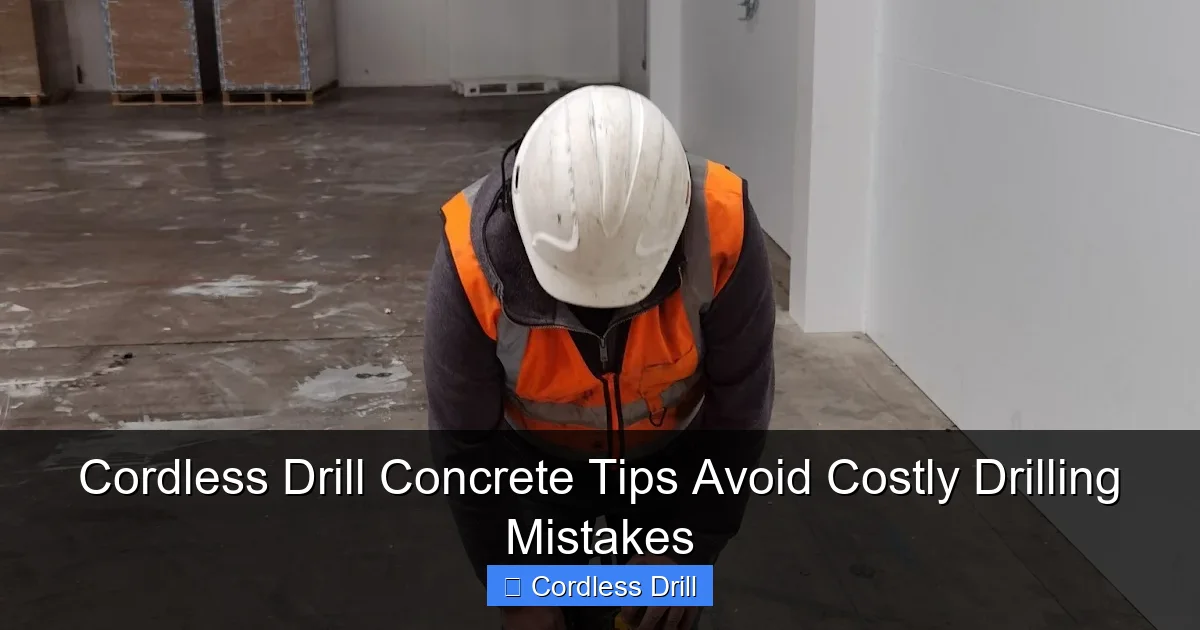
Visual guide about Cordless Drill Concrete Tips Avoid Costly Drilling Mistakes
Image source: assets-global.website-files.com
Your standard cordless drill might have “hammer” in the name, but if it doesn’t have that hammering action built into the motor mechanism, it won’t work. Look for the hammer drill setting, usually marked with a hammer icon. If you’re serious about concrete work, consider investing in a dedicated hammer drill. Our best cordless drill guide covers some excellent models that handle concrete well.
Step 2: Pick the Right Bit for the Job
Not all masonry bits are created equal. You need carbide-tipped bits with a special geometry designed to crush concrete rather than cut through it. The tip should be a flat, chisel-like shape, not a point.
Match your bit size to the anchor you’re using. If you’re using a 1/4″ anchor, you need a 1/4″ bit. Going too big or too small will make your anchor useless. Pro tip: Buy one size larger than you think you need for your first project. That way you can practice on a scrap piece of concrete before committing to your actual project.
Step 3: Mark Your Spot and Create a Starter Dimple
Measure twice, drill once. Use a pencil or marker to make your exact drilling location. Then, take a center punch or the end of a nail and tap it lightly with a hammer to create a small dimple. This prevents your bit from wandering when you start drilling.
I learned this after ruining a perfectly good wall where my bit slid two inches to the left and created a nightmare of a hole. That small dimple makes a world of difference. If you don’t have a center punch, a nail works just fine—just be careful not to hit your fingers.
Step 4: Start Slow and Steady
Set your drill to hammer mode. Apply firm, consistent pressure—let the tool do the work. Don’t push like you’re trying to drive a screw into hardwood. Start at a slow speed to get the bit seated in your dimple, then gradually increase to full speed.
Keep the drill perpendicular to the wall. Any angle will cause the bit to bind or create an oval hole. I use my other hand to brace myself and keep the drill steady. If you’re drilling overhead, take extra care—concrete dust falling in your eyes is a painful experience.
Step 5: The Pecking Technique is Your Best Friend
Here’s where most people go wrong: they try to drill the full depth in one go. Bad idea. Instead, use the pecking technique—drill for 2-3 seconds, pull the bit out to clear dust, then drill again. Repeat this every half inch or so.
This method does three important things: it clears dust from the hole, prevents the bit from overheating, and reduces stress on your drill’s motor. Think of it like eating soup with a fork—it’s inefficient if you try to do it all at once, but it works if you take it one scoop at a time.
Step 6: Watch for Overheating
Your drill and bit will get hot. That’s normal, but there’s a fine line between normal heat and “I-just-ruined-my-tool” heat. If you smell burning or see smoke, stop immediately. Let both cool for 5-10 minutes.
I keep a spray bottle of water nearby to mist the bit occasionally. Don’t douse it—just a light spray to cool the tip. This extends bit life dramatically. Also, listen to your drill. If the motor sounds like it’s straining or the hammer action becomes irregular, you’re pushing too hard.
Step 7: Clear the Dust Frequently
Concrete dust is like concrete’s evil twin—it gets everywhere and gums up your works. Every time you peck, pull the bit out and blow or brush away the dust. For deeper holes, use a shop vac or compressed air.
Cleaning as you go prevents the dust from packing so tightly that your bit can’t advance. It also ensures your anchor will fit properly. I once got lazy and didn’t clear dust enough—my anchor wouldn’t seat fully, and I had to drill the hole larger, which weakened the holding power.
Step 8: Drill to the Right Depth
Your hole should be slightly deeper than your anchor length. If your anchor is 2 inches, drill 2.25 inches deep. Use your depth gauge or tape mark on the bit to avoid going too far.
Drilling too deep is better than not deep enough. If you drill too shallow, your anchor won’t sit flush and won’t hold properly. But if you go too deep, you can always use a longer anchor. I’ve made both mistakes, and the second one is easier to fix.
Step 9: Clean the Hole Thoroughly
Once you’ve reached depth, clear all dust from the hole. This is crucial for anchor installation. Use your brush or vacuum, then blow it out one more time with compressed air if you have it.
Any dust left behind creates a layer between the anchor and concrete, reducing holding strength by up to 50%. I use a small wire brush on stubborn dust—just a few quick twists and the hole is clean.
Step 10: Install Your Anchor
Now you’re ready for the anchor. Tap it gently with a hammer until it’s seated. Then insert your screw. Don’t overtighten—snug is good. Concrete doesn’t give like wood, so too much torque can crack the anchor or the concrete around it.
If you’re hanging something heavy, double-check that the anchor is fully seated and the screw turns in smoothly. If it feels rough or catches, remove it and clean the hole again. Better to spend an extra minute now than to have your project fall later.
Warning: Before you drill, always check for electrical wires and plumbing. Use a quality stud finder with AC detection. Drilling into a live wire is dangerous and expensive. When in doubt, assume there’s something behind the wall.
Pro Tips & Common Mistakes to Avoid
After years of drilling into concrete, I’ve collected some hard-won wisdom. Here are the things I wish someone had told me before my first concrete project.
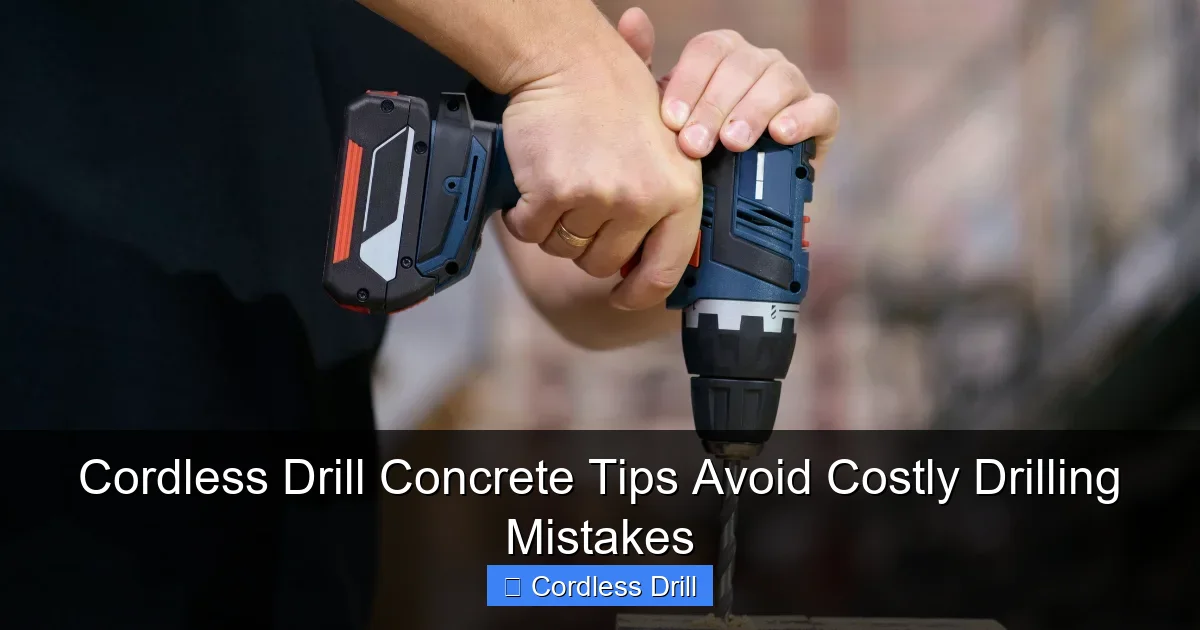
Visual guide about Cordless Drill Concrete Tips Avoid Costly Drilling Mistakes
Image source: fa.co.za
The Rebar Problem: Hitting rebar is like hitting a rock—your bit will deflect and make a terrible noise. If this happens, stop immediately. You’ll need to relocate your hole at least 2 inches away. Rebar is harder than concrete and will destroy your masonry bit quickly.
Bit Breakage: Twisting your drill or using sideways pressure will snap your bit. I’ve broken more bits than I care to admit by trying to “steer” the hole. Concrete doesn’t work that way—let the bit go straight in and out.
Speed Control: Too fast and you’ll overheat everything. Too slow and you won’t engage the hammer mechanism properly. Find that sweet spot—usually around 300-500 RPM on most drills. Listen to the sound; it should be a rhythmic hammering, not a high-pitched whine.
Battery Life: Hammer drilling drains batteries fast. Keep a spare charged battery nearby. Concrete work is hard on drills, and a weak battery makes the tool less effective and can damage the motor.
The Angle Trap: Even a 5-degree angle creates an oval hole that won’t hold an anchor properly. Use a level on your drill body or brace yourself against the wall to maintain perfect perpendicular alignment.
Depth Confusion: Many DIYers confuse drill depth with anchor depth. Remember: the hole must be deeper than the anchor. The anchor needs room to expand fully.
Skipping the Practice: If you’ve never drilled concrete before, find a scrap piece or an inconspicuous area to practice. Learn how your drill sounds and feels. It’s much cheaper to learn on a practice piece than to ruin your wall and break bits on the real project.
Ignoring Bit Wear: Worn bits are inefficient and dangerous. If your bit isn’t cutting well or the carbide tip looks rounded, replace it. A sharp bit makes the job easier and prevents drill strain.
Pro Tip: Keep your drill’s air vents clean. Concrete dust loves to clog them, causing overheating. I wipe down my drill after every concrete session with a dry cloth.
FAQs About Cordless Drill Concrete Tips Avoid Costly Drilling Mistakes
Q: Can I use my regular cordless drill for concrete if I try really hard?
A: You can try, but you’ll likely damage your drill and break bits. Regular drills lack the hammer mechanism that concrete requires. The few dollars you save not buying a hammer drill will be lost in broken bits and a potentially ruined tool. It’s like using a screwdriver to hammer a nail—it might work once, but you’ll break something.
Q: How do I know if I’ve hit rebar or a pipe?
A: Rebar makes a distinct metallic grinding sound and the drill will vibrate differently. You might see sparks. If you suspect rebar, stop and move your hole. For pipes, you might feel a sudden give or hear a hollow sound. Always use a stud finder with AC detection before drilling. When in doubt, stop and investigate.
Q: What’s the difference between a hammer drill and a rotary hammer?
A: Hammer drills are lighter and better for DIY work. Rotary hammers are heavier-duty, professional tools with more power and impact energy. For most home projects, a hammer drill is sufficient. Rotary hammers are for big jobs like breaking concrete. Our article on impact driver vs hammer drill explains these tool differences in detail.
Q: How long should a masonry bit last?
A: A quality masonry bit should last for 50-100 holes in standard concrete. Cheap bits might only manage 10-20 holes. Signs of wear include a rounded carbide tip, slower drilling, and increased heat. Store bits properly—don’t toss them in a toolbox where they can chip.
Q: Why does my drill smell like it’s burning?
A: Overheating from excessive speed, pressure, or a dull bit. The motor is straining, or the bit is getting too hot. Stop immediately and let everything cool. Check that you’re using the right bit and technique. If the smell persists, your drill’s motor may be damaged.
Q: Can I use water to cool the bit while drilling?
A: A light mist is okay, but don’t pour water directly into the hole. Water and electricity don’t mix, and you risk shorting your drill or creating a shock hazard. Also, wet concrete dust becomes concrete slurry that’s hard to clean. Better to use the pecking technique and let air cooling do the work.
Q: What if my hole is too big or the anchor won’t hold?
A: Remove the anchor and fill the hole with epoxy or concrete patching compound. Let it cure, then drill a new hole slightly offset. For immediate fixes, you can use a larger anchor or add a plastic wall plug. Prevention is always better—measure carefully and drill straight.
Q: Do I need special safety equipment beyond safety glasses?
A: Yes. Concrete dust is silica dust, which is harmful to breathe. Wear an N95 mask or respirator. Hearing protection helps too—hammer drills are loud. If drilling overhead, wear a face shield. Long sleeves protect your arms from chips. It’s better to be over-dressed than injured.
🎥 Related Video: How To Drill Into Concrete
📺 Handyman Startup
In this video, I demonstrate how to drill into concrete using a regular drill and a hammer drill, both equipped with a concrete drill bit …
Final Thoughts
Drilling into concrete doesn’t have to be intimidating. With the right Cordless Drill Concrete Tips Avoid Costly Drilling Mistakes, you can tackle any project from hanging shelves to mounting TV brackets with confidence.
Remember the key principles: use the right tool, pick quality bits, peck your way through, and keep everything clean. Take your time, let the tool work for you, and never skip safety checks. I’ve found that patience is the most important tool in my concrete drilling kit.
Start small. Practice on a scrap piece. Learn the sound and feel of your drill. Before you know it, you’ll be drilling clean, precise holes that hold strong for years. And you’ll avoid the costly mistakes that turn simple projects into expensive repairs.
Now go hang that shelf—your drill is ready, and so are you.
